Table of Contents
Overview
For scheduling you will add visits to your calendar. You can add one time visits or you are able to set up a recurring series. This article will walk you through both.
Adding a Single Visit
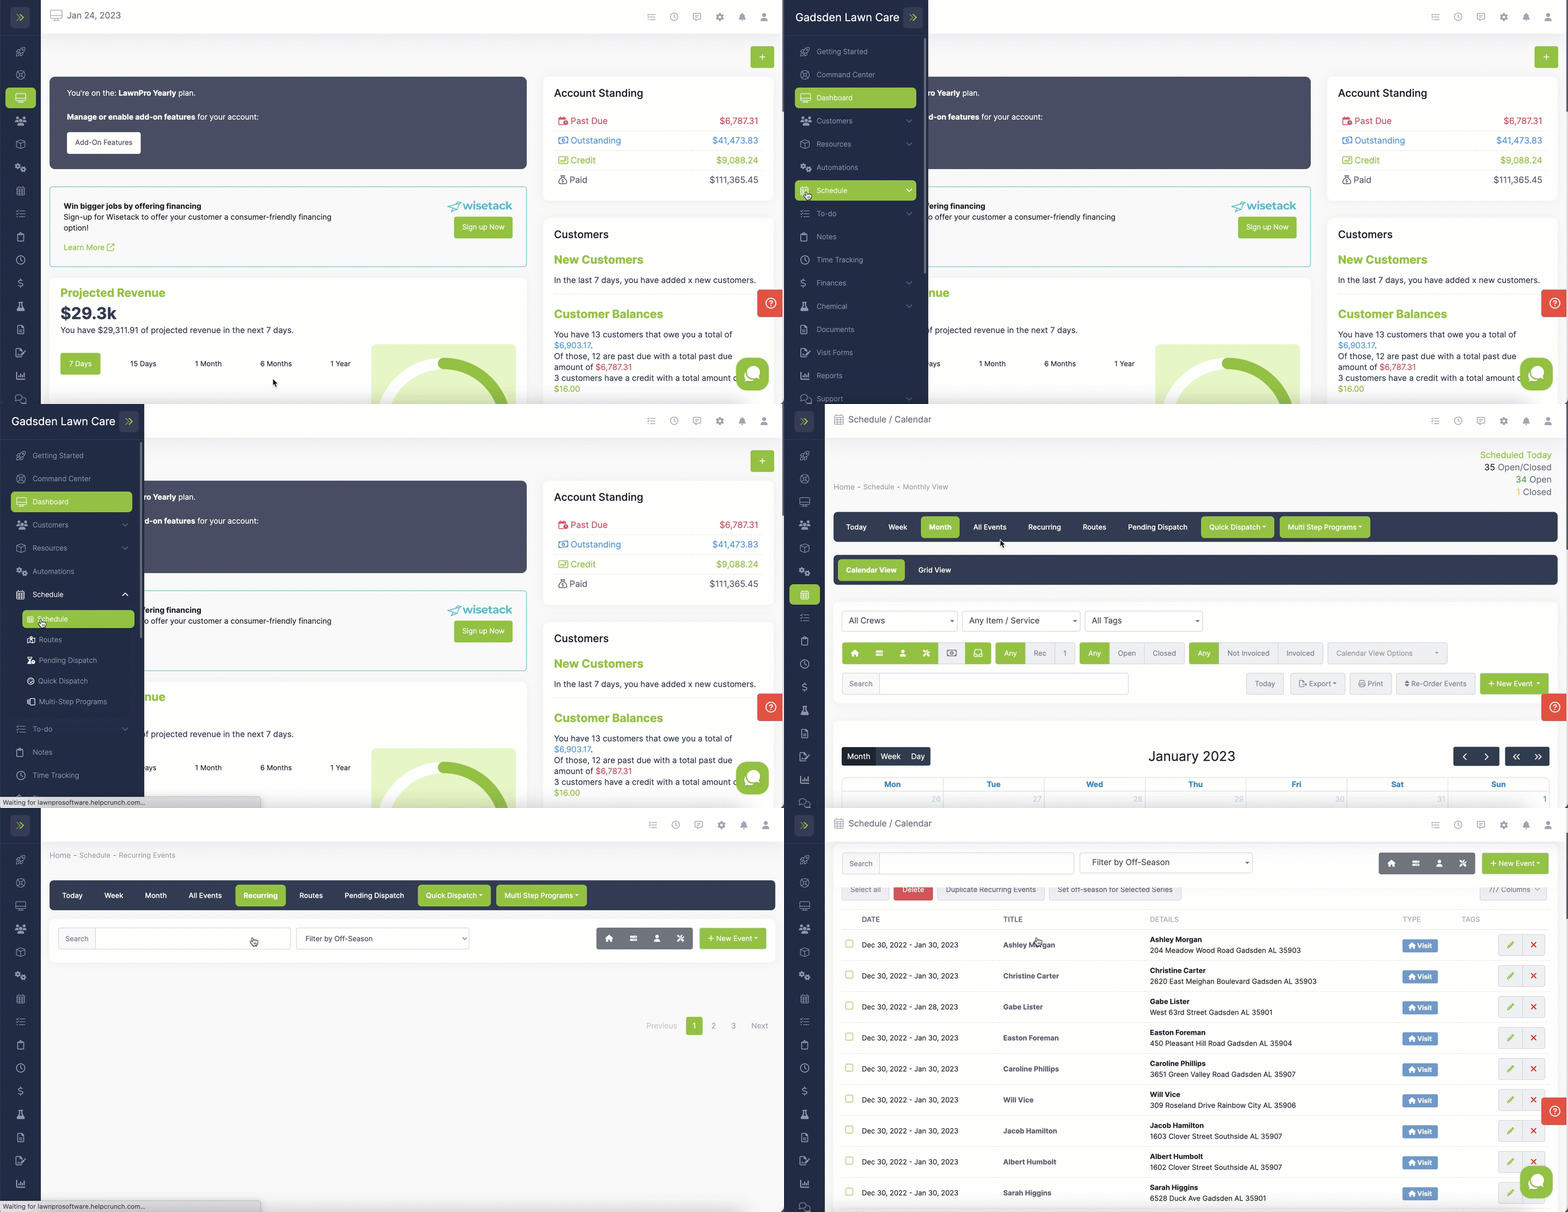
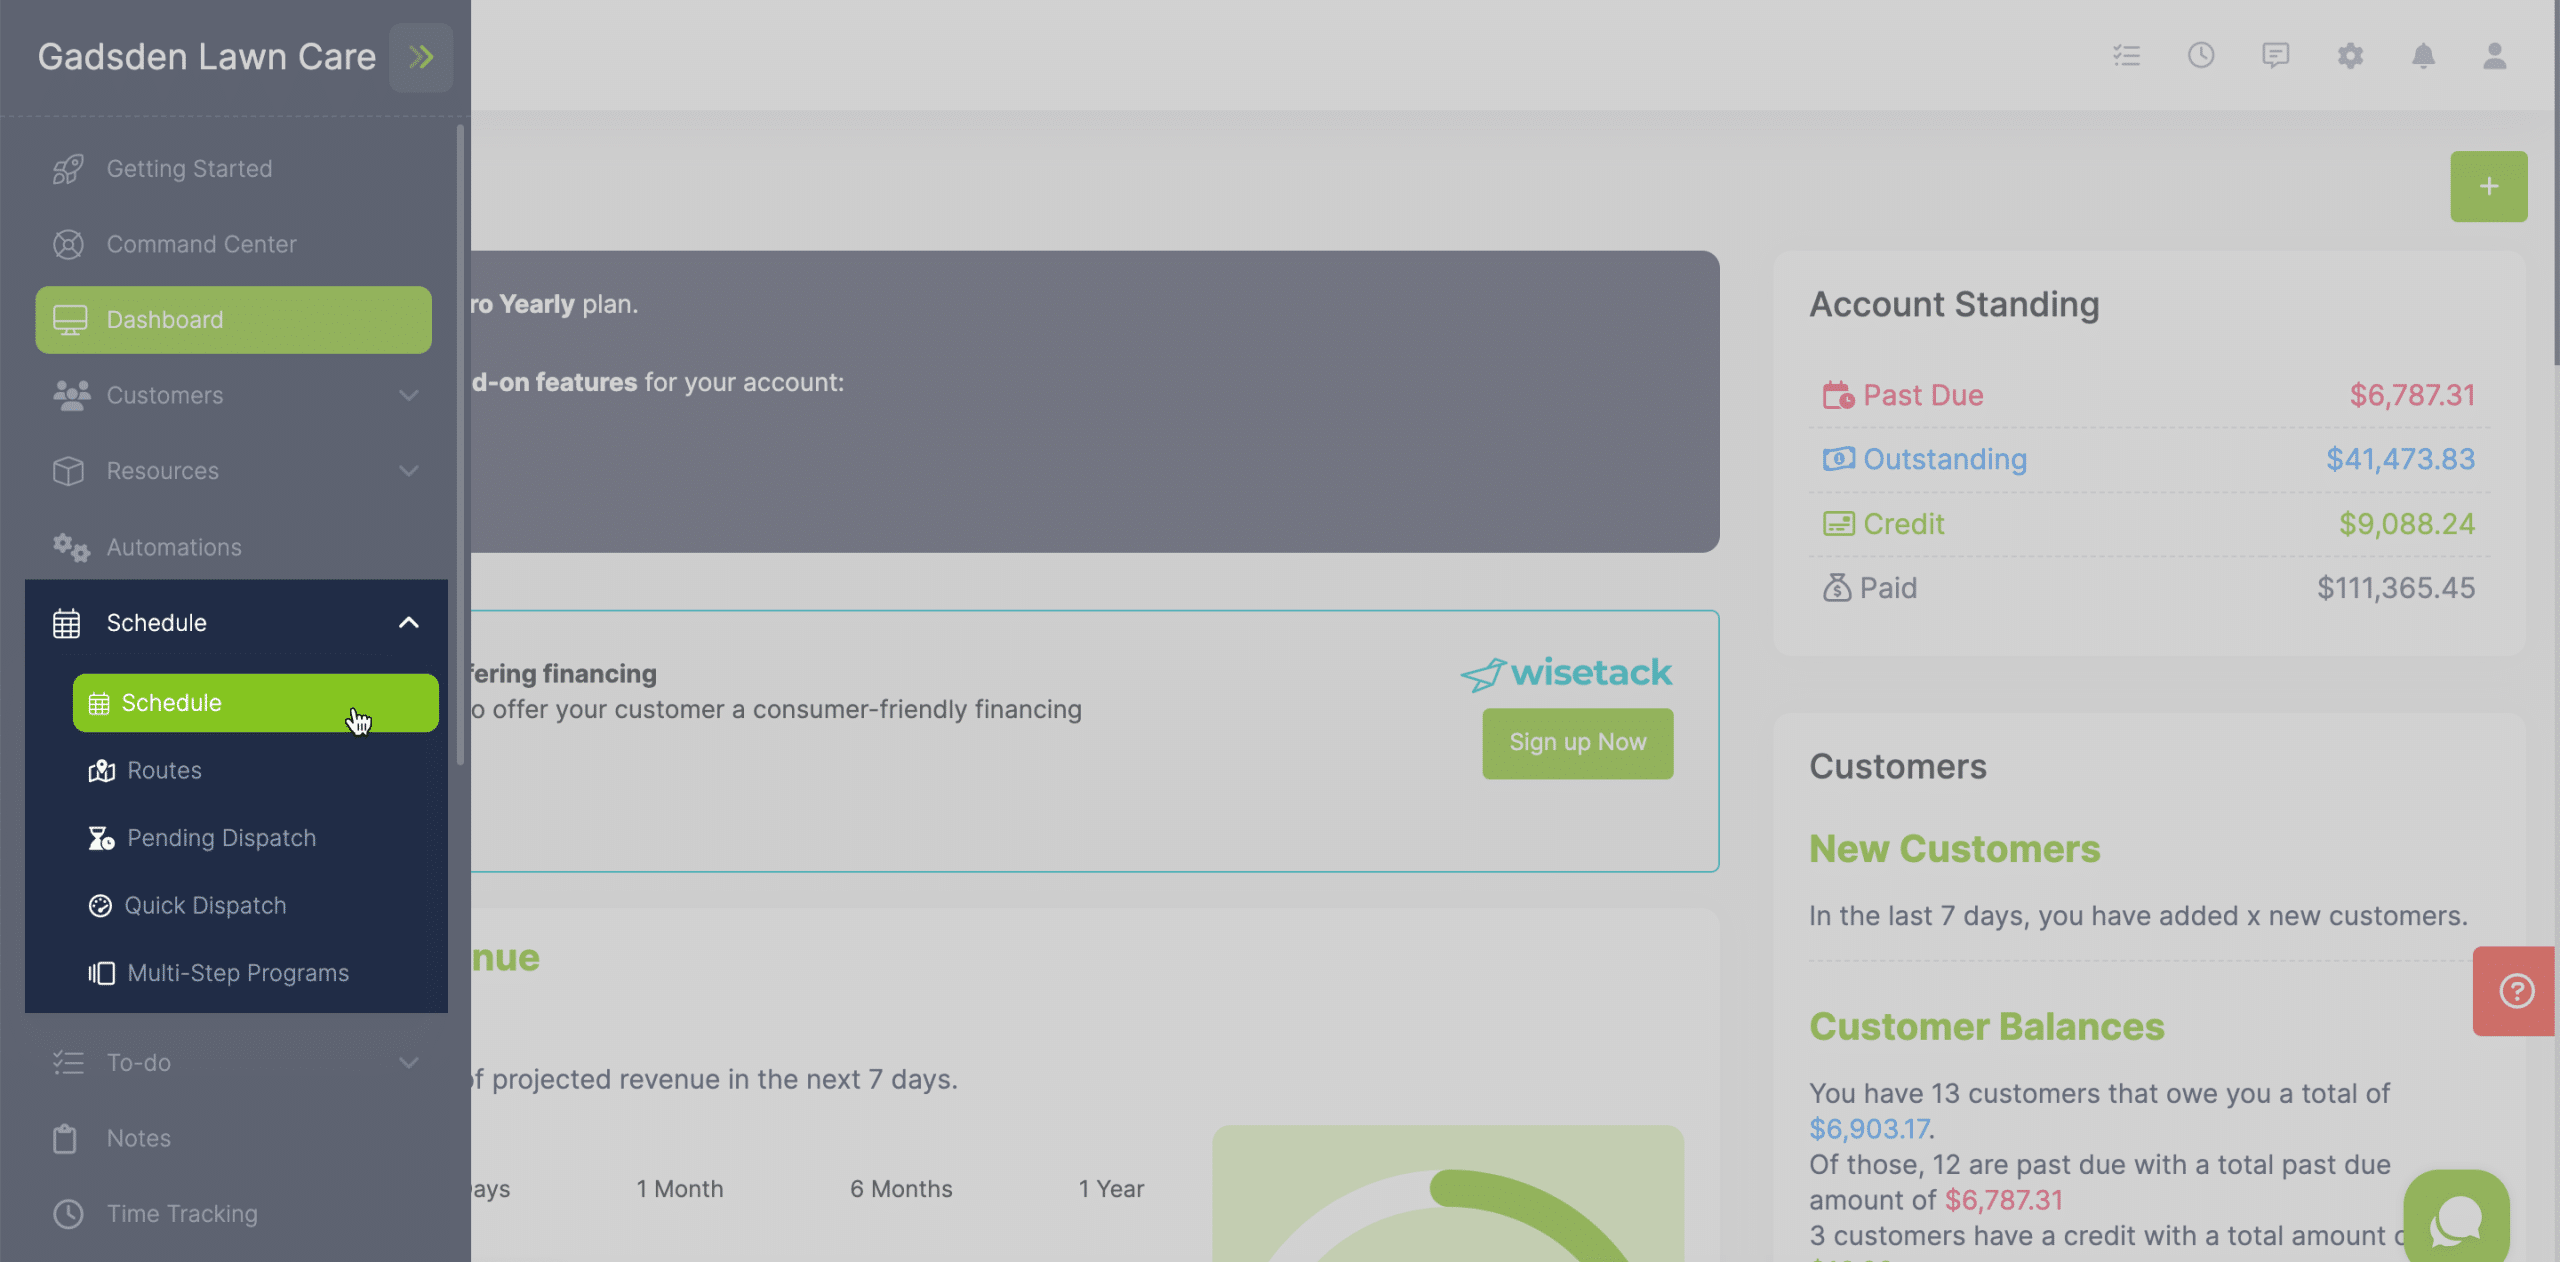
To add a one-time visit, you will start by going to the “Schedule Tab” and clicking “Schedule”
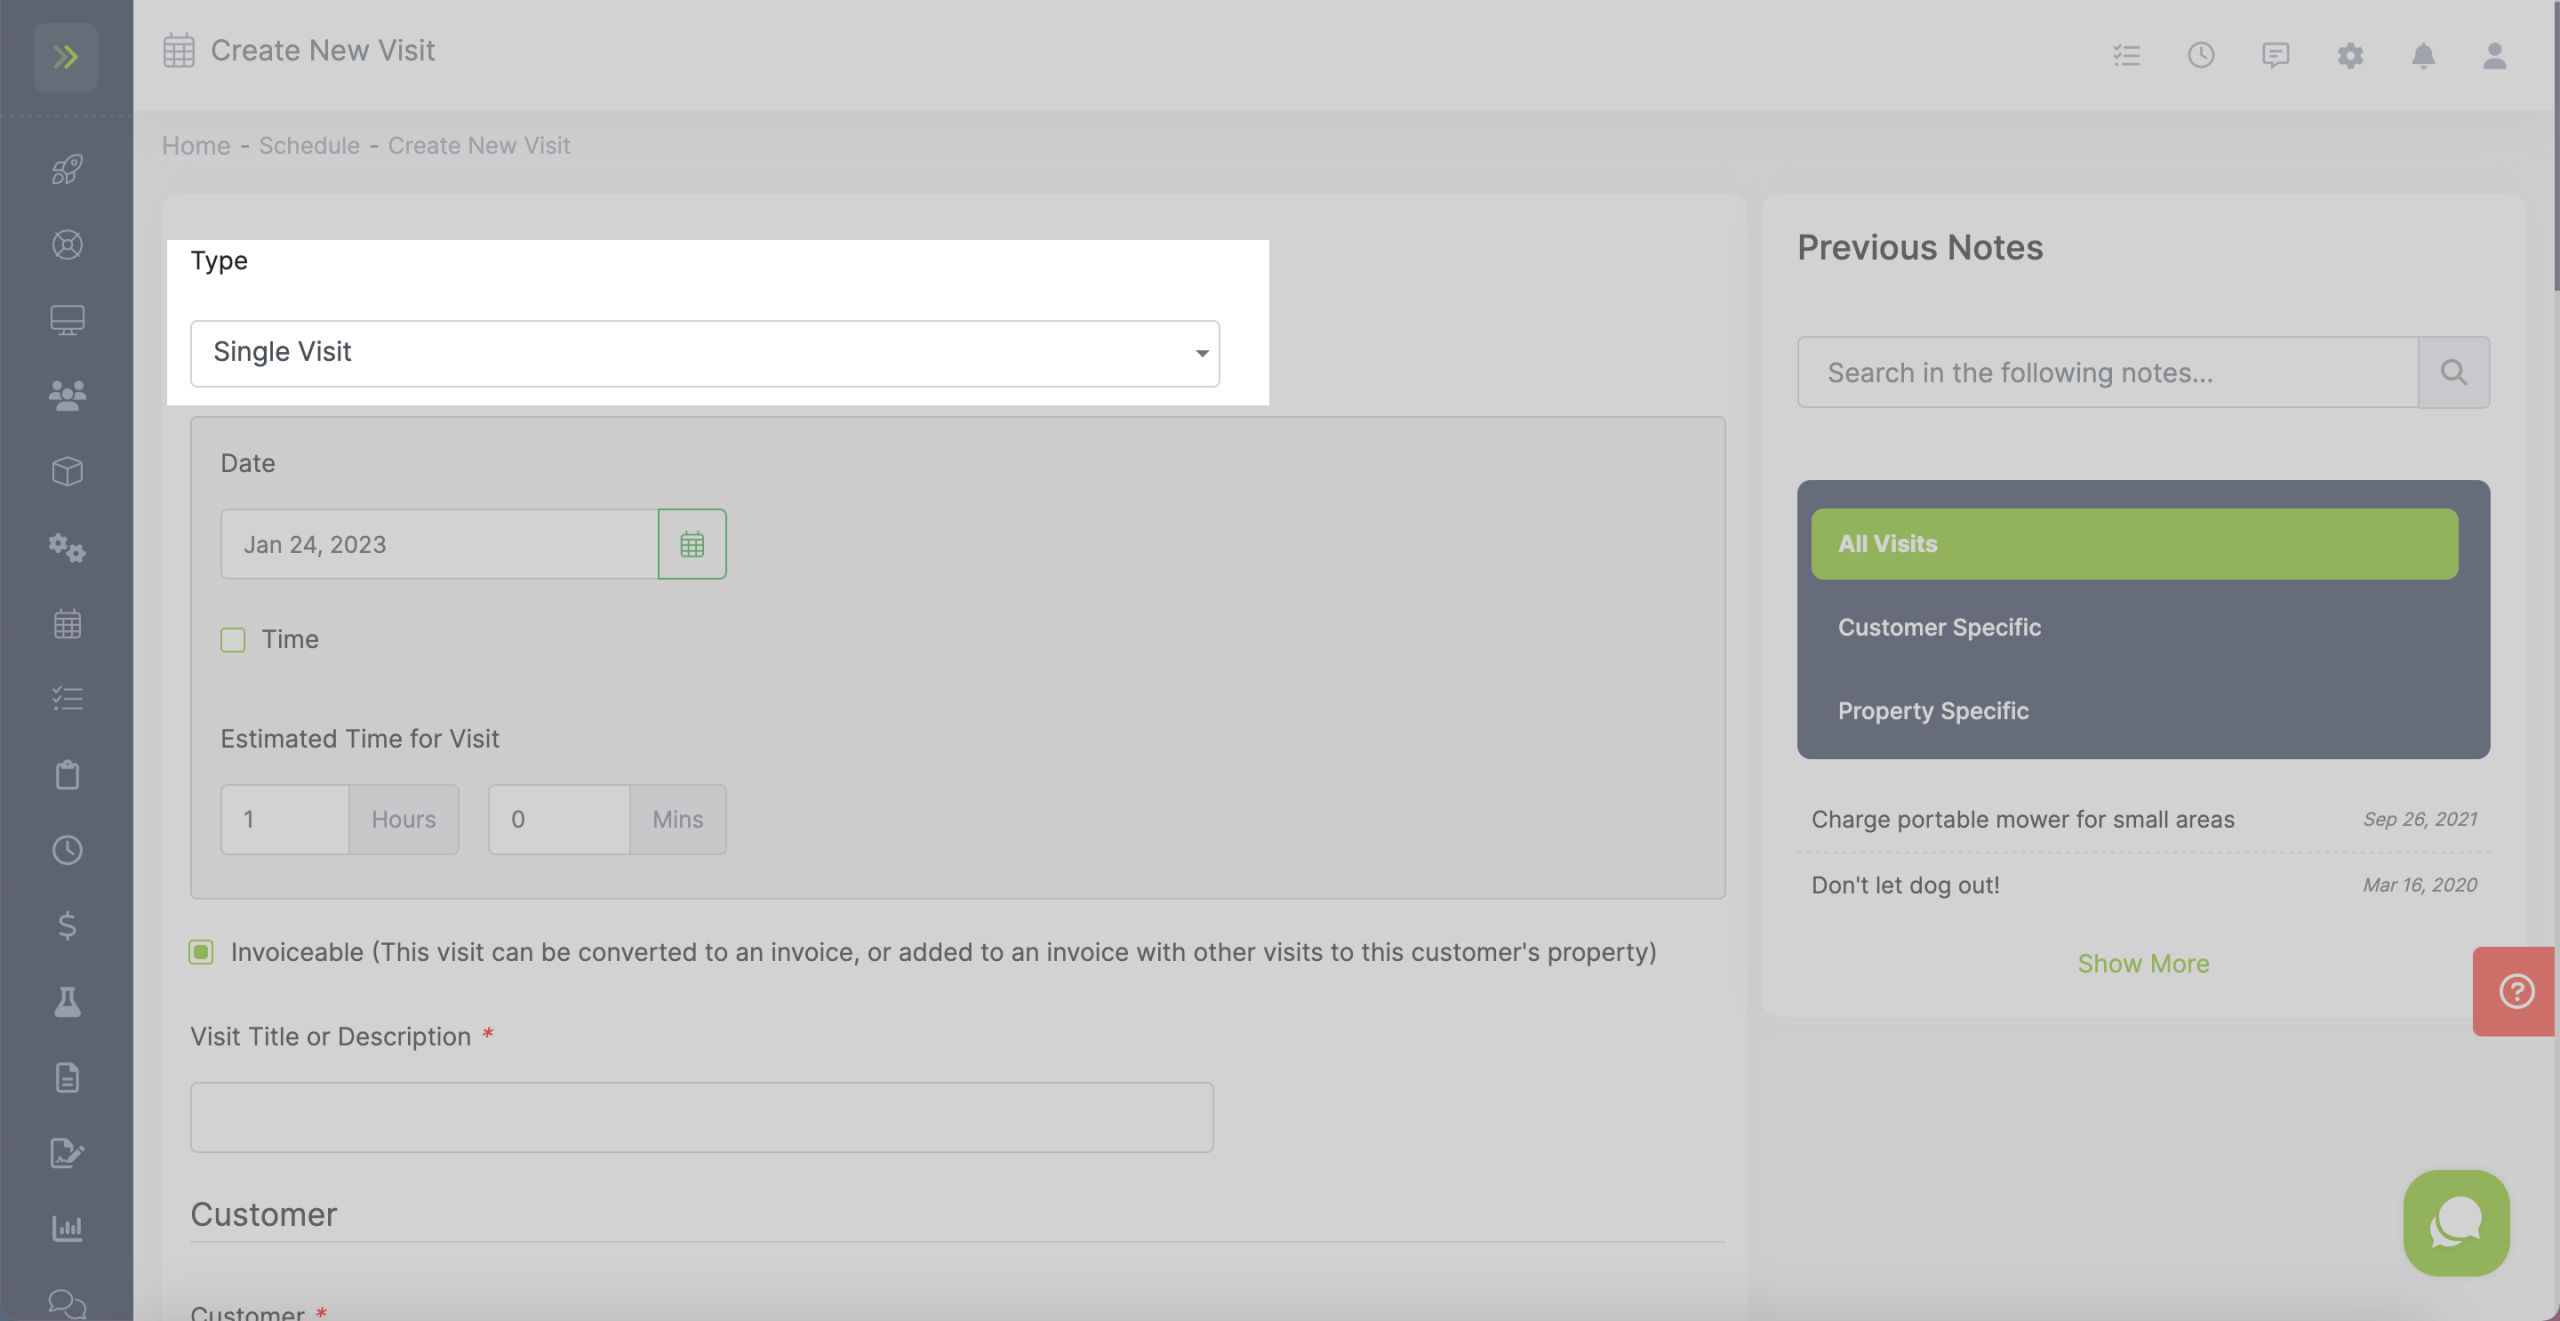
Leave the Type as Single Visit in the first drop down.
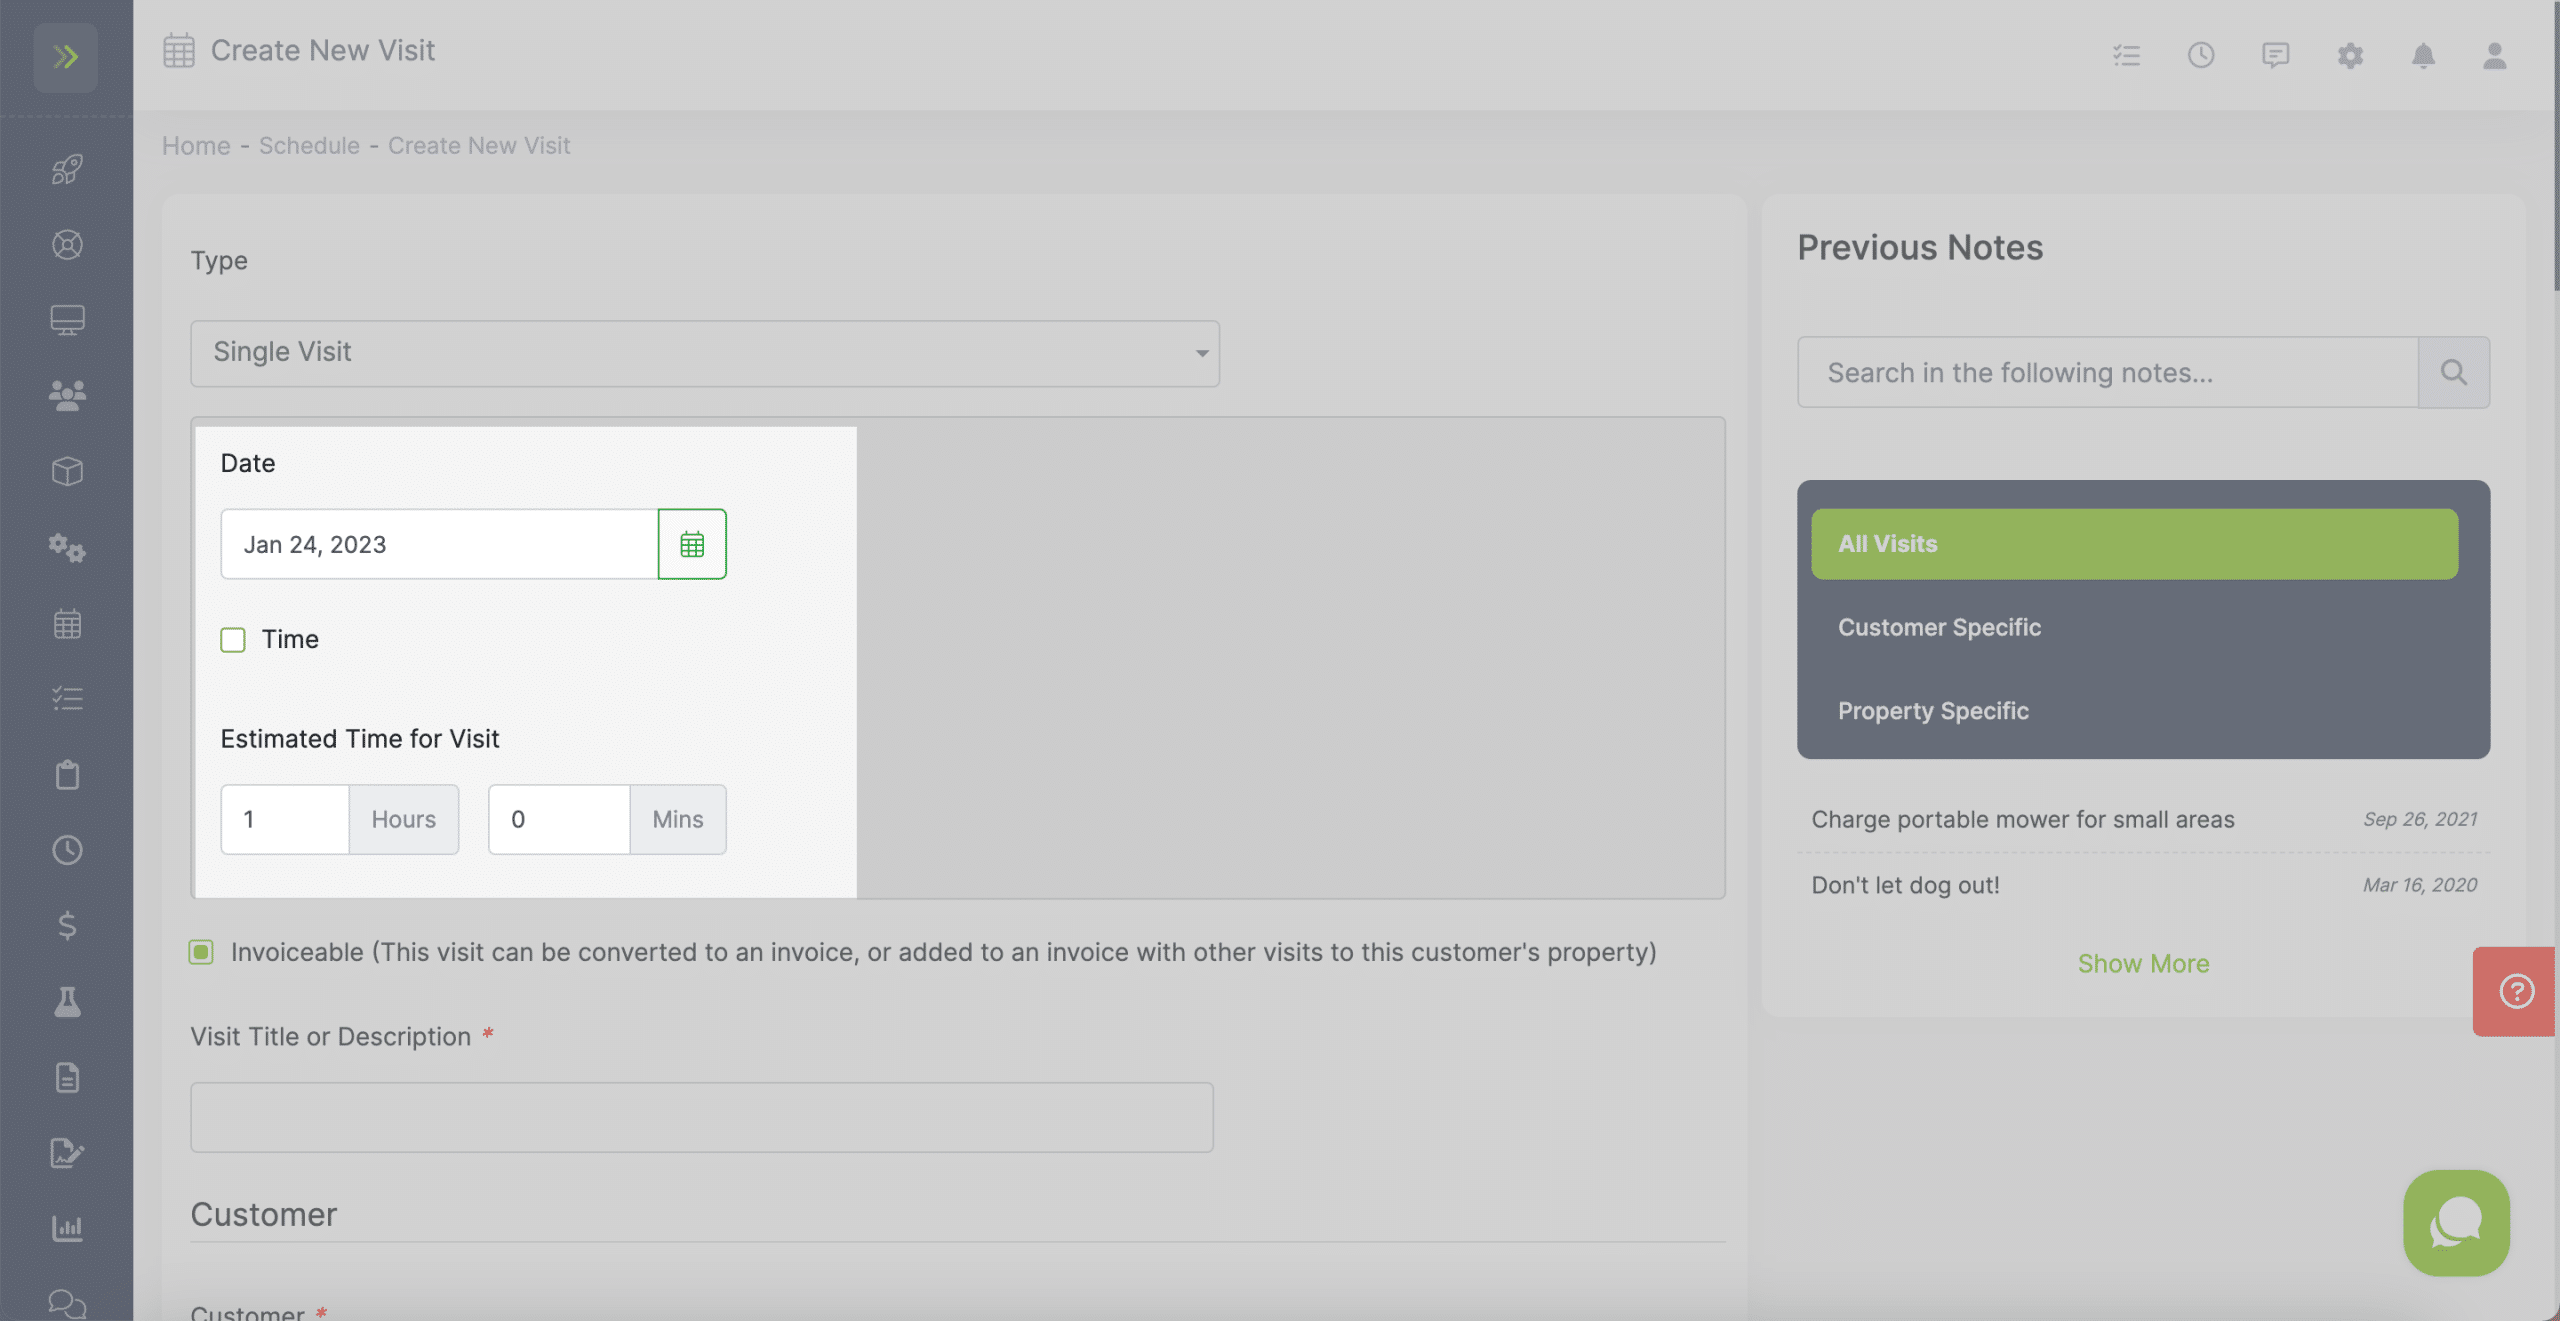
Select the date for the visit. You can also select the box for a time to schedule the visit. Once you select the box a field will appear to enter the time.
Under that, You can enter the estimated time this visit will take.
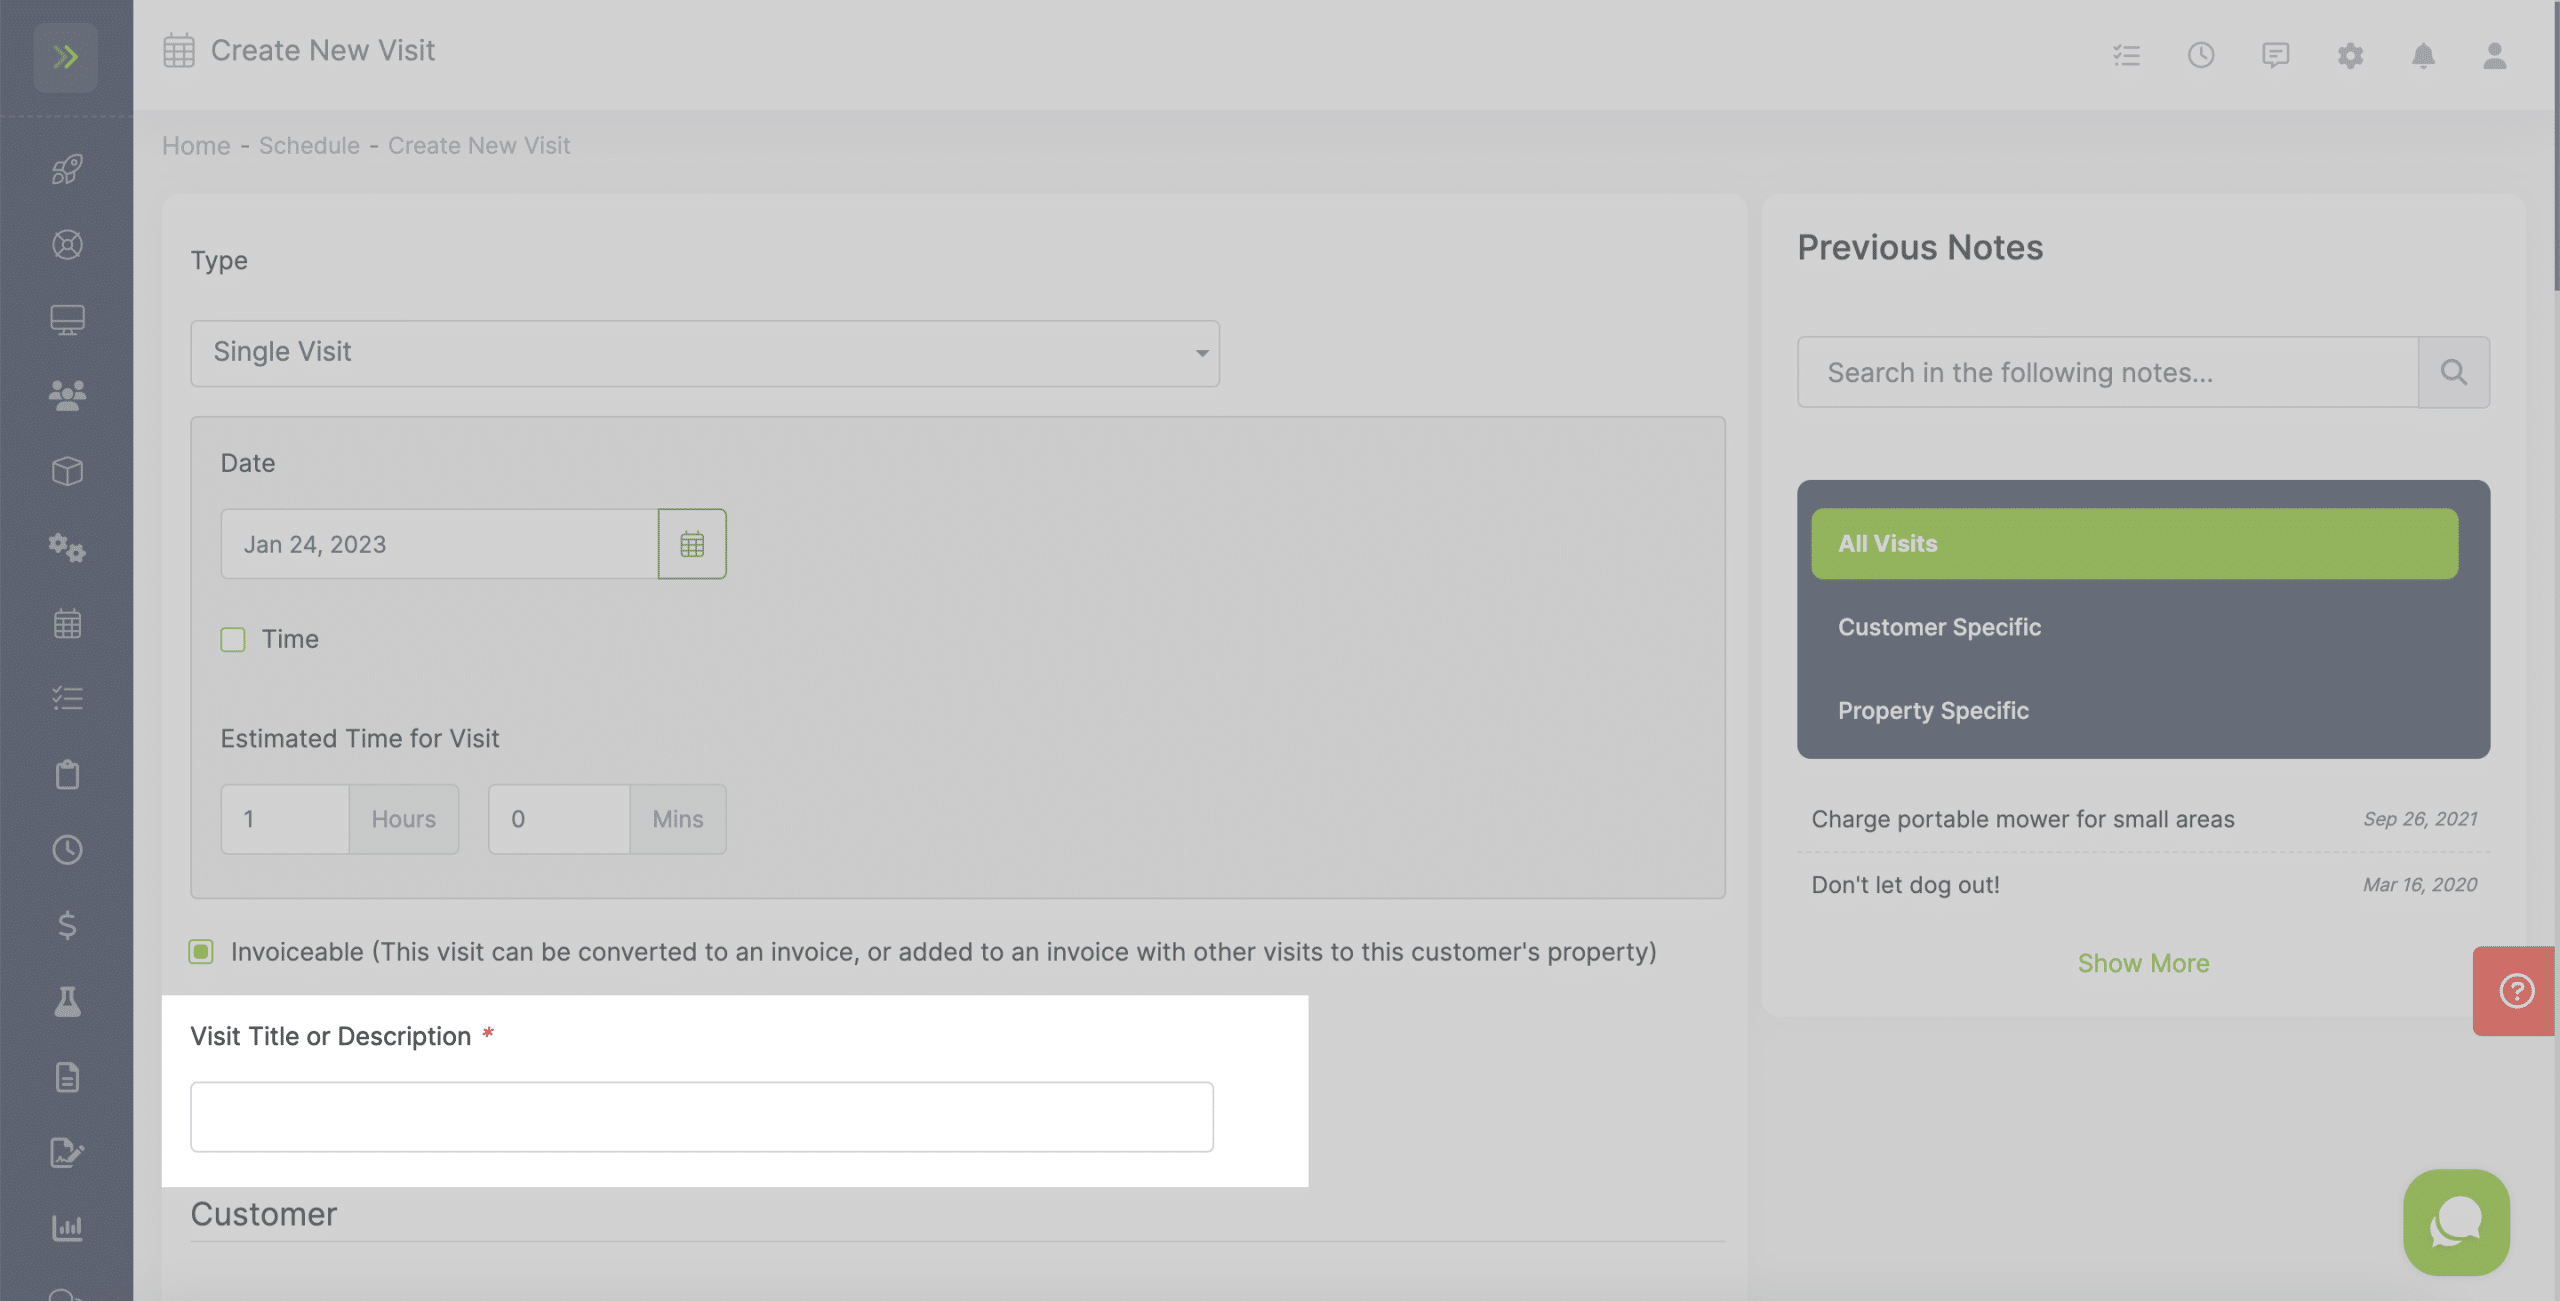
Name the Visit
You will then select the customer and property this visit will take place for.
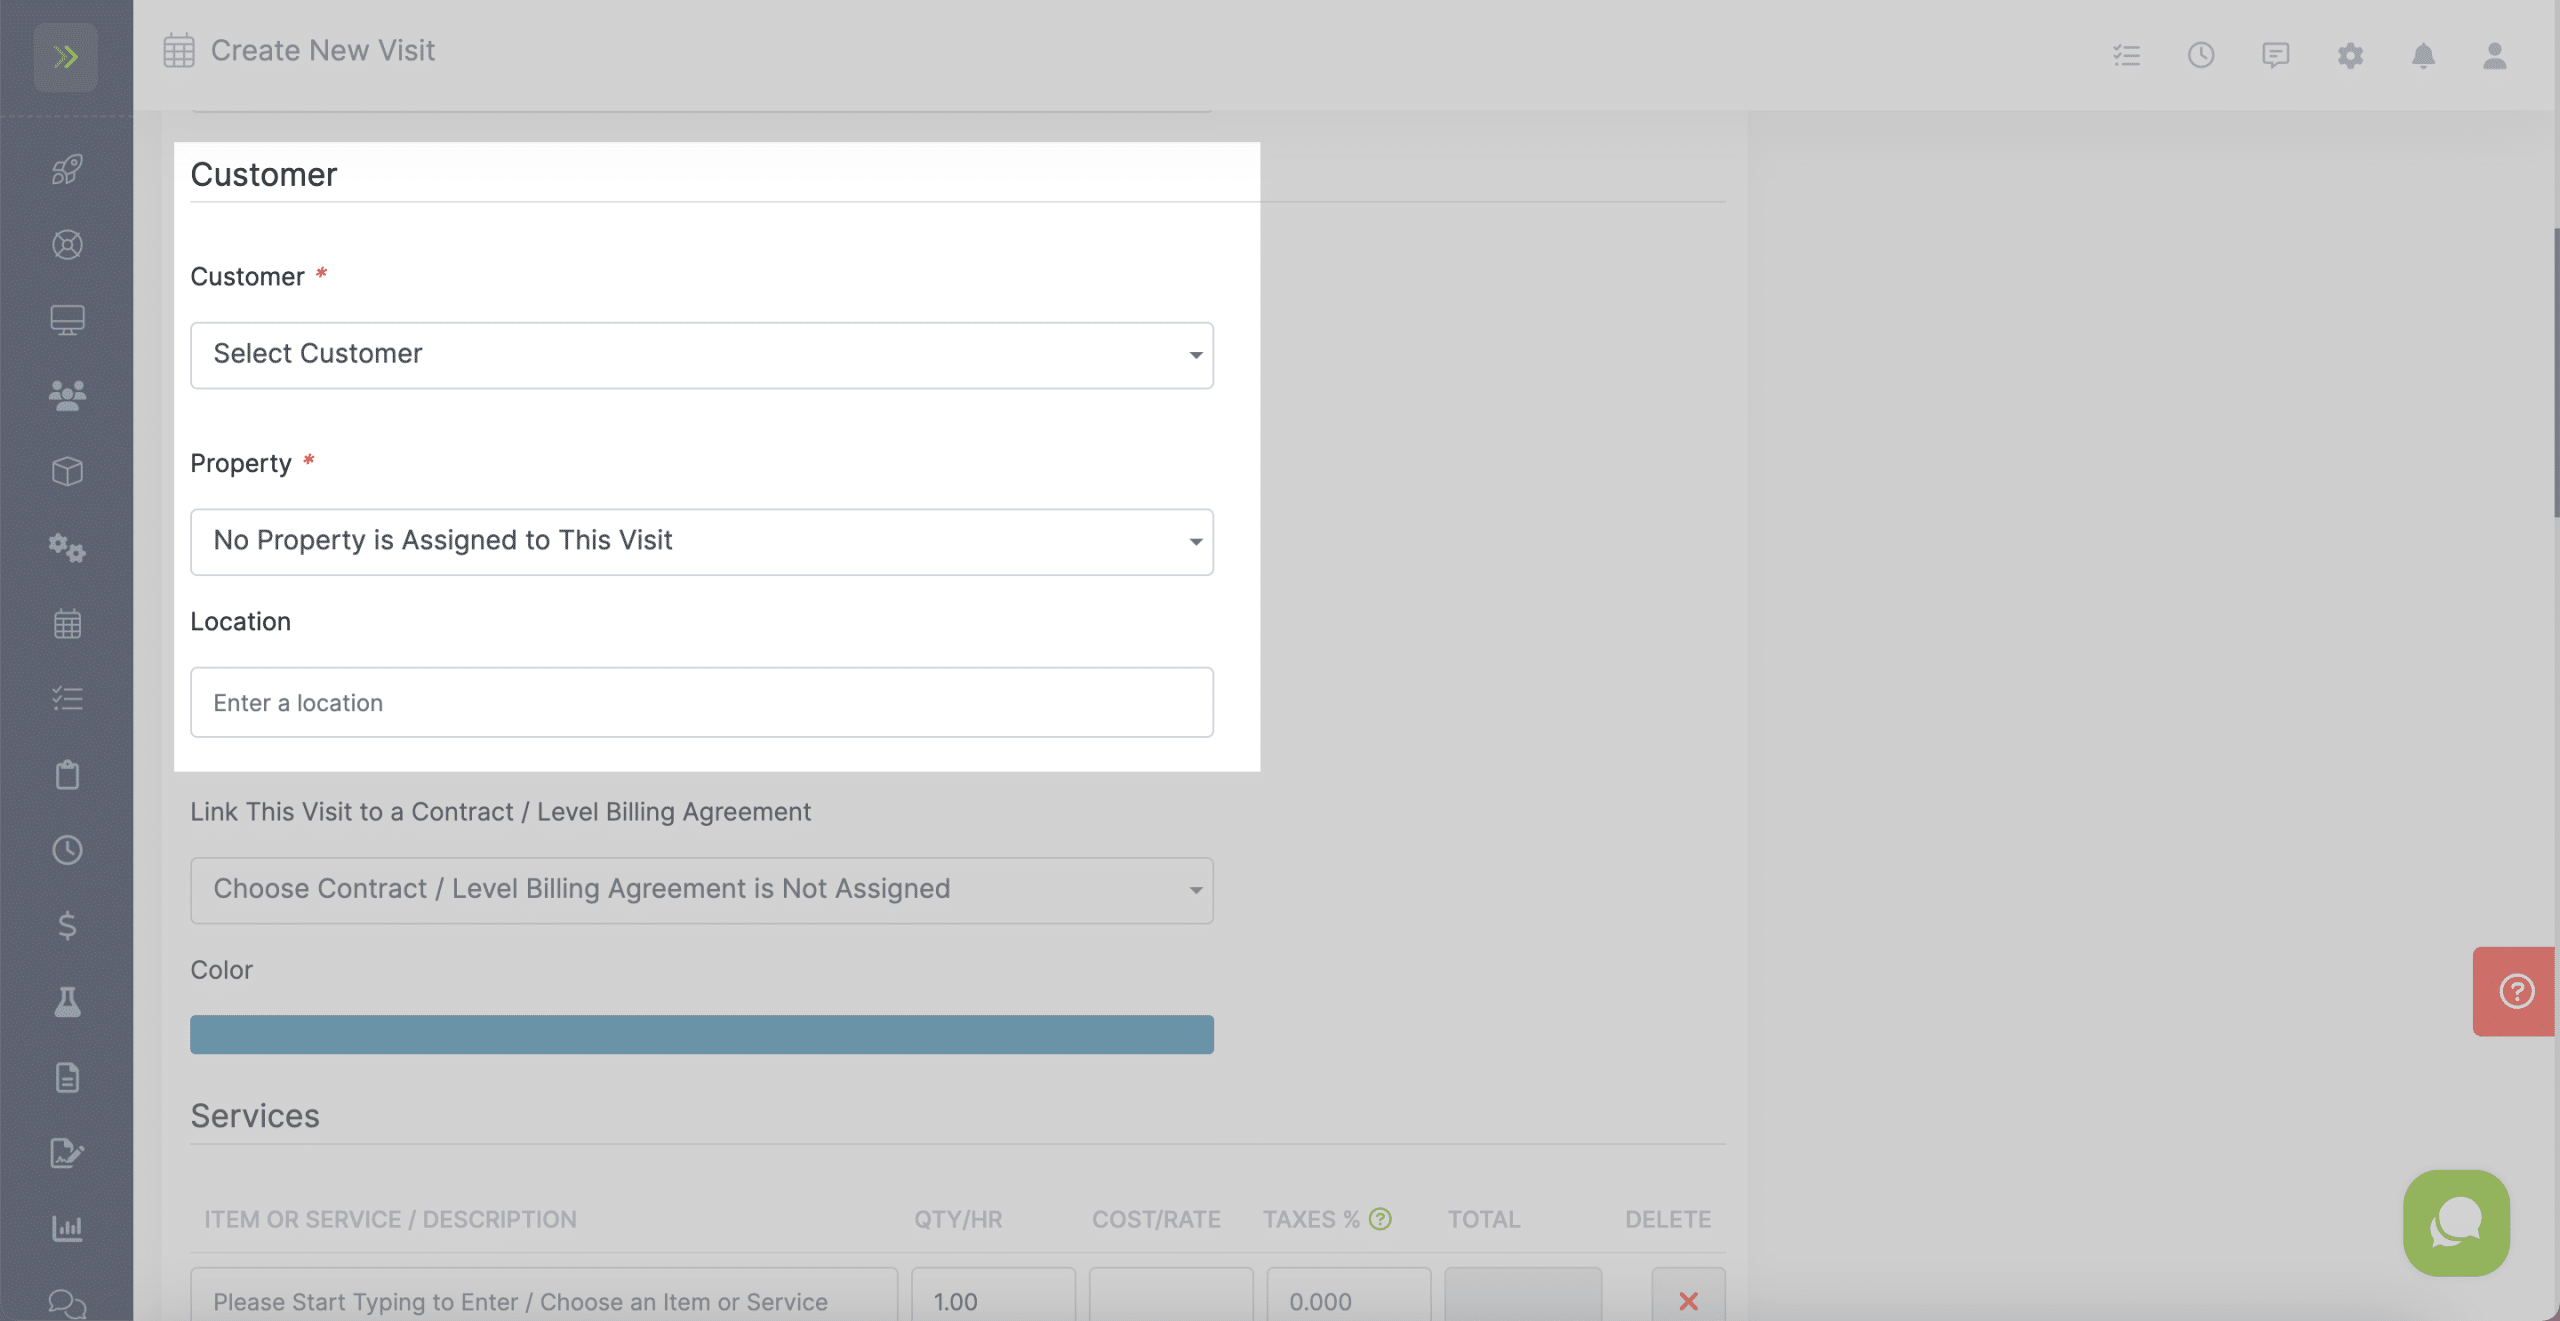
You can link a visit to a contract/level billing using this drop down.
You can learn more about those here.

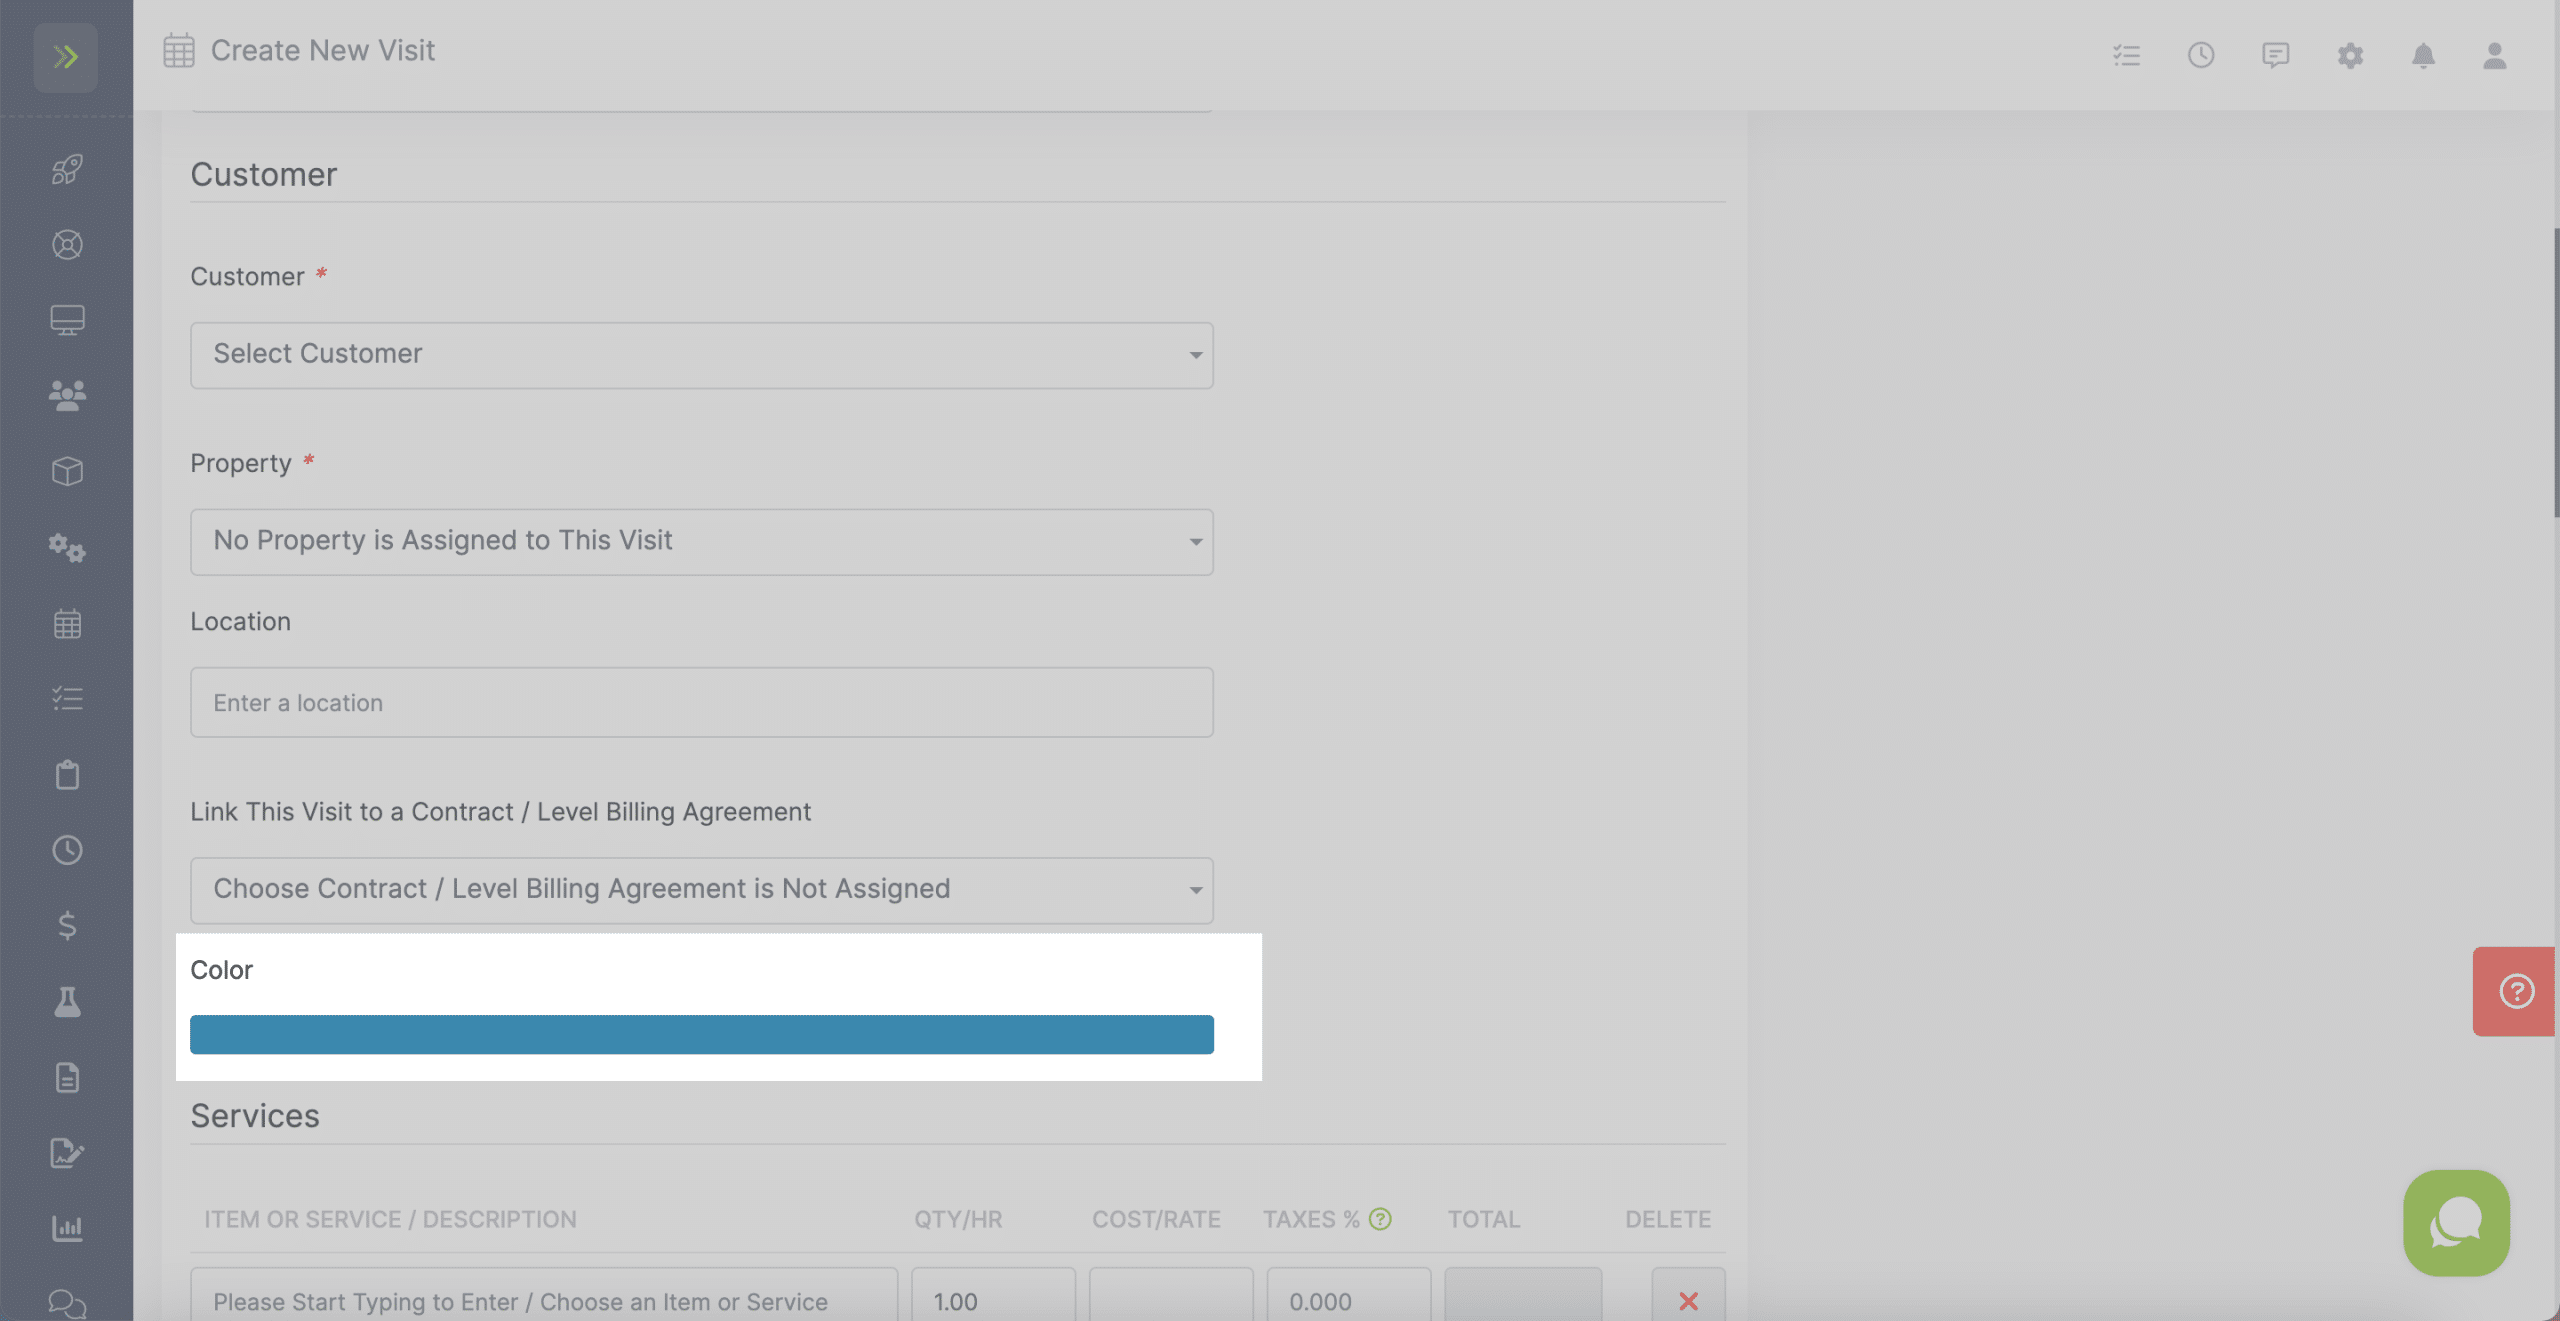
By default, open visits show as a teal color on your calendar. If you want to choose a different color for this visit click on the teal bar and select the color.
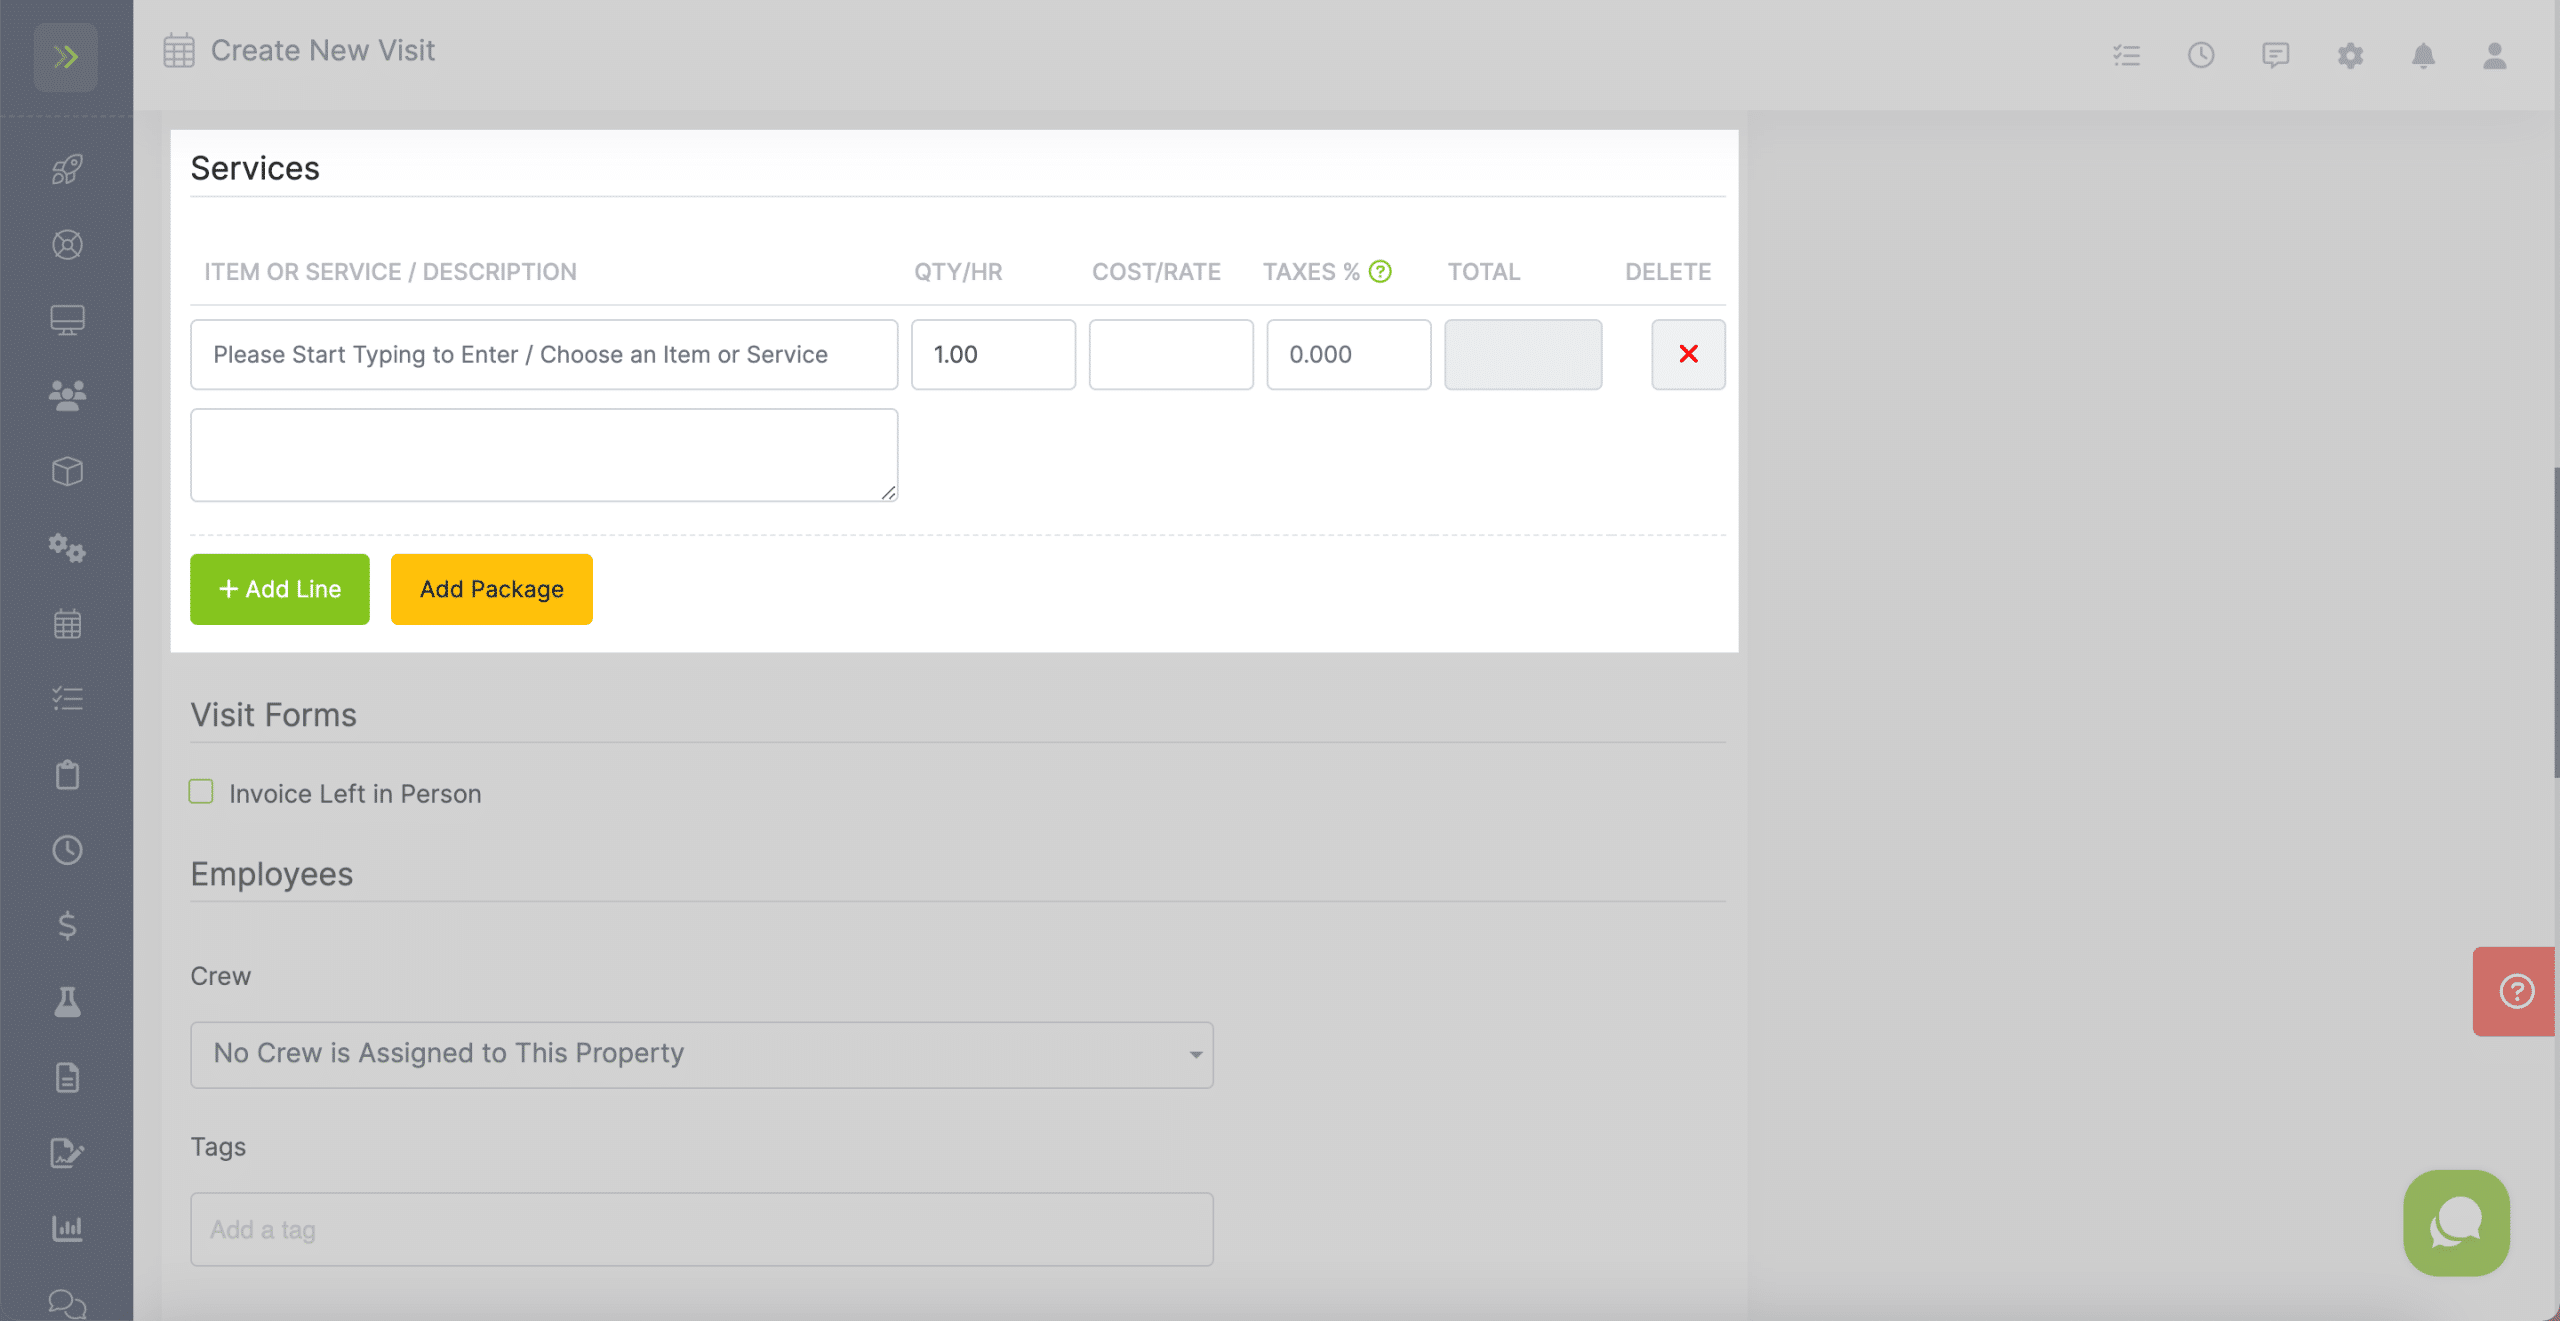
Next, you will add the items/services for this visit.
If you have already added item and services to your account, you can start typing in the item/service description box and the items should auto-populate with the prices you have set.
You can add more than one line item by clicking the green “+ Add Line” button or you can add a package of items by clicking the yellow “Add Package” button.
Note: If you have default item or services added to the selected property, they will auto-populate here once you select the property in the steps above.
You can add a Visit Form for this visit. Click here to learn more about Visit Forms.
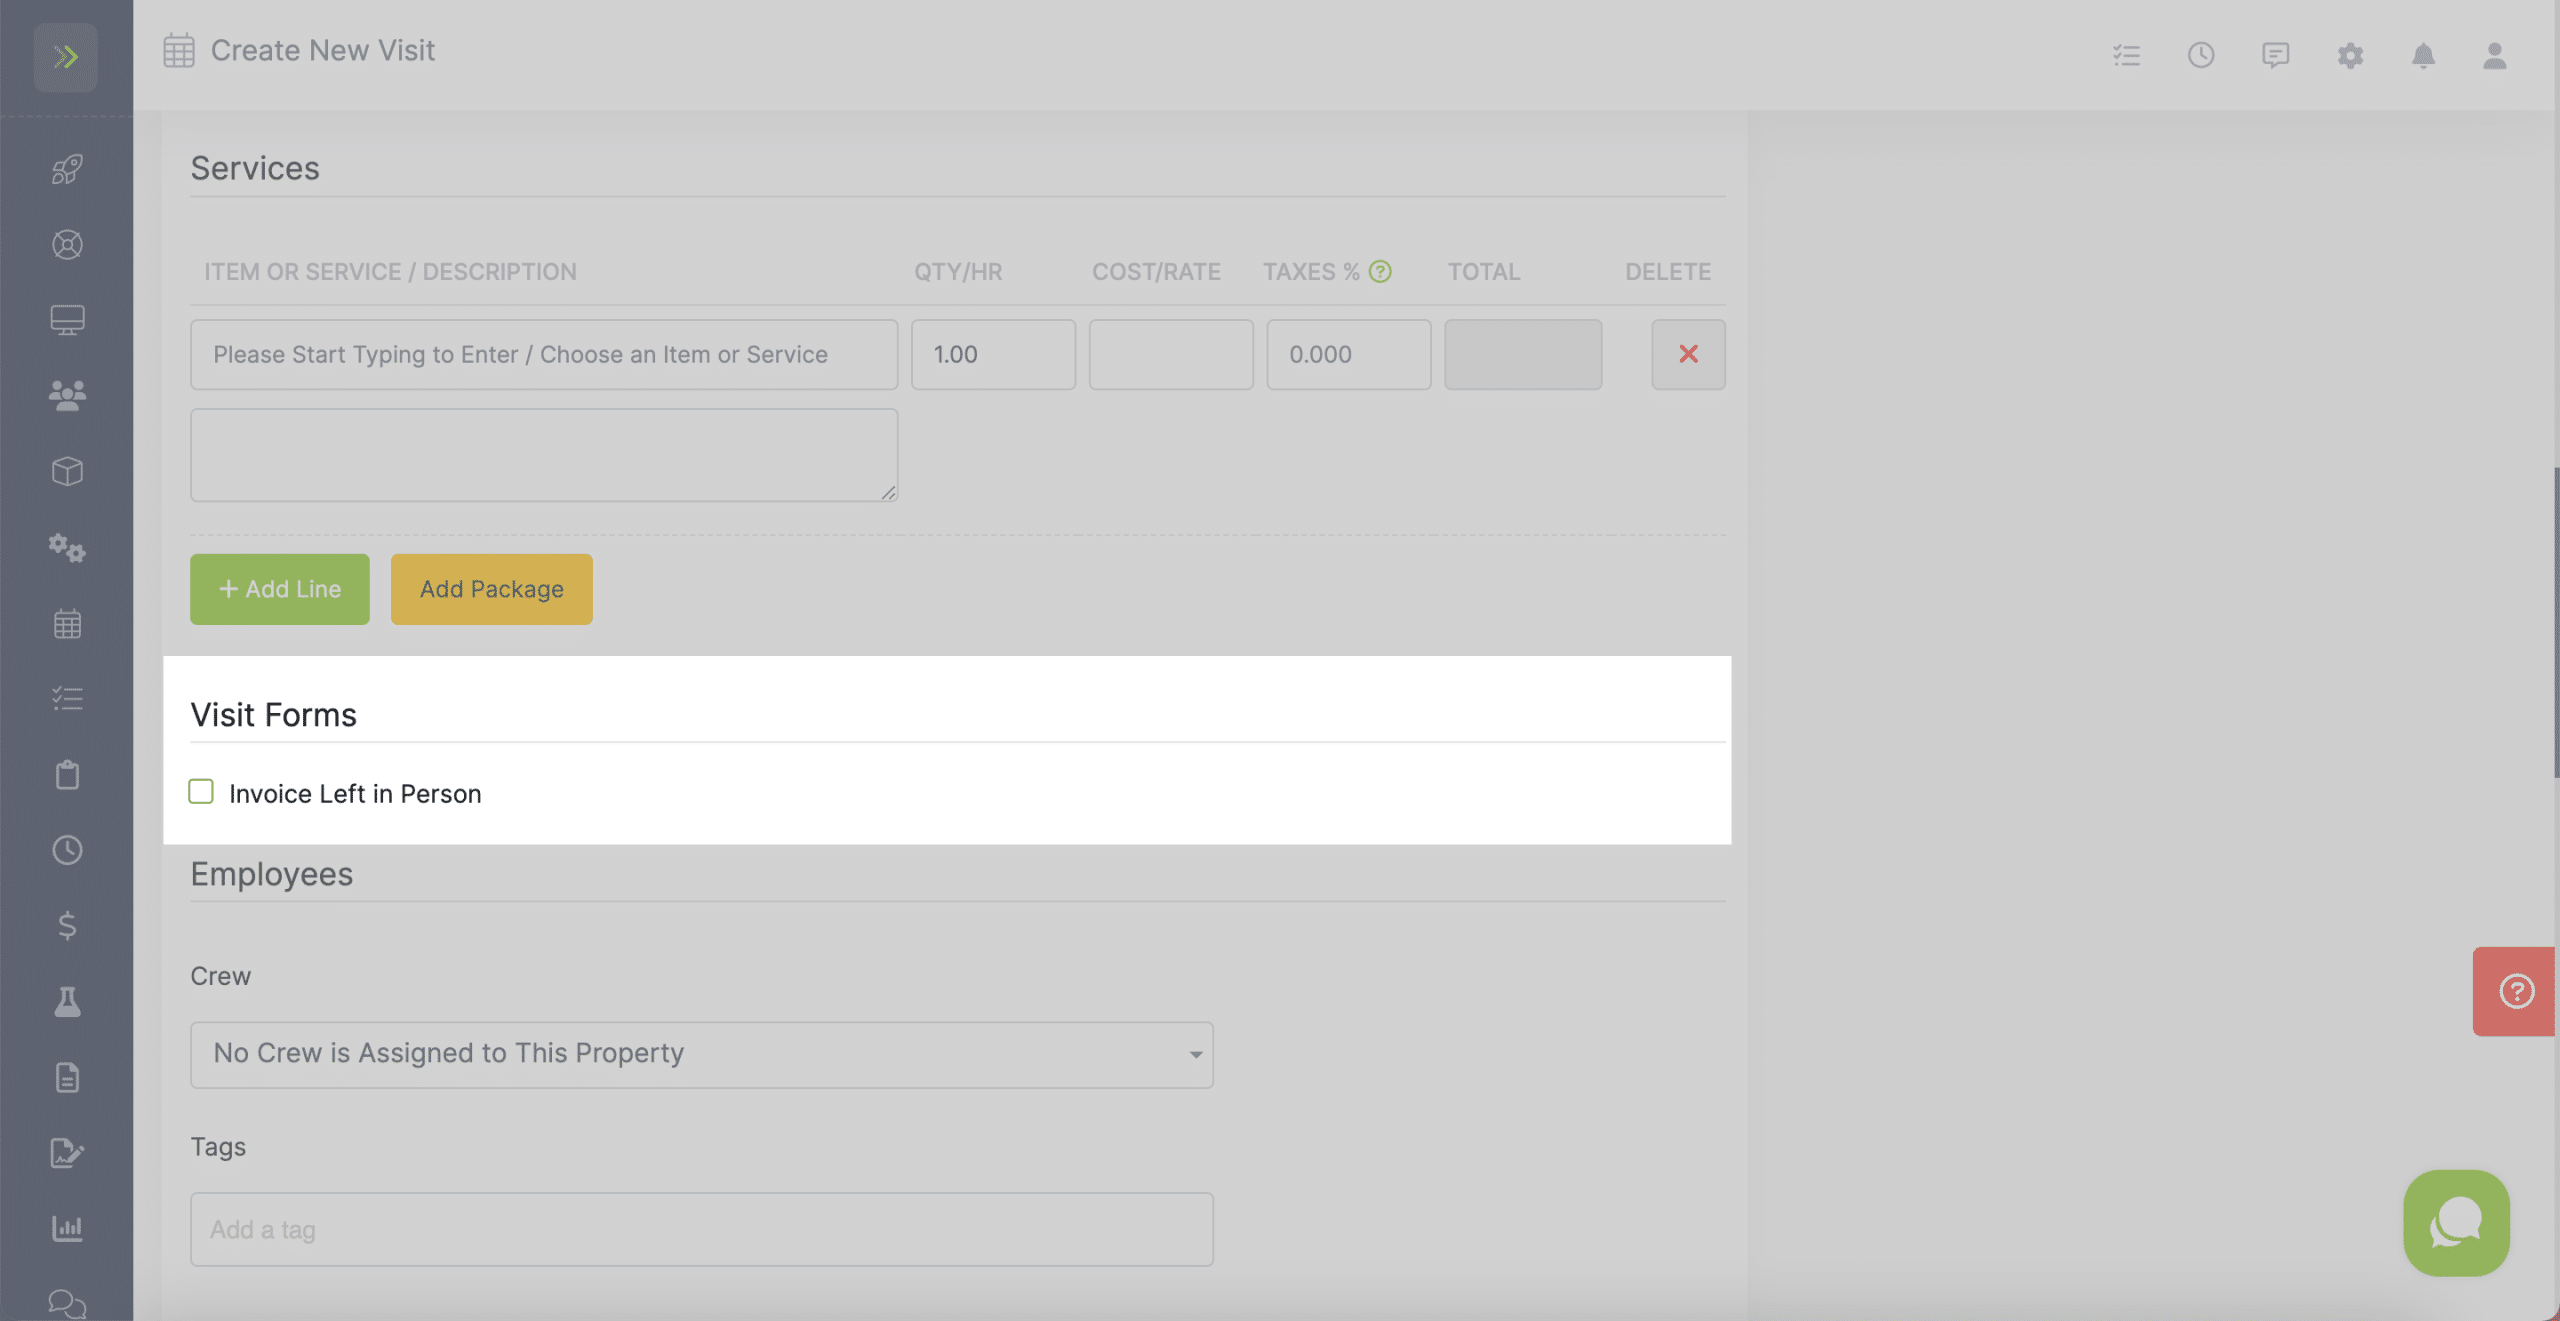
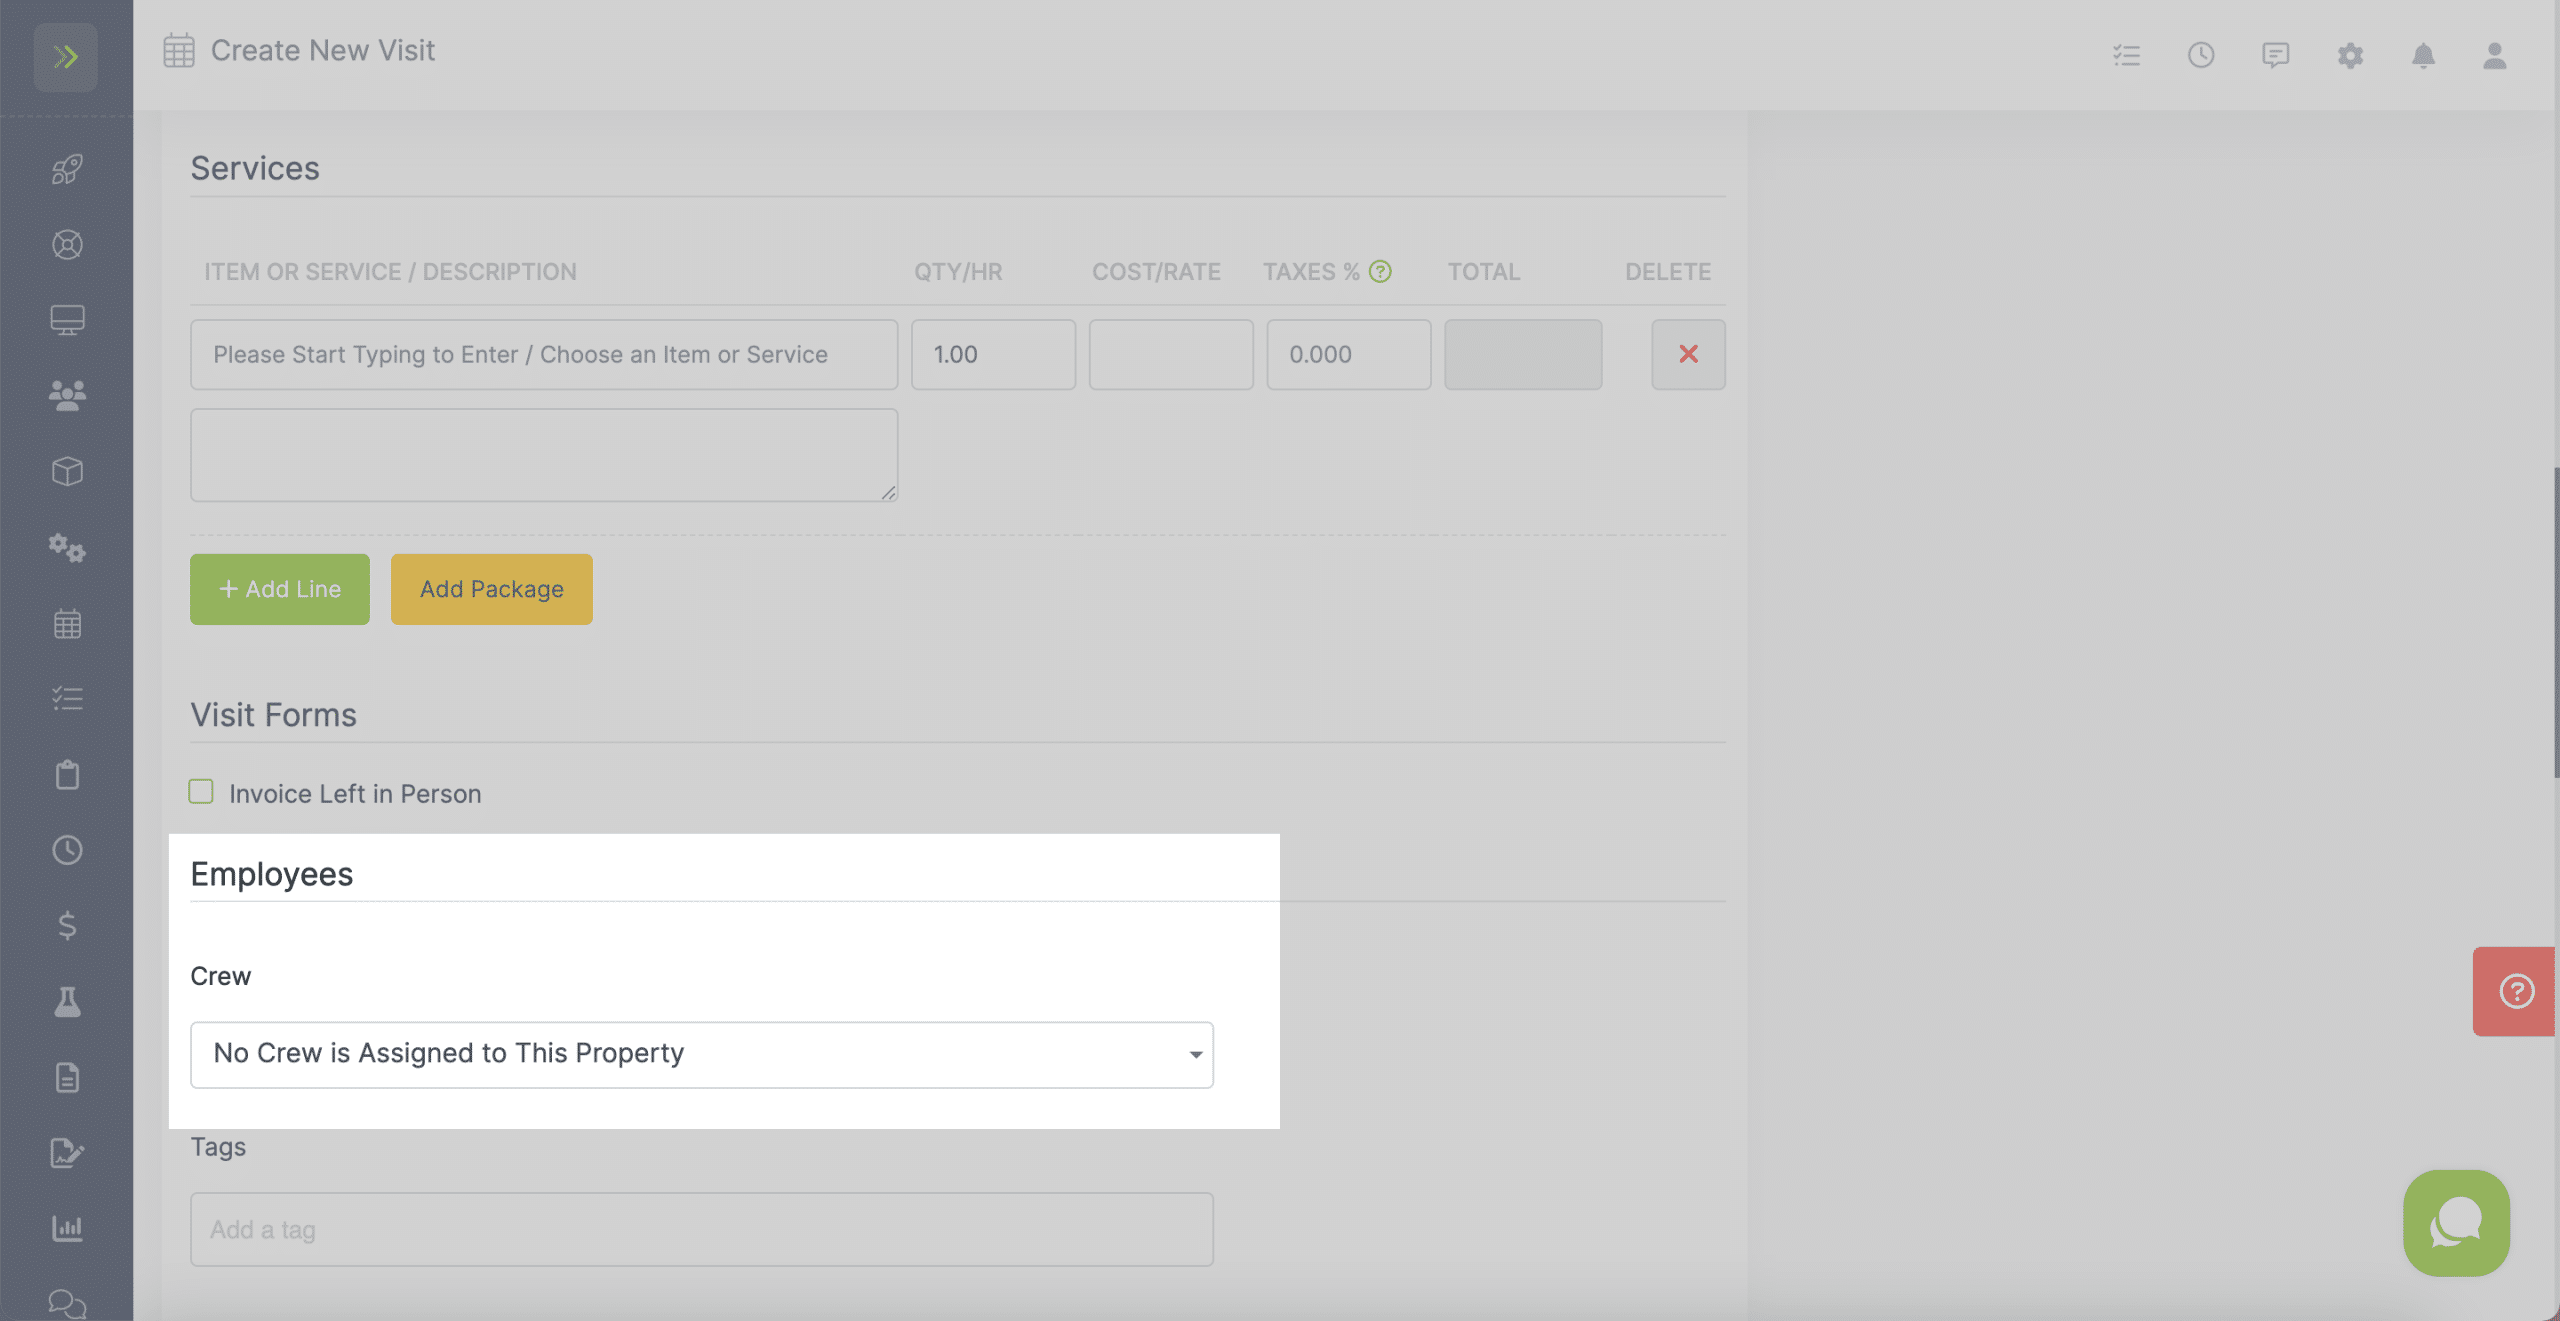
This section allows you to assign a crew or employees. When you select a crew from the drop down, it will automatically show you the employees that will be assigned in the employees box.
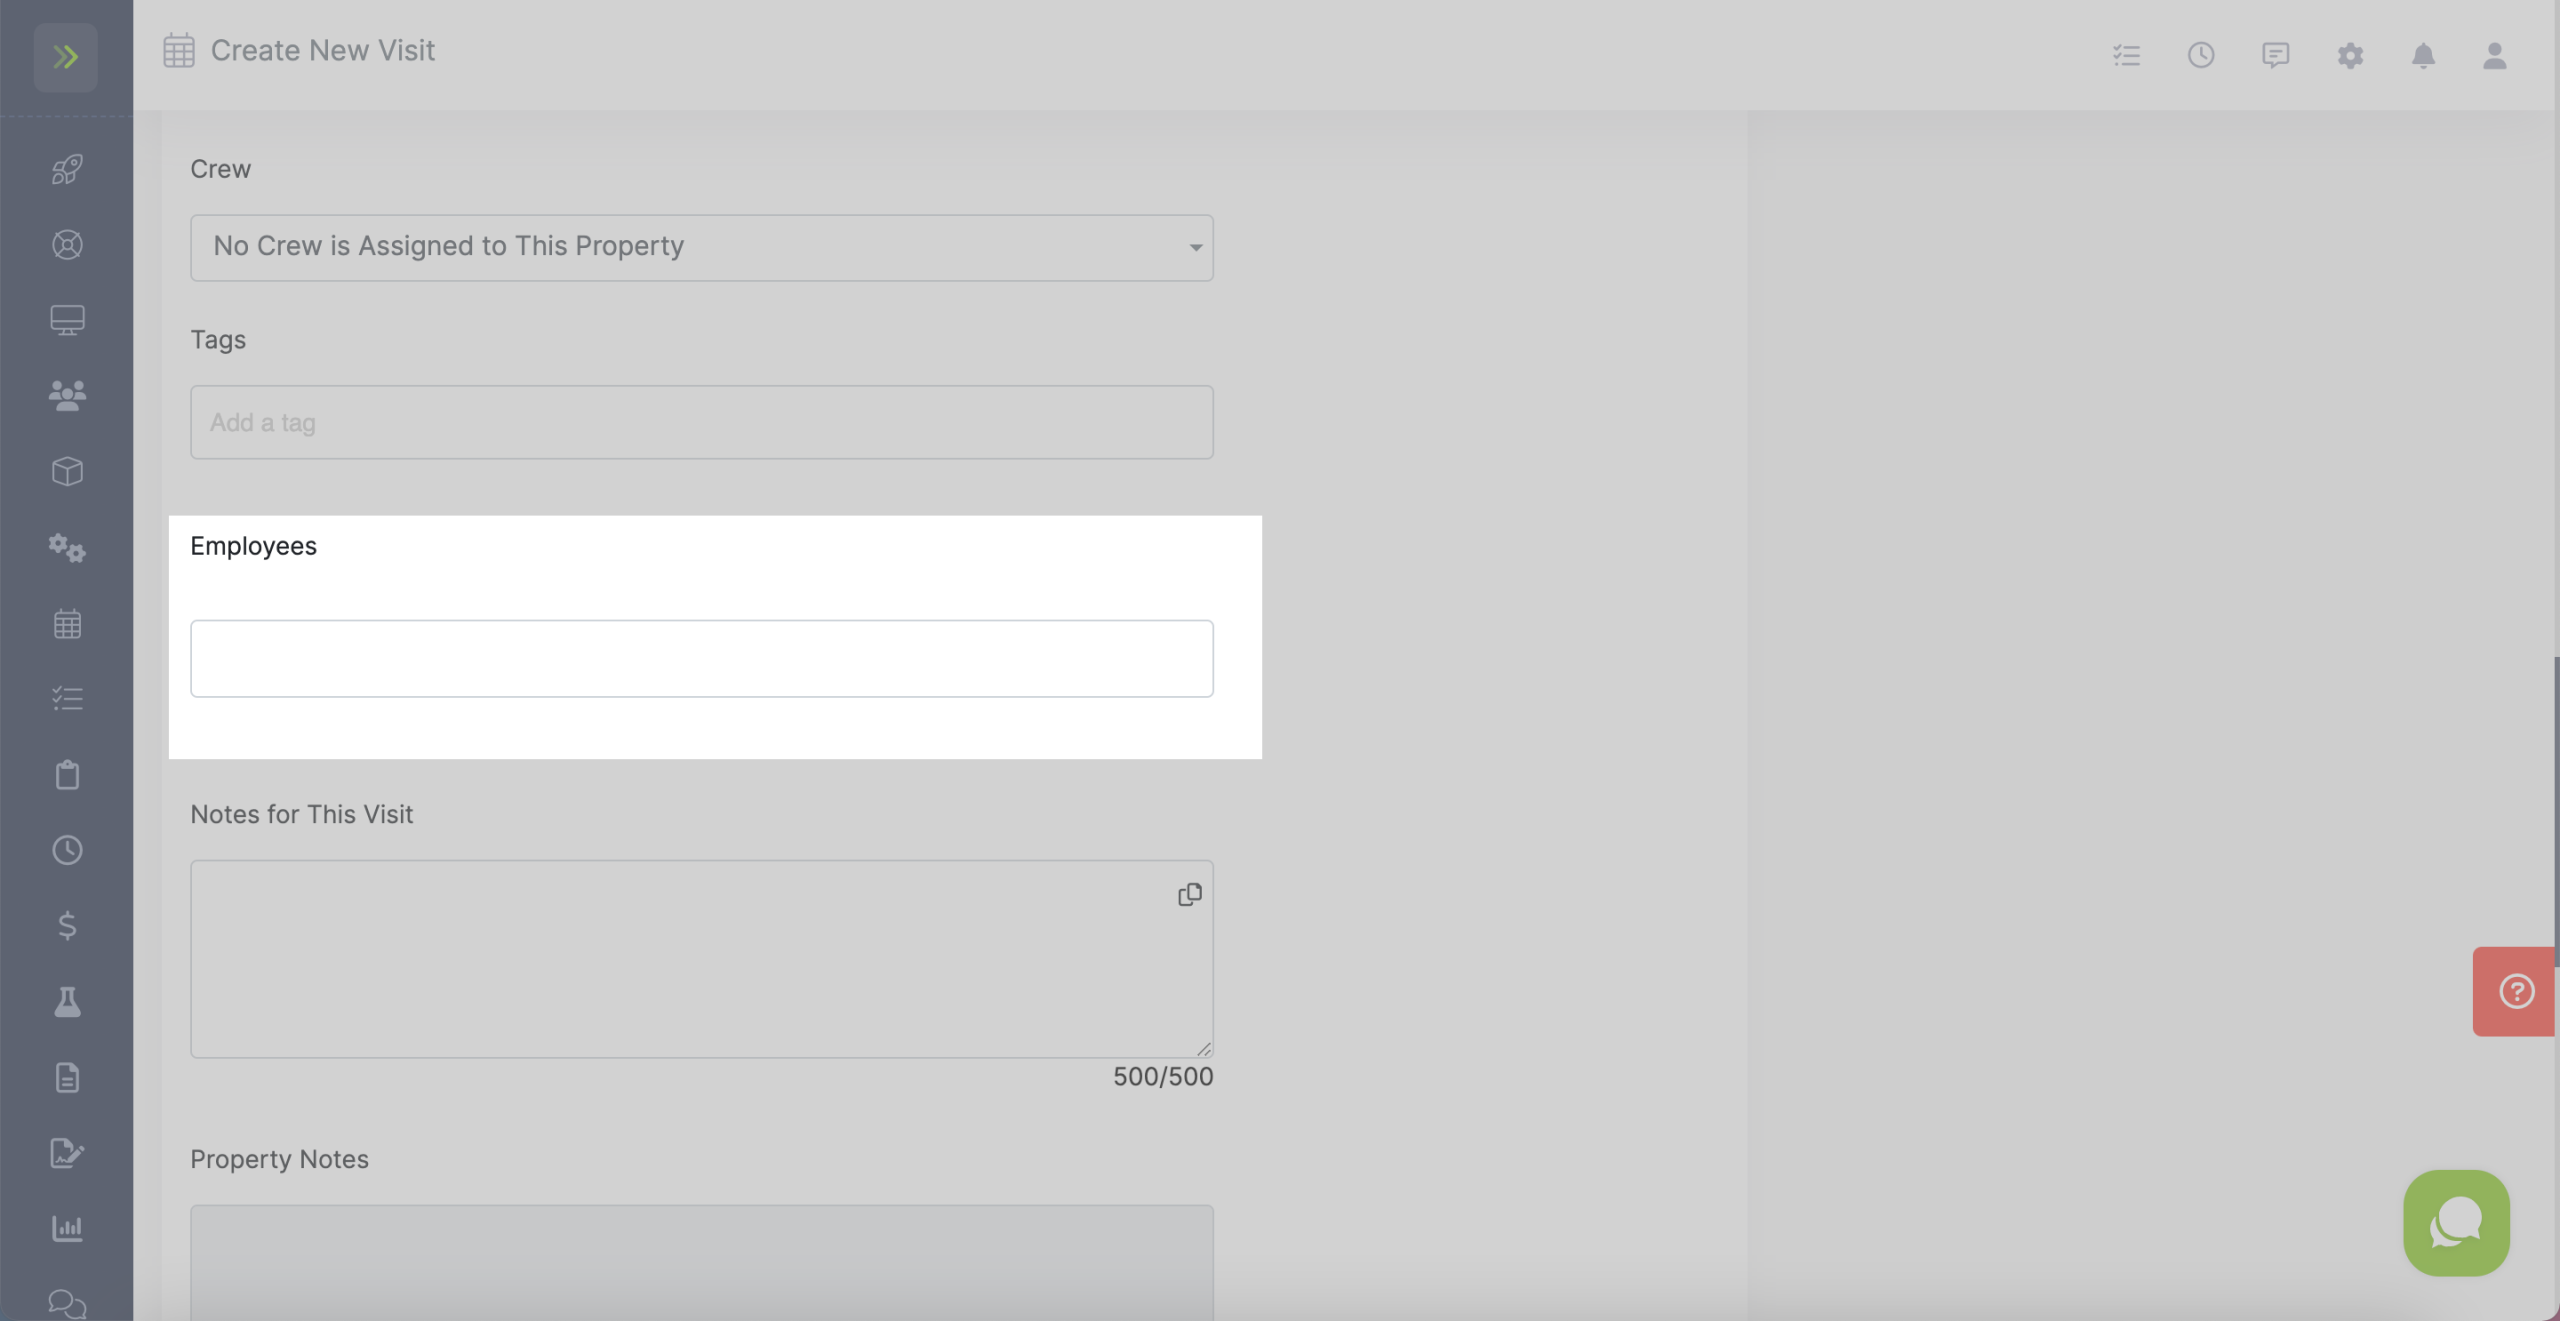
If you do not want to assign a crew, only an employee or employees, type those in the employee box.
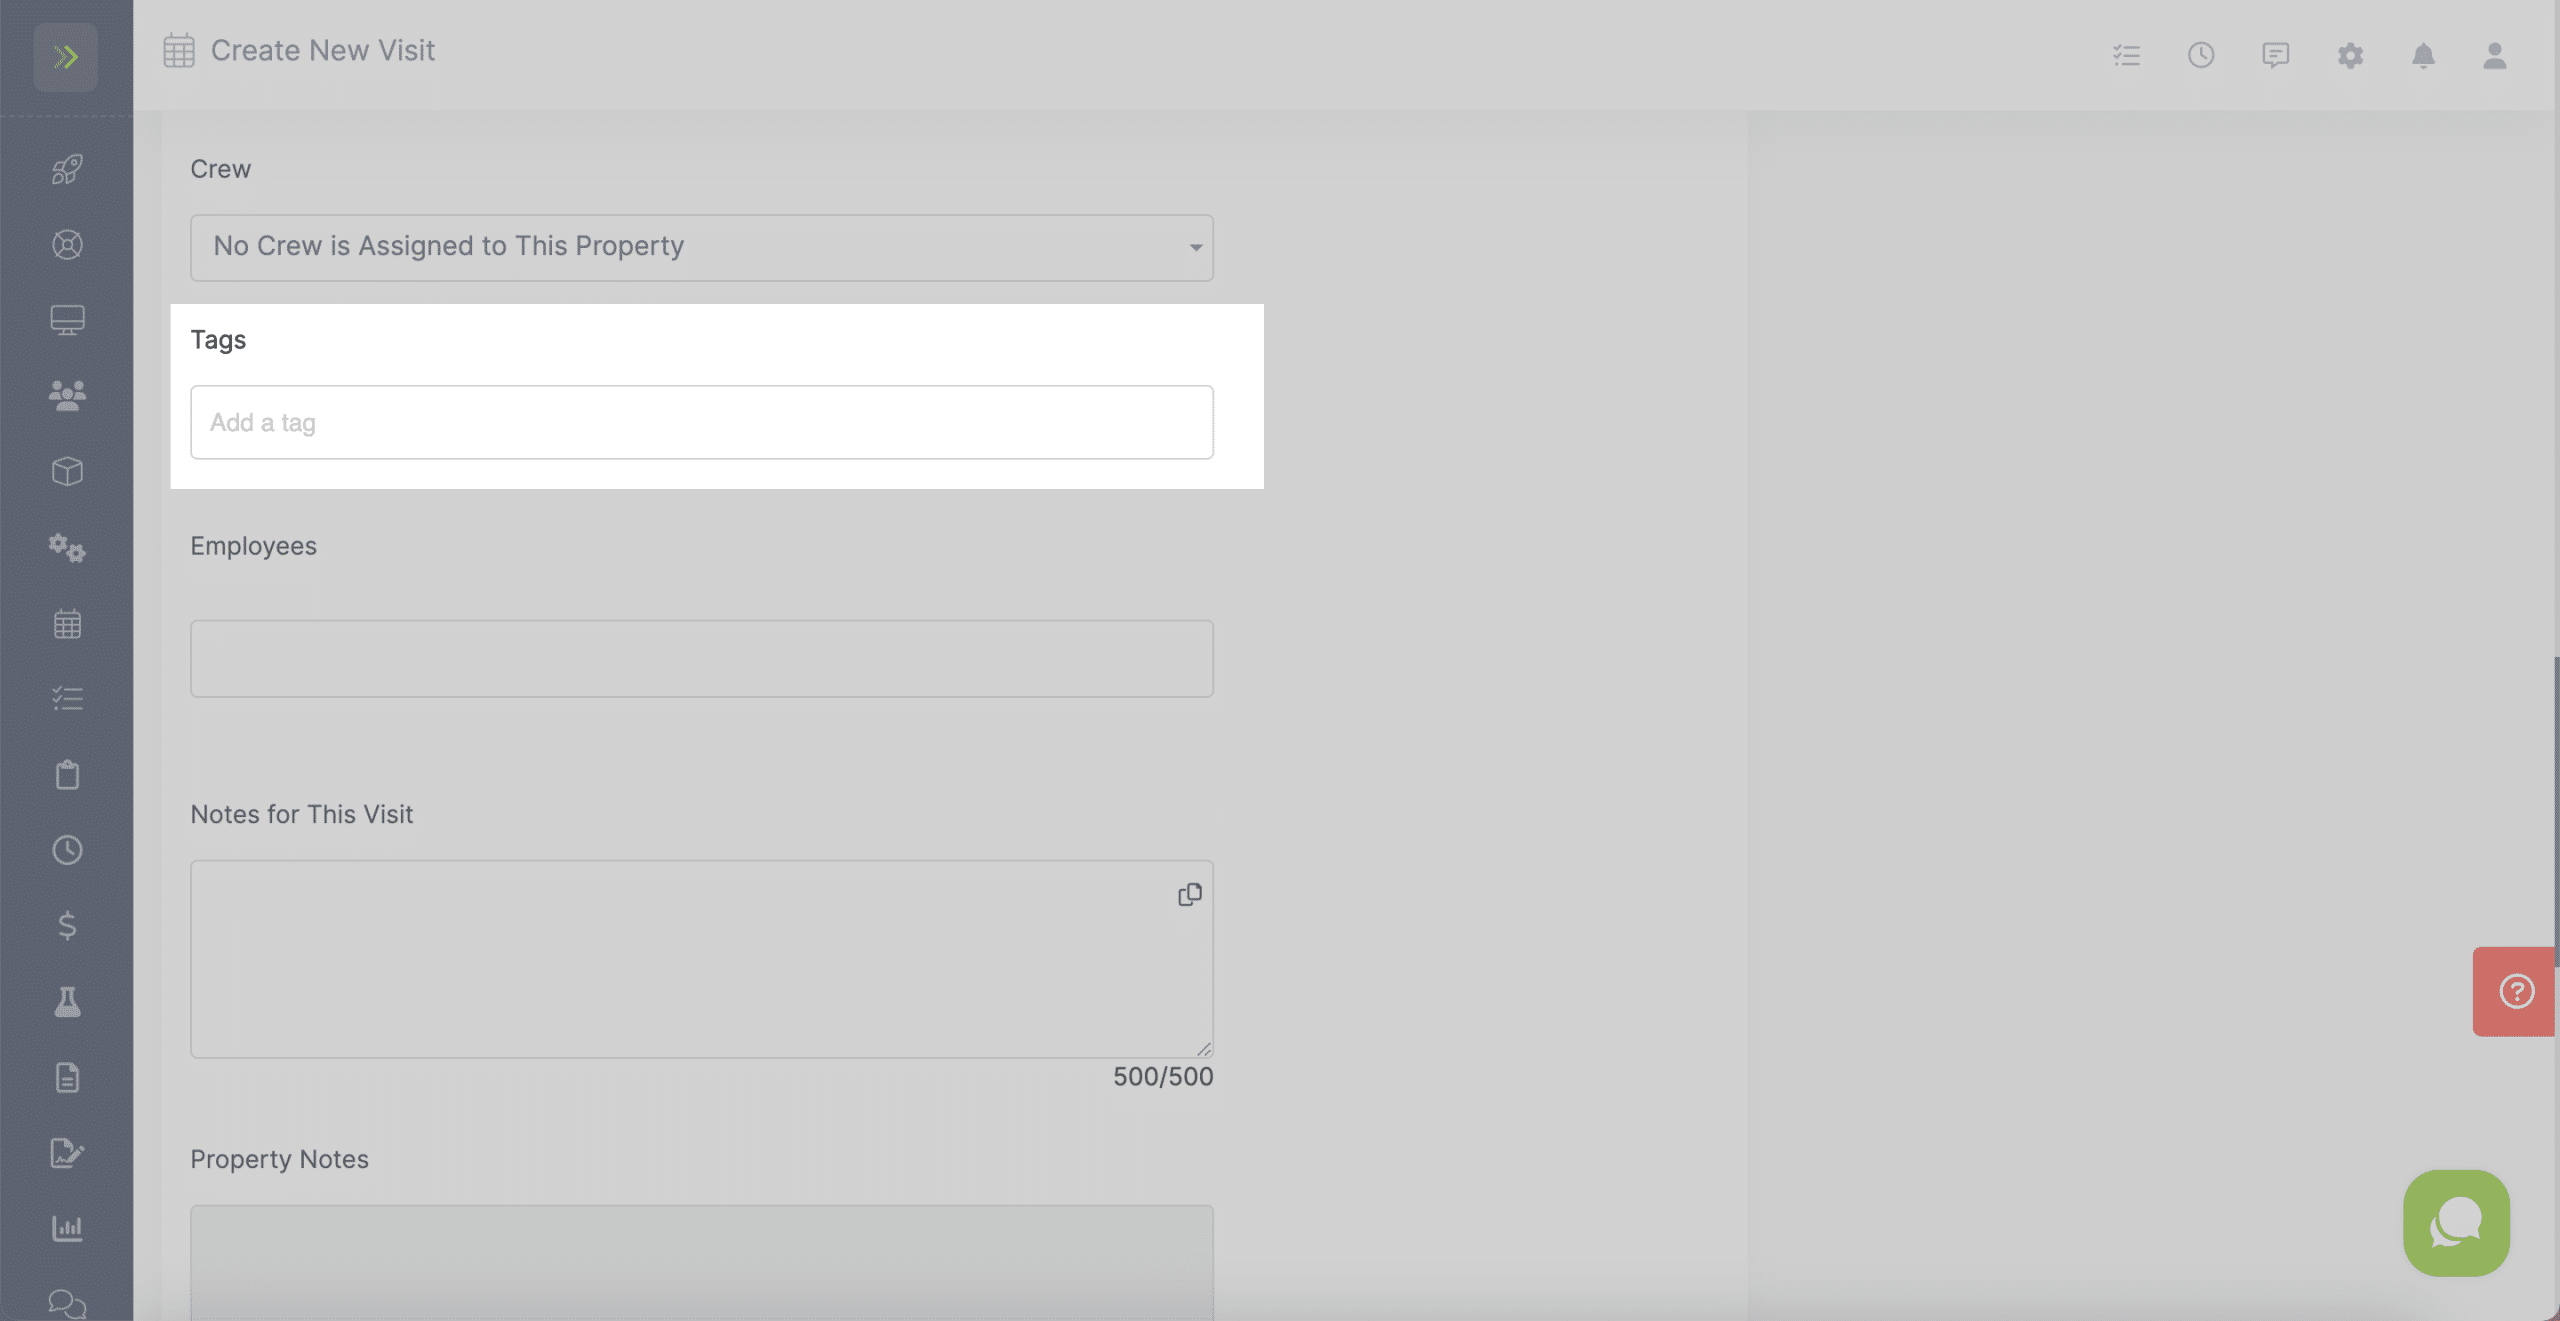
You can add tags for this visit. Click here to learn more about tags.
You can add notes for the visit. These notes are only seen on the company side. The customer will not see these notes.
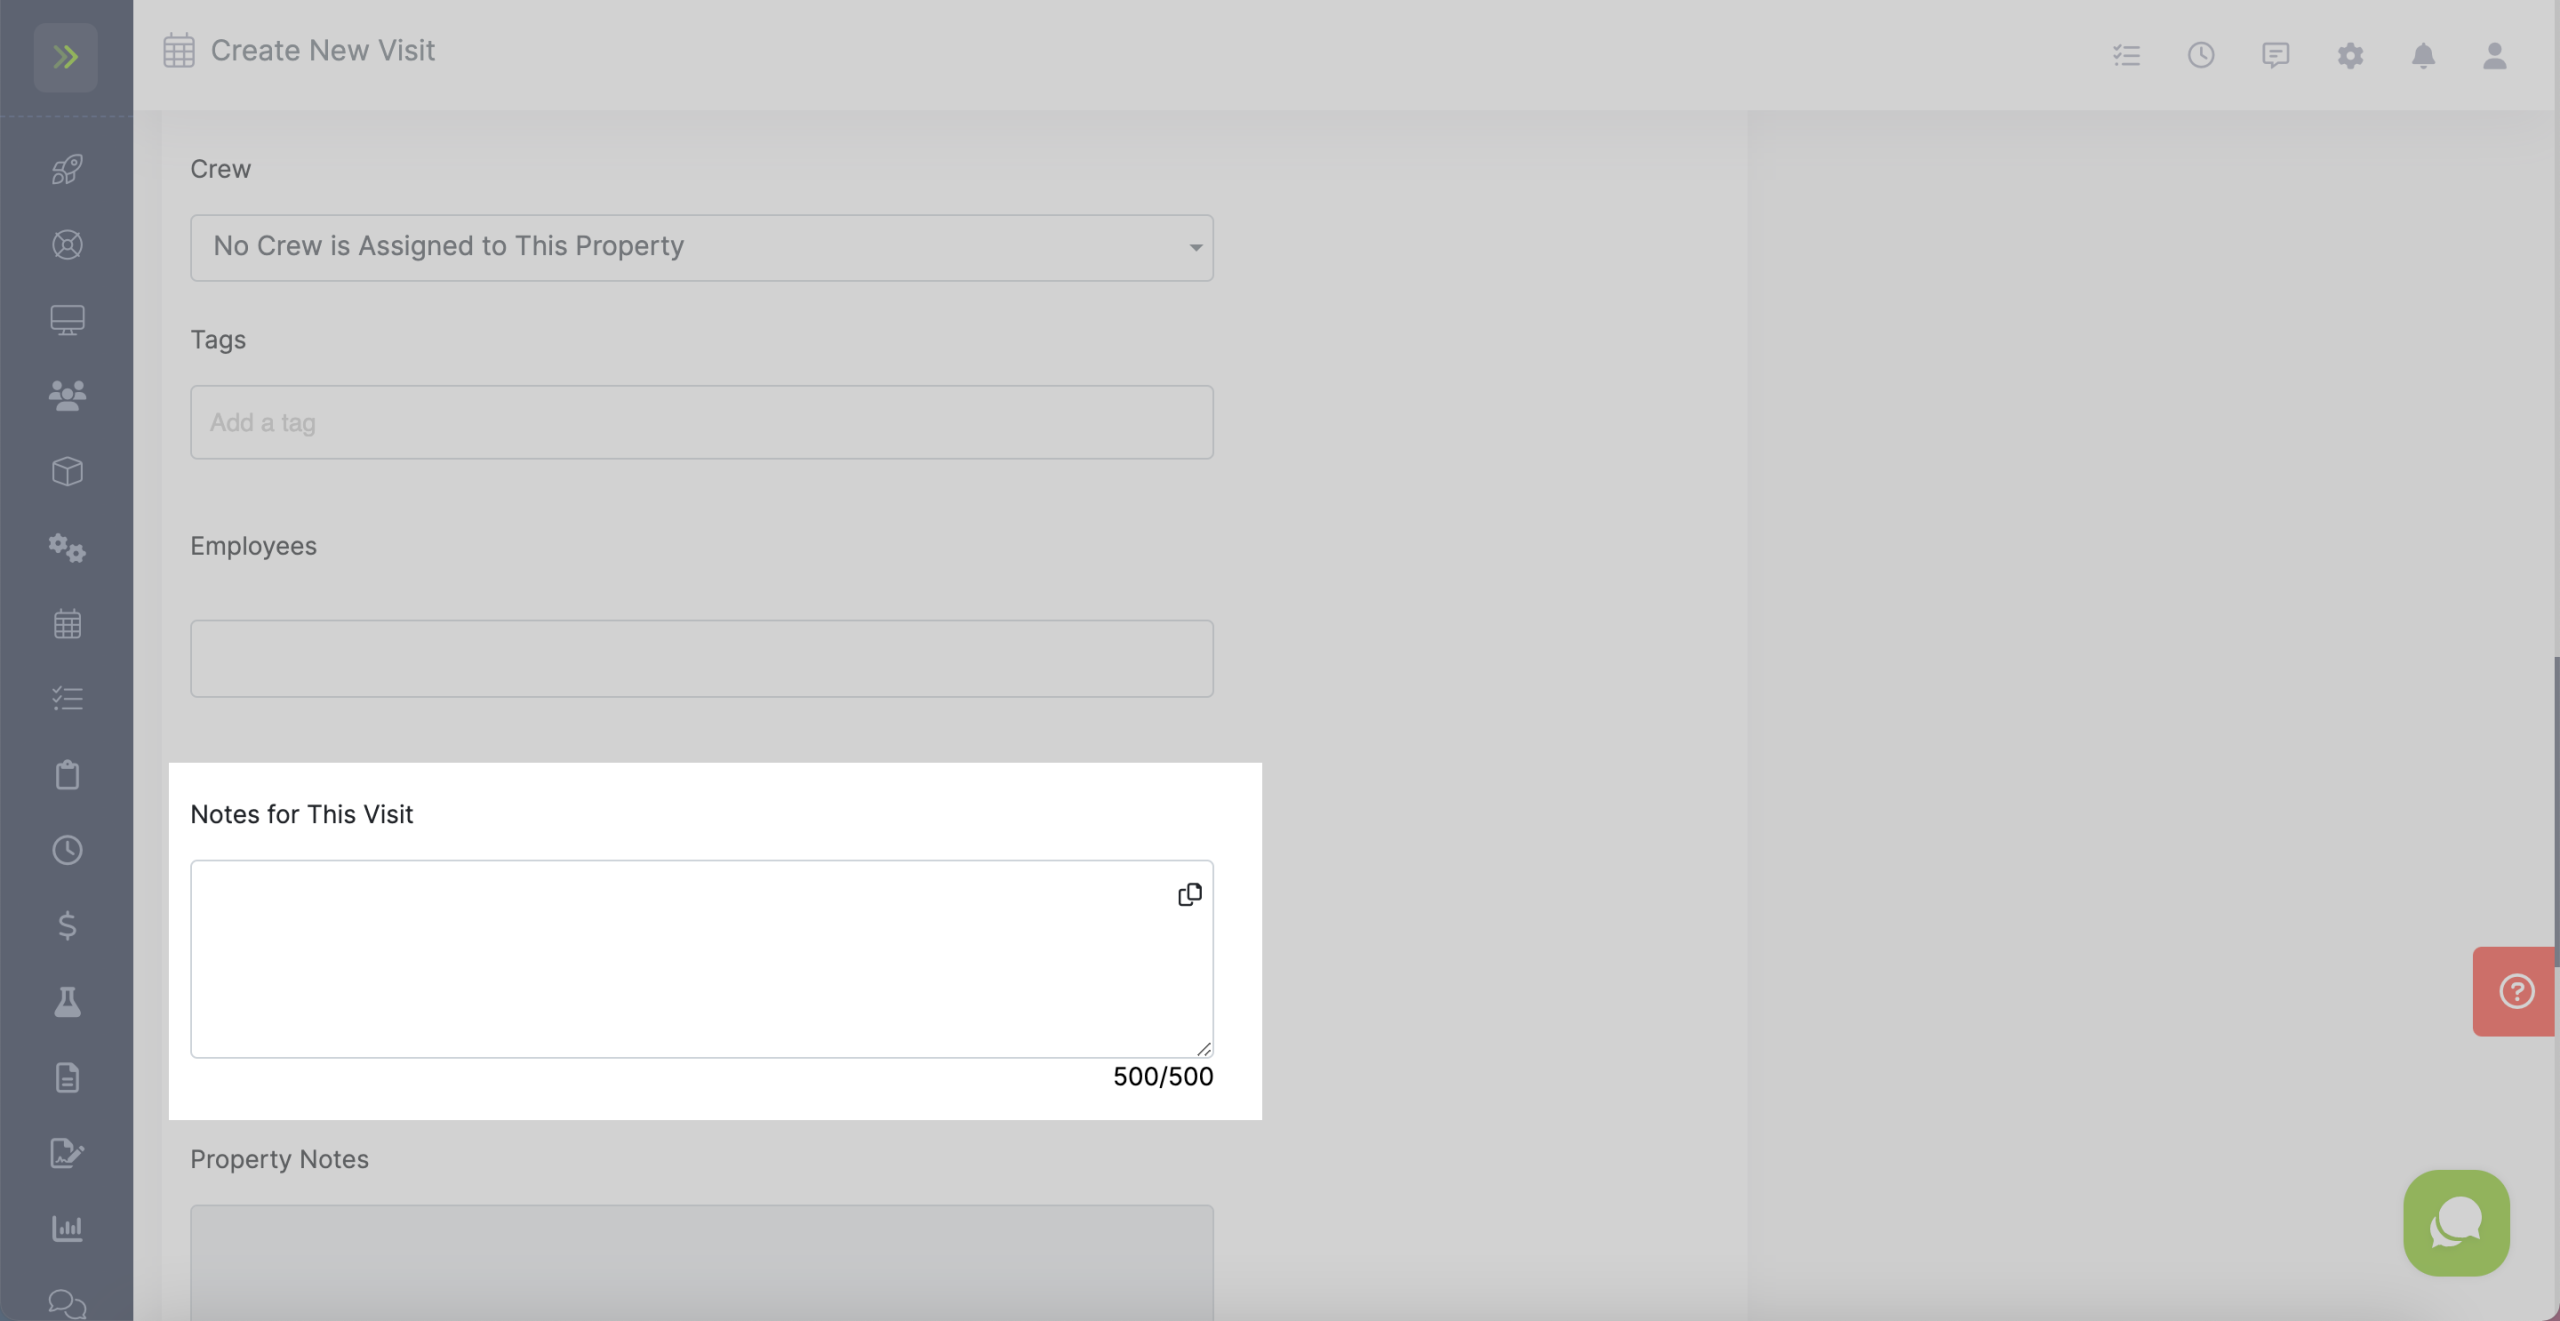
Once you have selected the property for the visits, if there are any property notes, you will see them here. The property notes cannot be edited on this page. You will do that by editing the property.
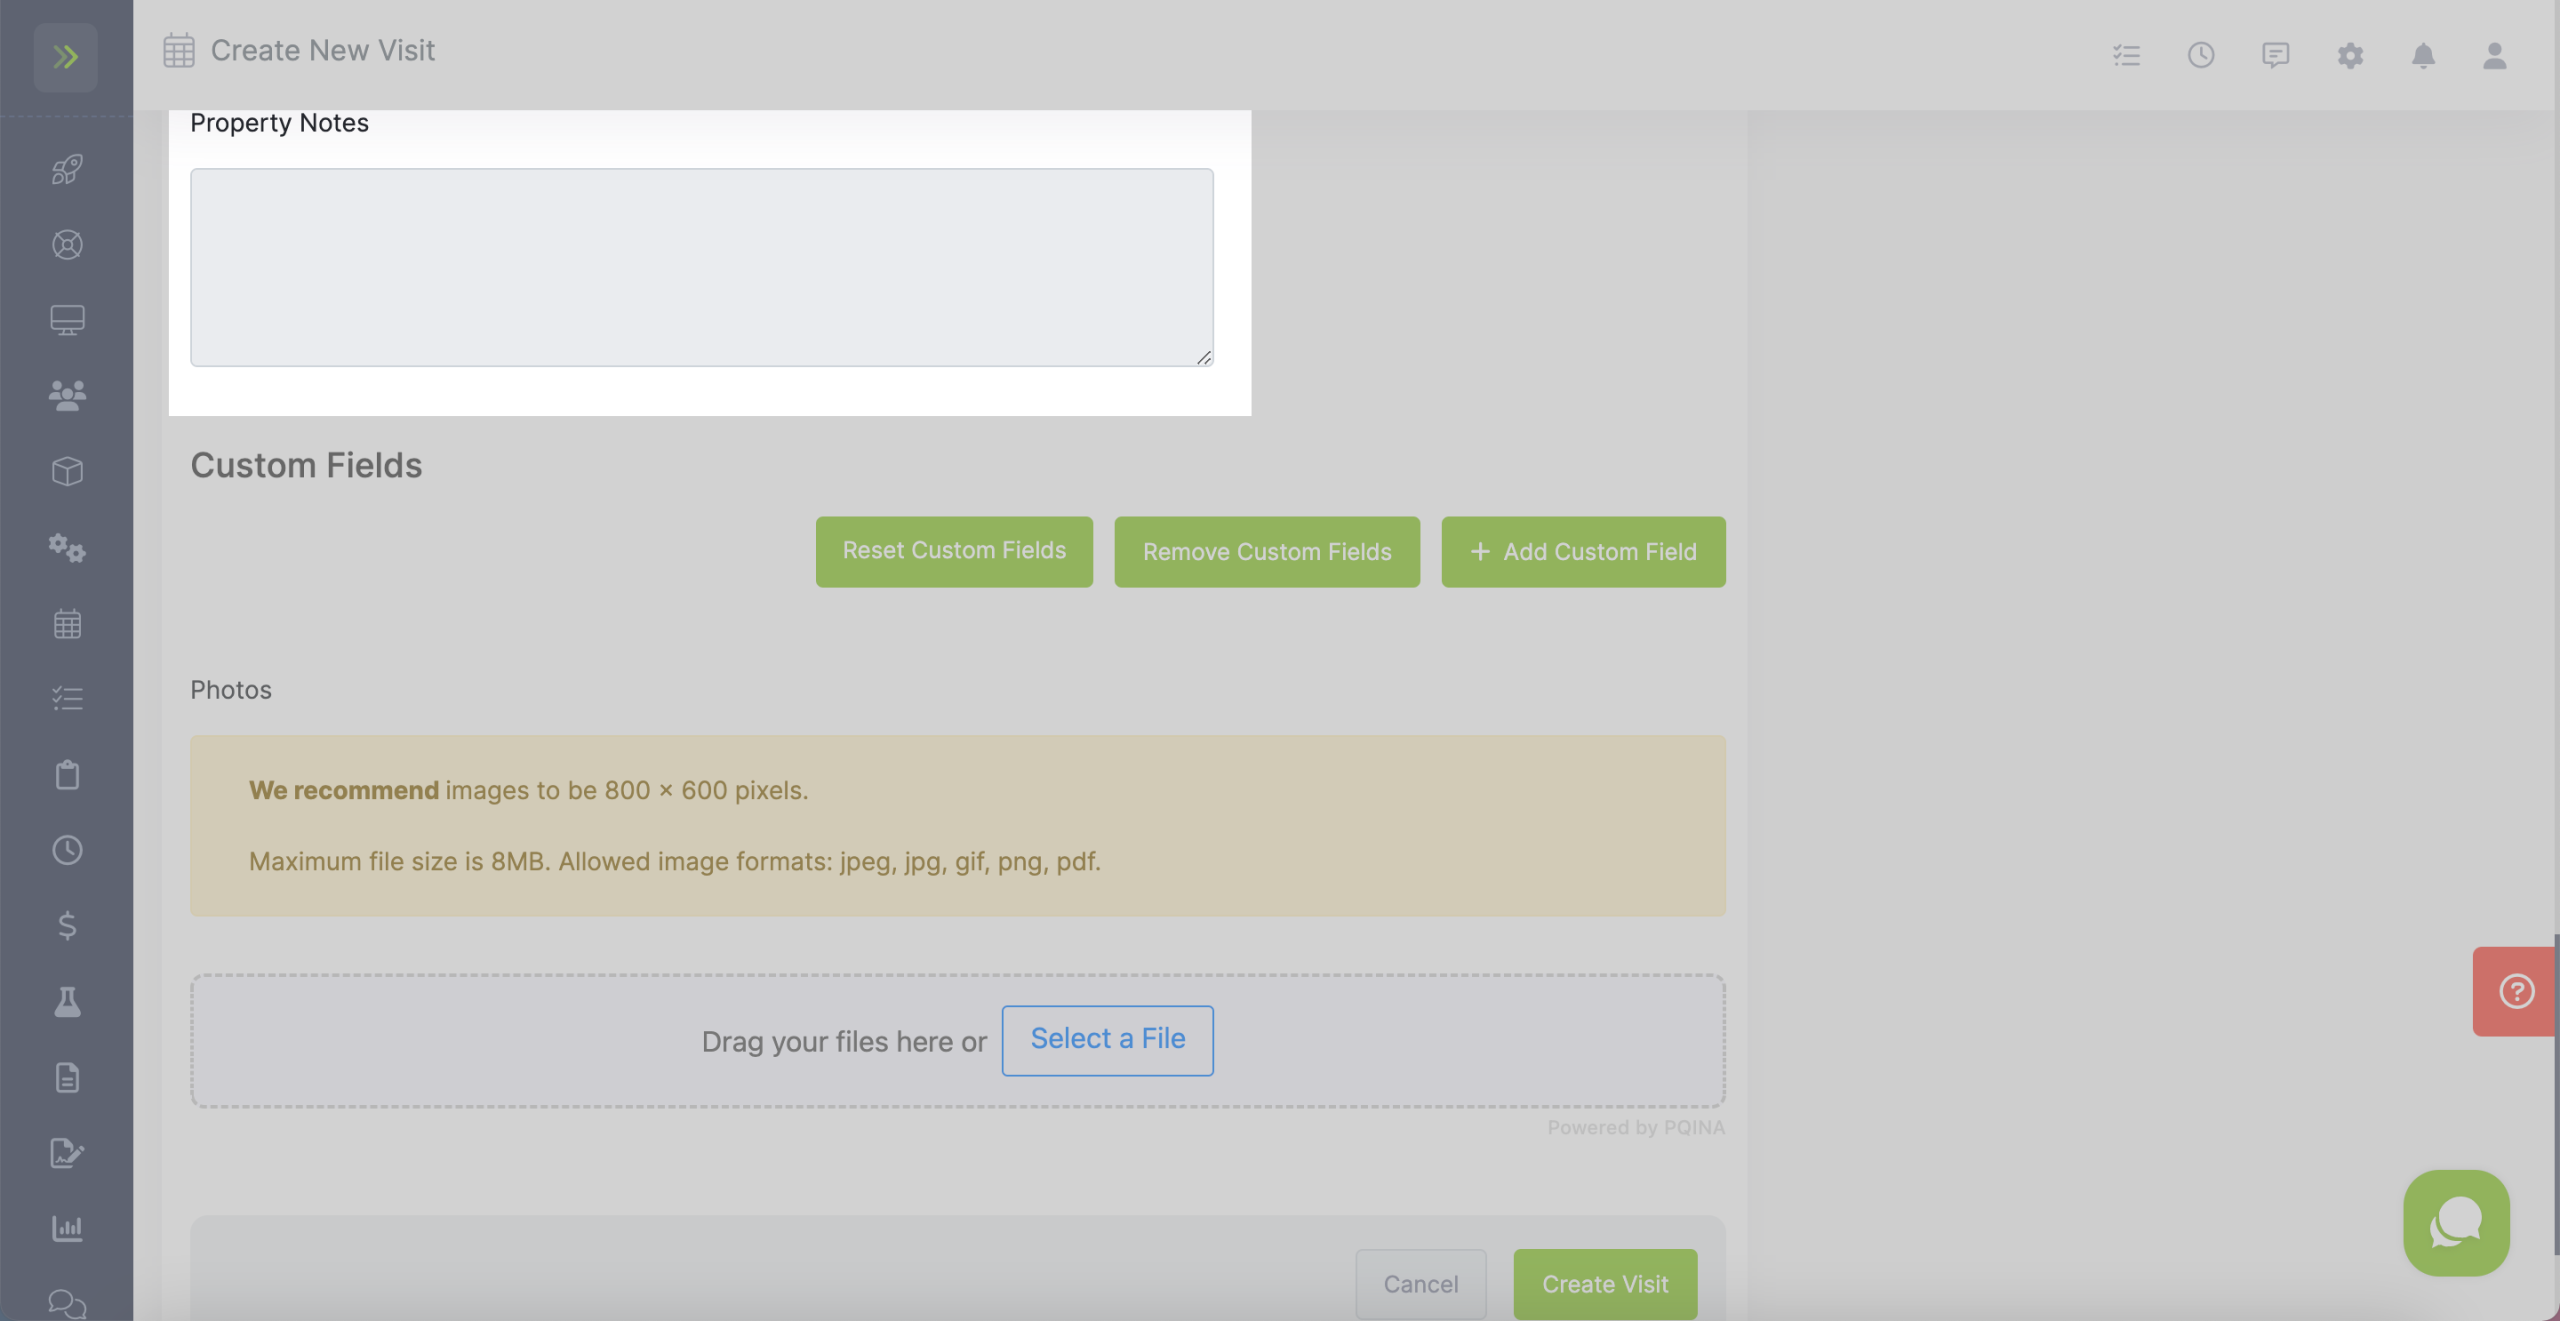
You can add custom fields to your visits. To learn more about Custom Fields please click here.
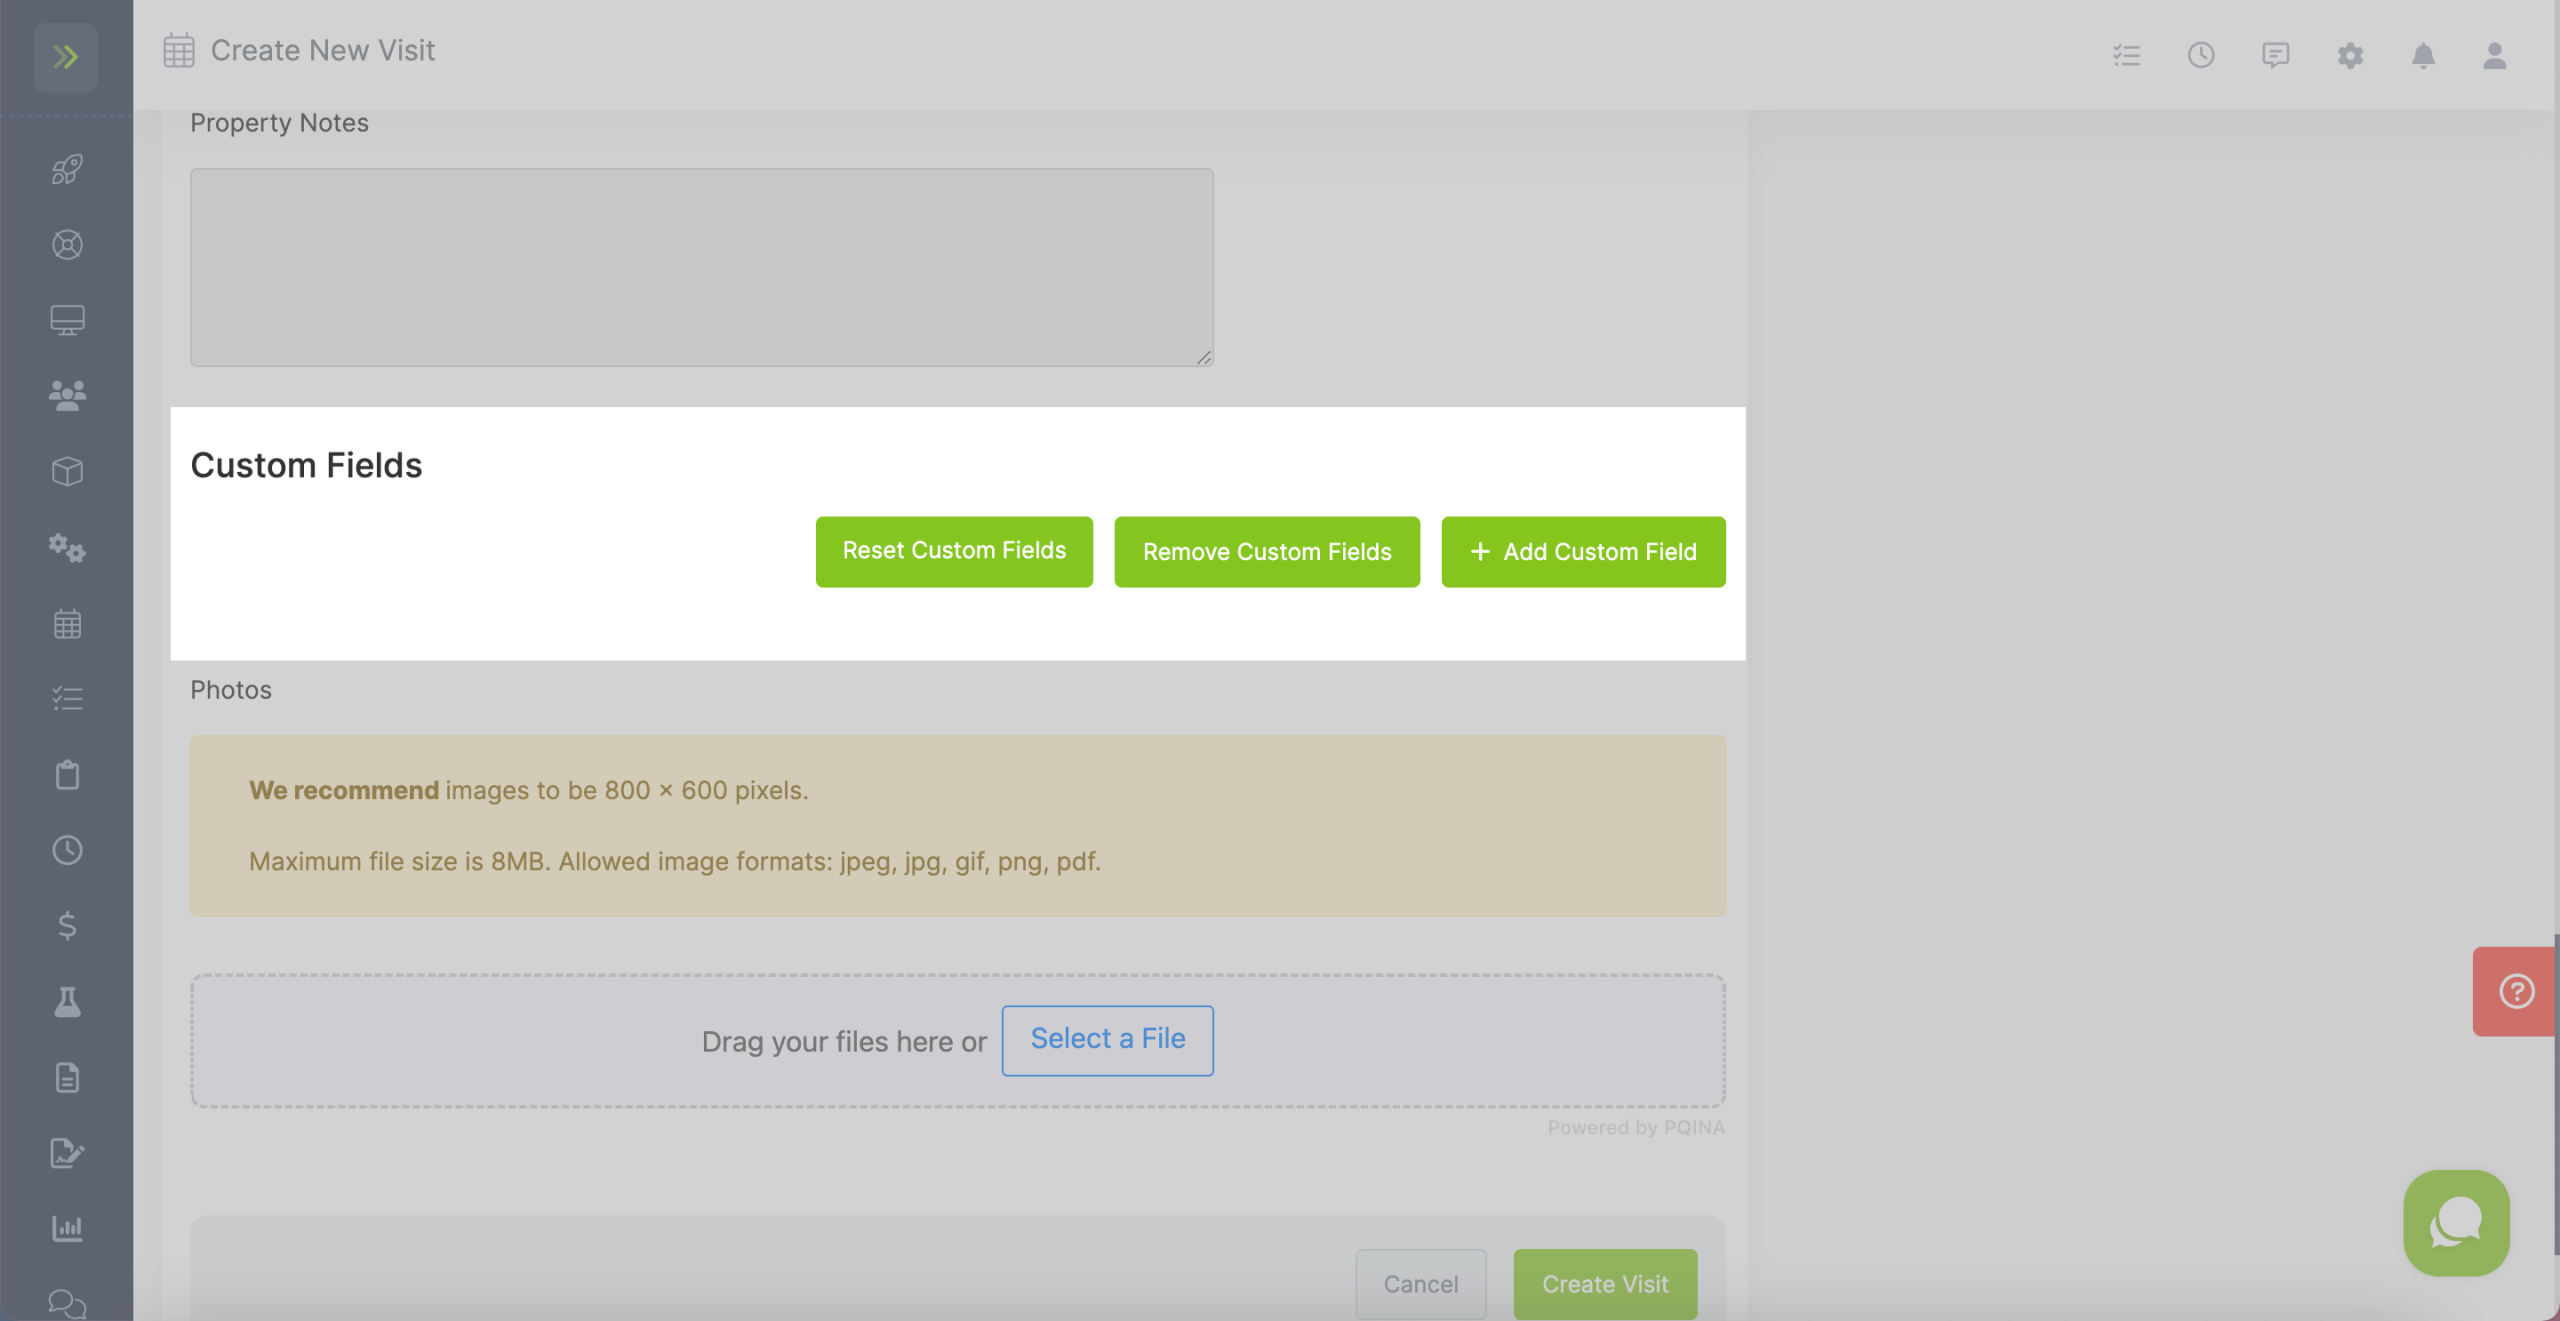
To add photos or documents for this visit, drag them to the upload area or click the “Select a File” button.
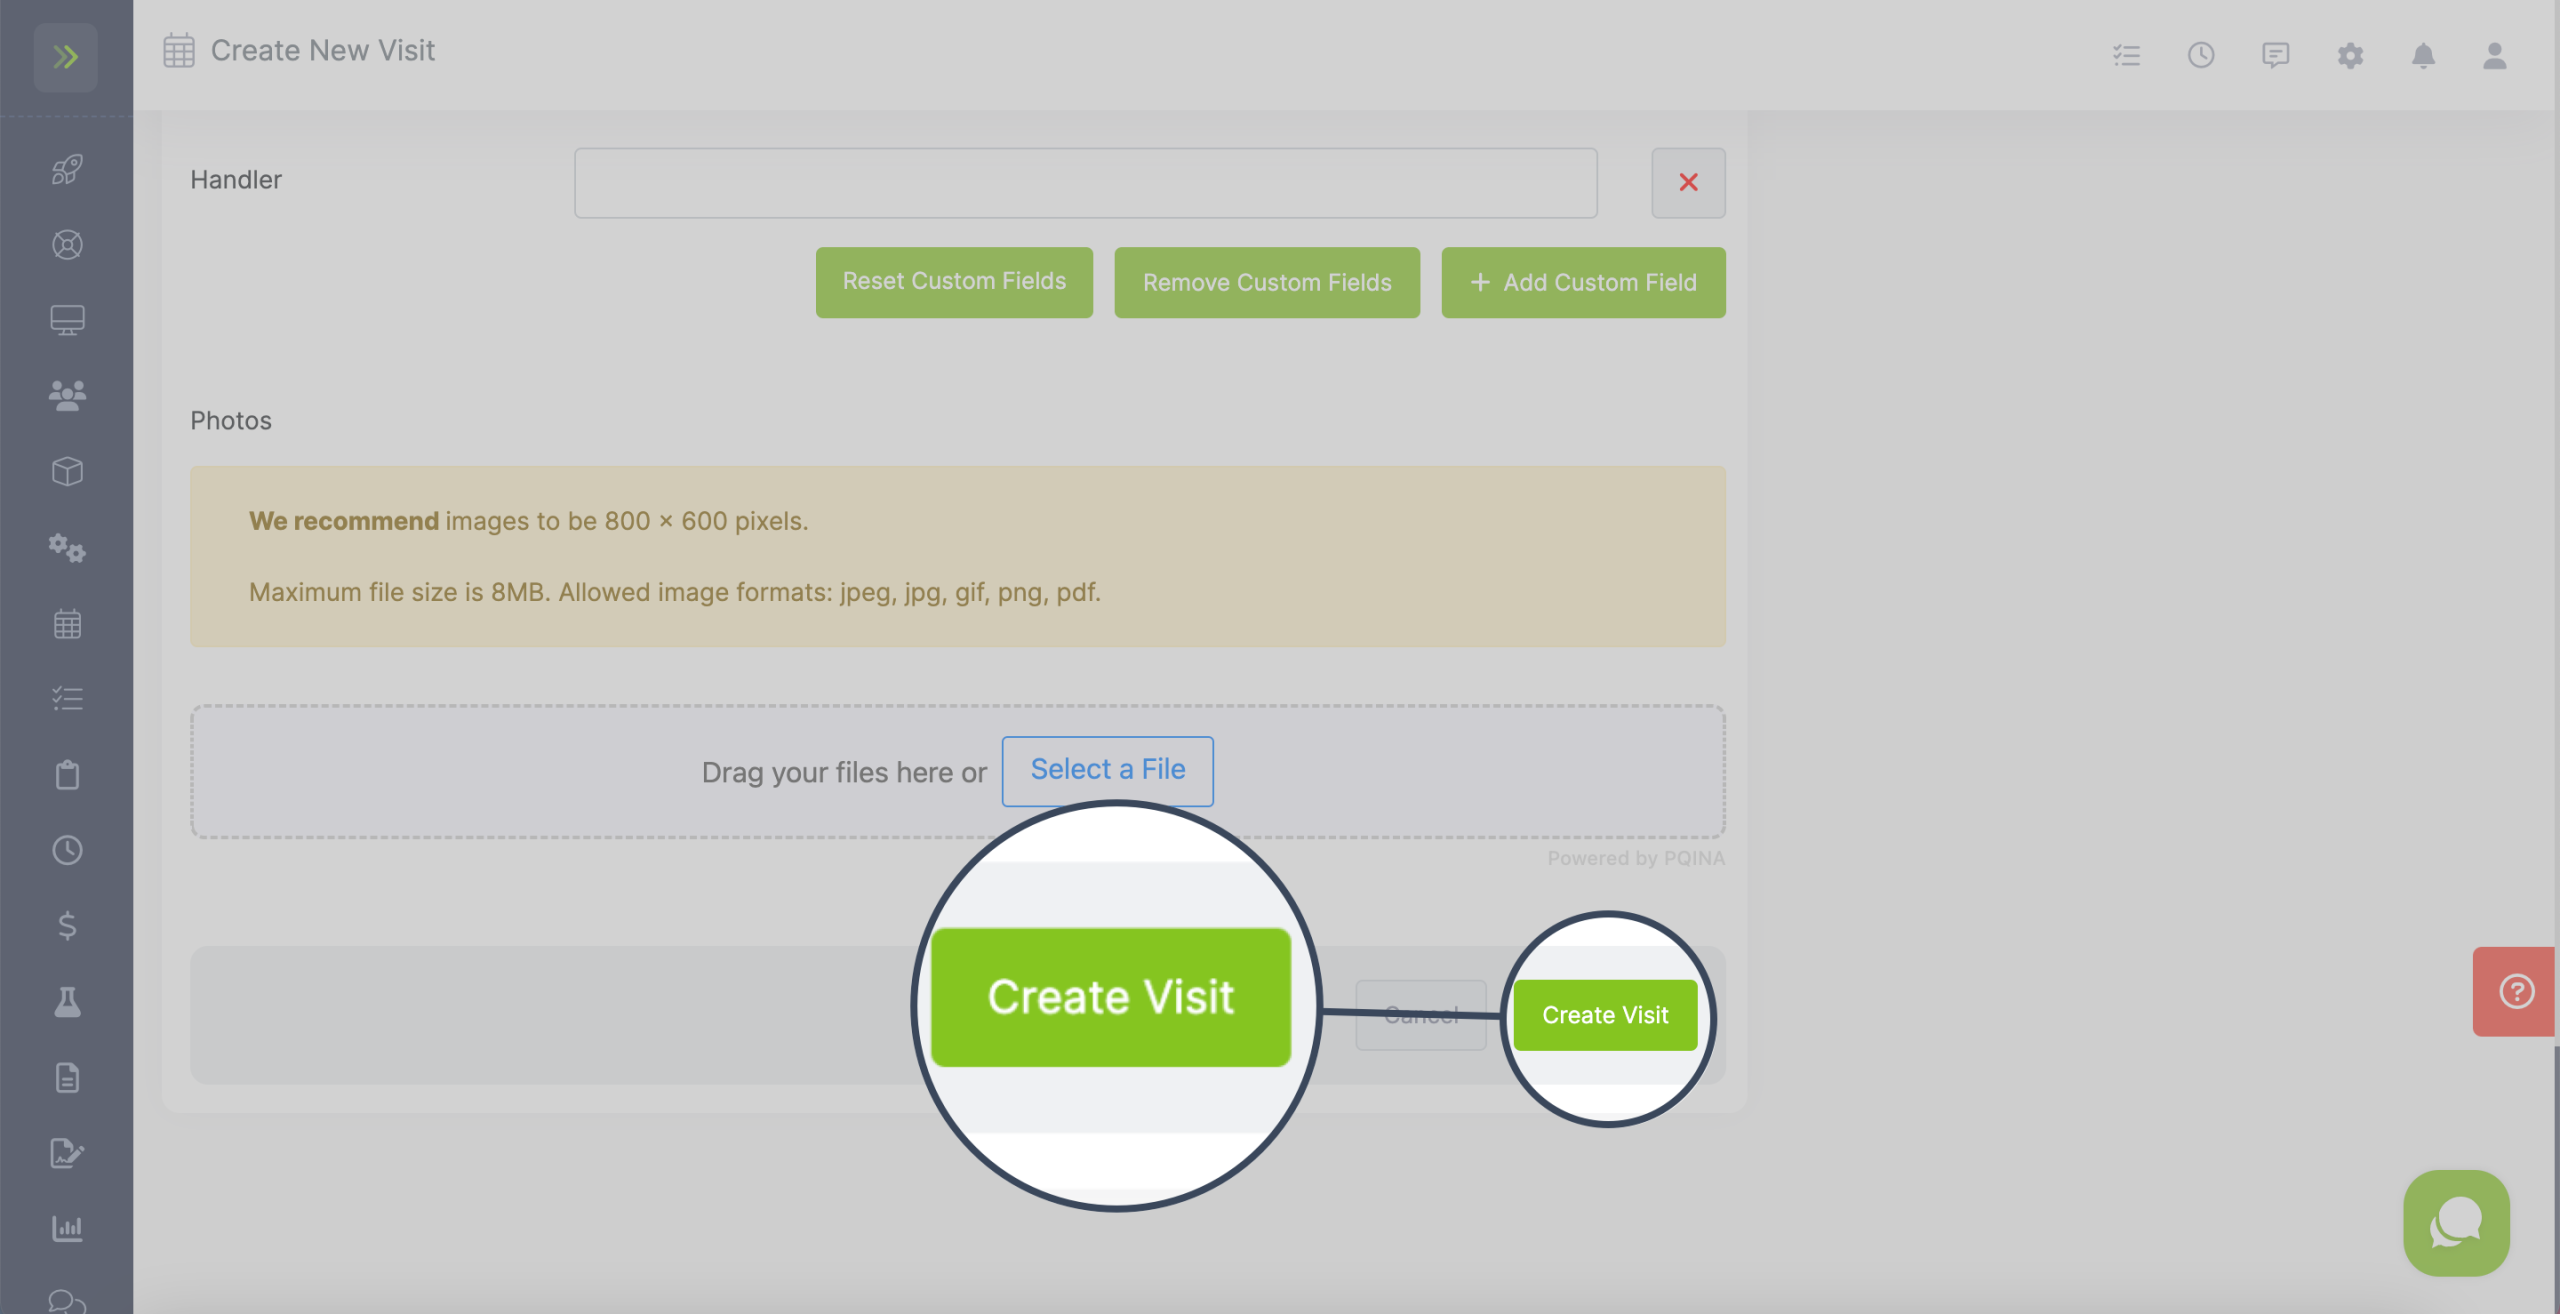
When you have completed all fields, click the green “Create Visit” to add this visit to your schedule.
Adding Recurring Visits
If you perform service for the same client weekly, biweekly, monthly, etc you can set those visits up as a recurring series. This will add all of the visits to your calendar for that client and you only have to set it up once.
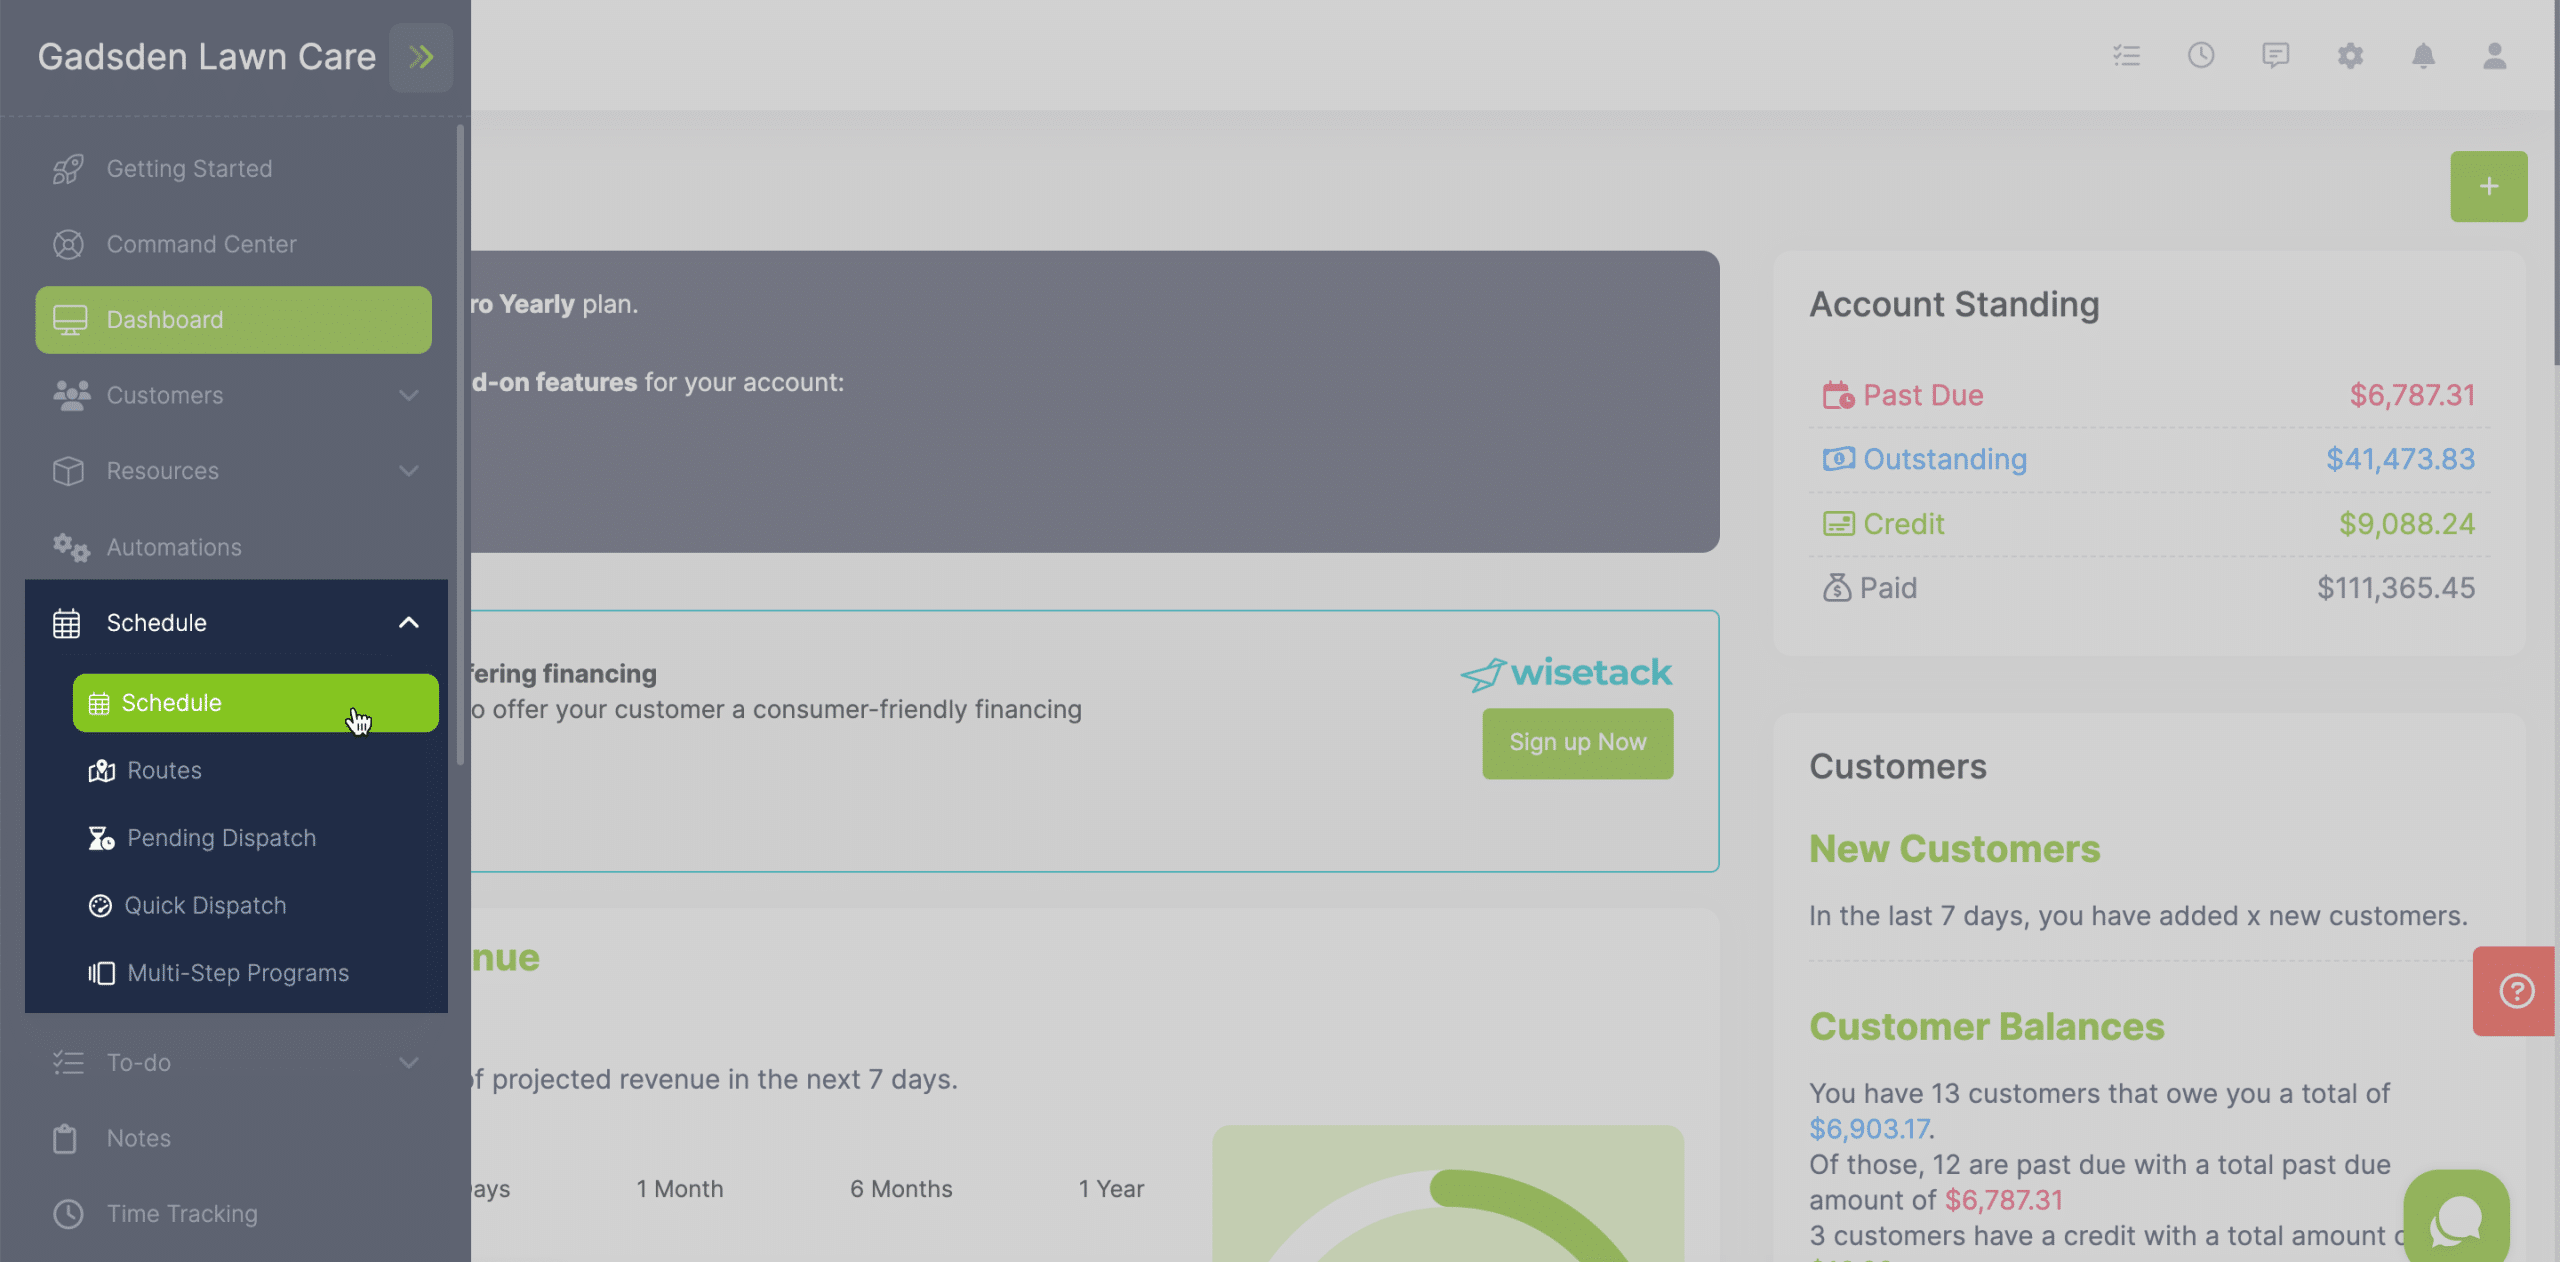
To add a recurring visit you will click the Schedule Tab> Schedule
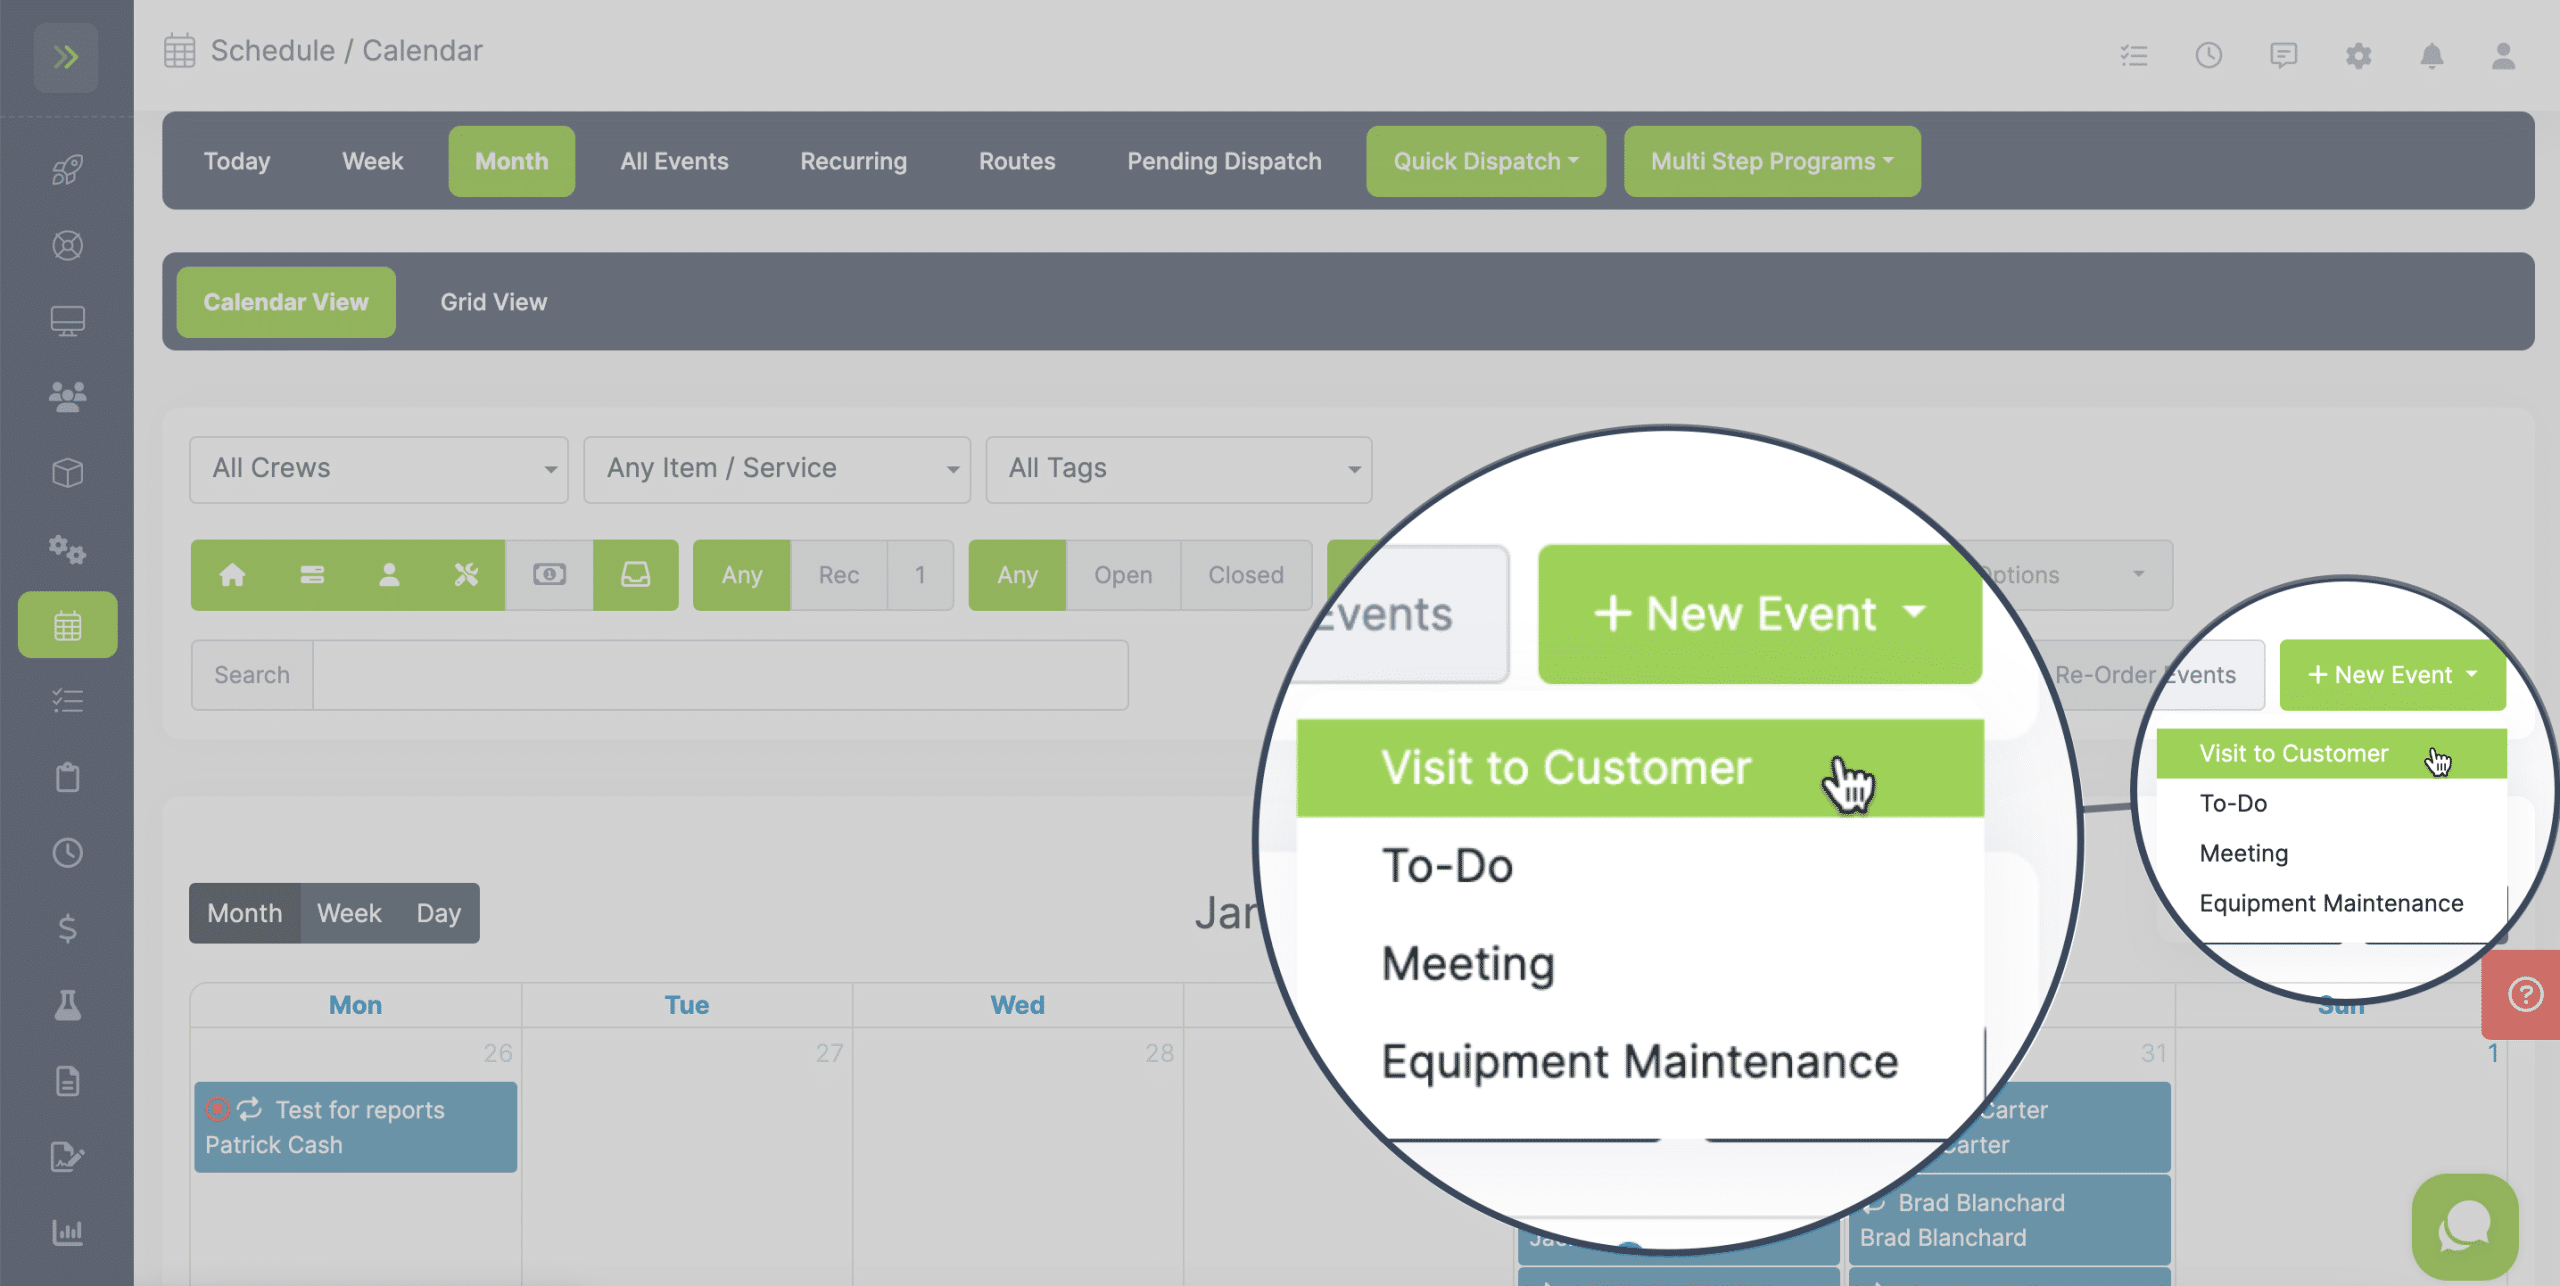
Once you are on the schedule page, click the green “New Event” button. It will drop down and have a couple of options. Click “Visit to Customer“
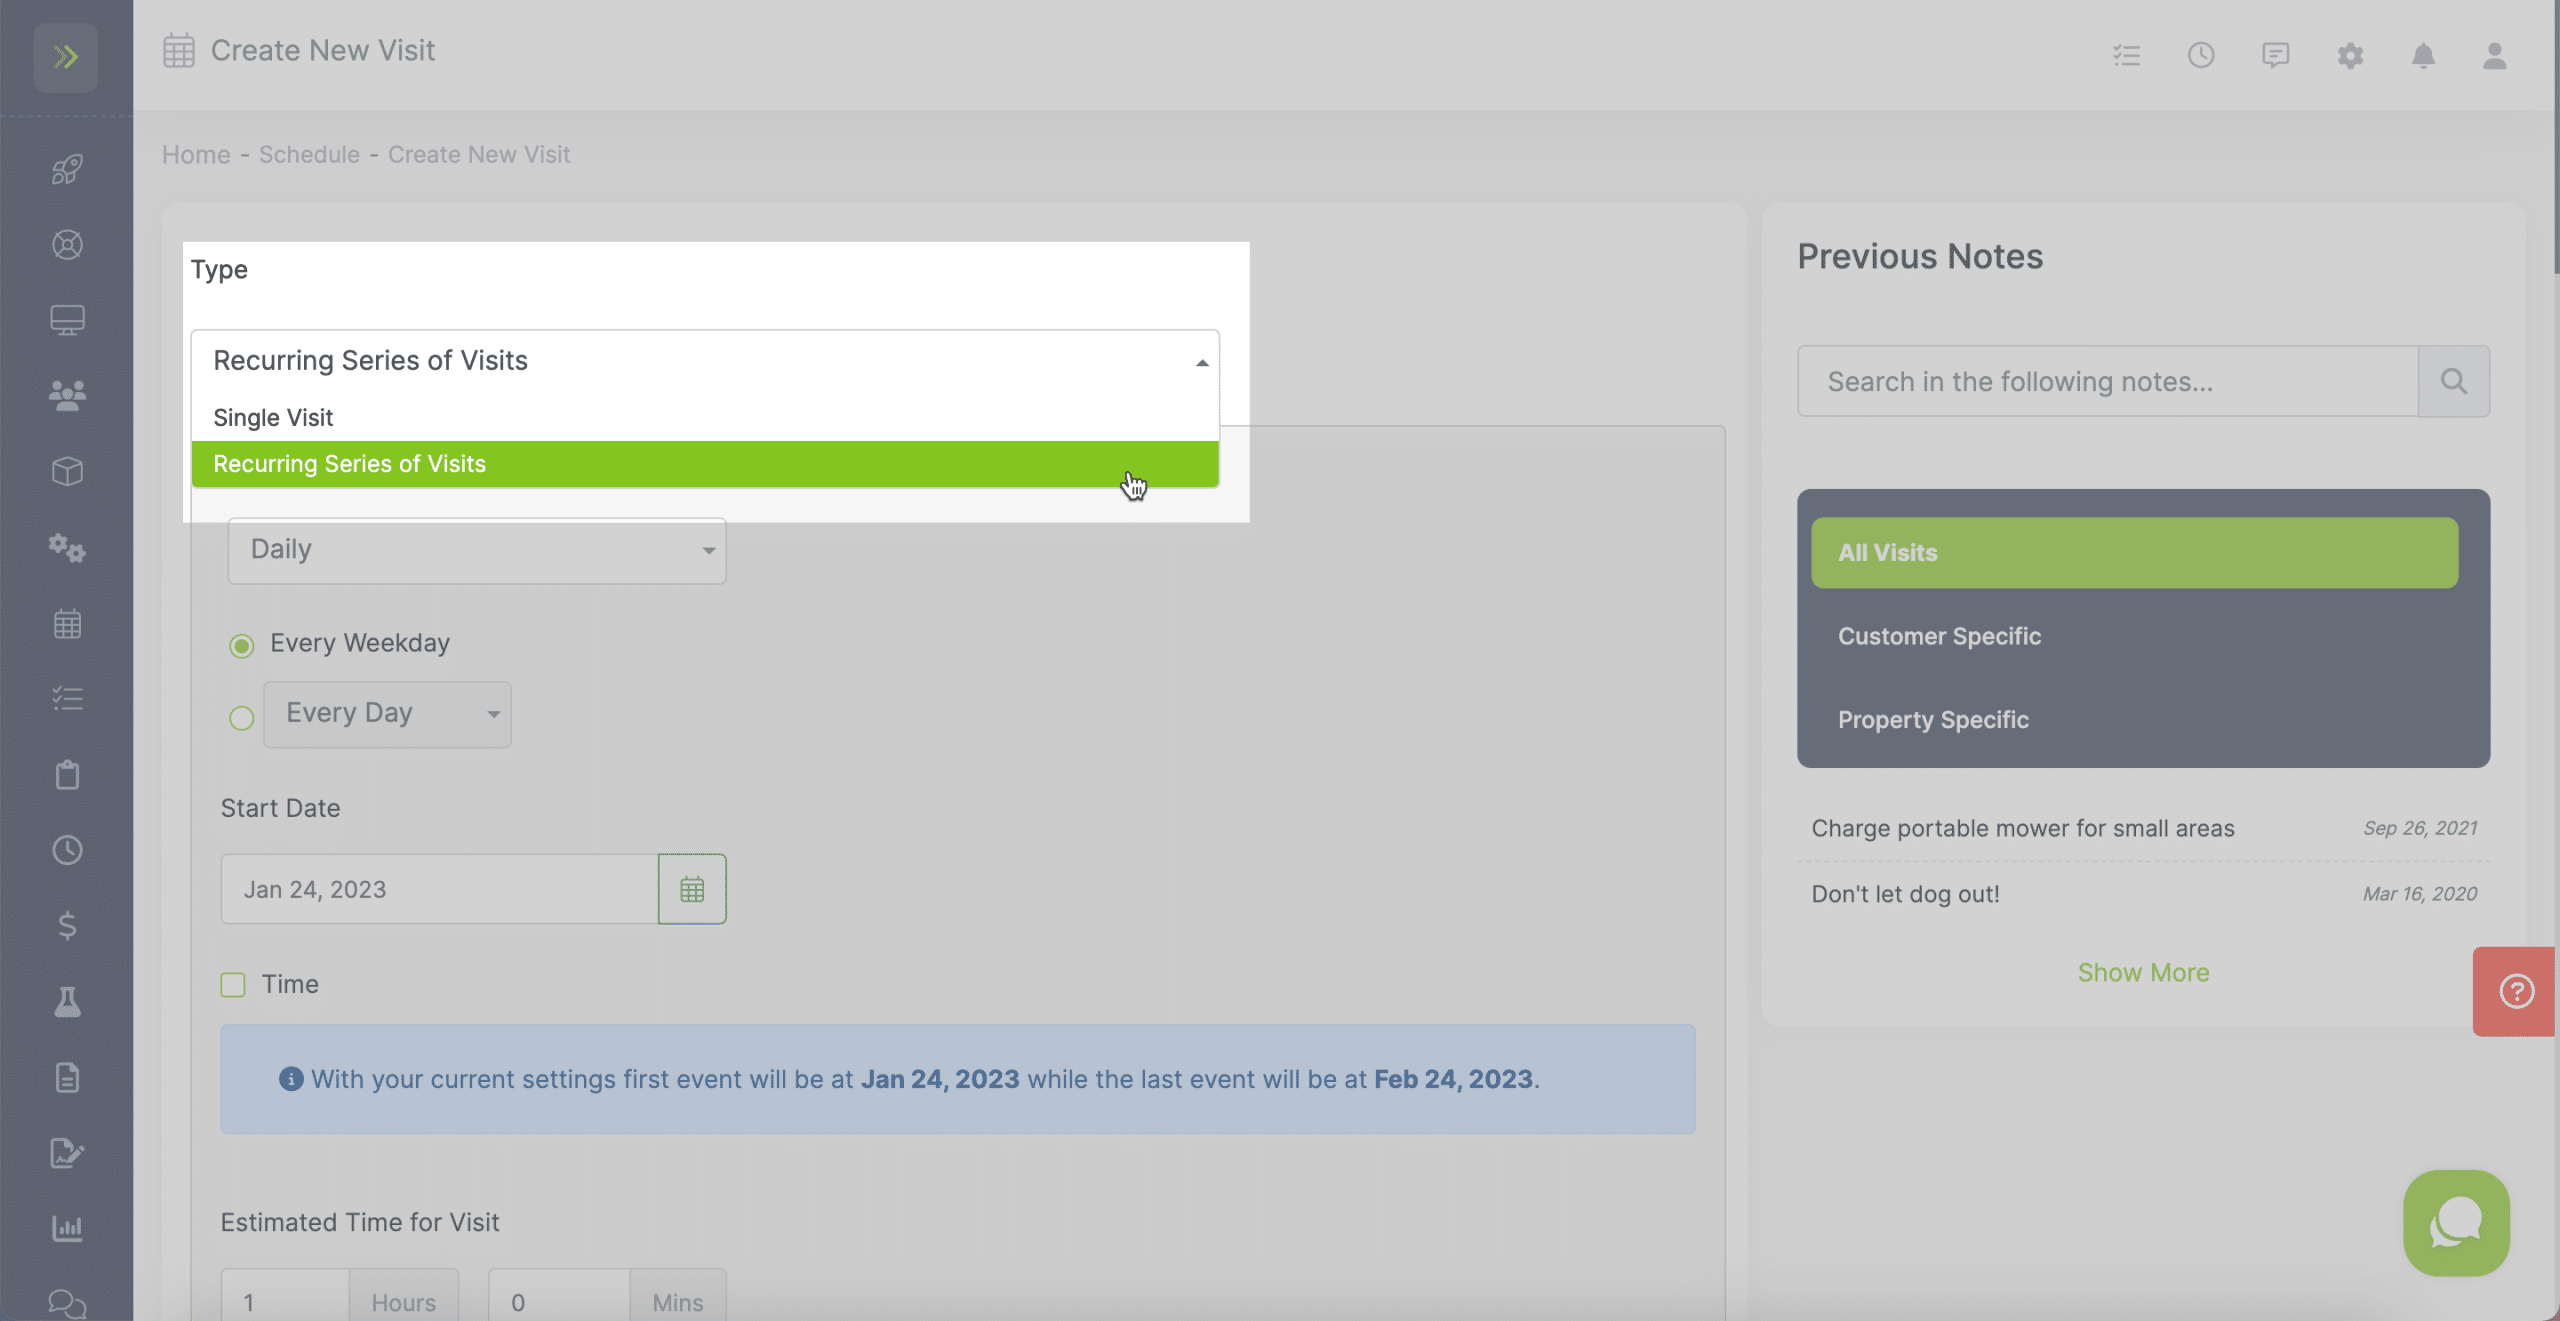
On the Create New Visit page, in the first drop down change the type to “Recurring Series of Visits“
Next, you will select how often these visits will occur.
You can choose from: Daily, Weekly, Bi-Weekly, Monthly, or Yearly.
Each Selection will you give you more options so you can schedule your visits exactly
when you want them.
Note: If there are days you do not work, you can set those in settings. Click here to learn how to do that.
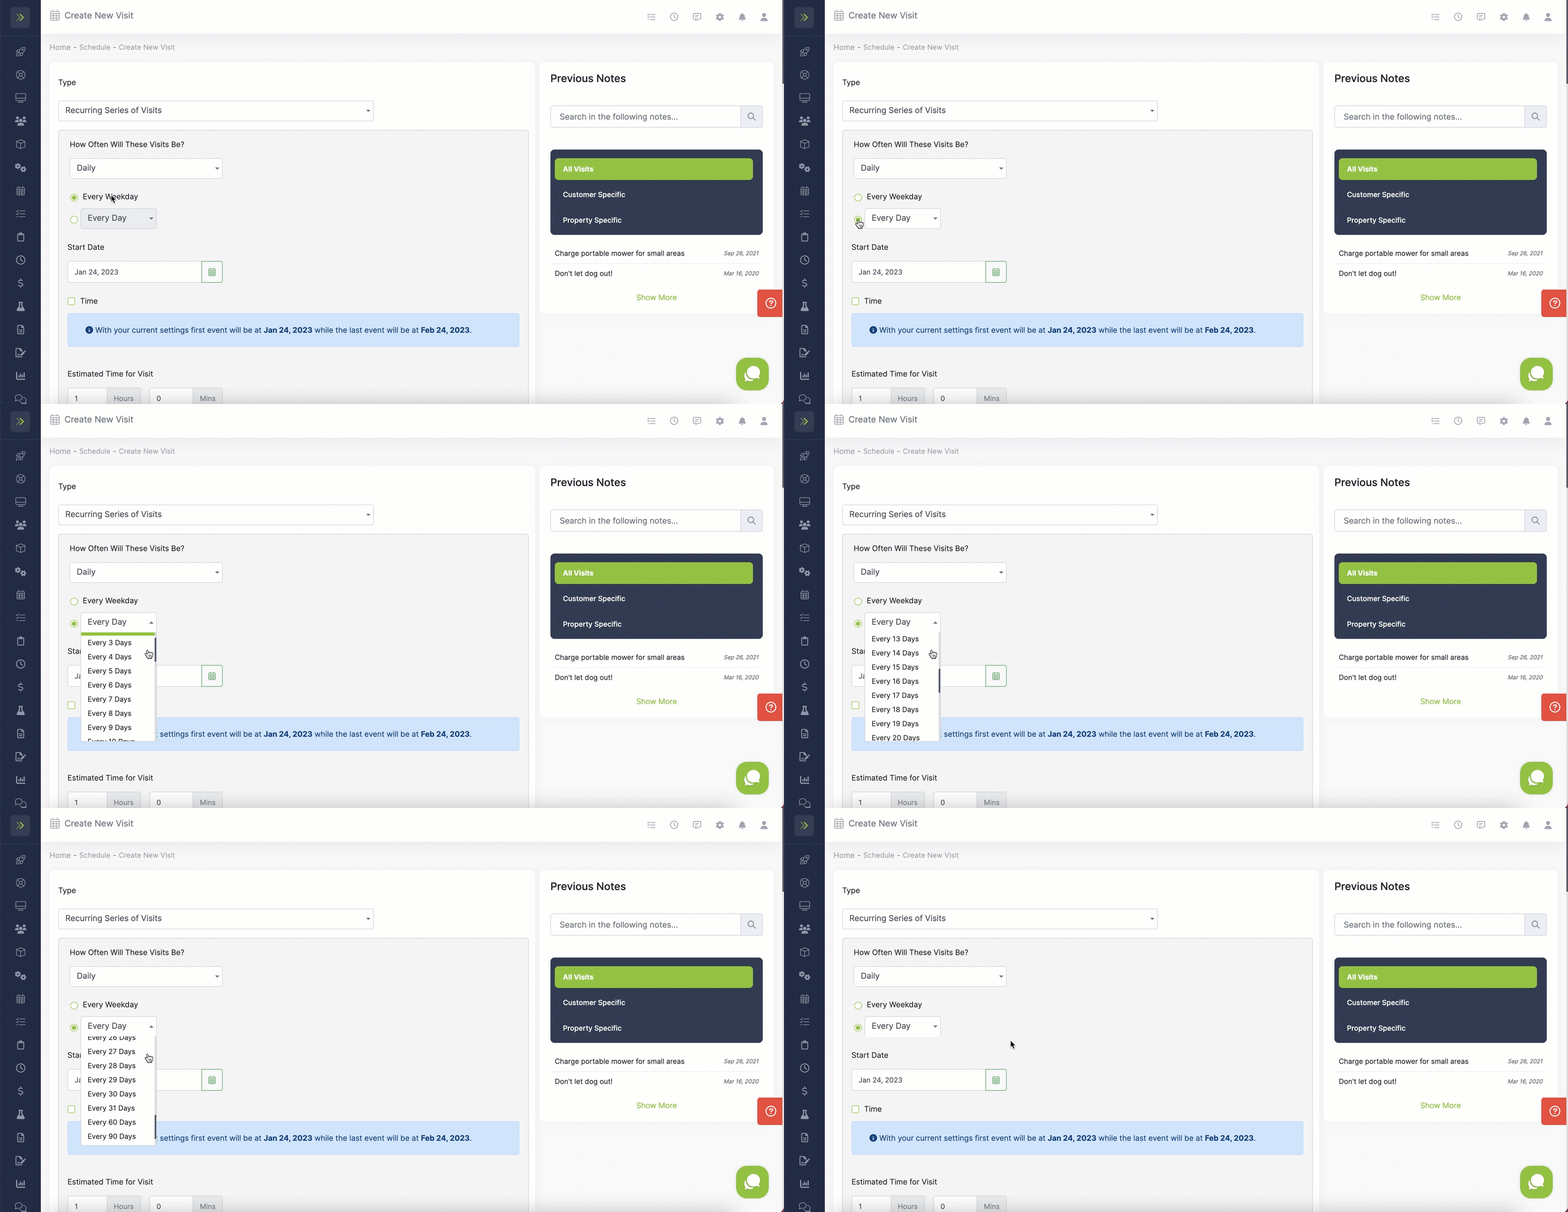
Daily
When you select to schedule your visits daily you will then need to select if the visits are every week day, or select how many days are in between visits.
You can select from every 1-31 days, 60 days, 90 days, 365 days, or a custom number of days.
Weekly
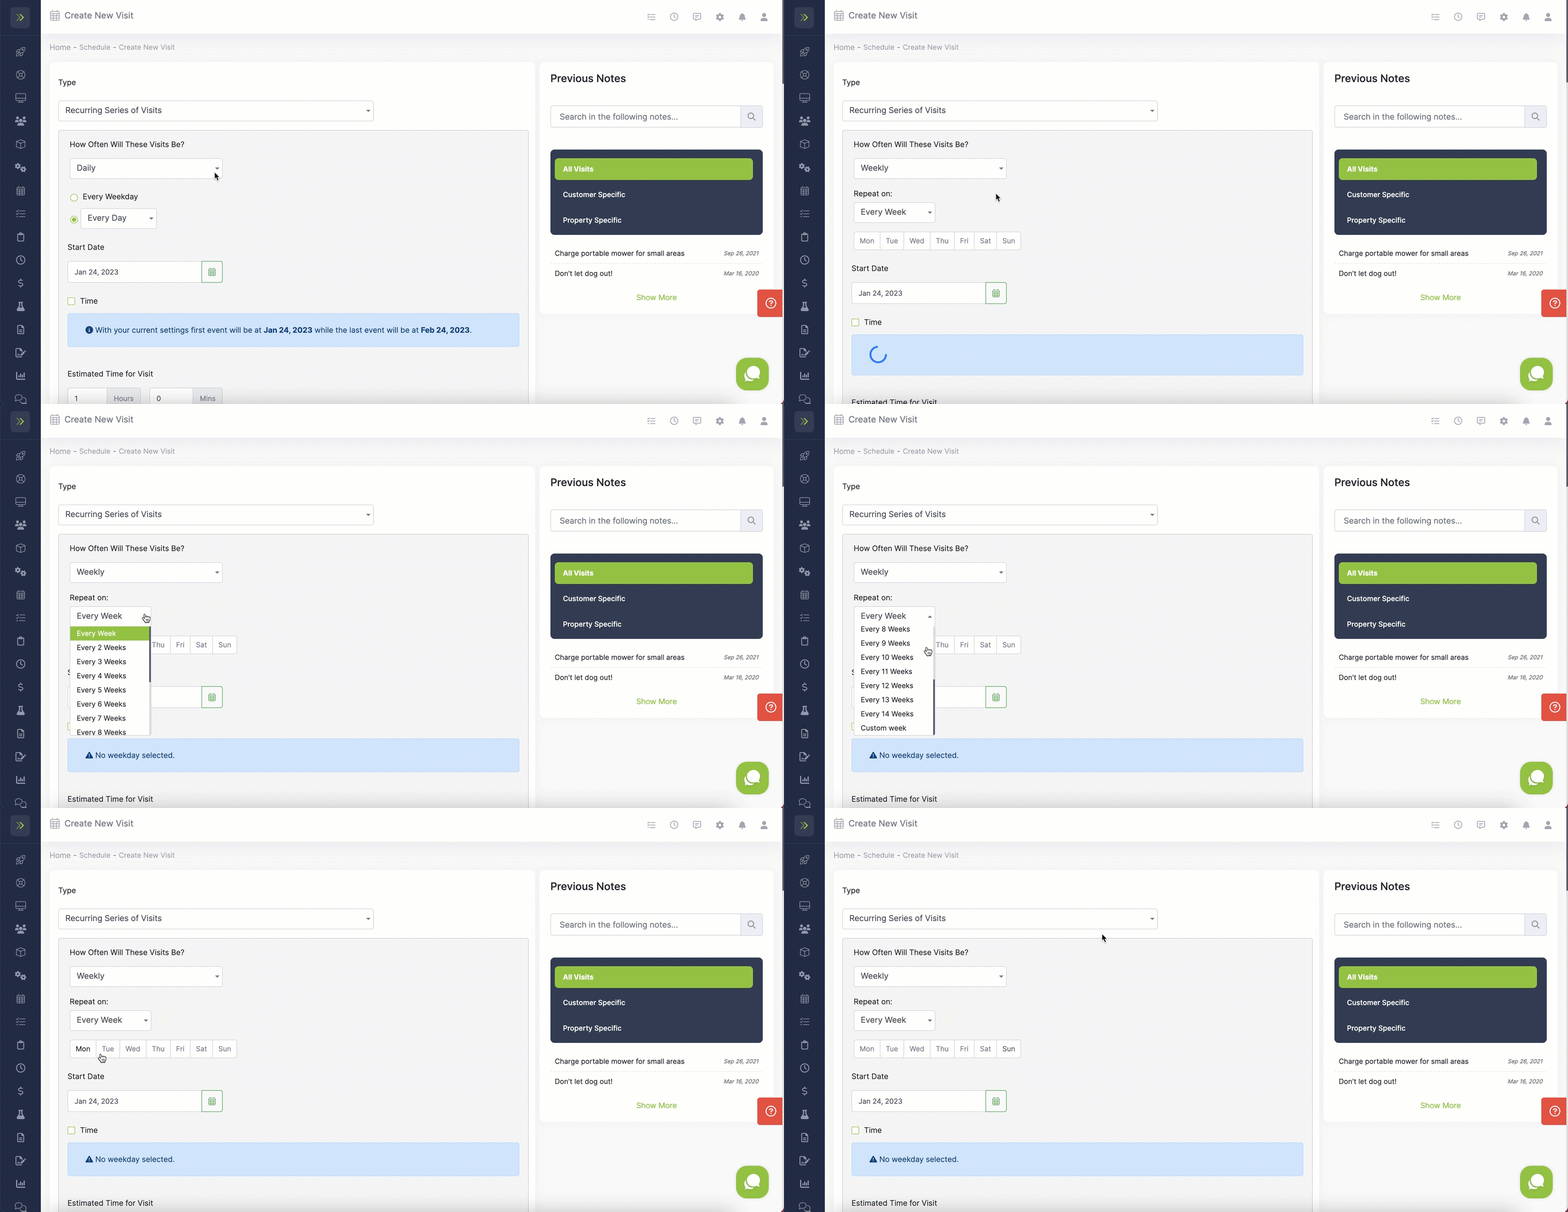
The next option is Weekly.
If you choose Weekly you then choose every how many weeks and what day of the week.
Bi-weekly
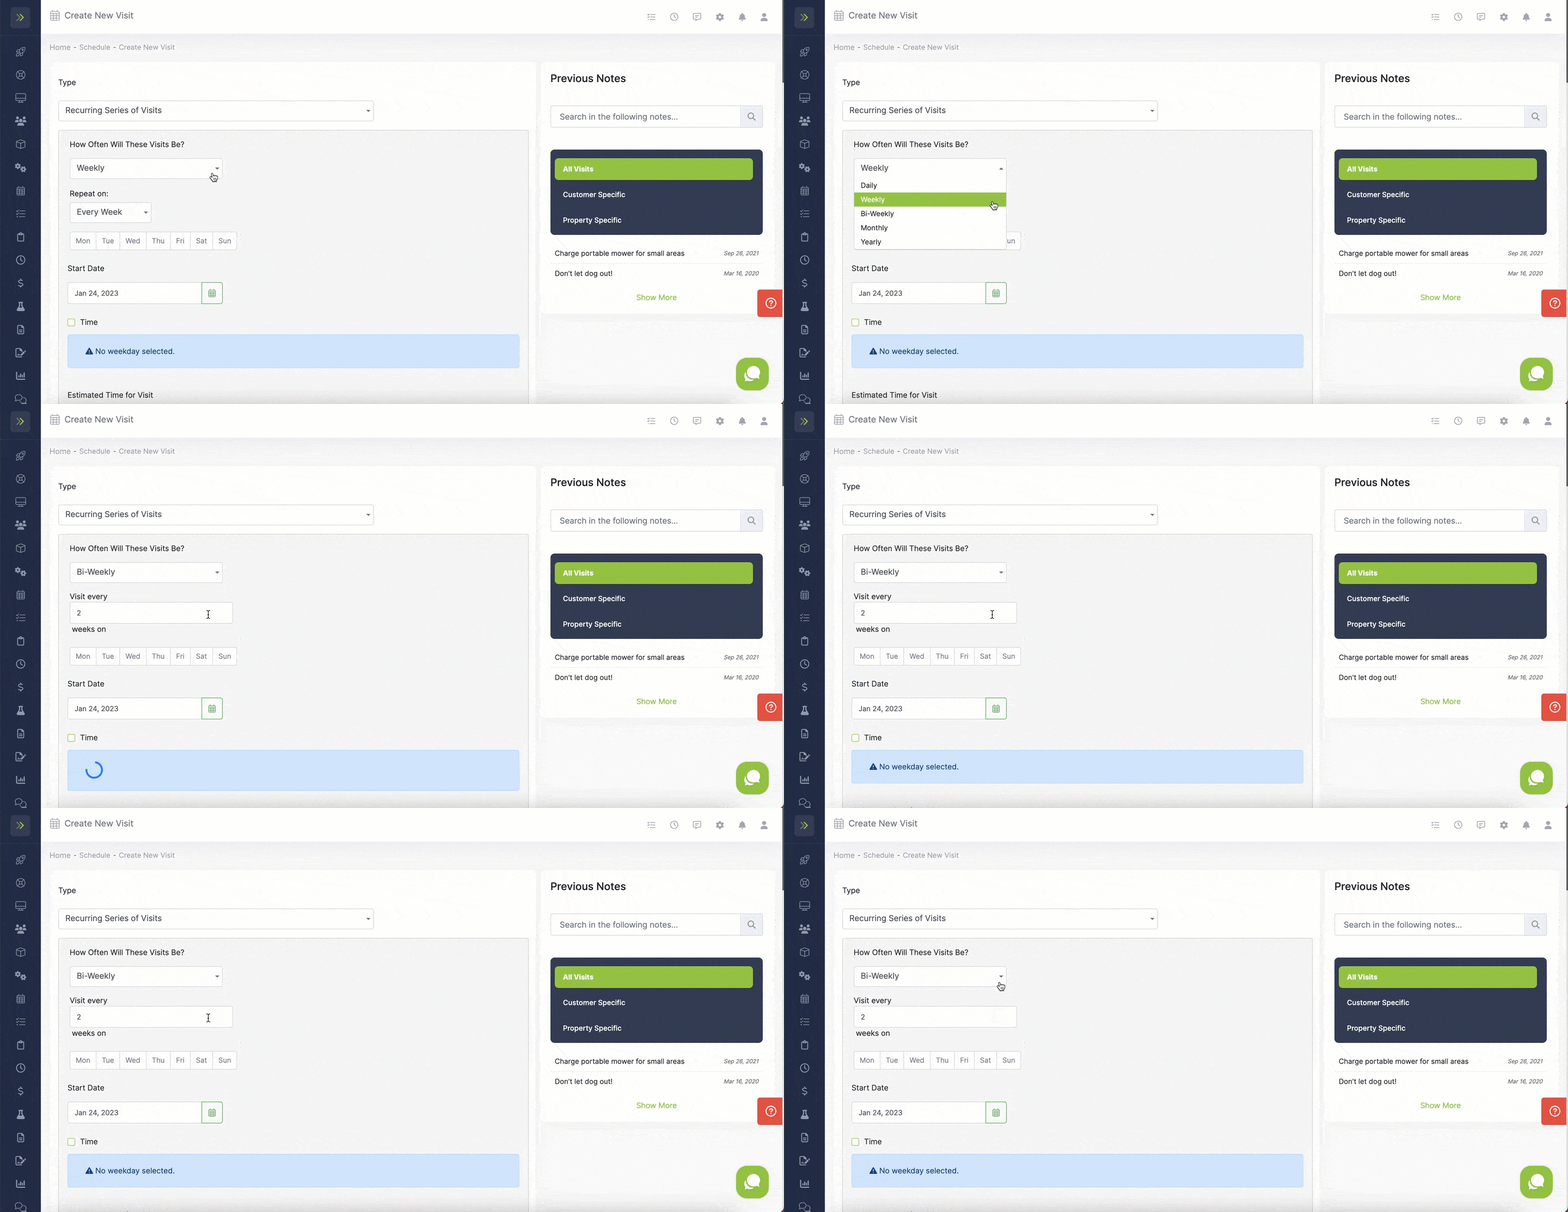
You will select how many weeks apart and what days of the week your visits will be on.
Monthly
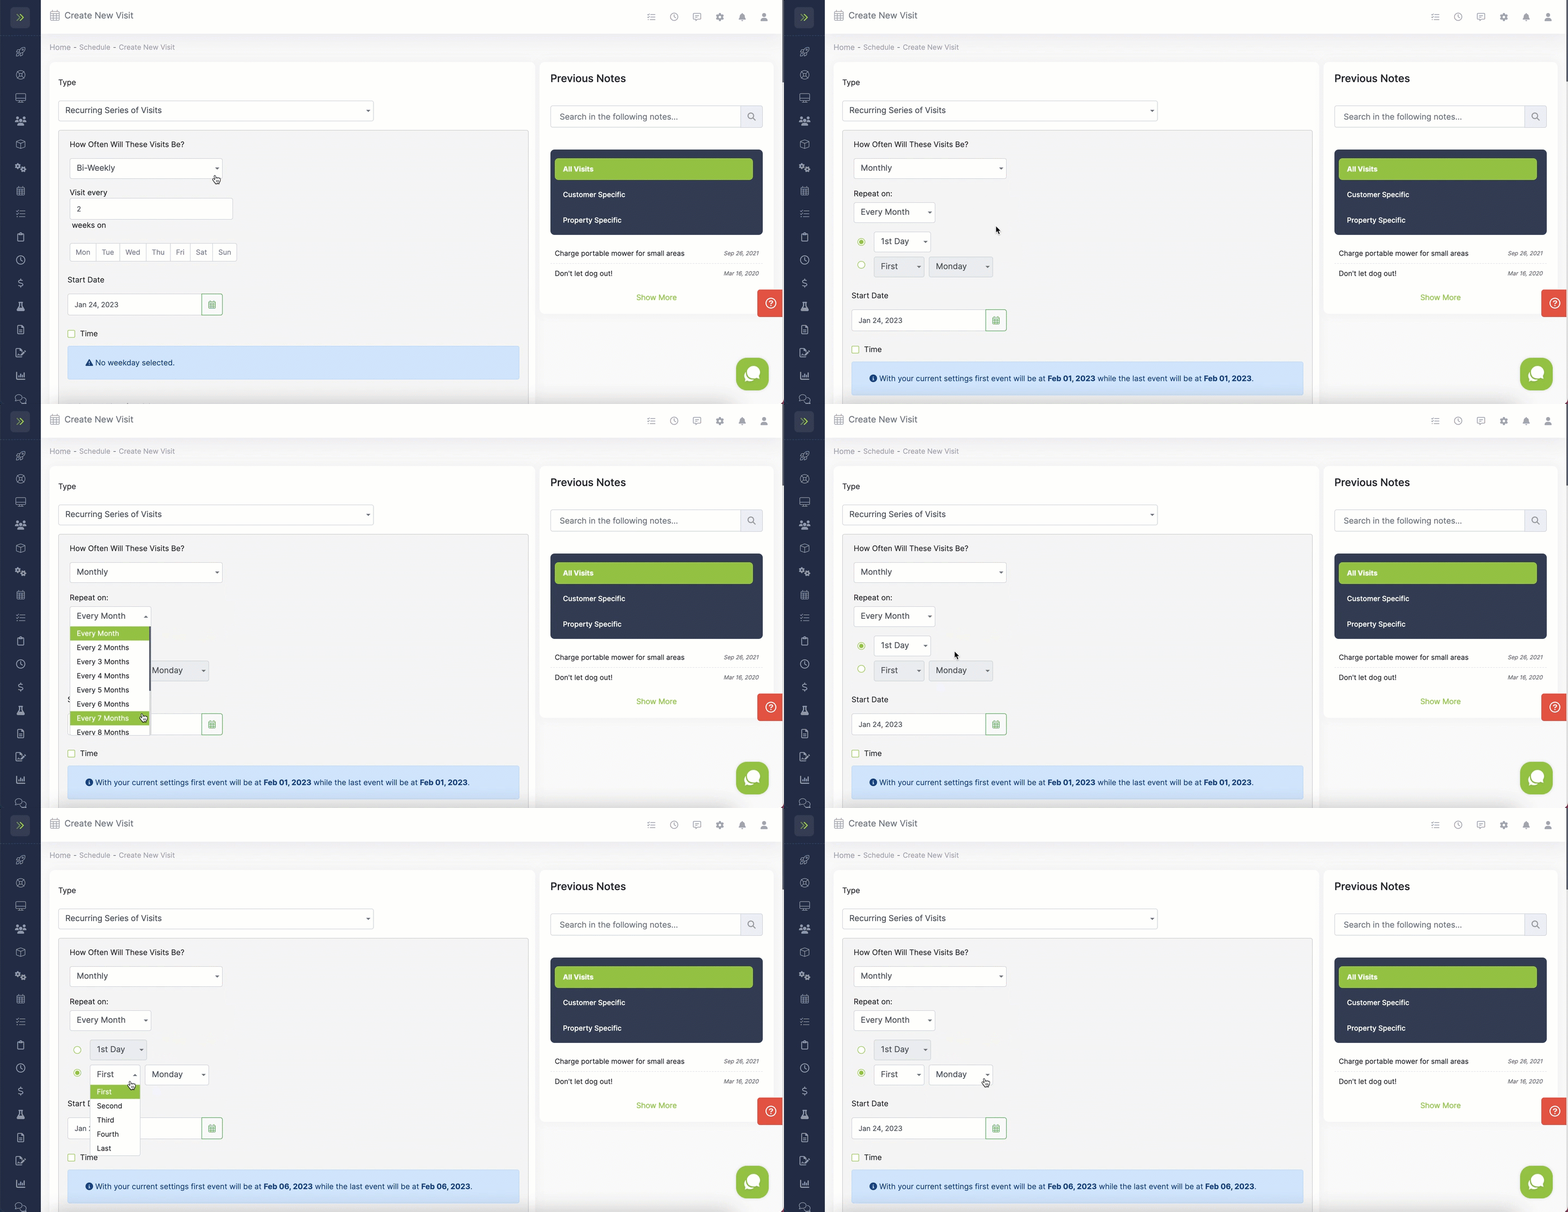
If you set your visits up Monthly you will choose how many months in between visits and either what day of the month or the first through fourth Monday-Sunday day of that month.
Yearly
Last, you can set your recurring visits up Yearly.
You will select to schedule on a certain day of a certain month or the 1-4th certain weekly in a certain month.
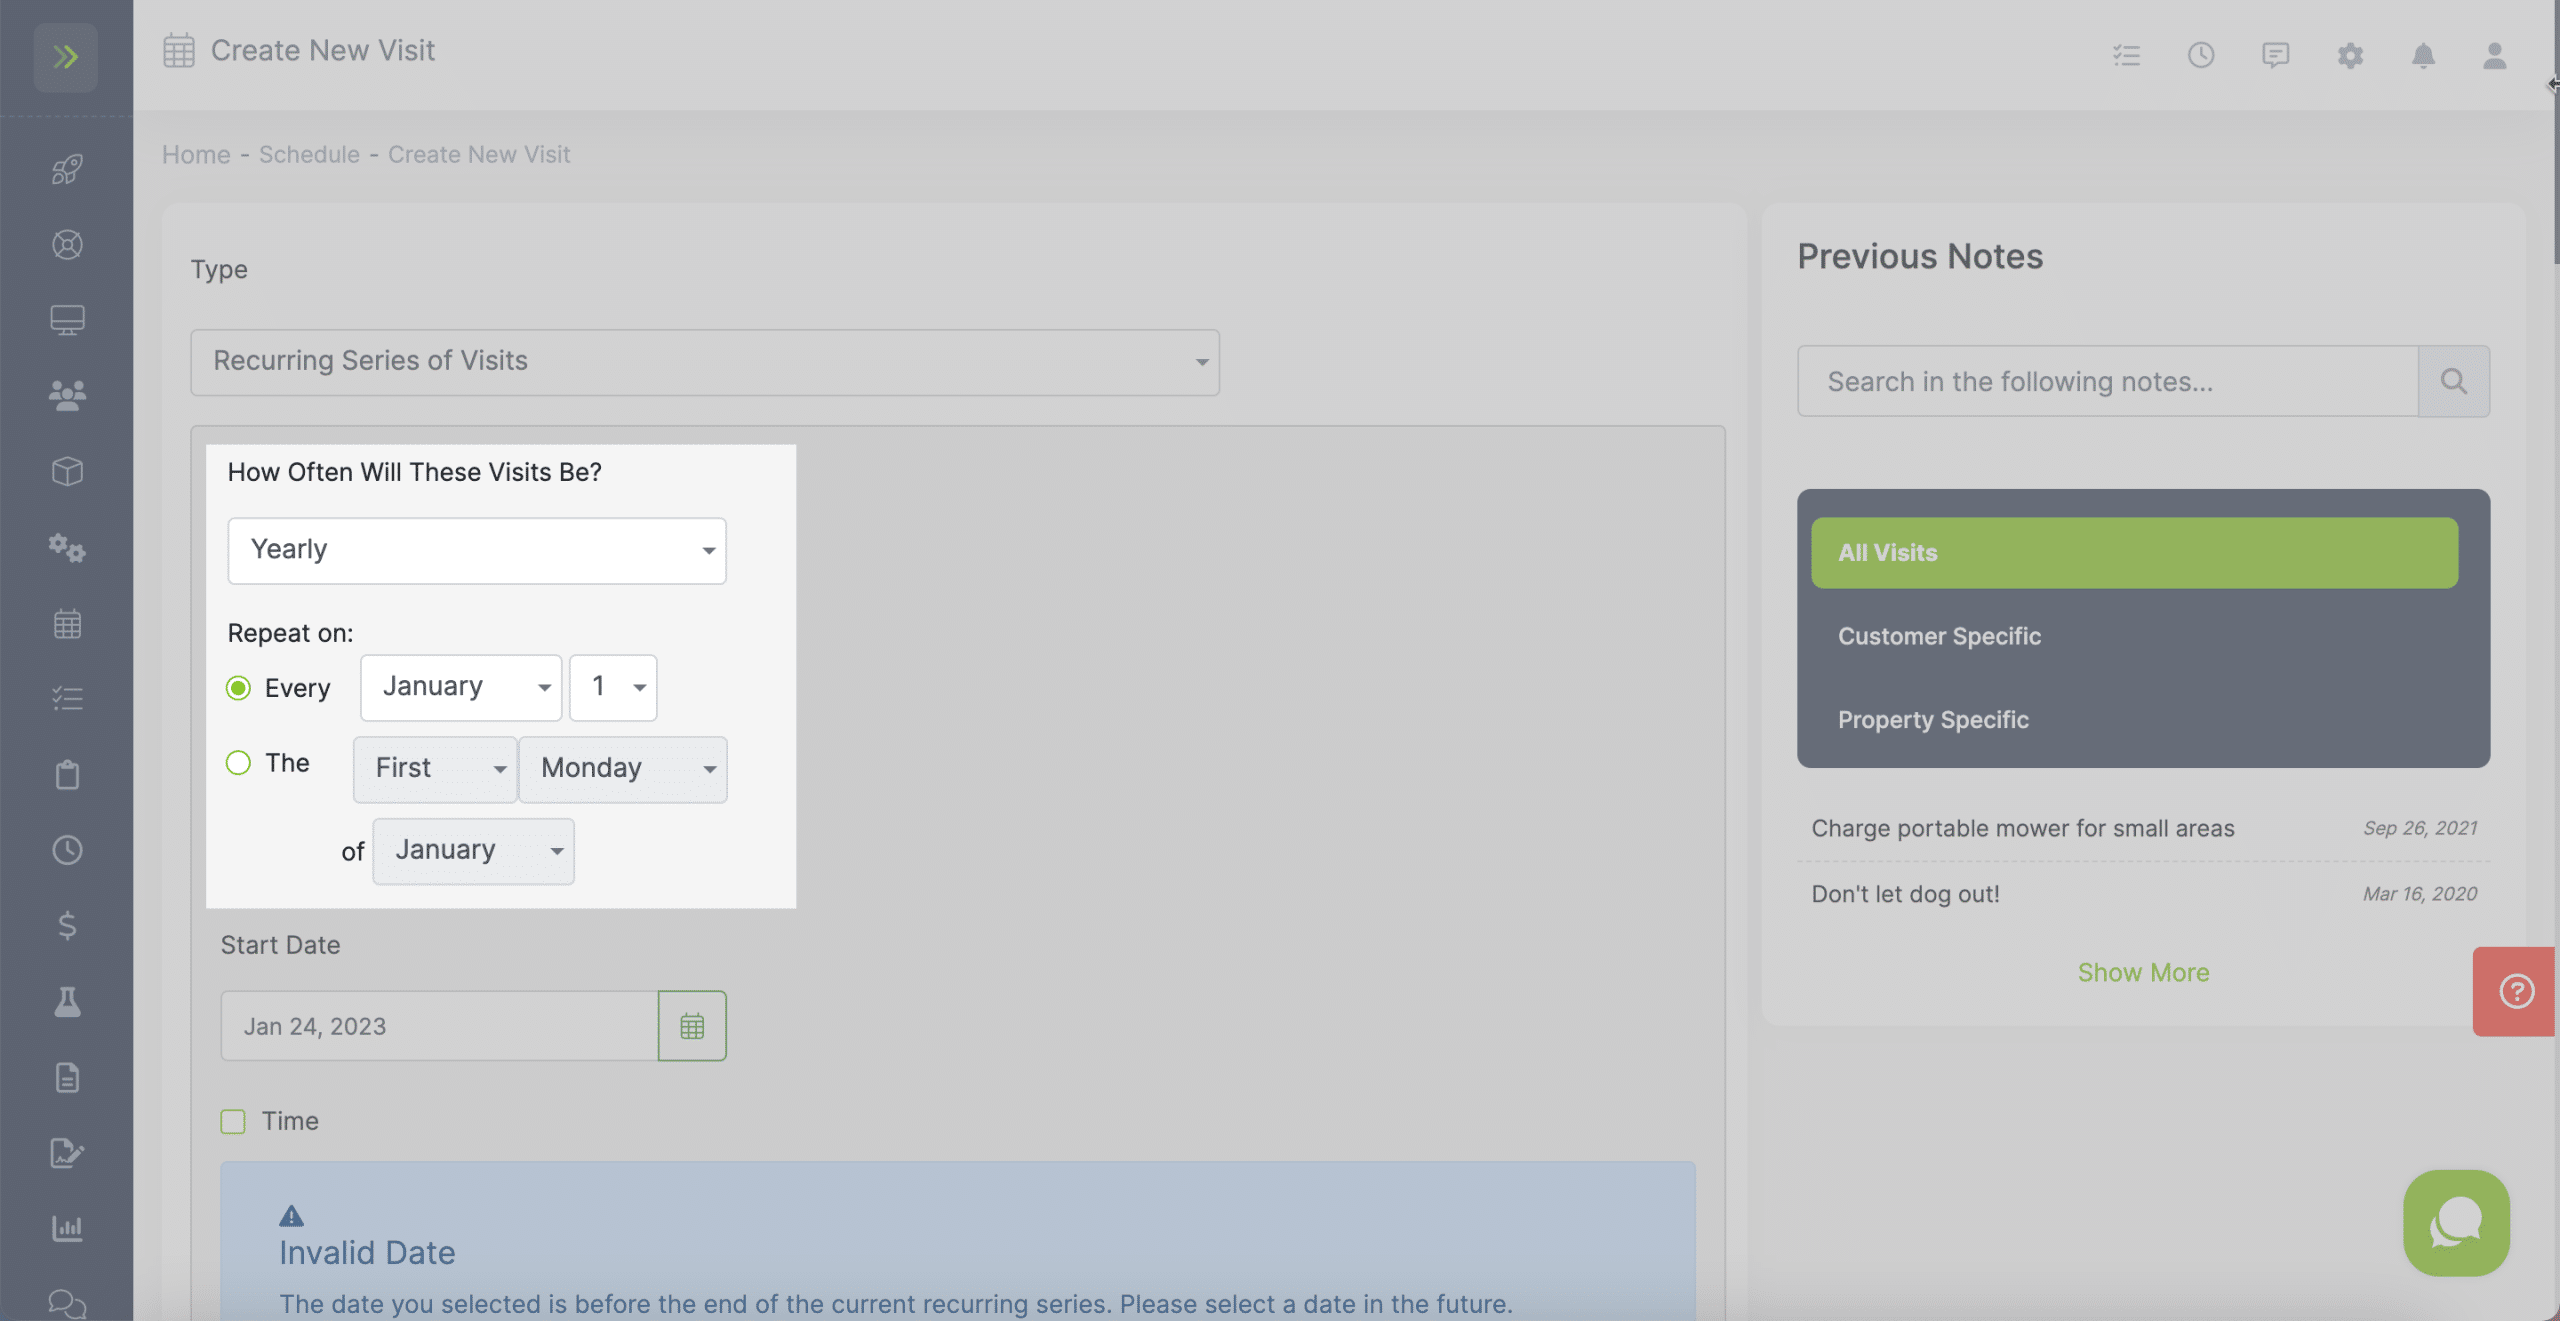
After selecting how often your visits will be scheduled, you will select the start date for the recurring series.

If you want to schedule your visit at a certain time, check the box that says “time” and then select the time.
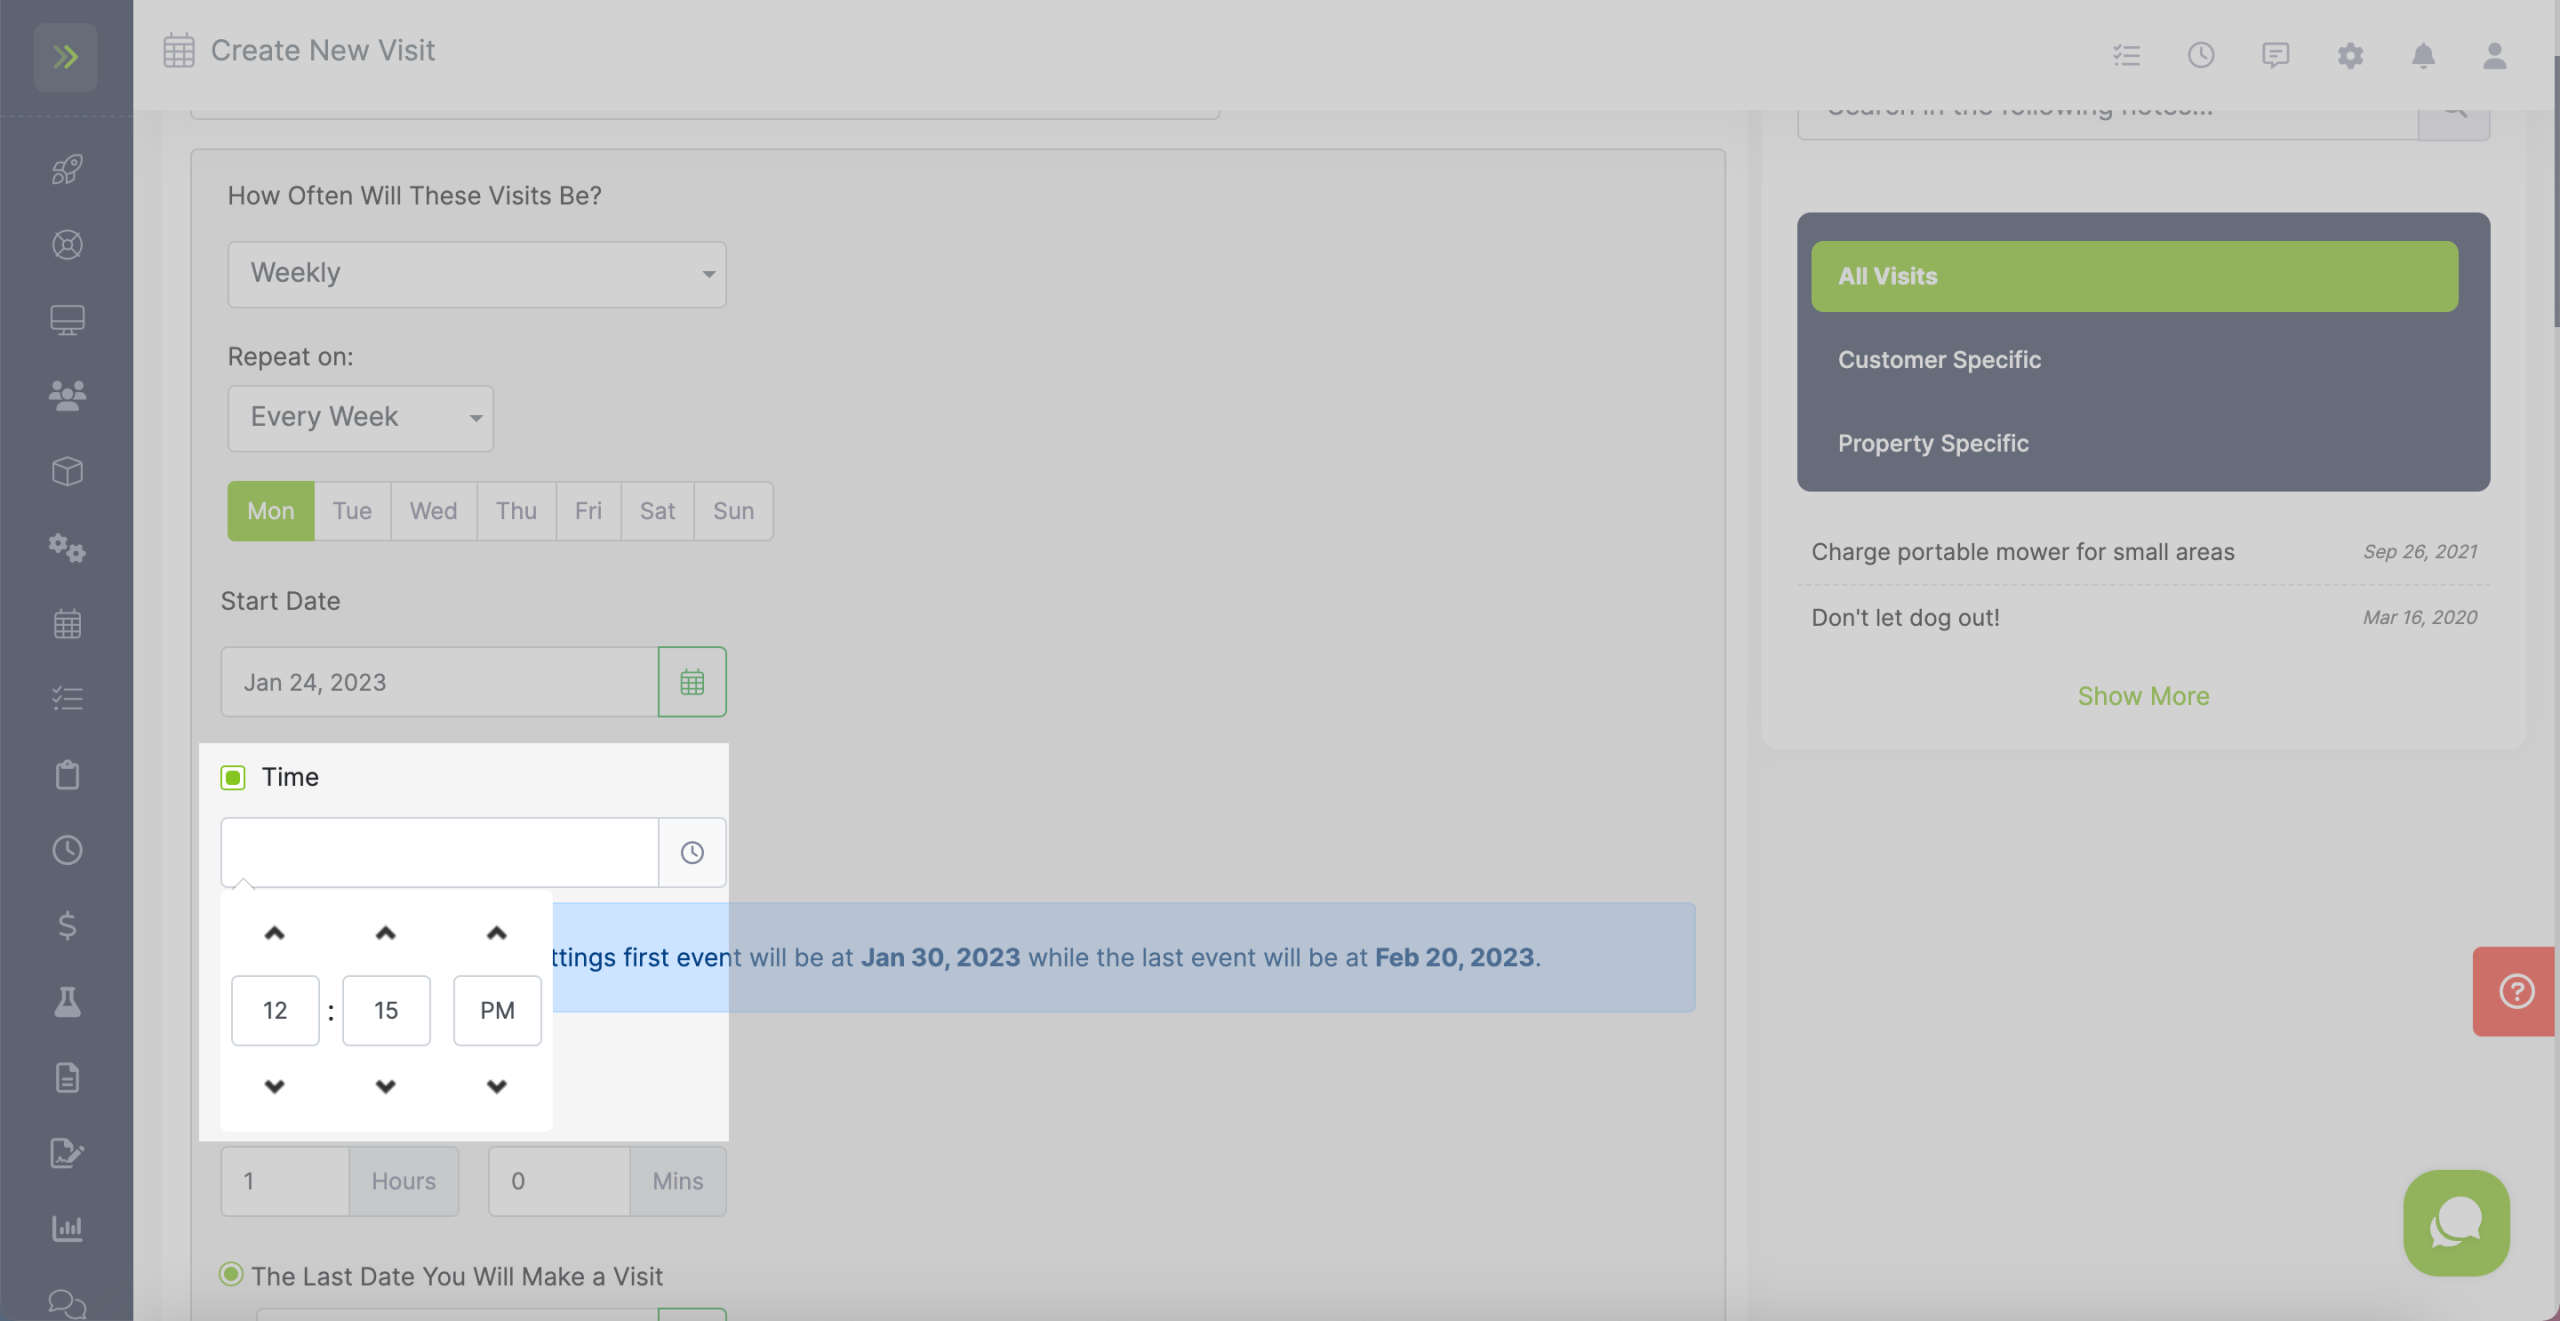
Here, you can add an estimated time for these visits.

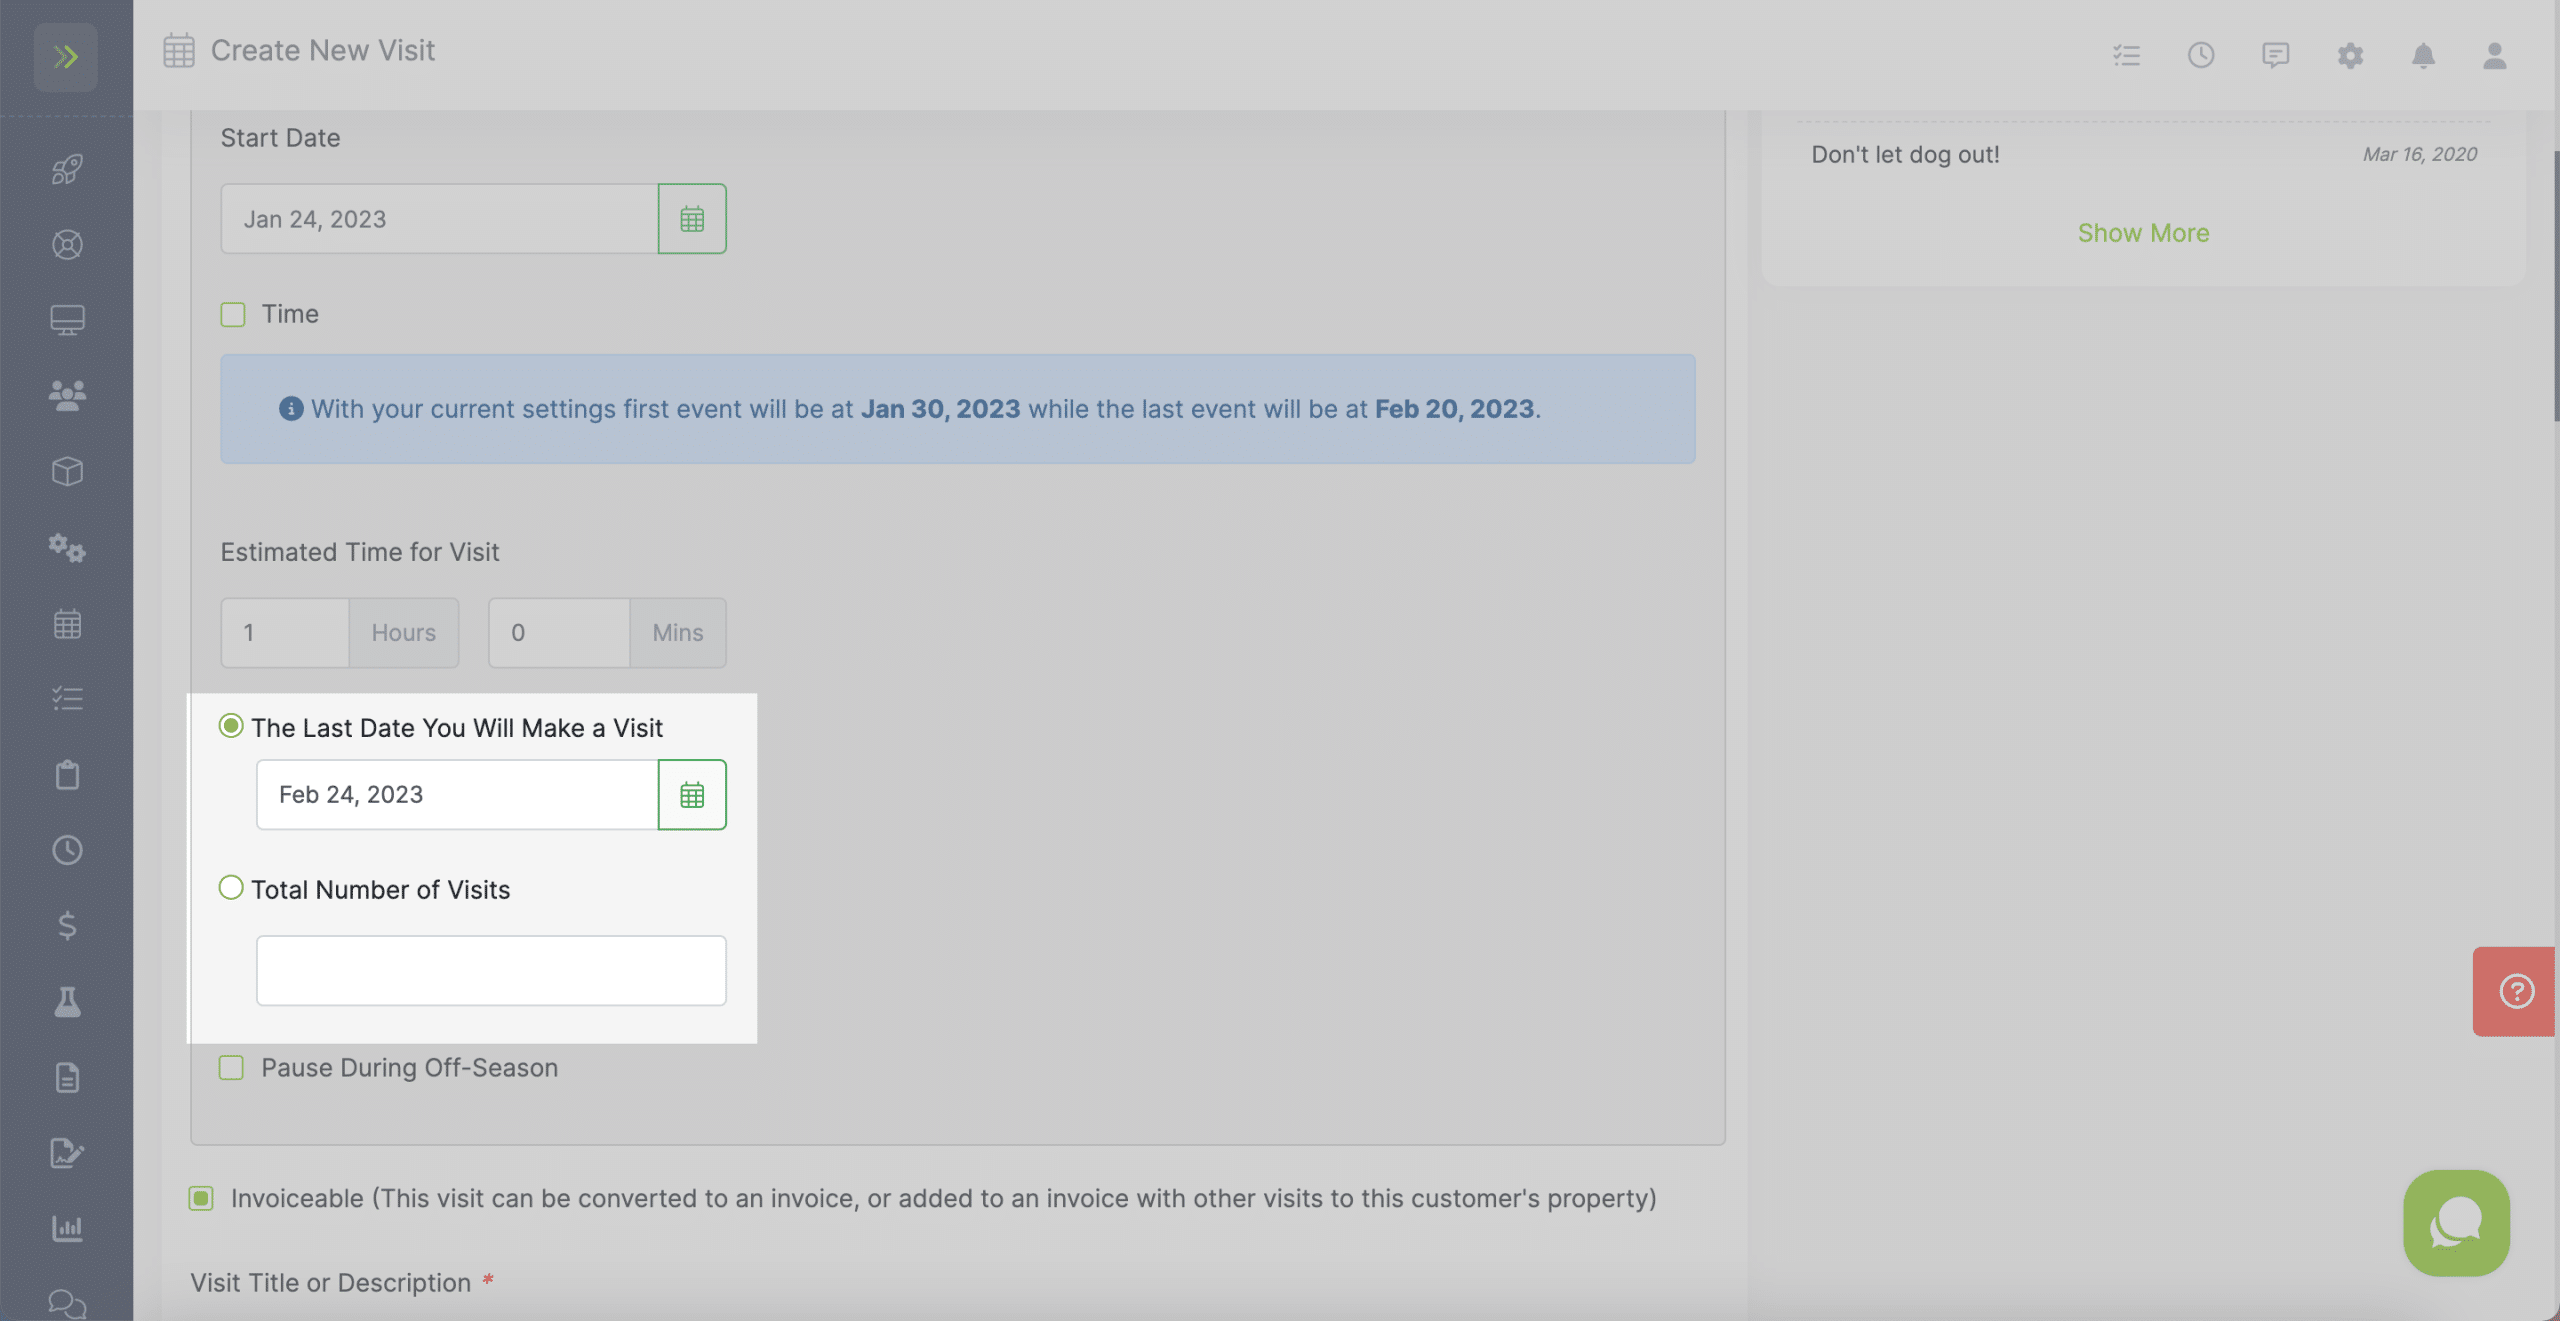
You will then choose when you want these visits to end.
If you do not want to choose an end date you, can set the “Total Number of Visits“
Note: You can only schedule 3 years out at this time.
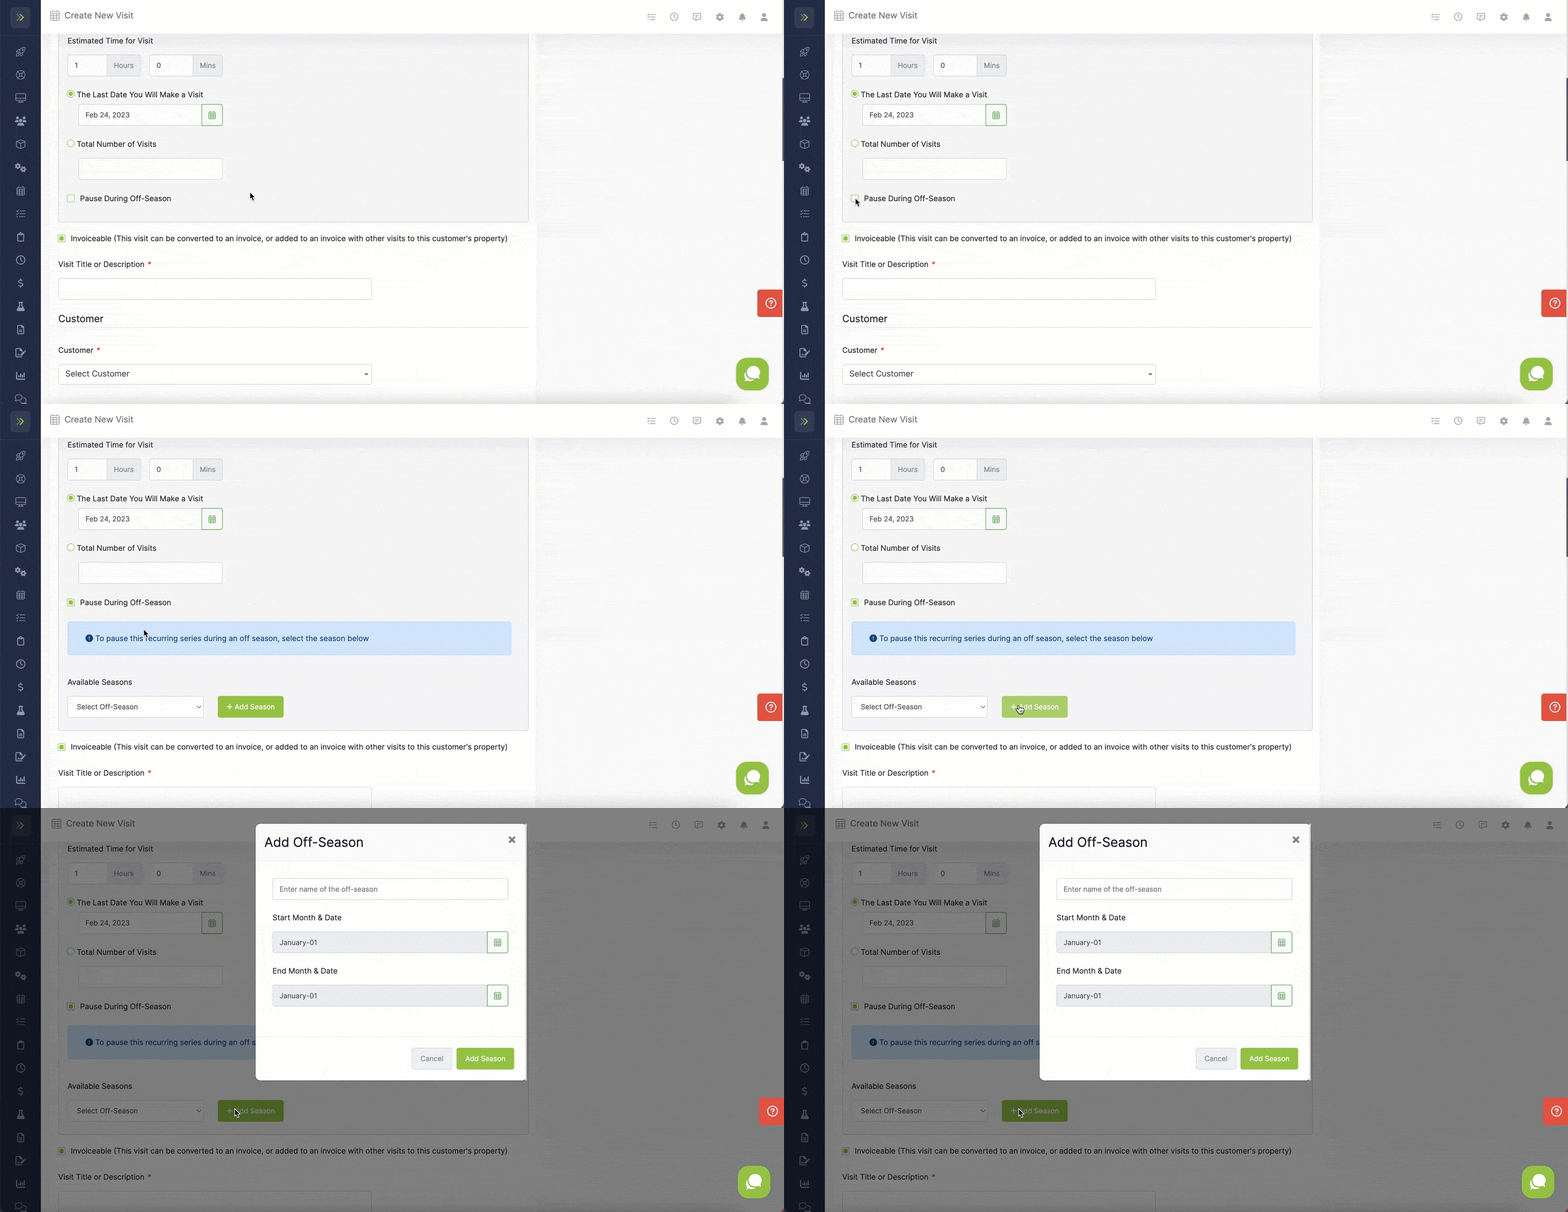
To add a seasonal pause to this recurring series, check the box beside “Pause During Off-Season”
More options will appear and you can select an off season you have already created or click the plus sign to create a new one.
Note: At this time, off seasons can only be created, not edited or deleted. If you need to change an off season, you will add a new one and assign it to the recurring series.
Then name the recurring series and select a customer and property for the visits.
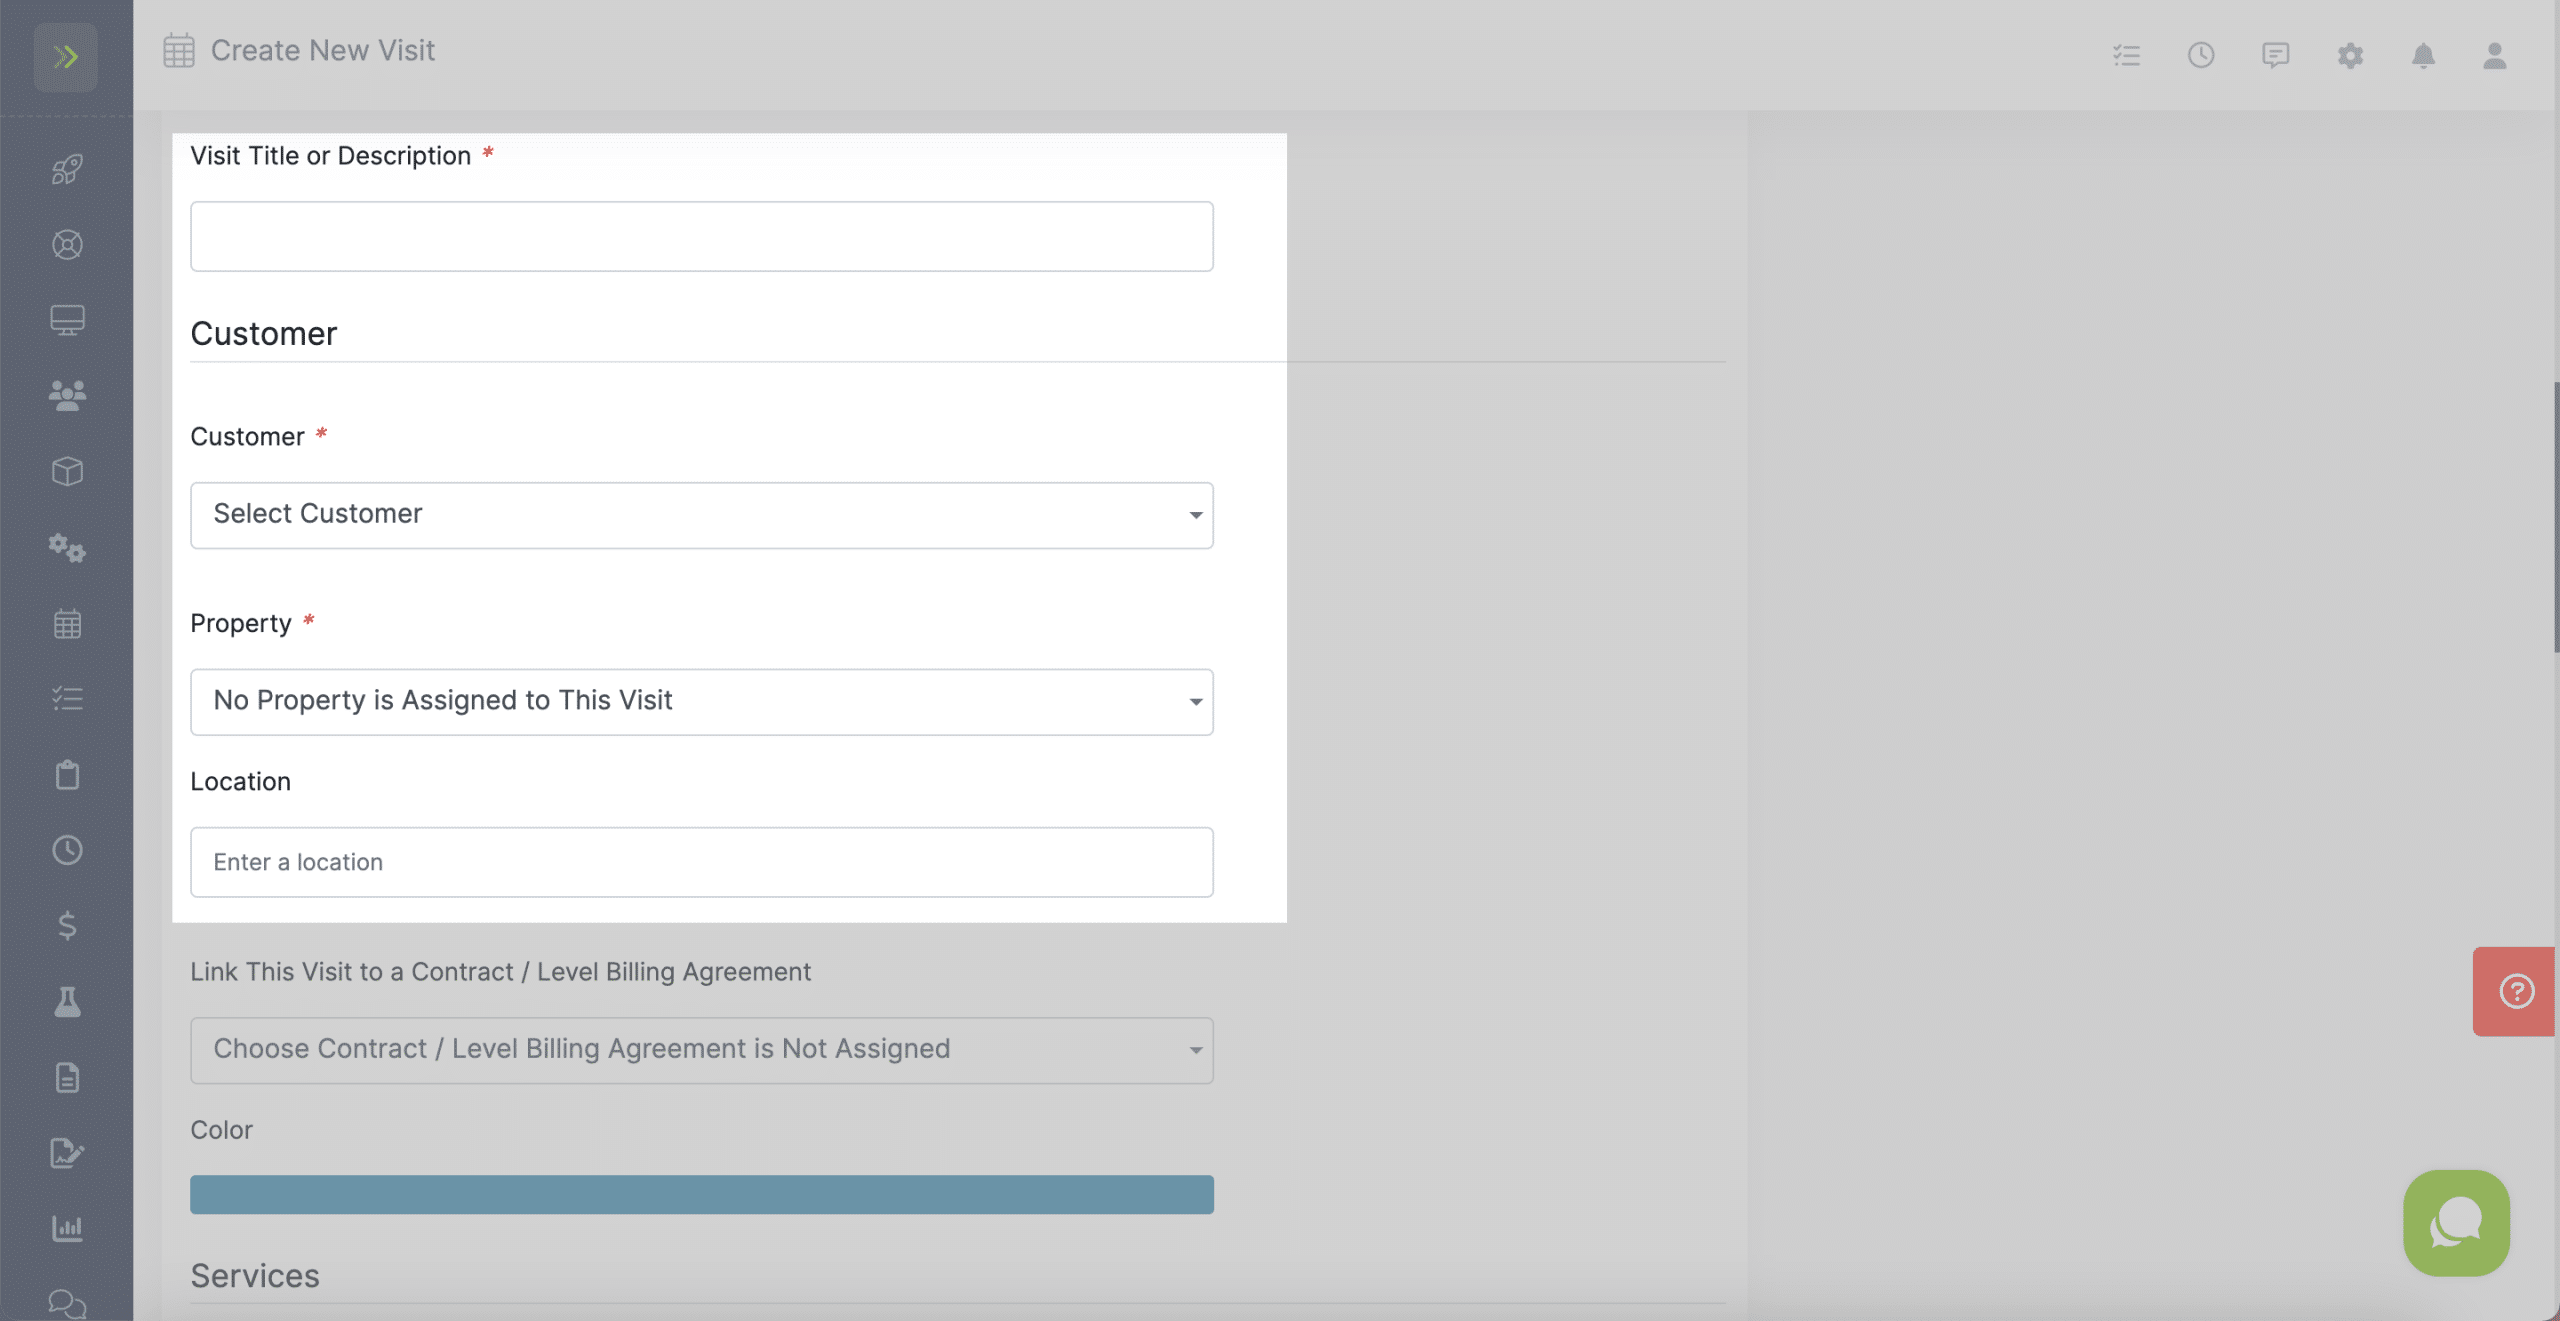
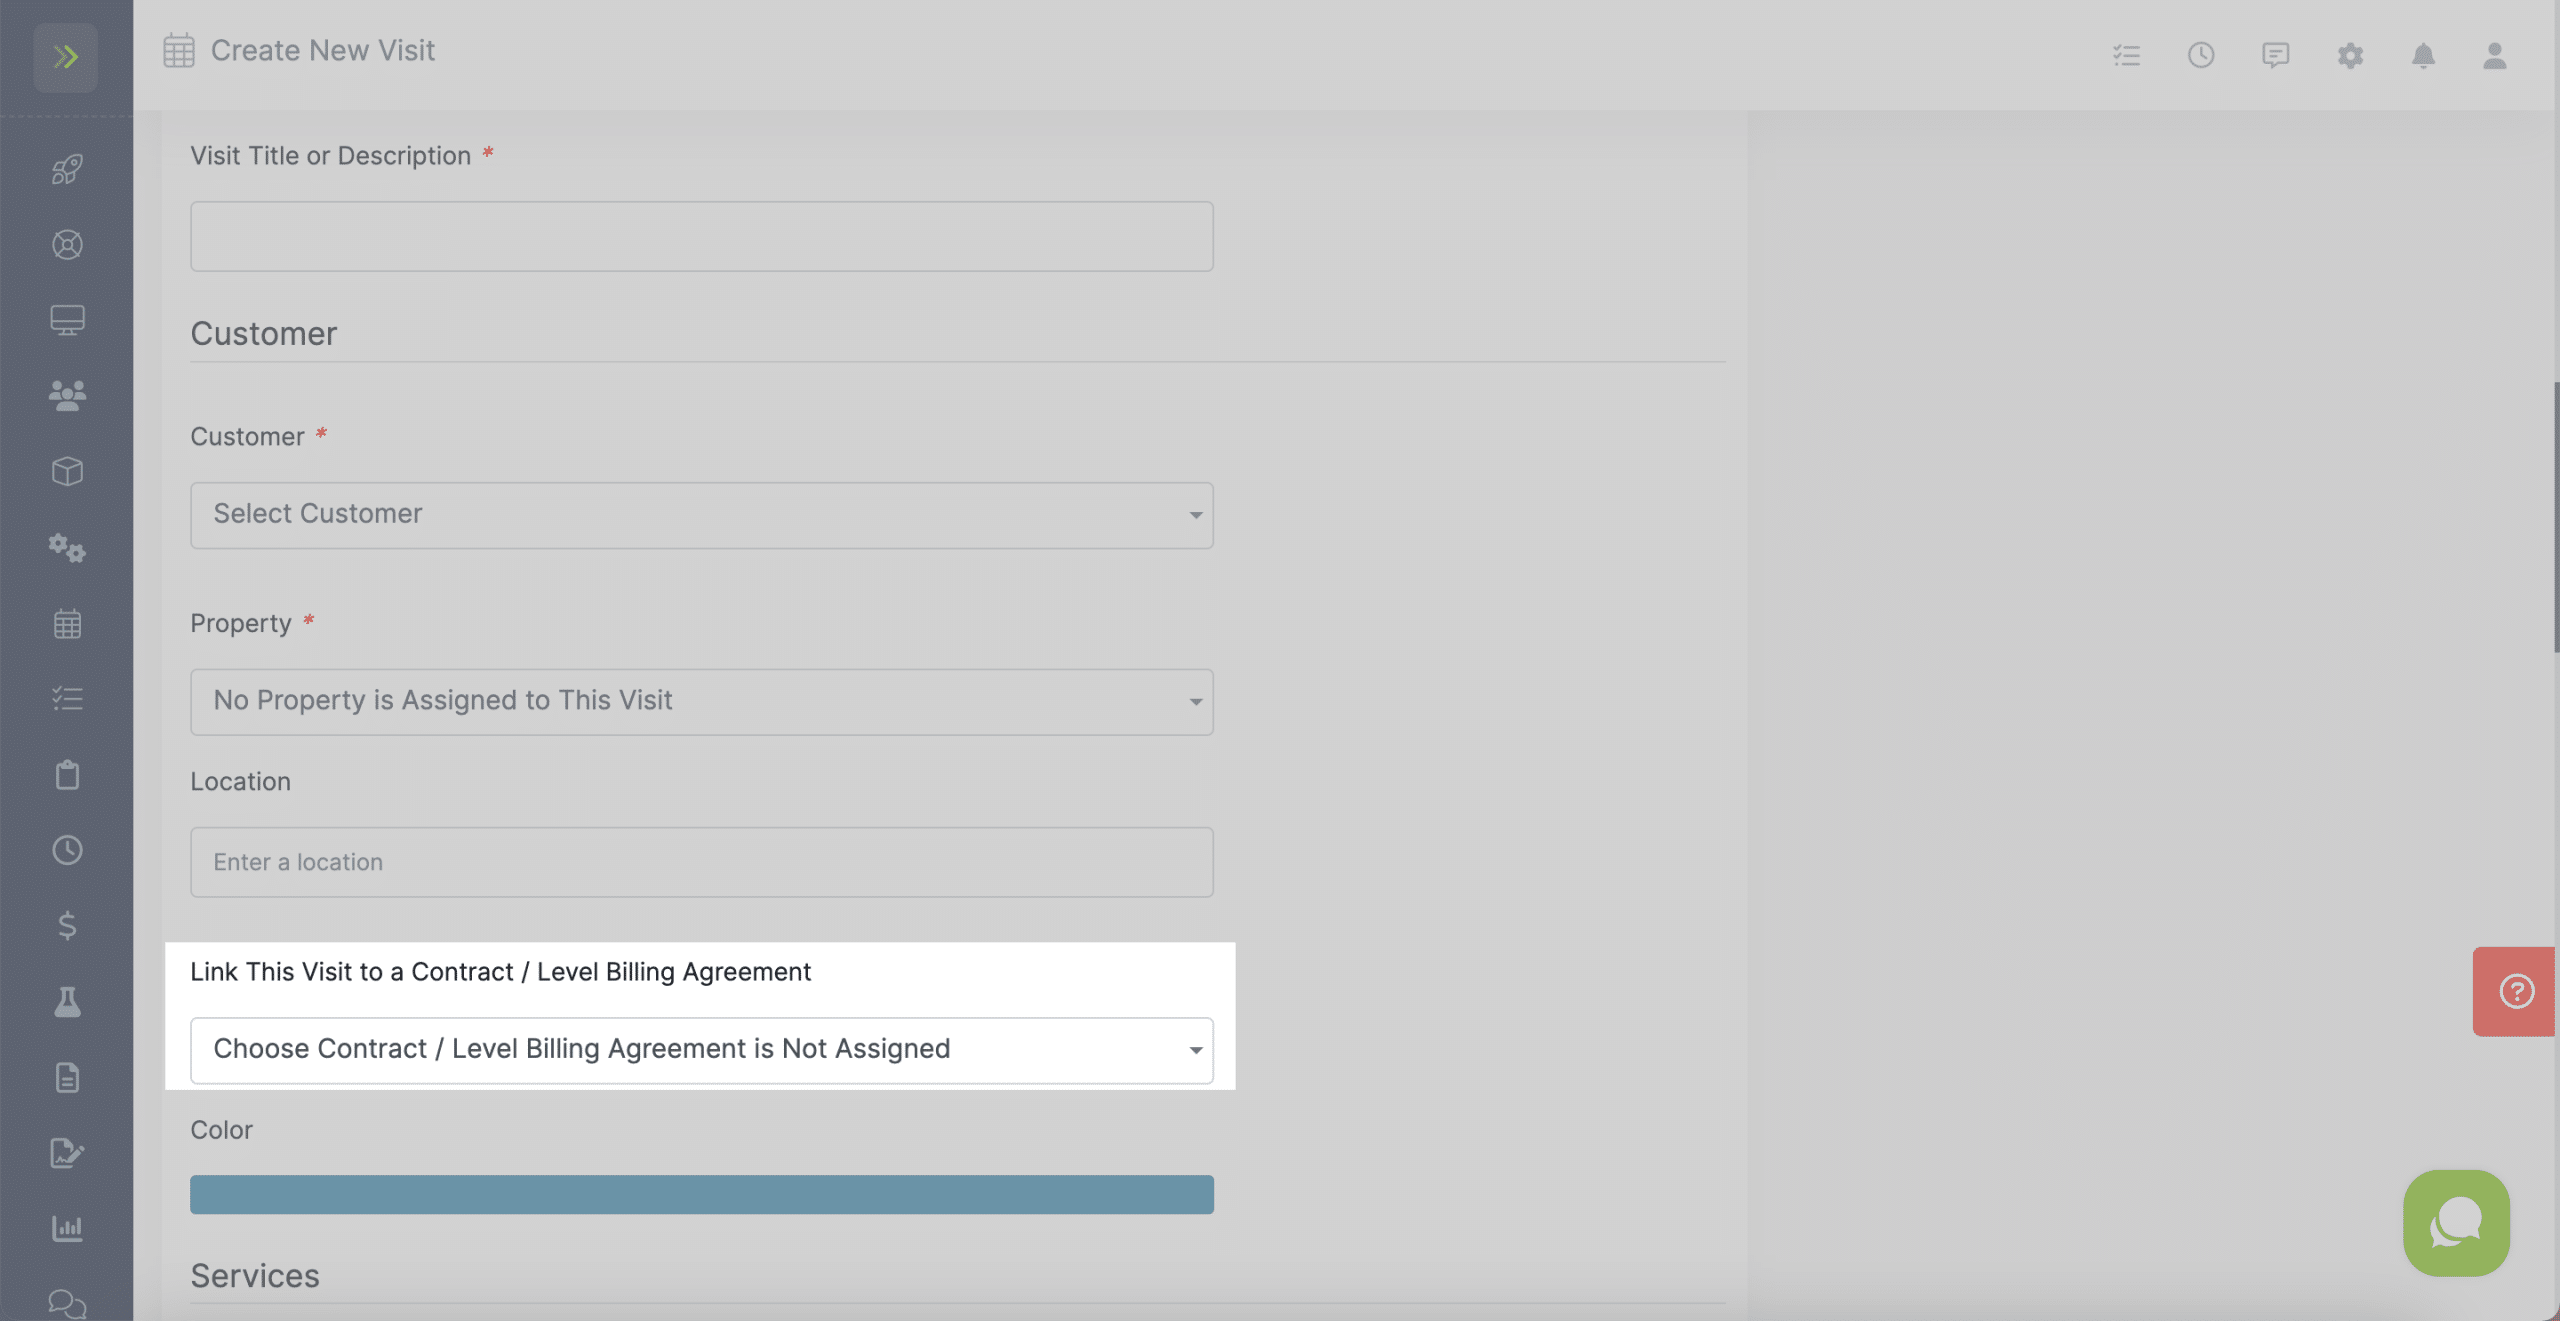
You can link a recurring series of visits to a contract/level billing using this drop down.
You can learn more about those here.
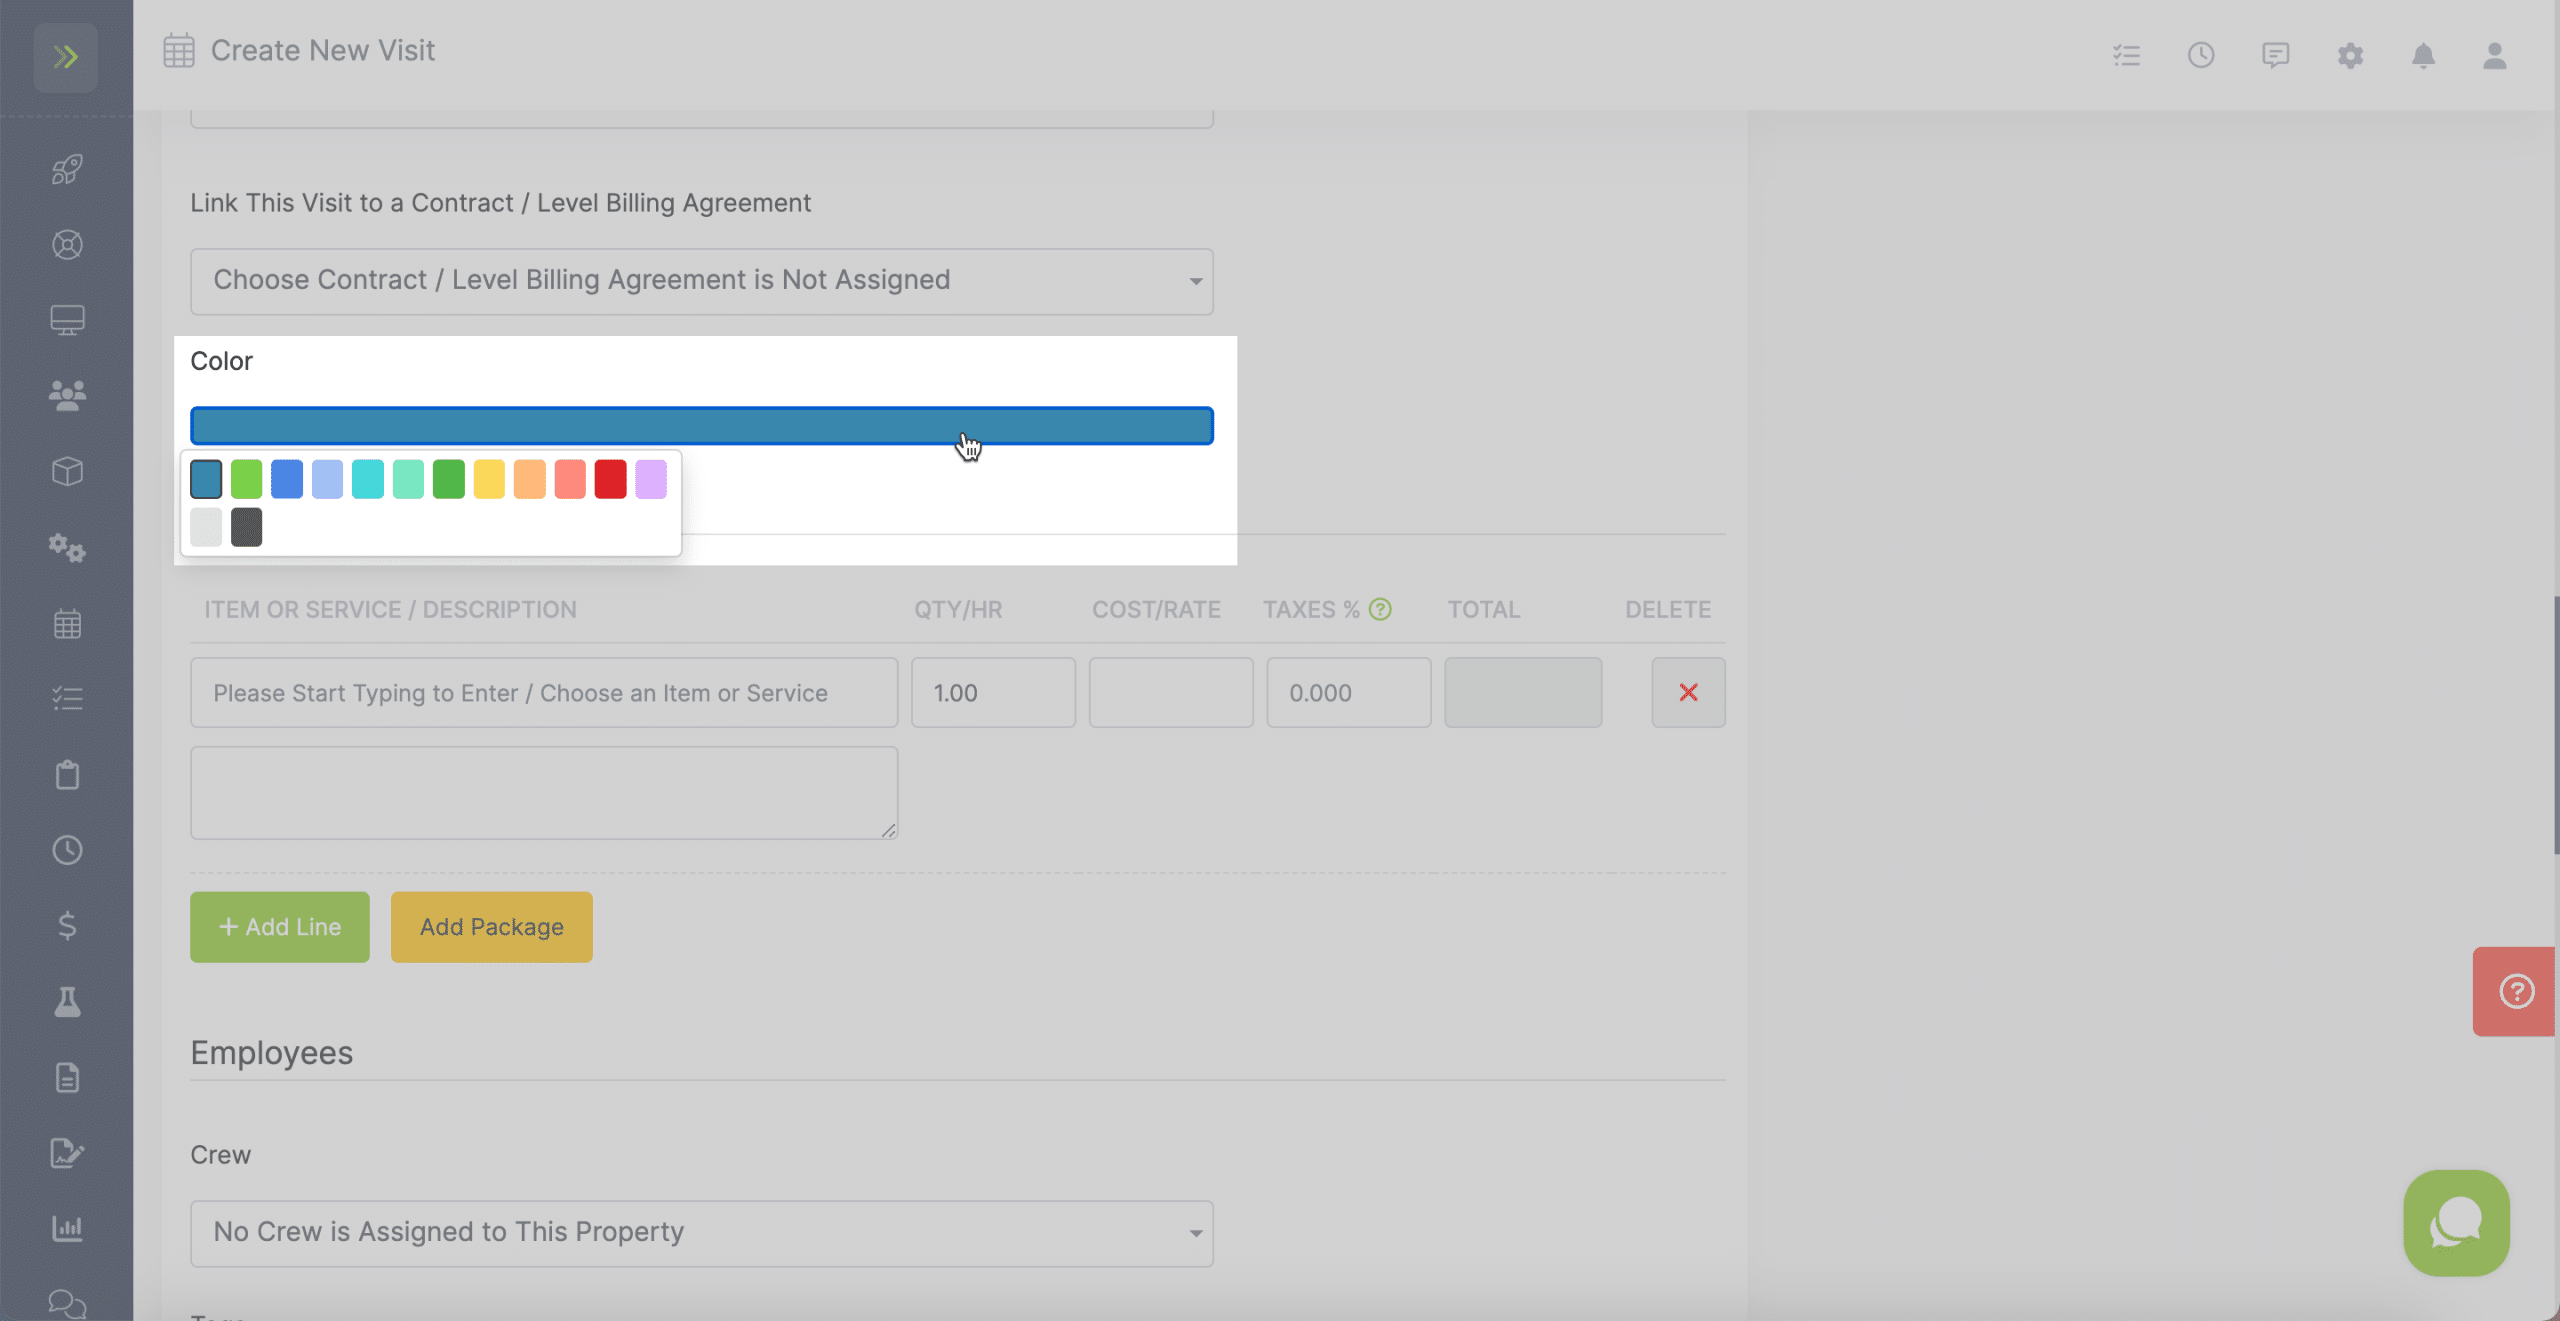
By default, open visits show as a teal color on your calendar. If you want to choose a different color for these visits click on the teal bar and select the color.
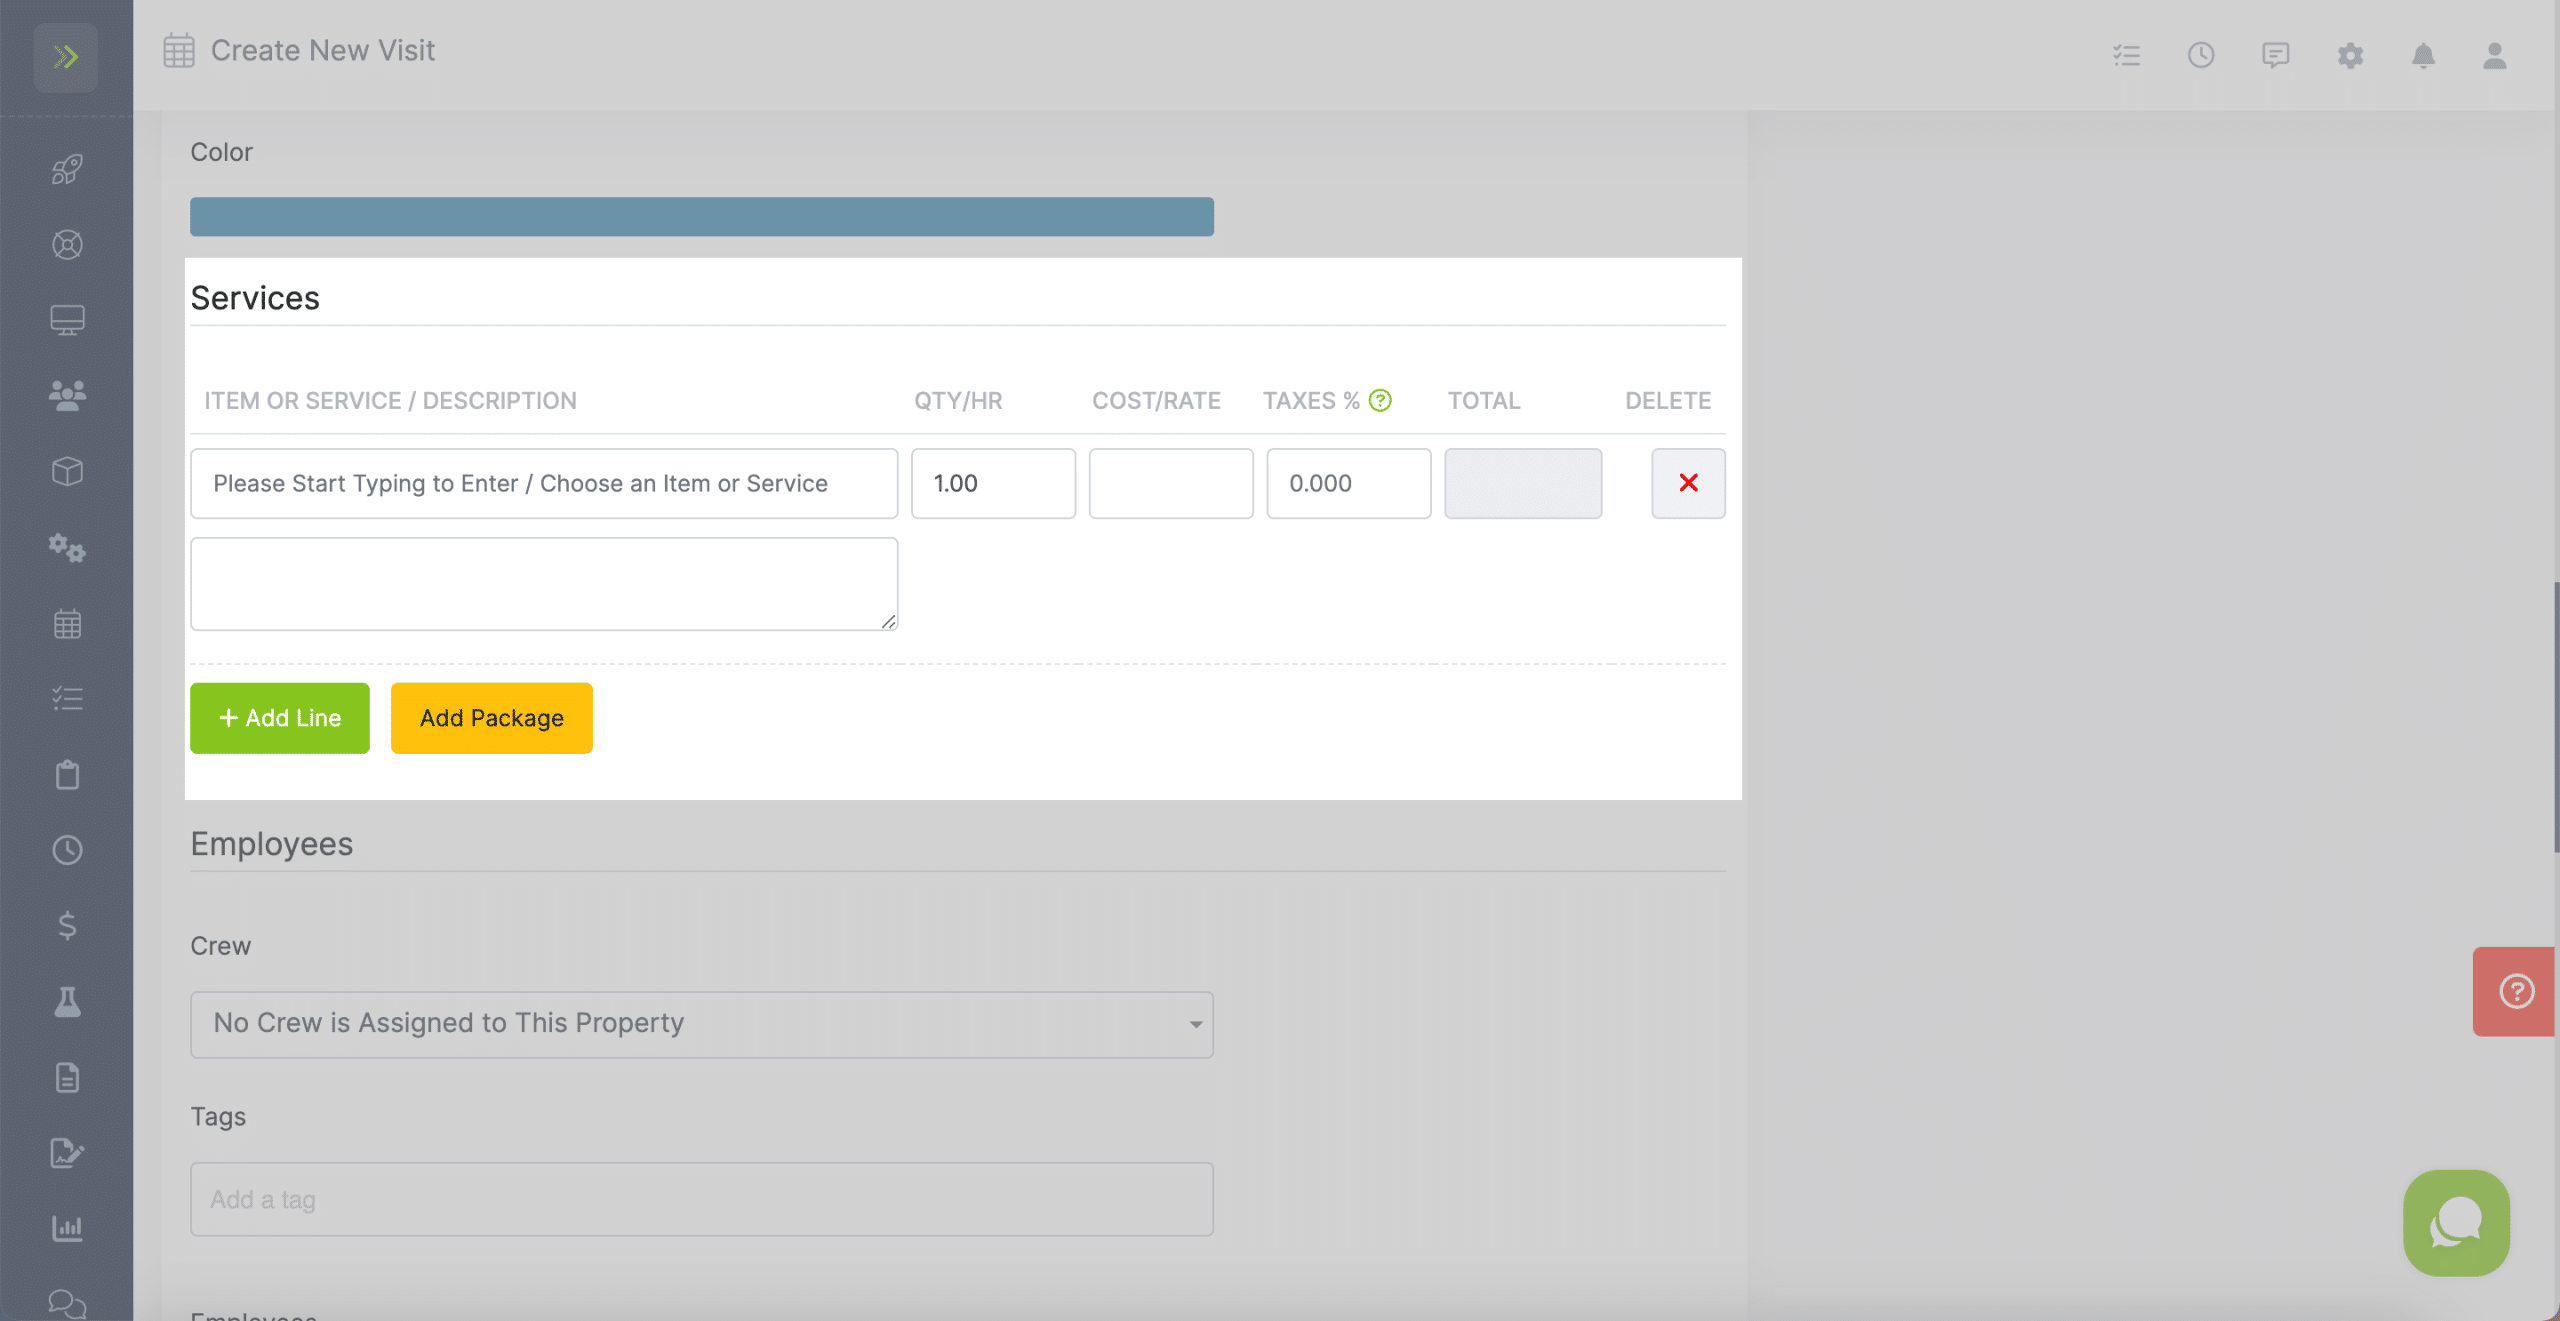
Next, you will add the items/services for these visits.
If you have already added item and services to your account, you can start typing in the item/service description box and the items should auto-populate with the prices you have set.
You can add more than one line item by clicking the green “+ Add Line” button or you can add a package of items by clicking the yellow “Add Package” button.
Note: If you have default item or services added to the selected property, they will auto-populate here once you select the property in the steps above.
This section allows you to assign a crew or employees. When you select a crew from the drop down, it will automatically show you the employees that will be assigned in the employees box.
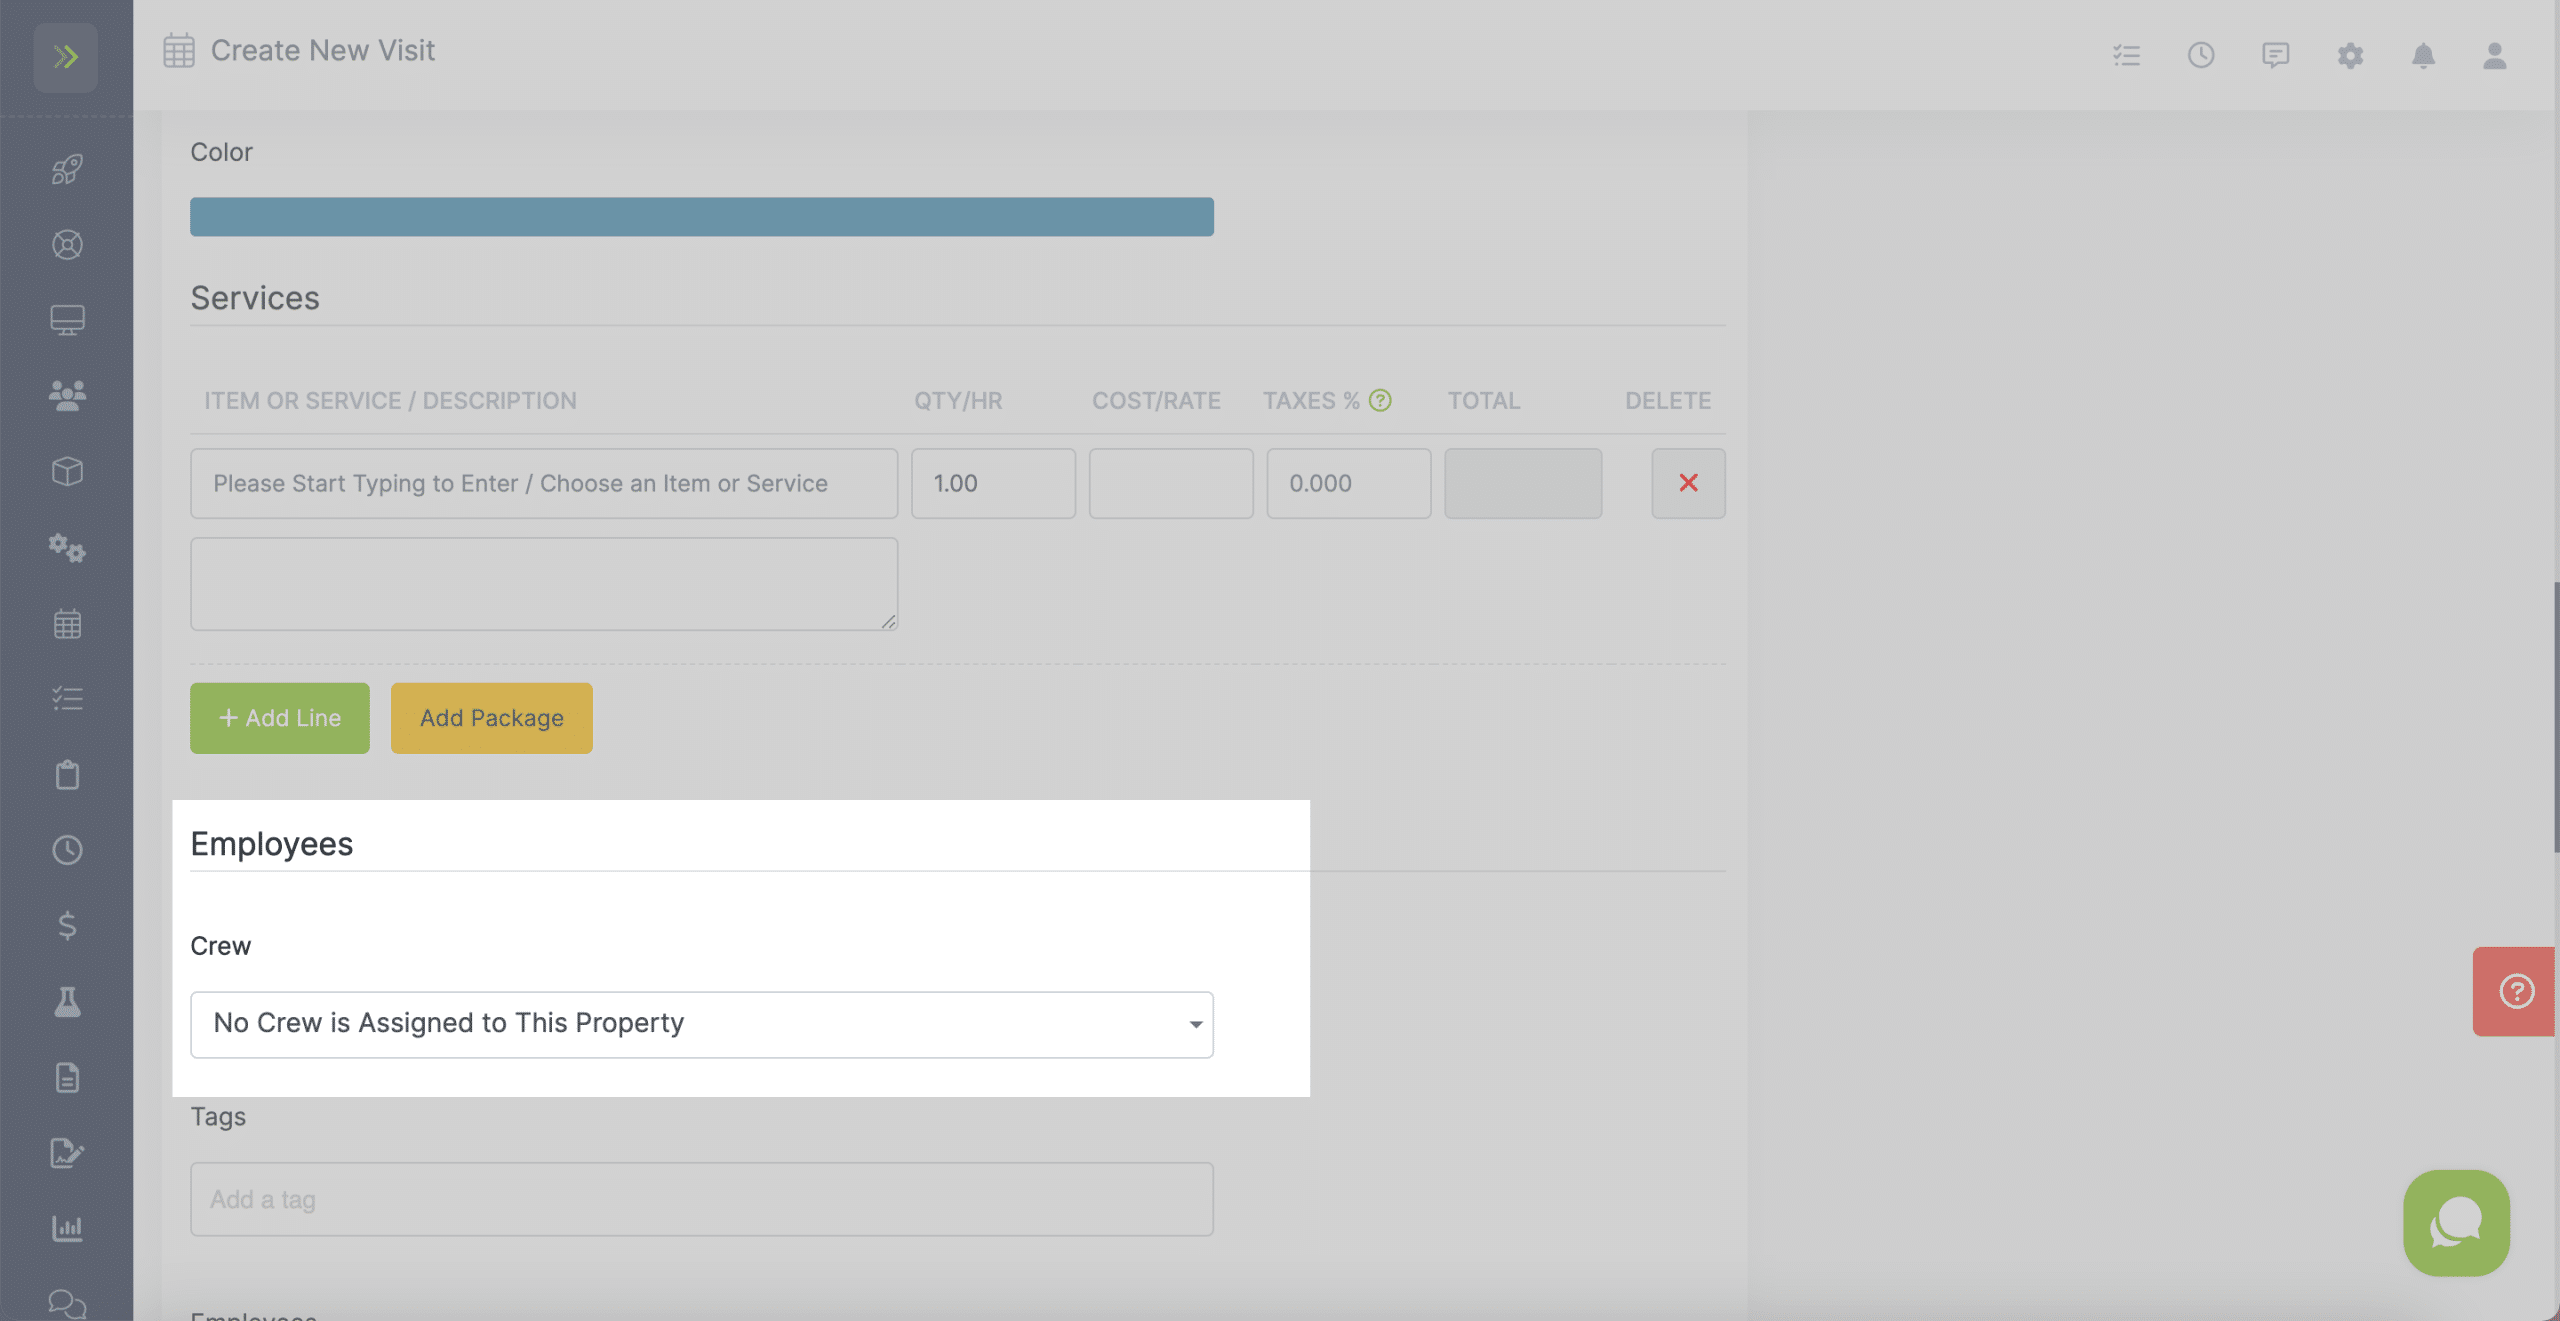
If you do not want to assign a crew, only an employee or employees, type those in the employee box.
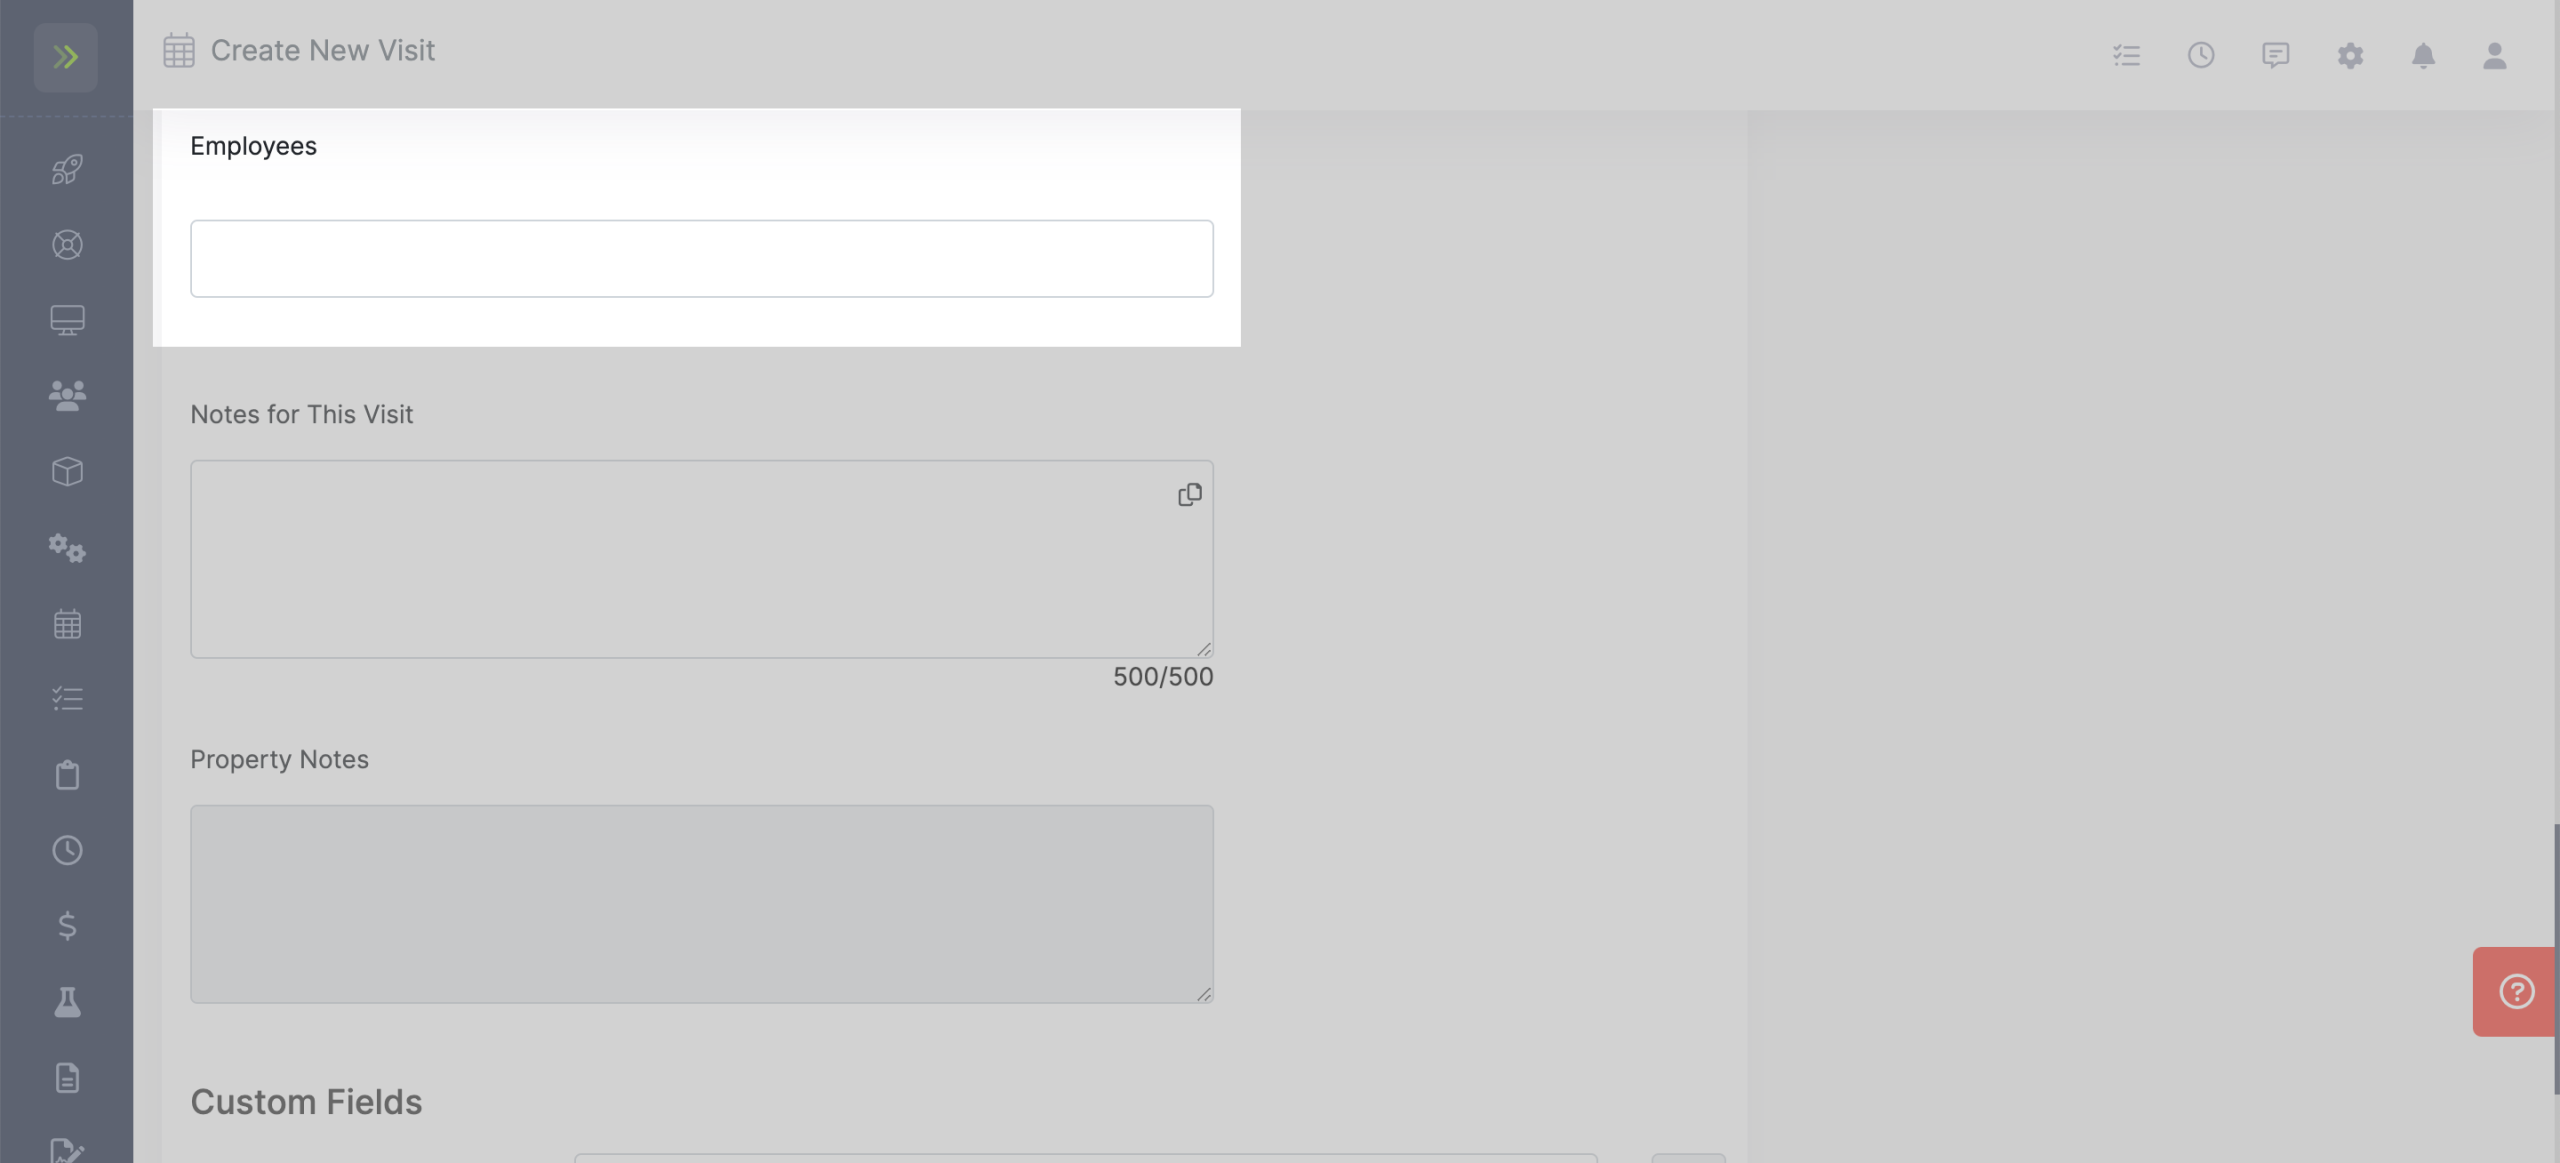
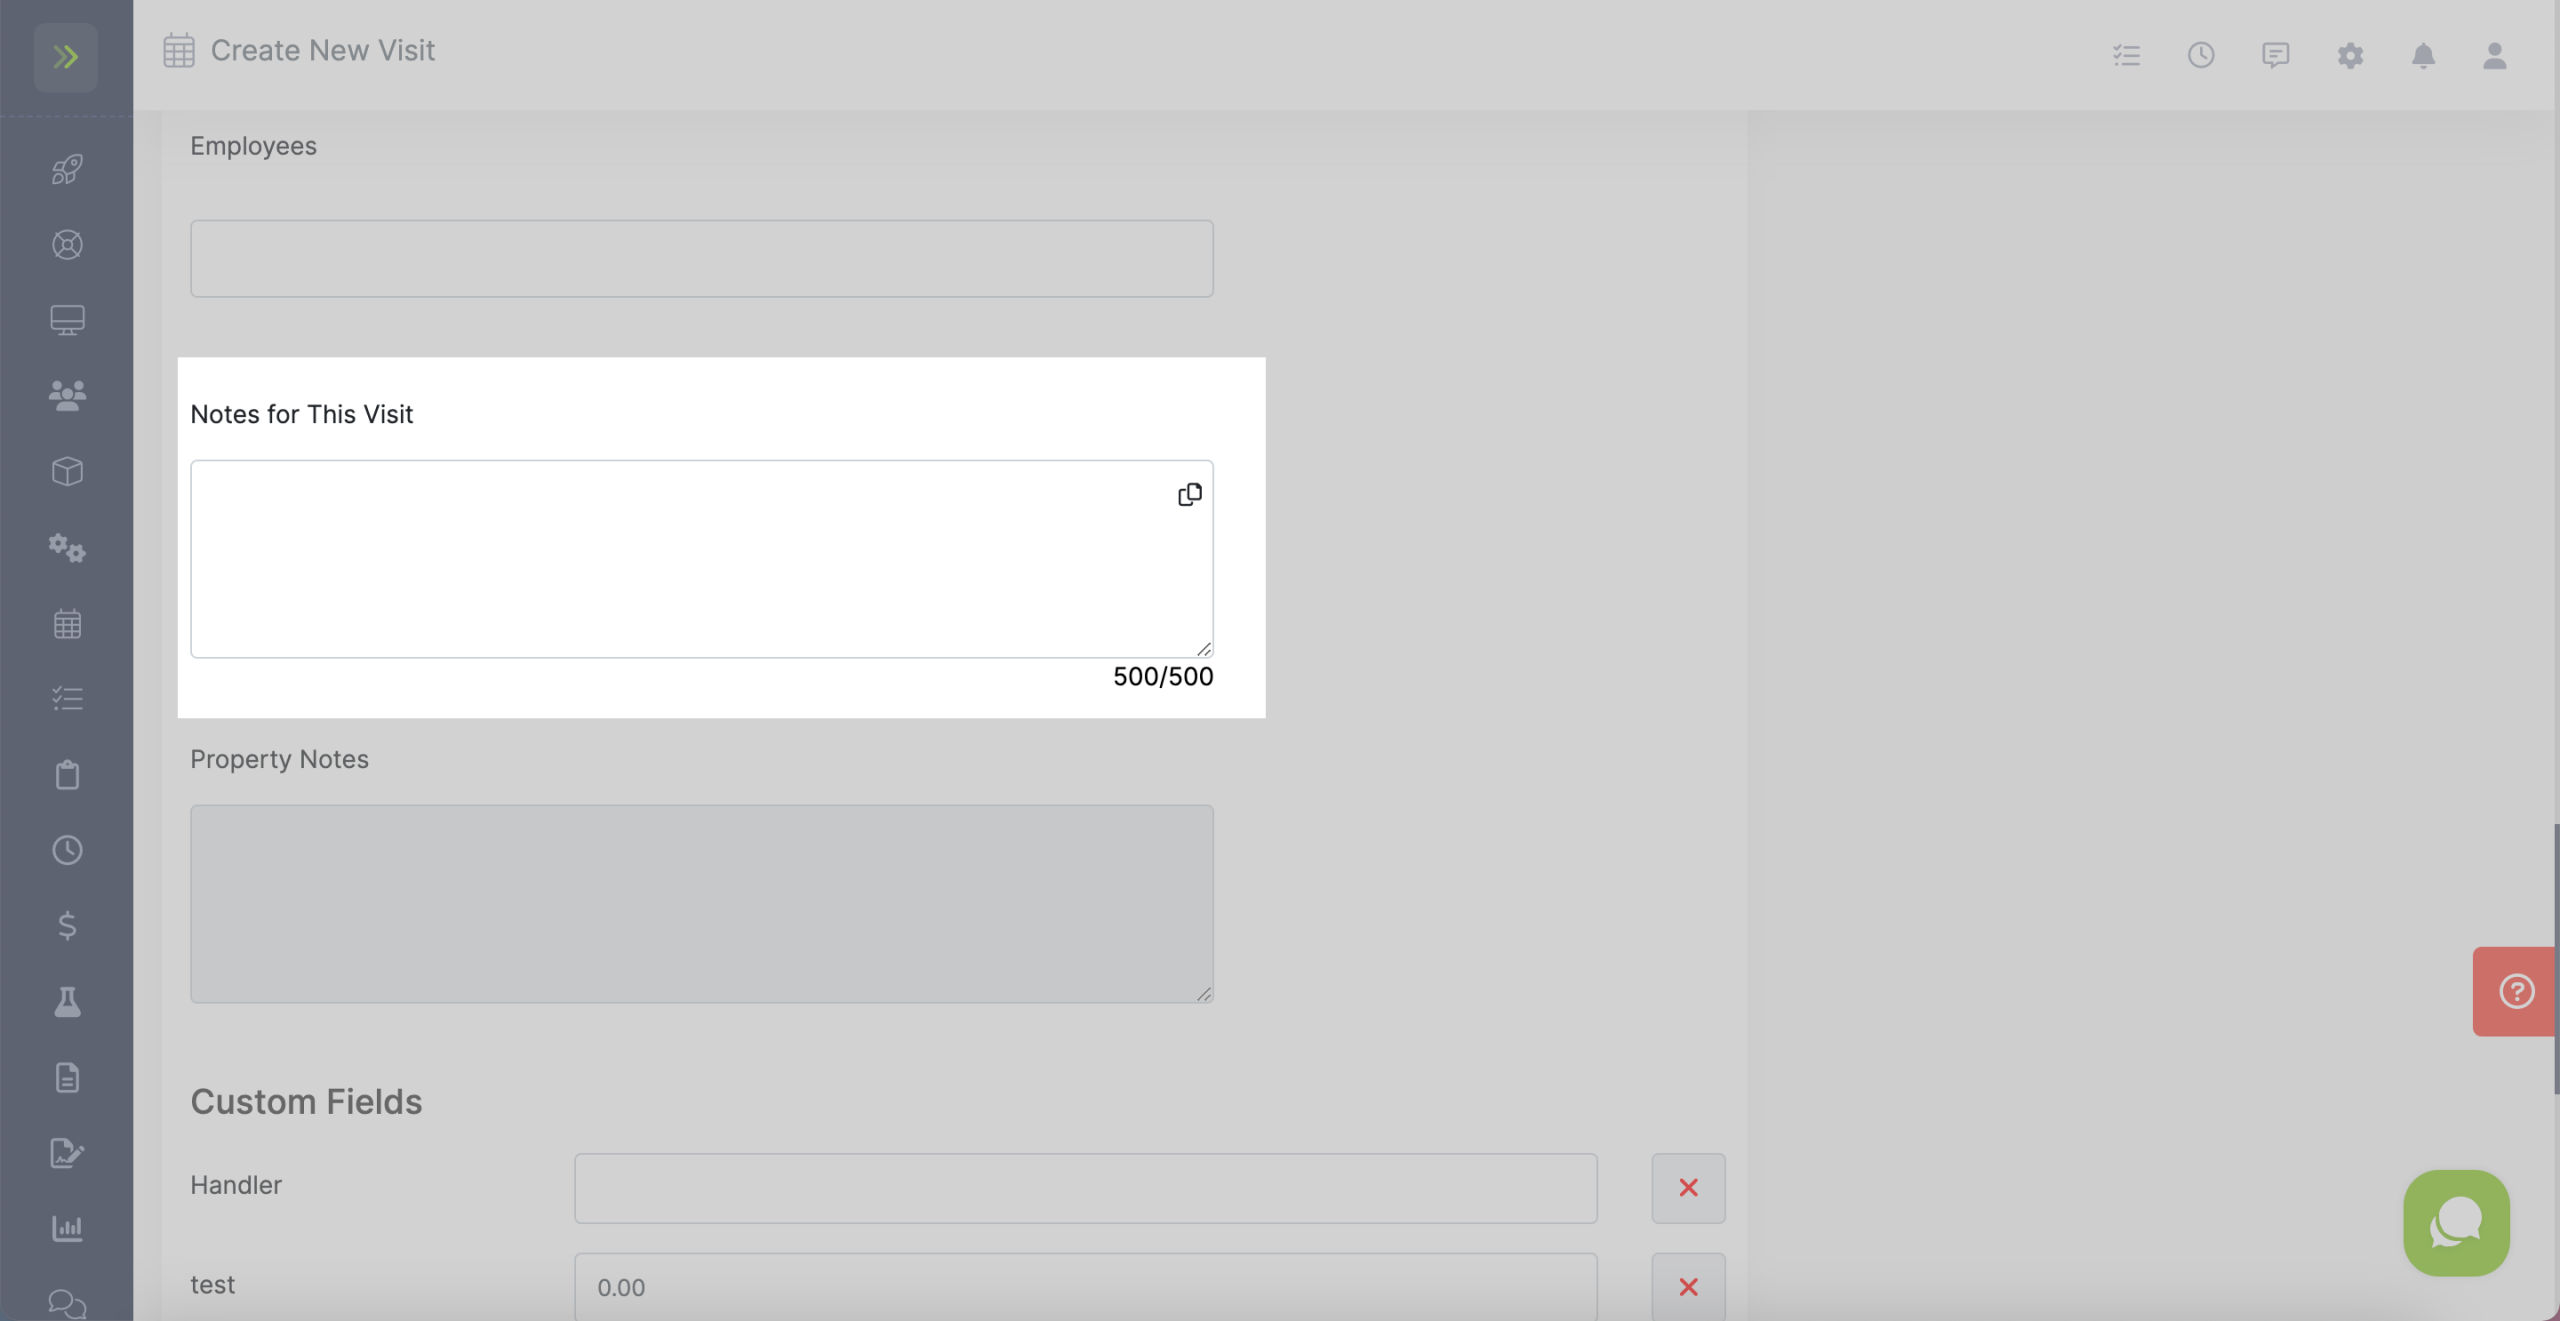
You can add notes for these visits. They will only show up on the visit on your side, not the customers.
Once you have selected the property for the visits, if there are any property notes, you will see them here. The property notes cannot be edited on this page. You will do that by editing the property.
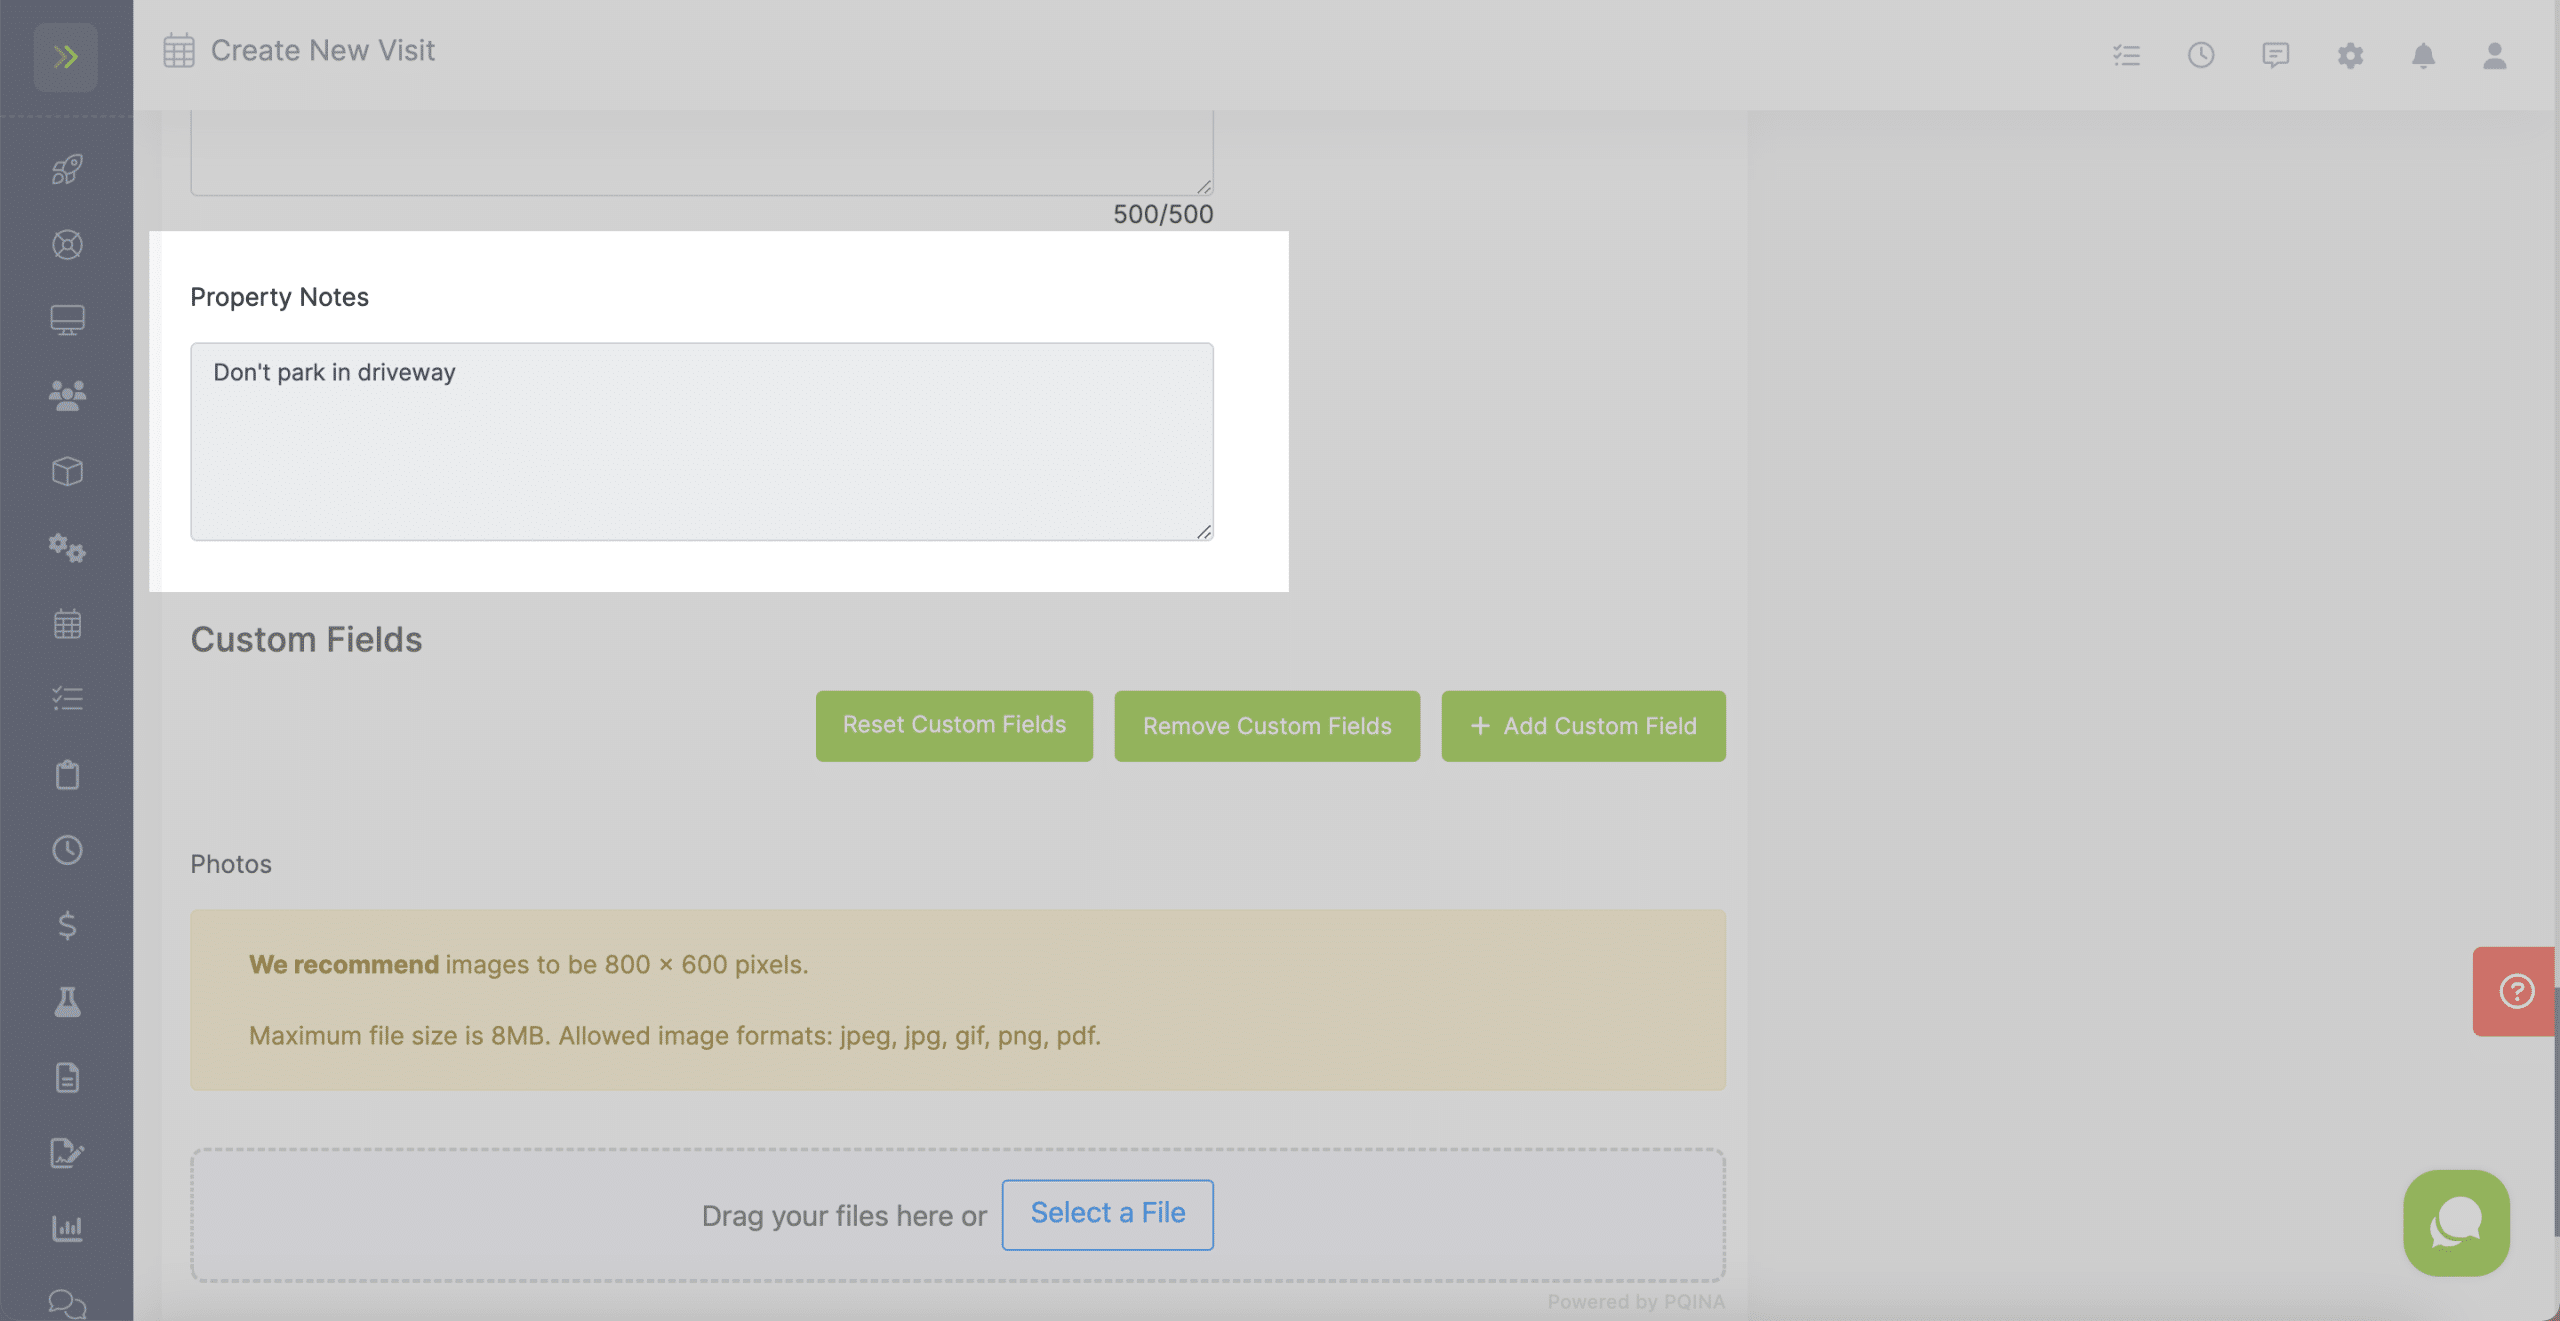
You can add custom fields to your visits. To learn more about Custom Fields please click here.
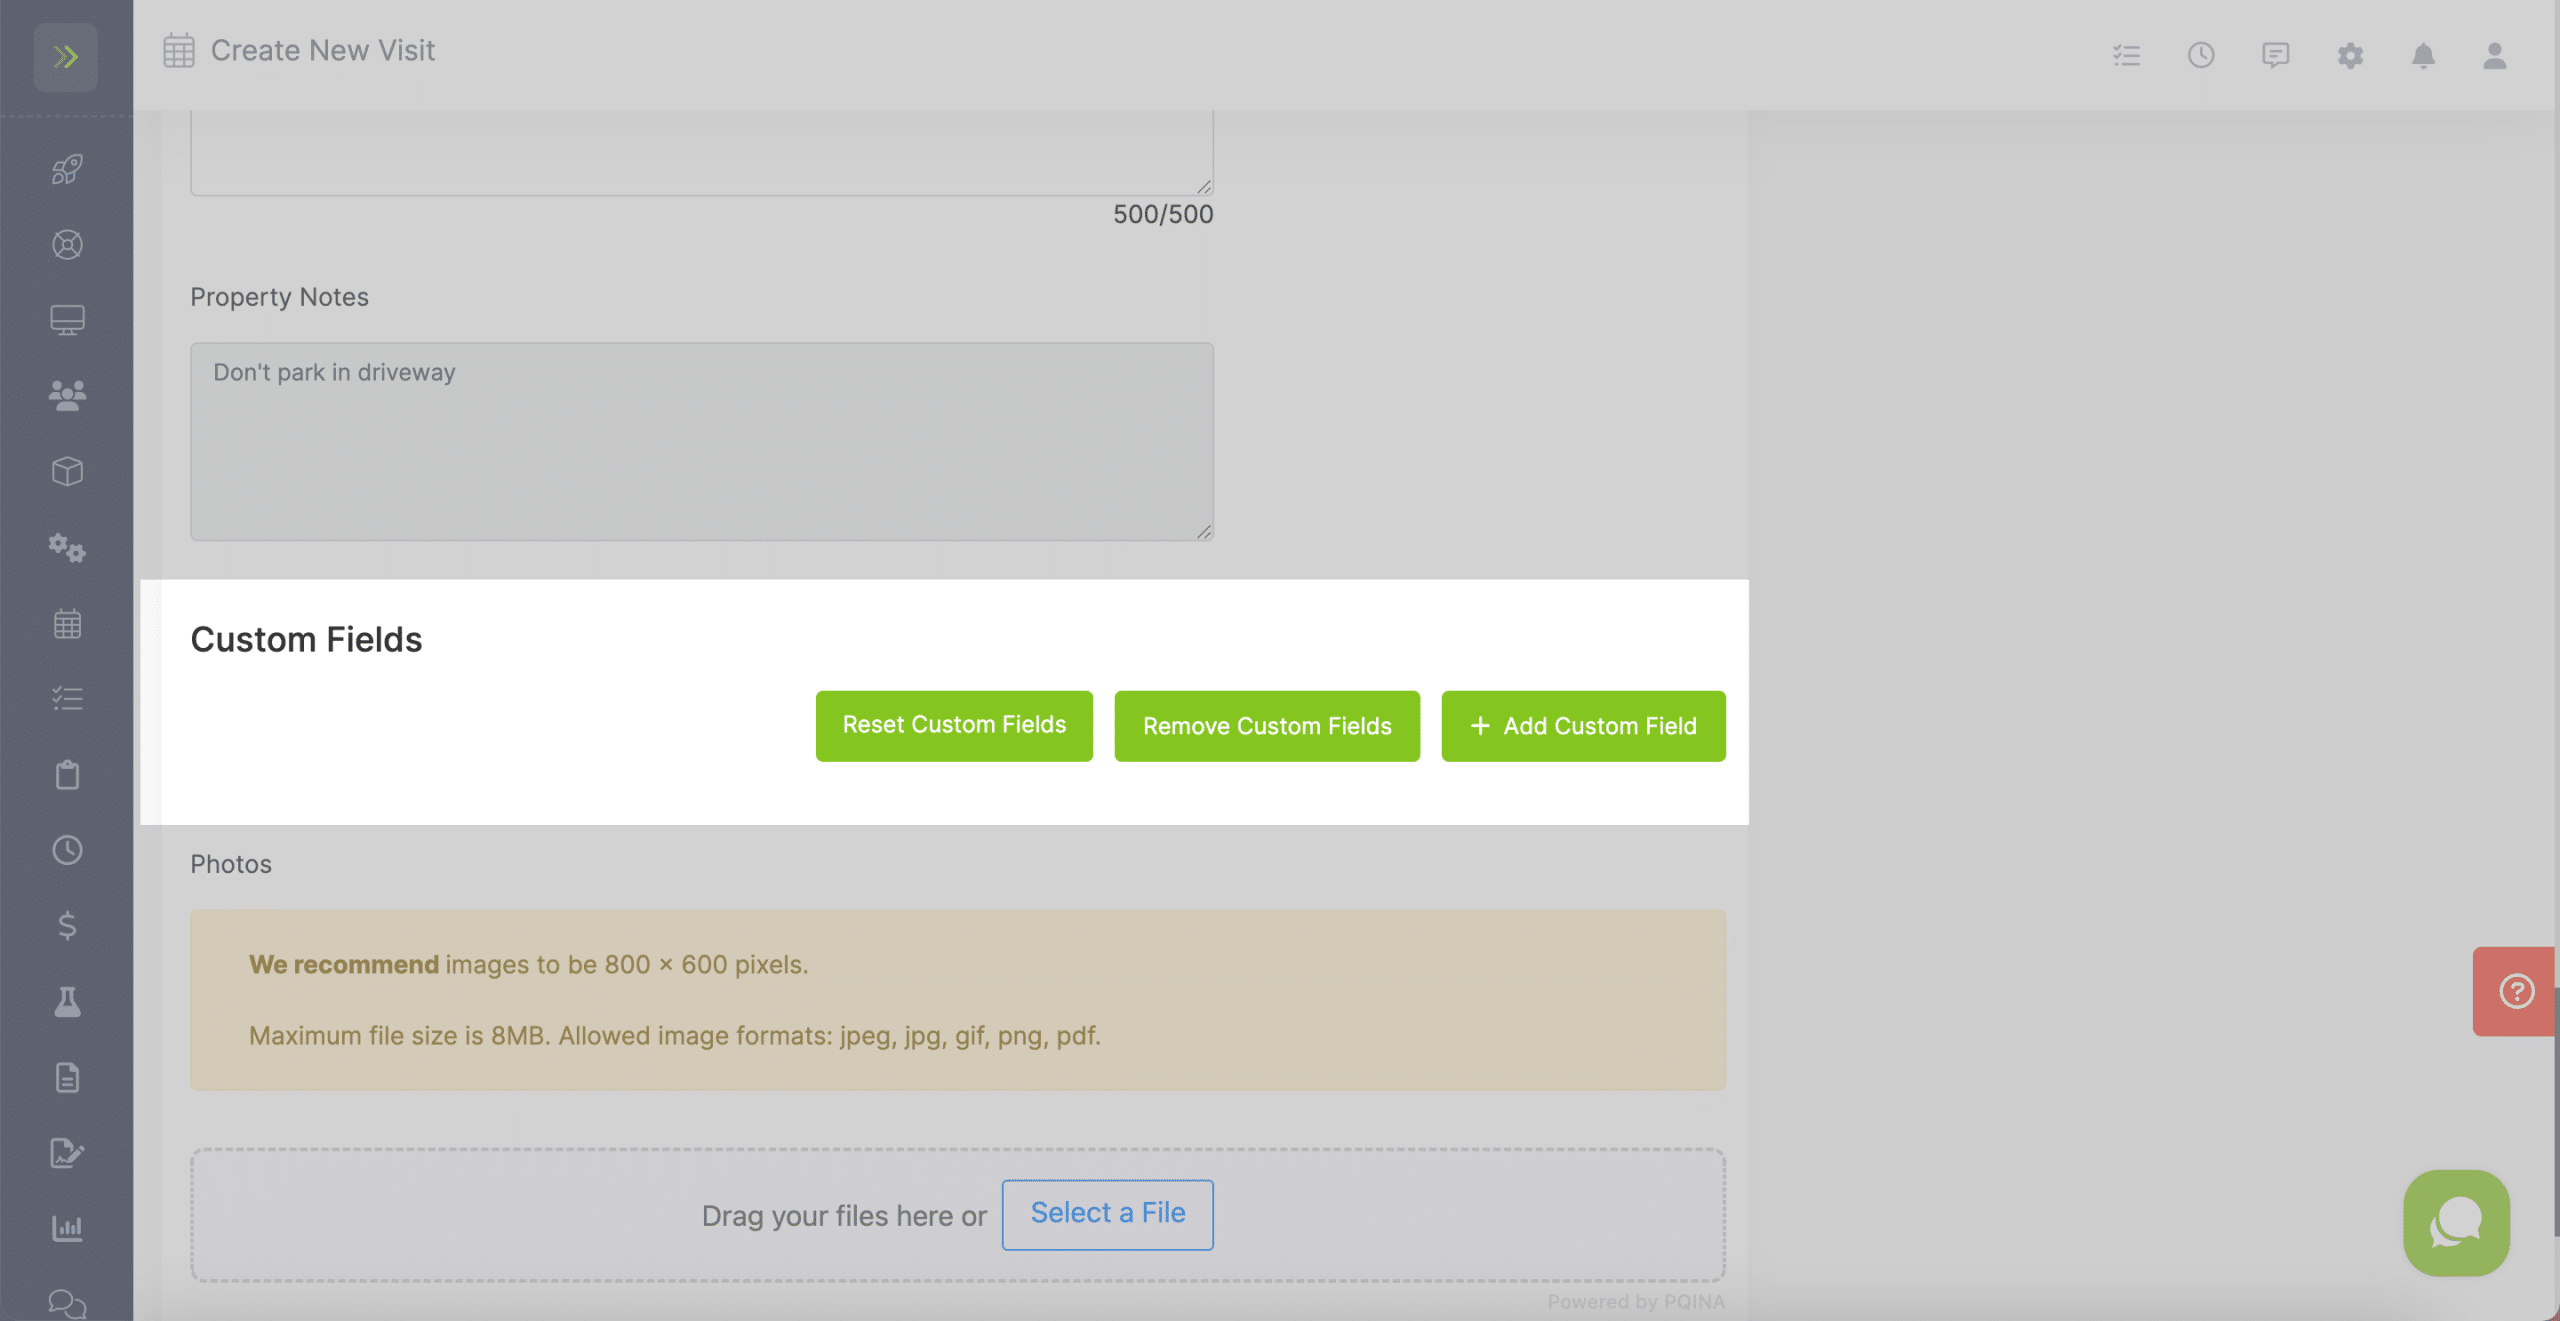
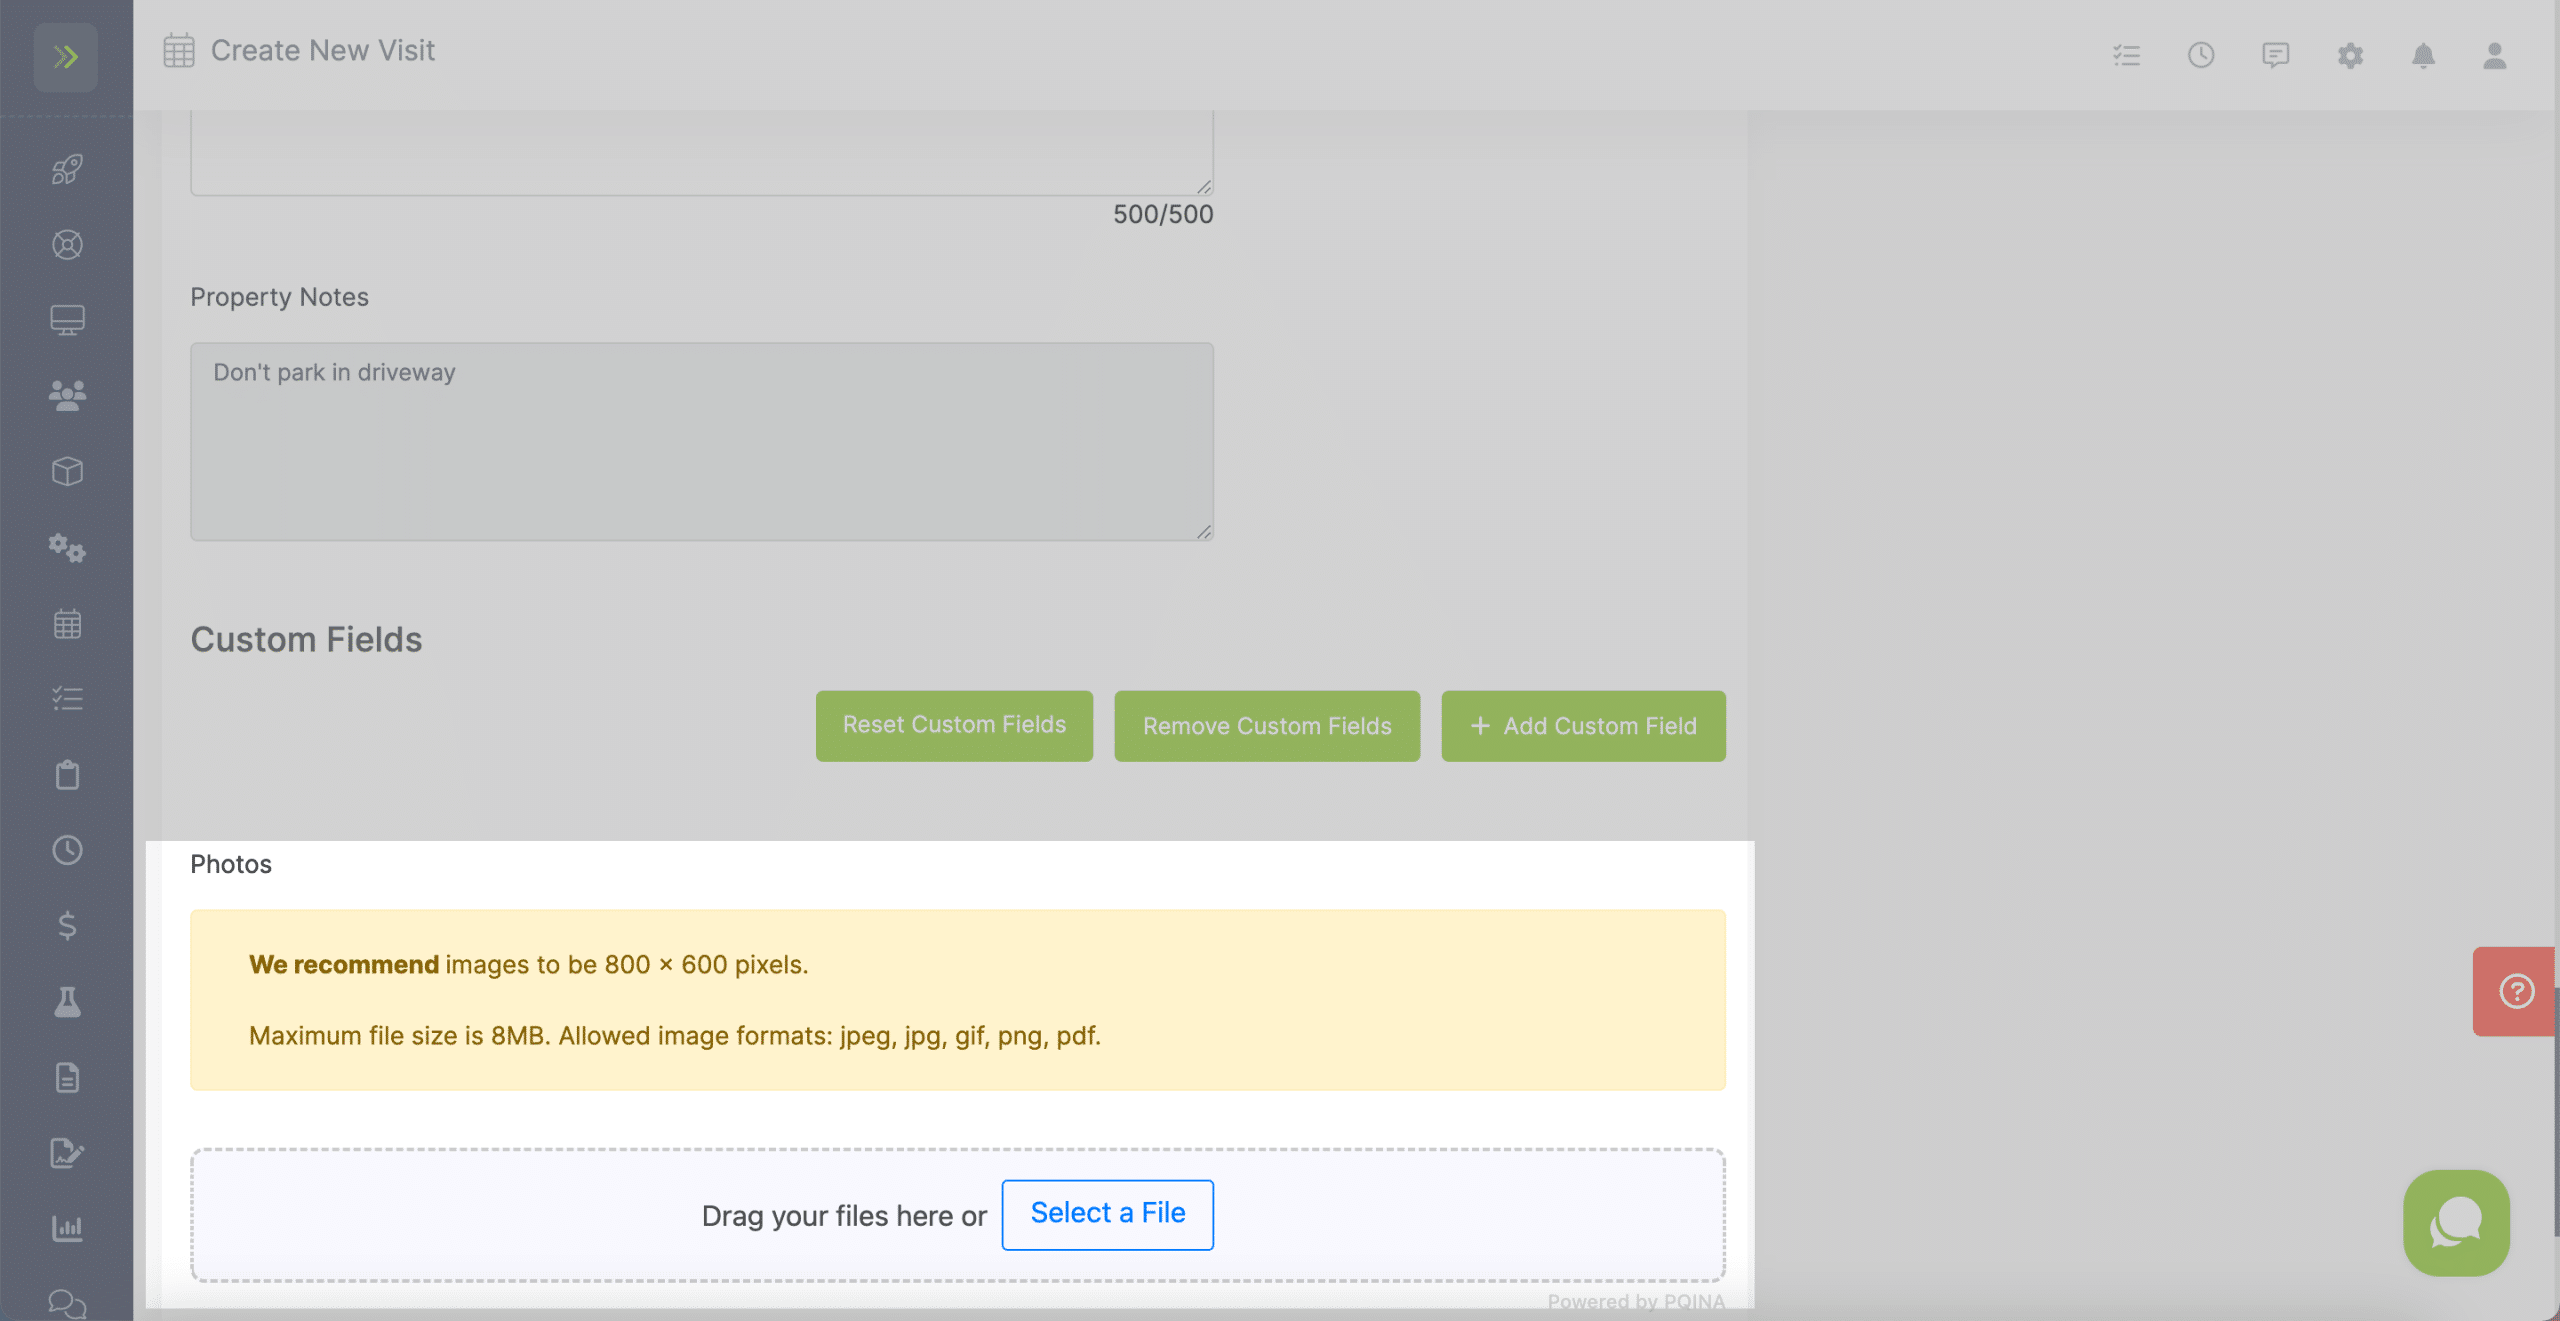
To add photos or documents for this recurring series you can drag your files to the upload area or click the “Select a File” button.
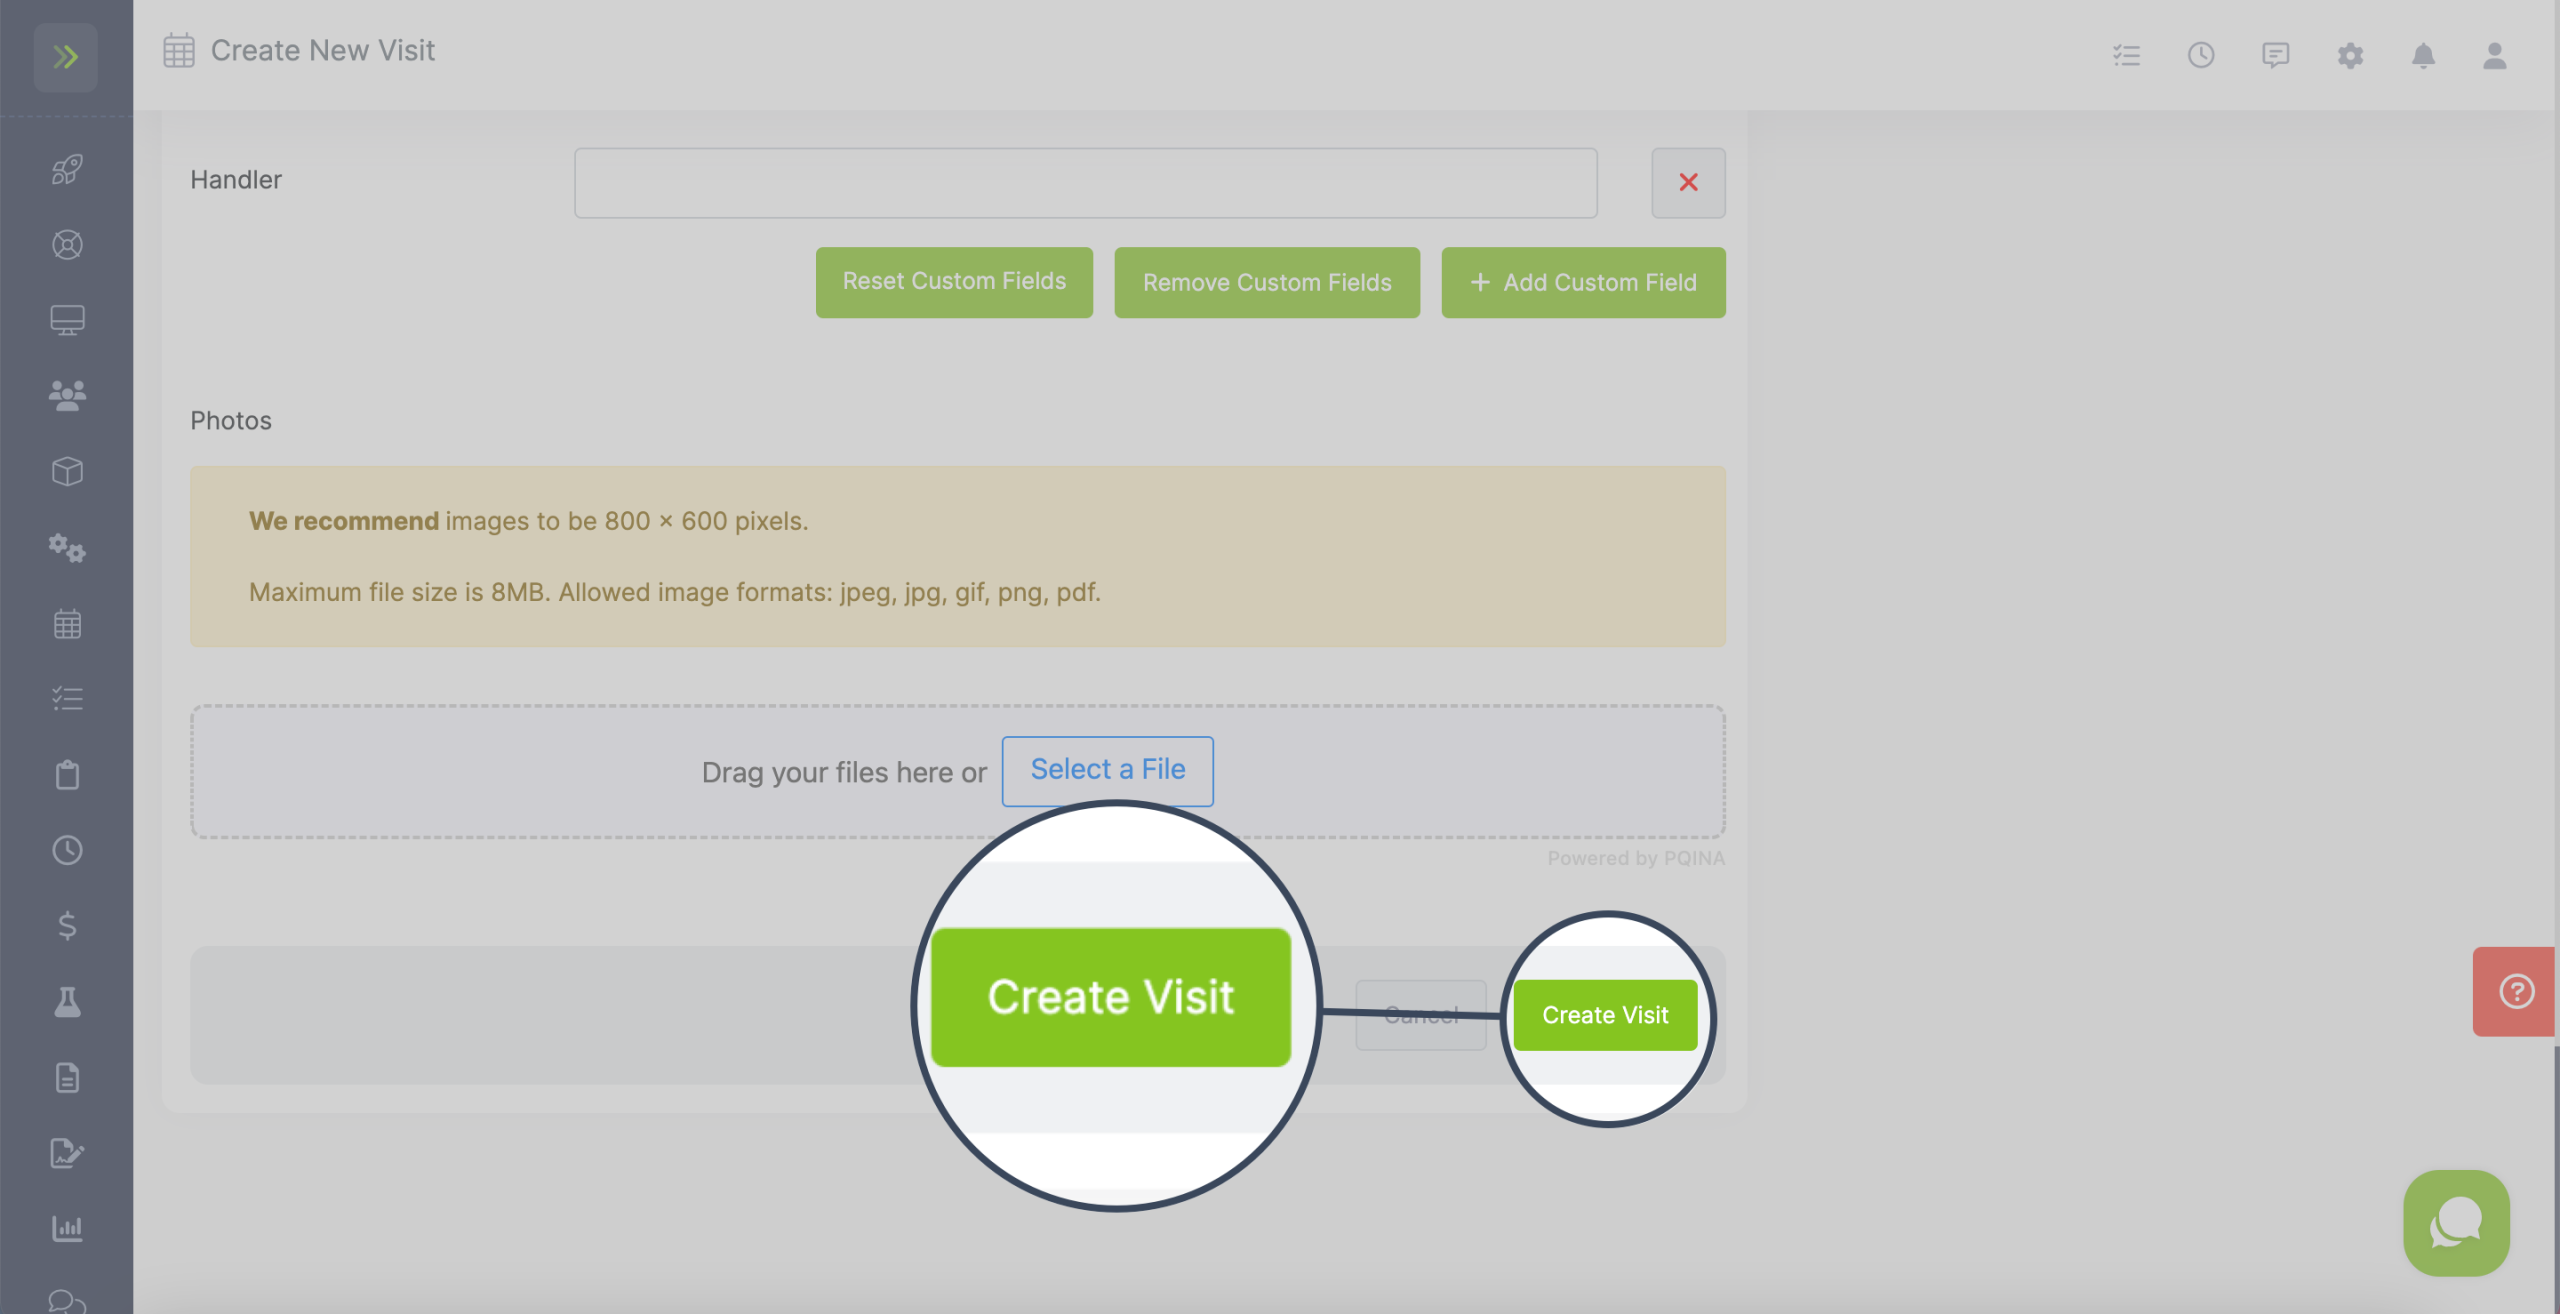
When you are done filling out all of the fields for the recurring series, click the green “Create Visit” button.
Viewing Your Recurring Visits
To view your recurring visits, click the Schedule Tab>Schedule
Once on the Schedule page, click the “Recurring” Tab.
This is where you will find your recurring series.
From this page you can edit or delete your recurring series and you can also set off seasons.
