Table of Contents
- Overview
- Creating an Invoice Manually
- Create an Invoice from an Estimate
- Auto-Invoicing
- Create an Invoice from Your Schedule
Overview
Creating and sending invoices is one of the most important parts of running your business in LawnPro. LawnPro gives you several different ways to create an invoice depending on how you work. You can create one manually, convert an accepted estimate directly into an invoice, let LawnPro create them automatically, or create them right from your schedule. This article will walk you through each method so you can decide what works best for you and your team.
Creating an Invoice Manually
One way to create an invoice is to go to the “Finances” tab and click “Invoices”
You will then click the green “New Invoice” button.
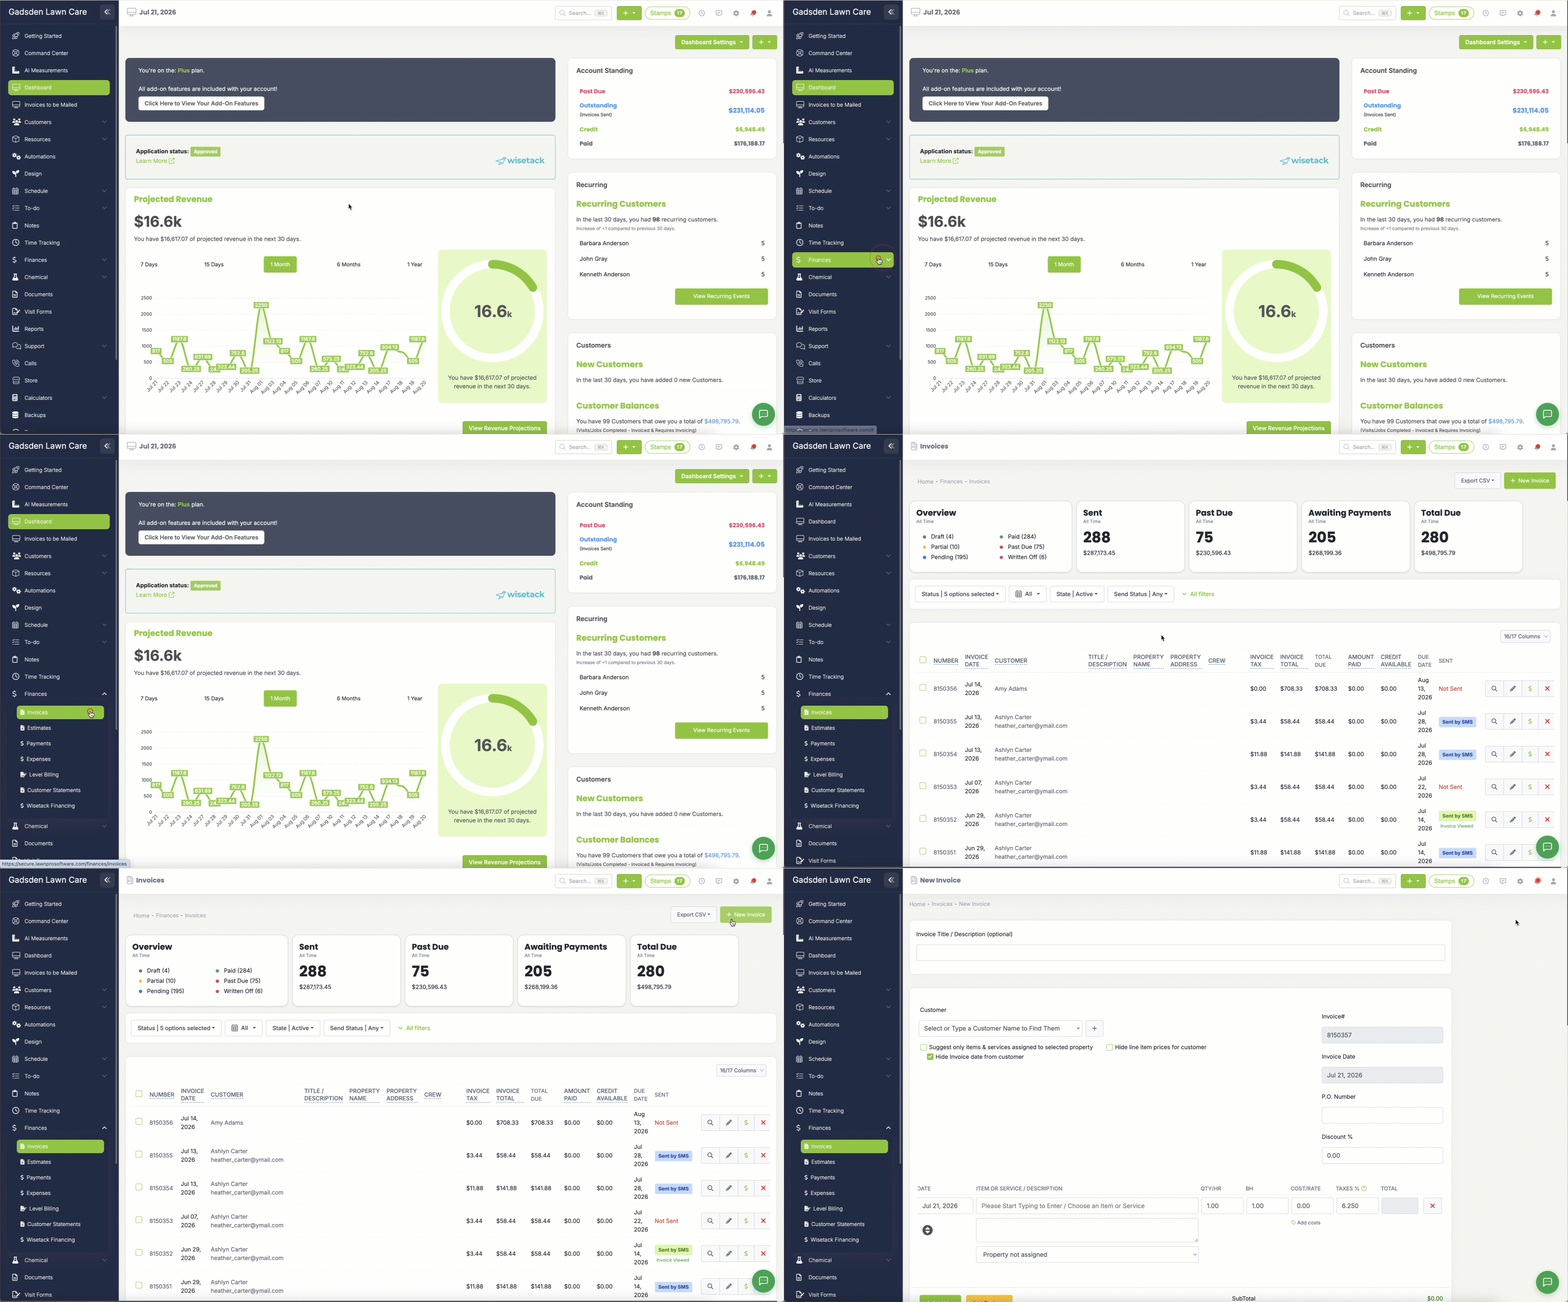
First, you can give the Invoice a title or description, but this is optional.
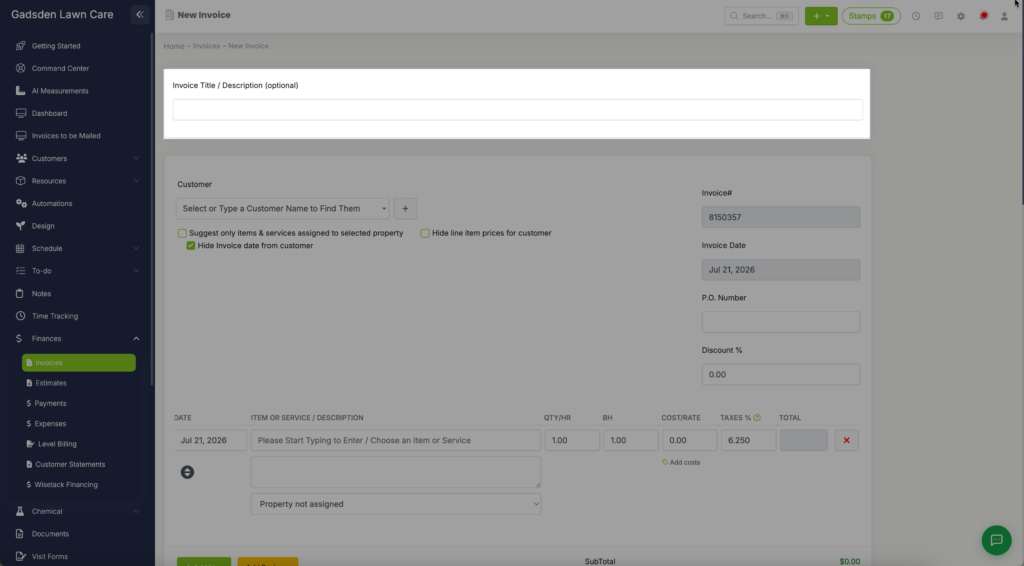
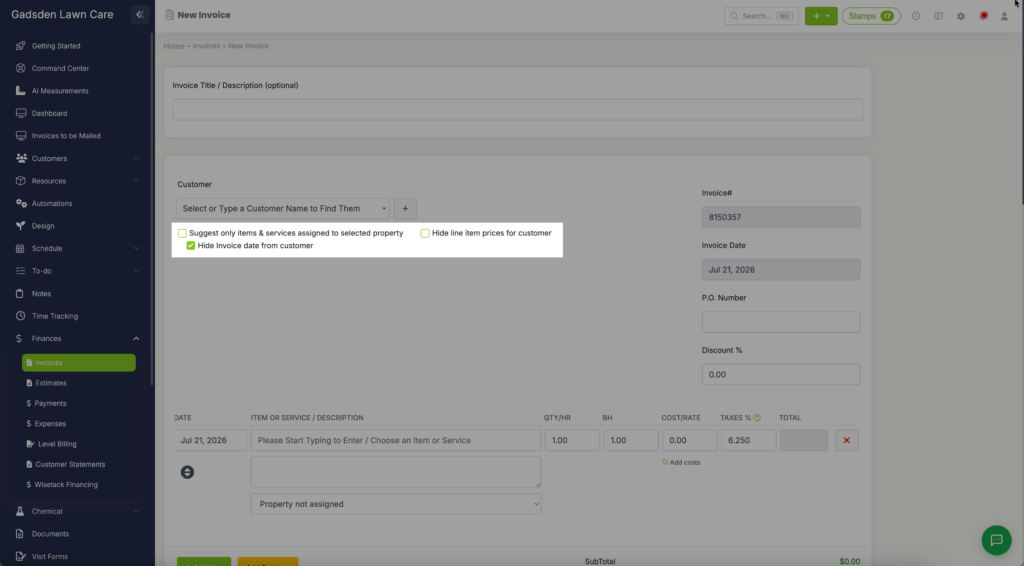
Then you still start by selecting which customer this invoice will be for.
If you need to add a new customer at this time, you can click the “+” button.
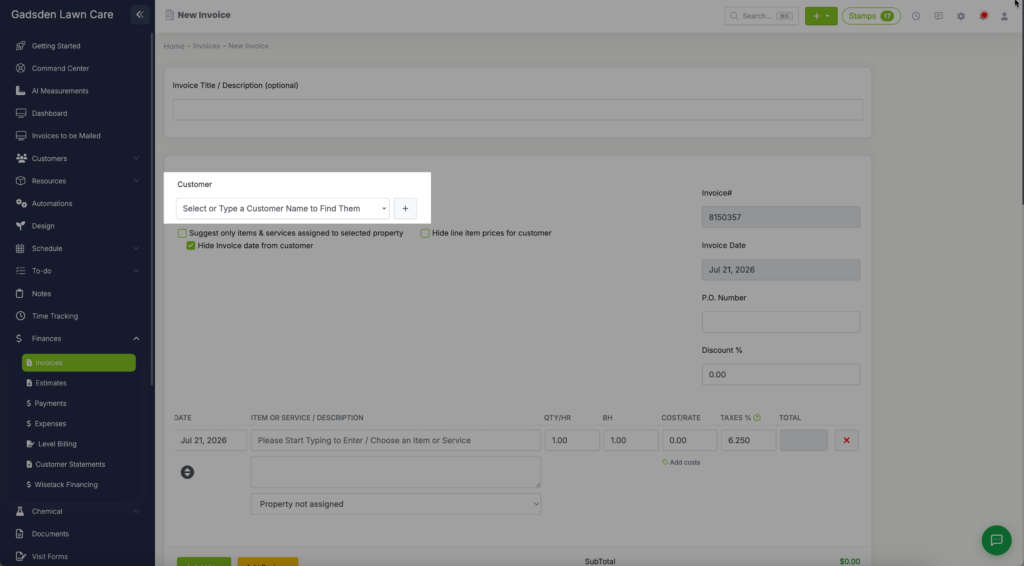
You have the options to:
– Suggest only items and services assigned to the selected property
– Hide line items for customer
– Hide invoice date from customer.
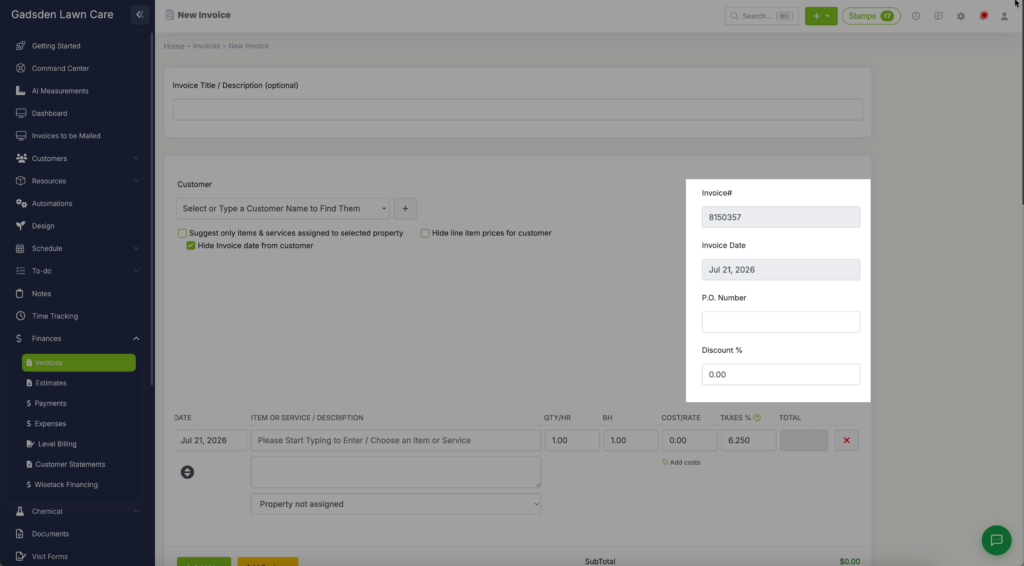
You can change the invoice date, add a PO number or add a discount.
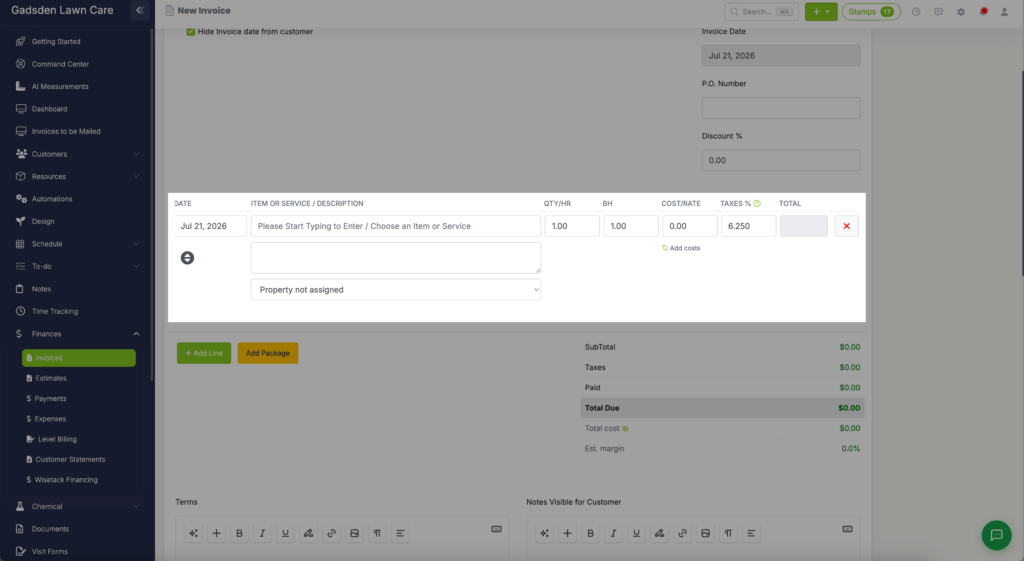
Next, start adding the items and services to the invoice and select which property this invoice is for.
To learn how to create items/services you can go here.
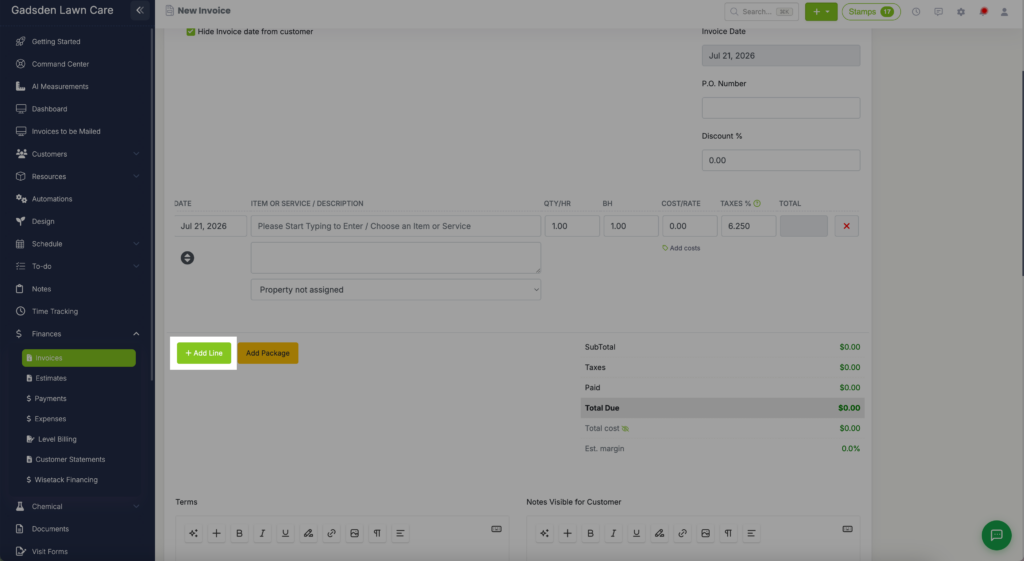
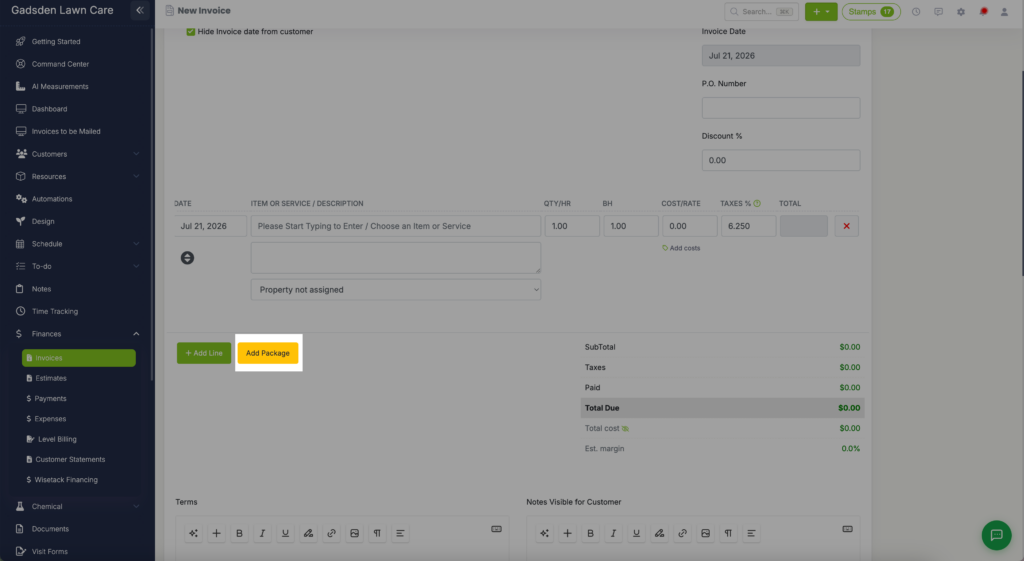
To add another line item to this invoice, click the green “+ Add Line” button.
To add a package of items/services click the yellow “Add Package” button.
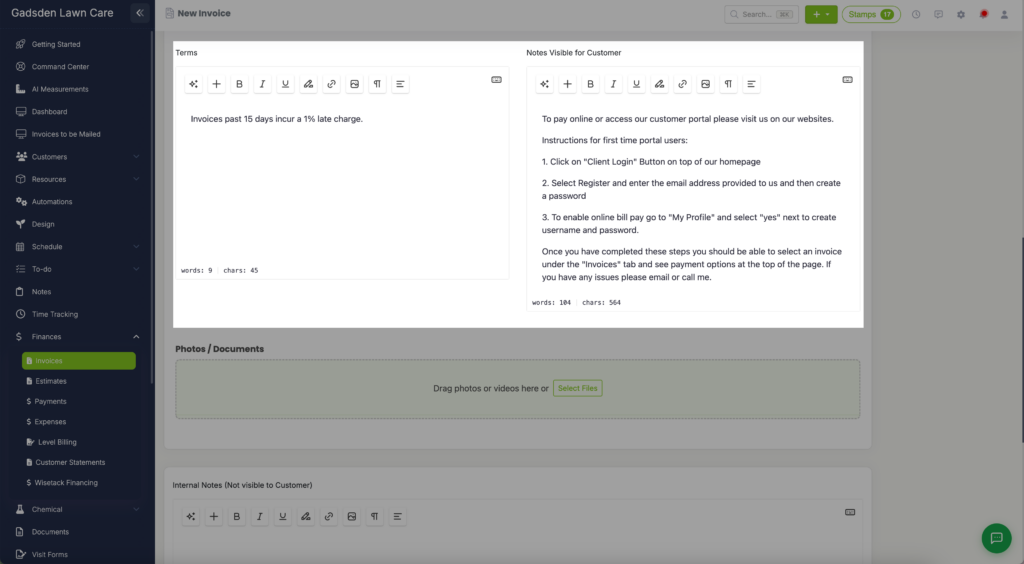
Next you will see your “Terms” and “Notes Visible for Customer“
You can edit these areas at this time for this specific invoice or for all invoices in your settings.
(Note: If you make changes to these areas while creating a new invoice, the changes will only apply to the current new invoice being created. If you want the change made to all future invoices you will have to edit them in settings)
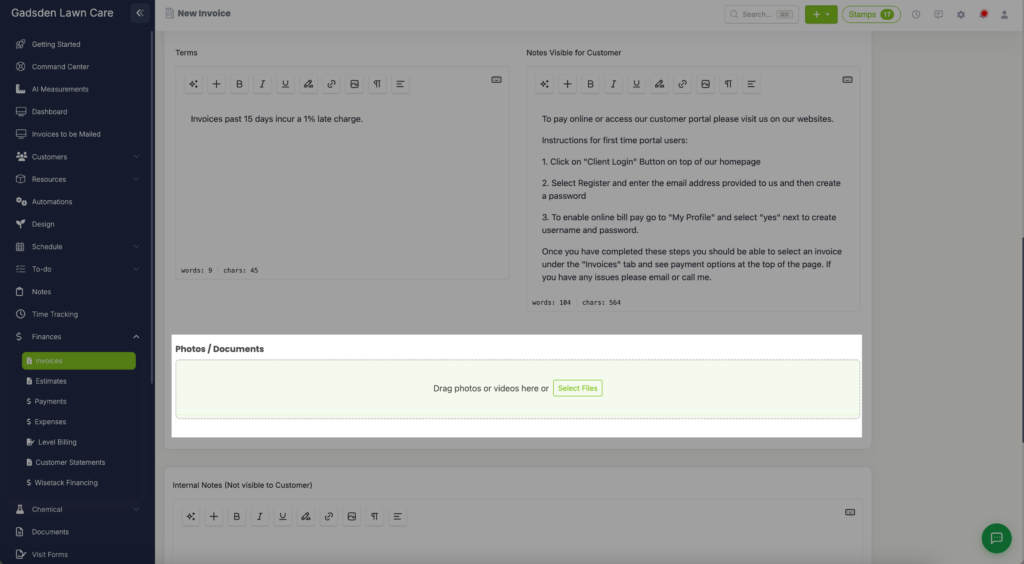
Next, you can drag and drop photos or videos to this invoice or you can click select file to add them.
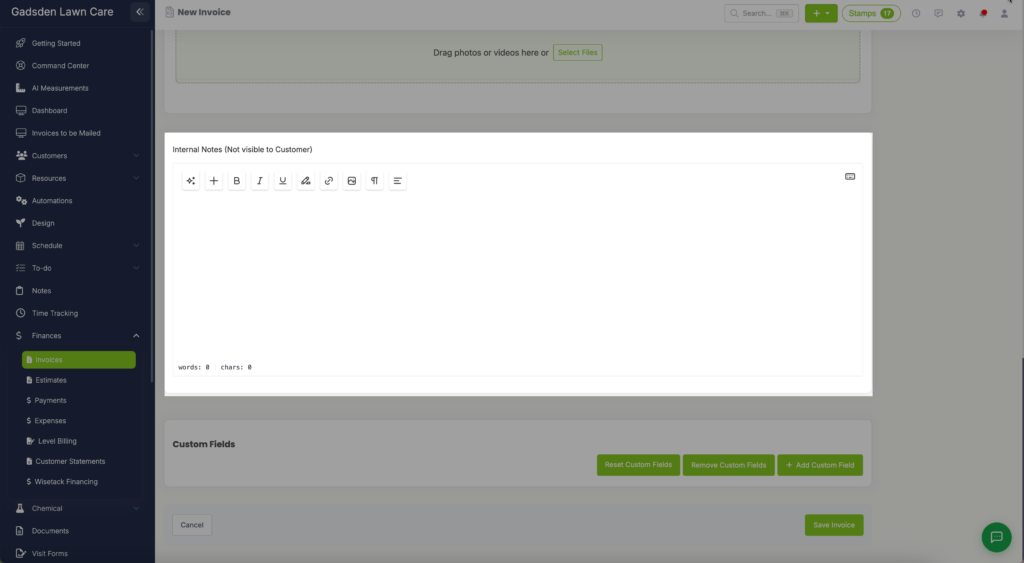
There is a box to add any internal notes for this Invoice. These notes can only be seen on your end and not the customer’s.
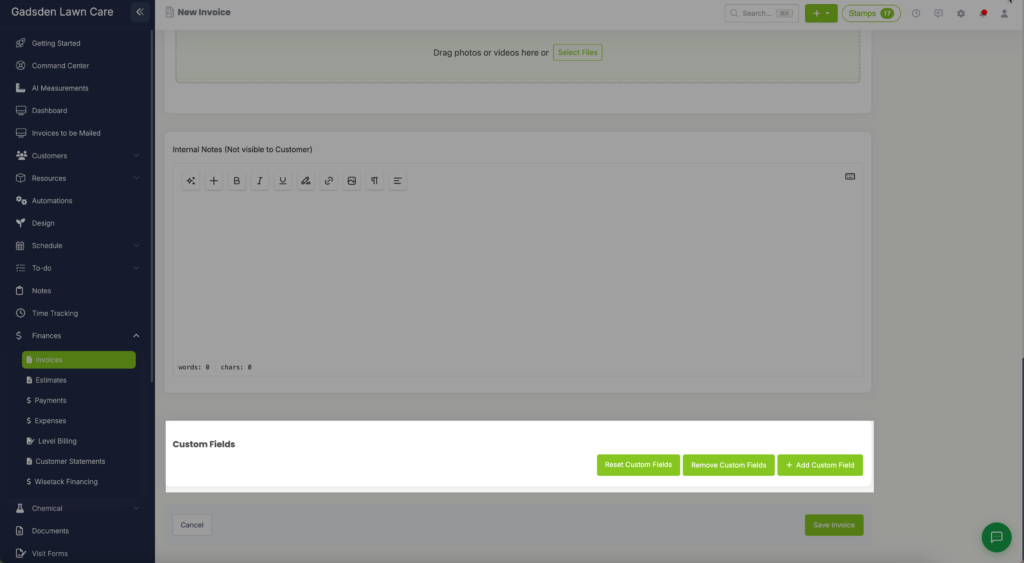
Last, you can add any custom fields. Click here to learn more about custom fields.
Create an Invoice From an Estimate
Once an Estimate is Accepted, you can then turn it into an Invoice.
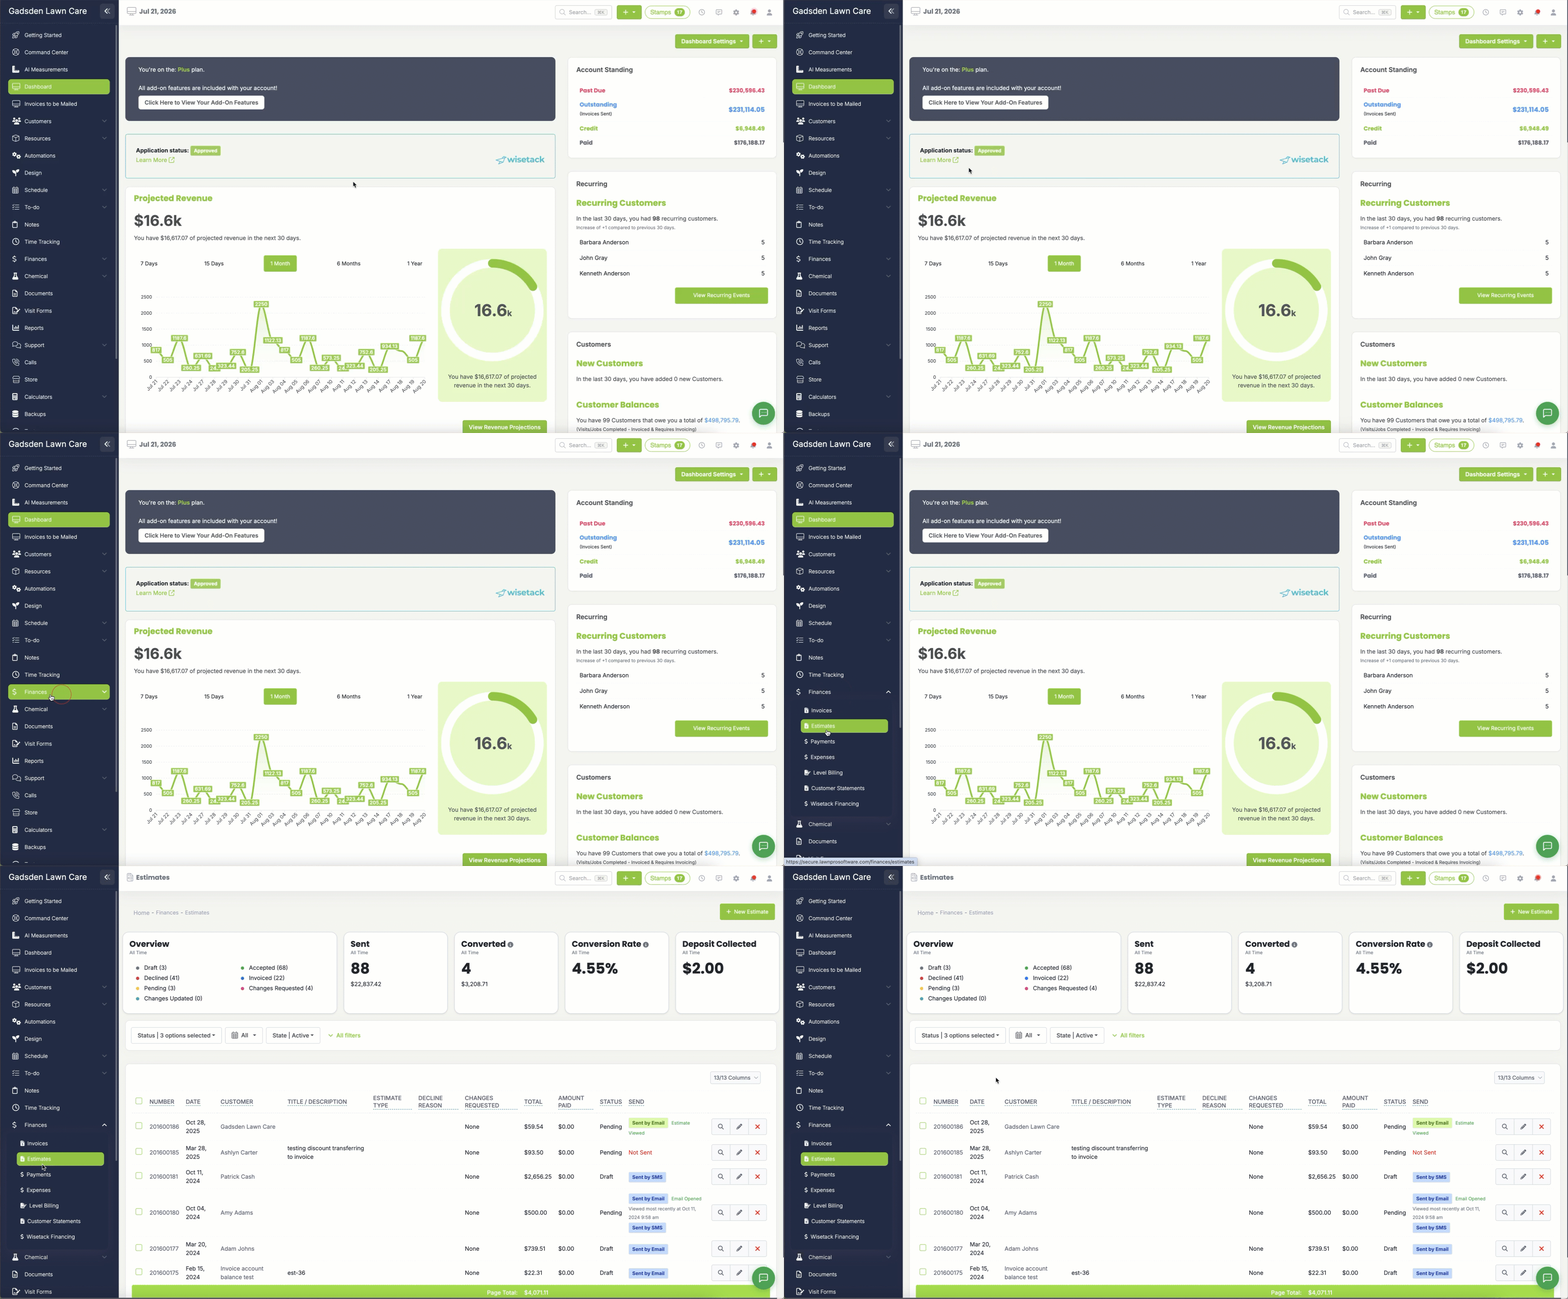
To do this, click the Finance Tab>Estimates
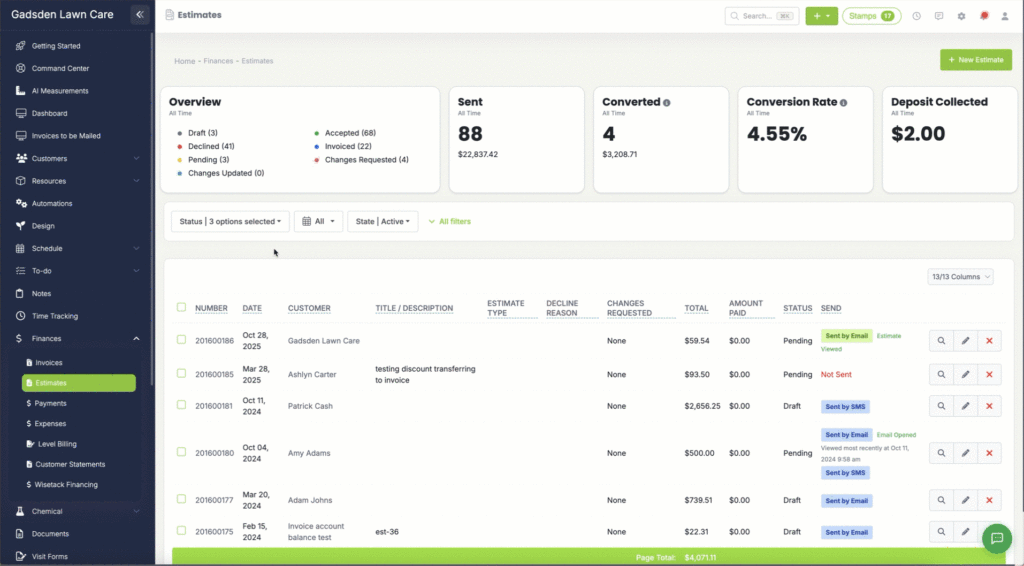
Find the estimate you want to turn into an invoice and click the magnifying glass button.
You may need to adjust your filters to find the Accepted Estimates.
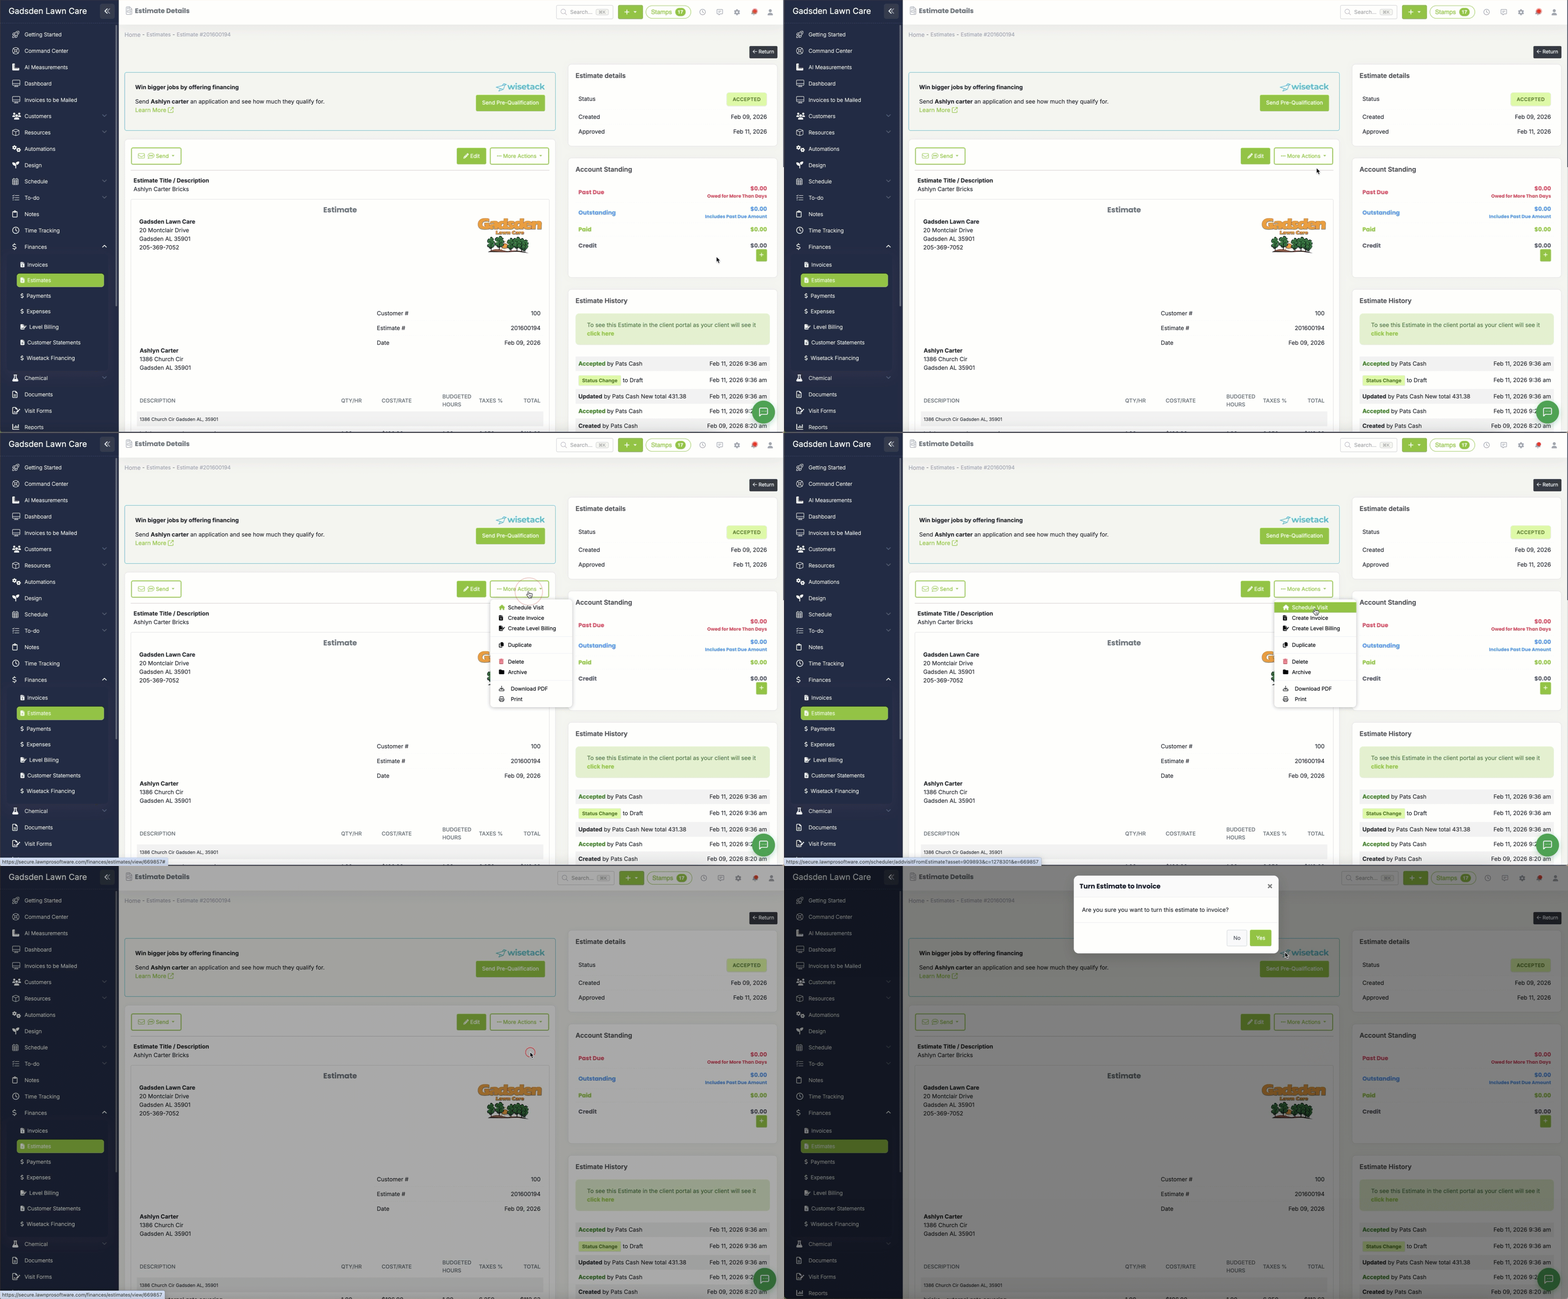
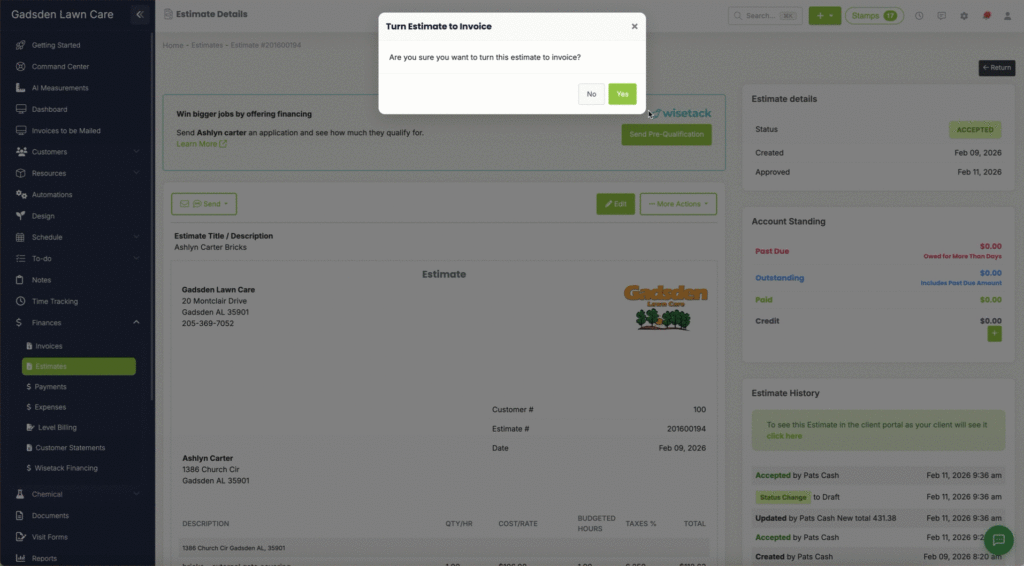
Once on the Estimate page, click “More Actions” and then the “Create Invoice” button.
A pop-up will ask you if you’re sure you want to turn this estimate into an invoice, click yes.
(Note: The invoice cannot be turned back into an estimate)
You will then see the invoice that was created from the estimate
Auto-Invoicing
You can set up Auto-Invoicing for individual customers so that you don’t have to manually create them.
You can set up Auto-create and Auto-Send. You can learn about Auto-Invoicing here.
Create an invoice From Your Schedule
You can create invoices from your schedule a couple different ways.
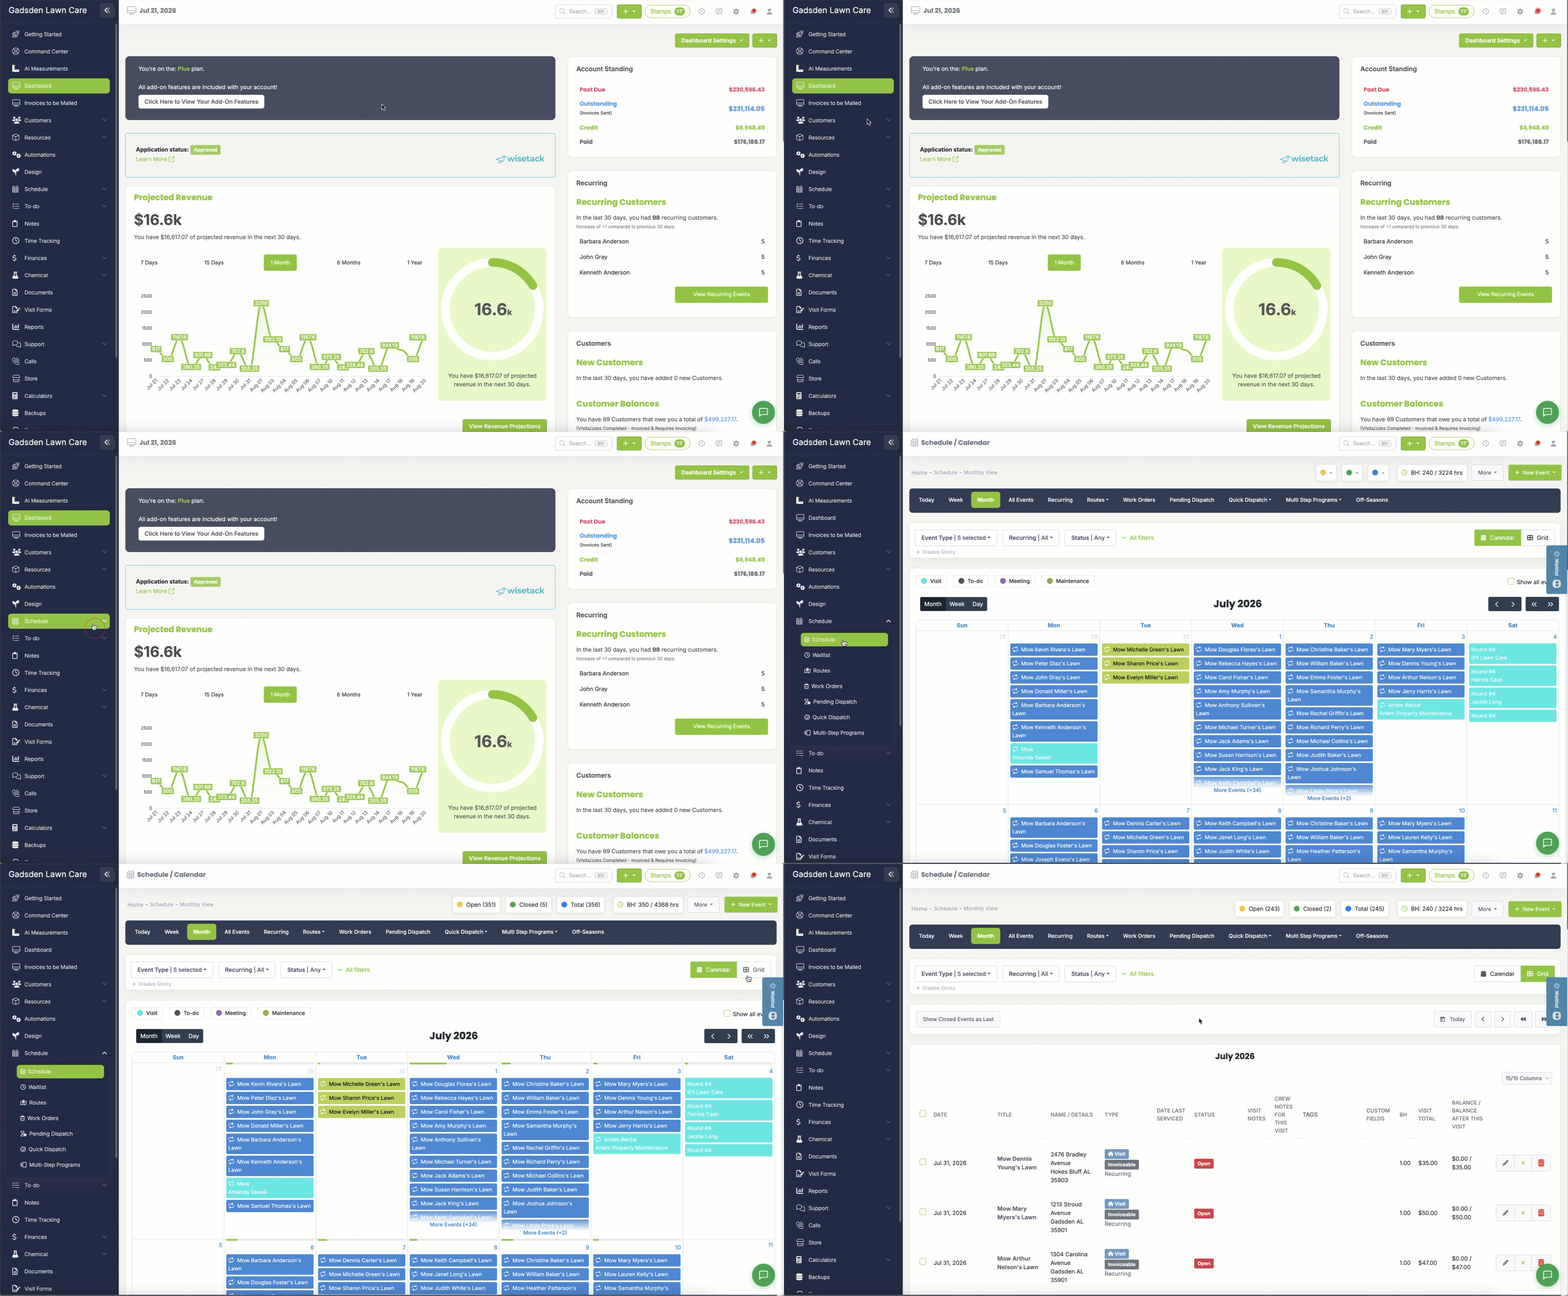
To create invoices from your schedule, go to the Schedule Tab on the left side menu.
Grid View
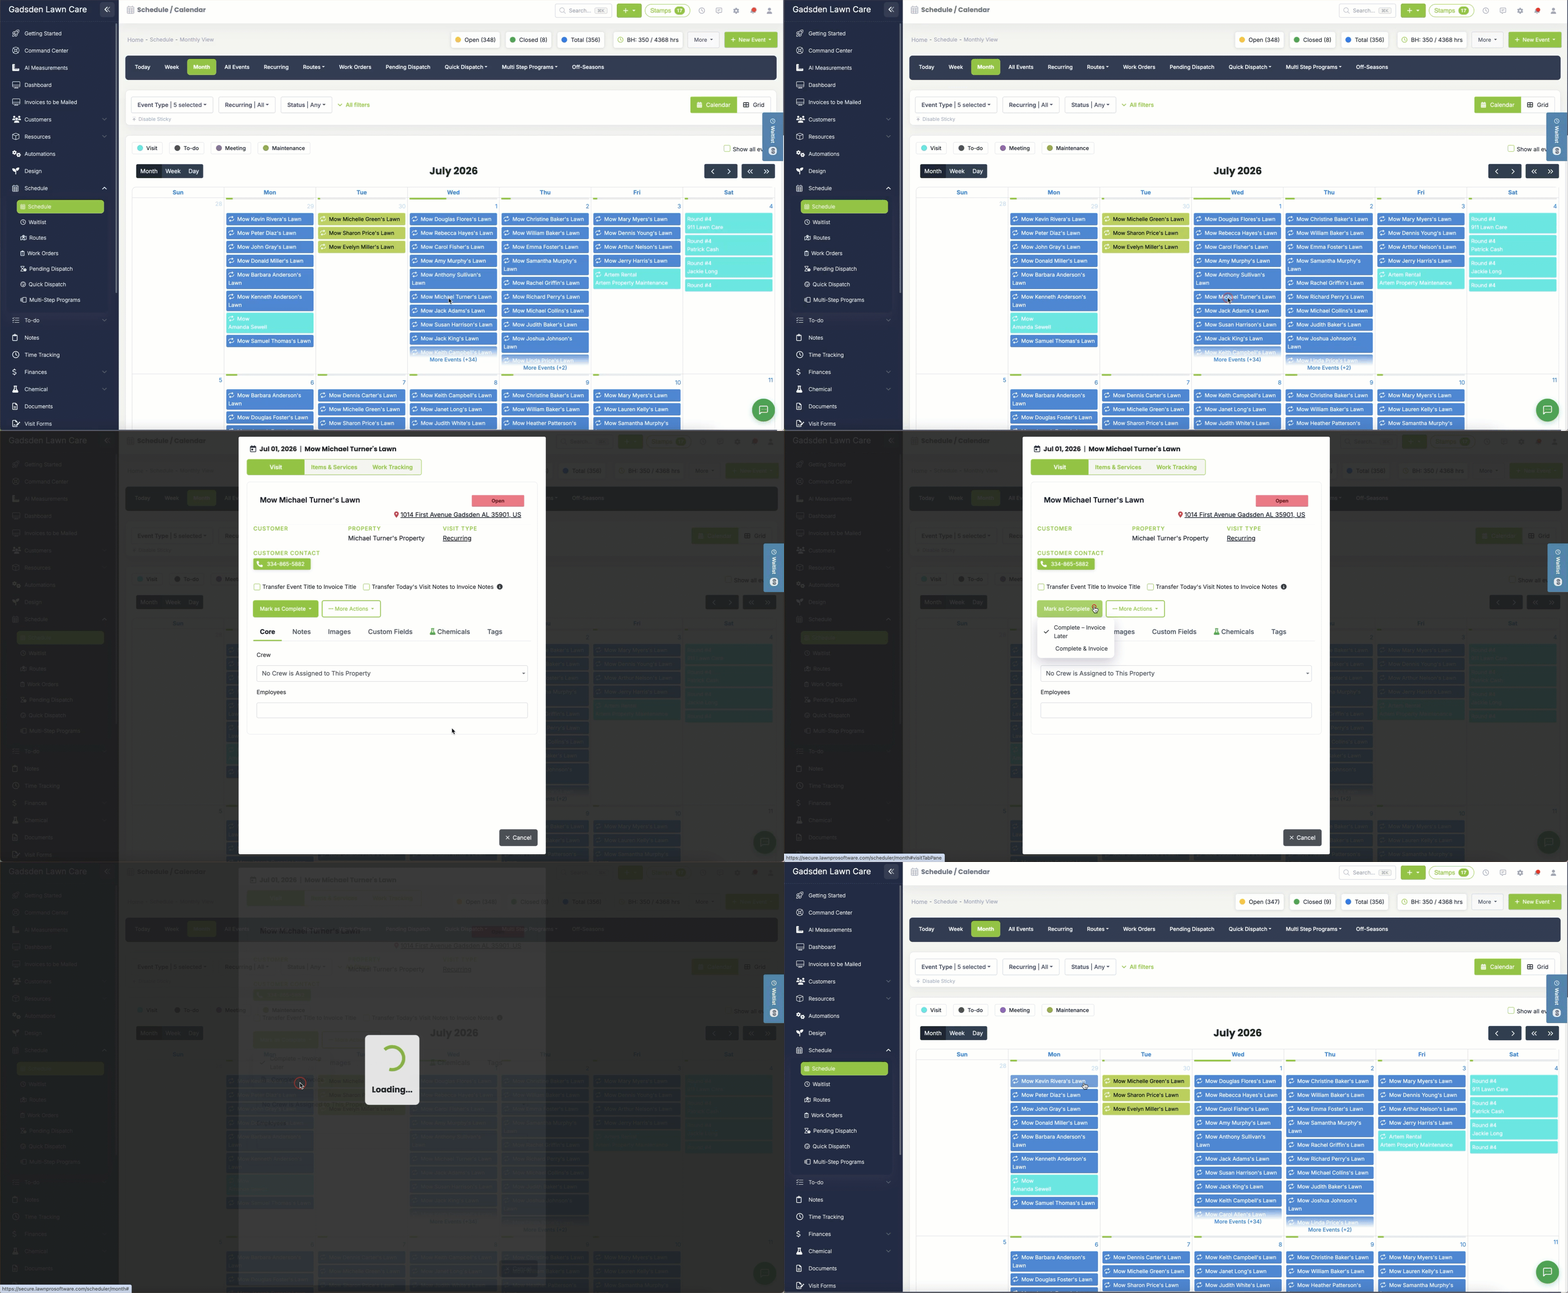
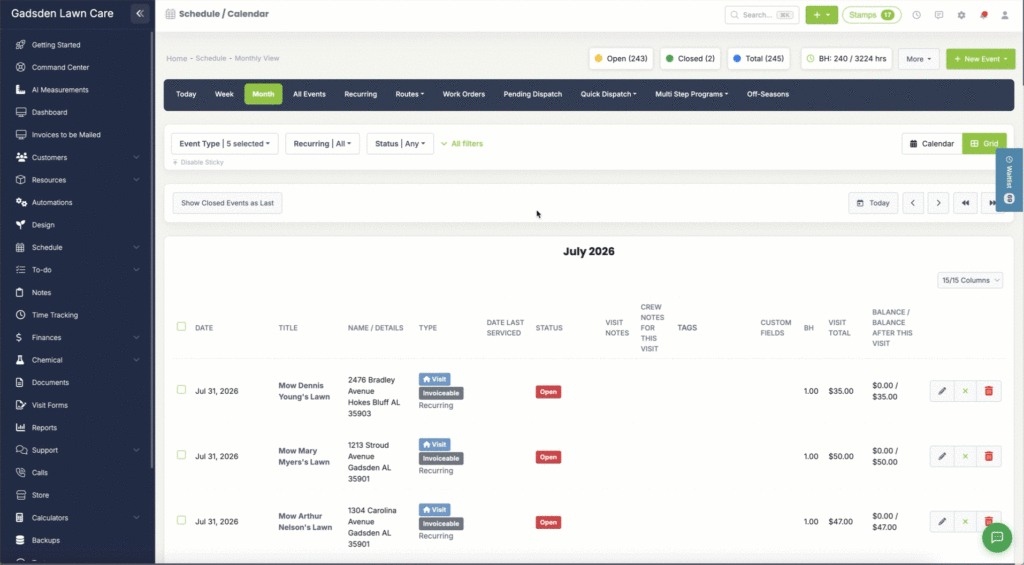
One of the ways to create an invoice from your schedule is by going to the “Grid View” of your schedule.
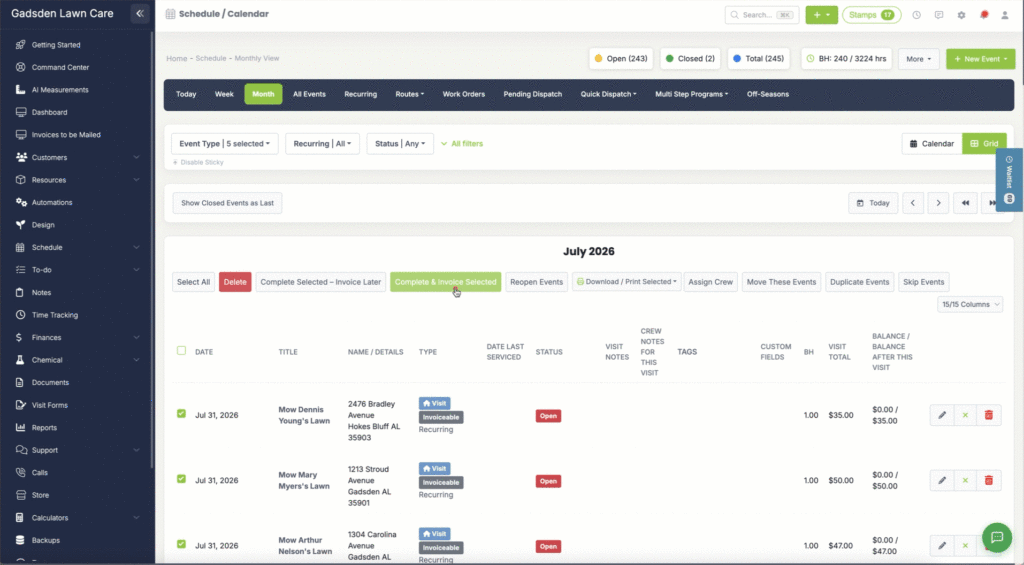
Select the boxes beside the visits you want to create invoices for and click “Complete and Invoice Selected“
A pop up will appear for you to confirm you want to invoice the selected events.
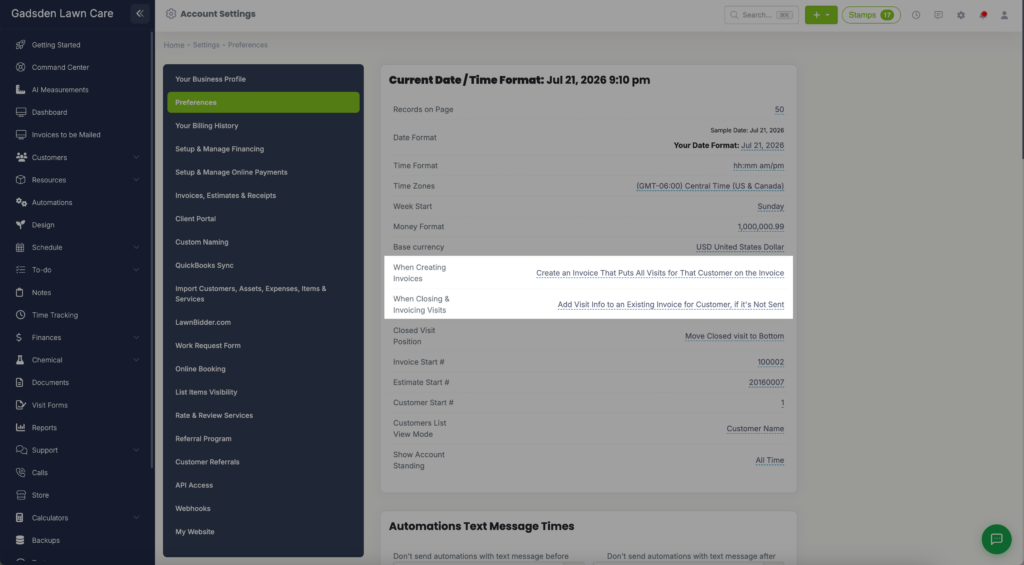
What happens when you close and invoice these visits will depend on the settings you have selected. Learn more about those here.
Invoicing From the Visit
Another way to create and invoice from your schedule is to click on the visit on your calendar and close and invoice from the popup.
After you click on the visit you want to invoice, click the “Mark as Complete” button then choose “Complete & Invoice“
When you click “Complete & Invoice” here, it adds this visit to an existing invoice for that customer or creates a new invoices automatically for you.
(This is based on the settings in preferences that is mentioned above.)