To get to your Invoice, Estimates & Receipts settings go to the gear icon on the top right of the screen.
Once in settings click the “Invoice, Estimates, & Receipts” tab.
On this page you see multiple settings for your Invoices, Estimates, and Receipts:
Default Invoice Messages
Notes Visible to Customer: Any notes you want to appear on all invoices.
Terms: The terms you’d like to appear on all invoices such as “Please pay all invoices within 15 days of receipt”.

Default Estimate Messages
Notes Visible to Customer: Any notes you want to appear by default on all estimates.
Terms: The terms you’d like to appear by default on all invoices such as “Please pay all invoices within 15 days or receipt”.
This prevents you from having to manually enter all of this notes and terms on each new estimate you create.

Default Invoice Email Settings
Default Invoice Email Template: This is the default email template for all invoices. When you send an invoice by email, the system will use the selected email template.
Attach PDF of Invoice to Email: If this is checked, a PDF of the invoice will be attached to invoice emails.

Preferred Invoice Send Method
How you prefer Invoices to be sent. This is the method that will be used to send invoices when you set up auto-invoicing.

Default Invoice SMS Settings
This is the template the system will use when you select to text an Invoice to a customer. You can learn more about the texting templates here.

Default Estimate Email Settings
Default Estimates Email Template: This is the default email template the system will use when you send an estimate by email. You can learn more about email templates here.
Attach PDFF of Estimate to Email: Select whether you want a PDF copy of the Estimate to be sent with the email.

Default Estimate SMS Settings
This is the default text template that the system will use when you send an Estimate by text.

Default Receipt Email Settings
Default Receipt Email Template: The is the default email template the system will use when you send a receipt by email.
Attach PDF off Receipt to Email: Select whether you want a PDF copy of the receipt sent with the email.

Default Receipt SMS Setting
This will be the default SMS template that the system will use when you sent a receipt by text.

Default Document Email Setting
Choose if you want a PDF sent with the emailed document.

Default Chemical Application Email Settings
Default Chemical Application Email Template: This will be the default email template used by the system when you email a chemical application.
Attach PDF of Chemical Application to Email: Select if you want a PDF copy of the Chemical Application sent with the email.

Invoice Address Settings
Show Our Phone Number: If checked, your company phone number will be shown on the printed or emailed invoice.
Show Our Email Address: If checked, your company email address will be shown on the printed or emailed invoice.
Show Our Website URL: If checked, your website URL will be shown on the printed or emailed invoice.

Invoice Settings
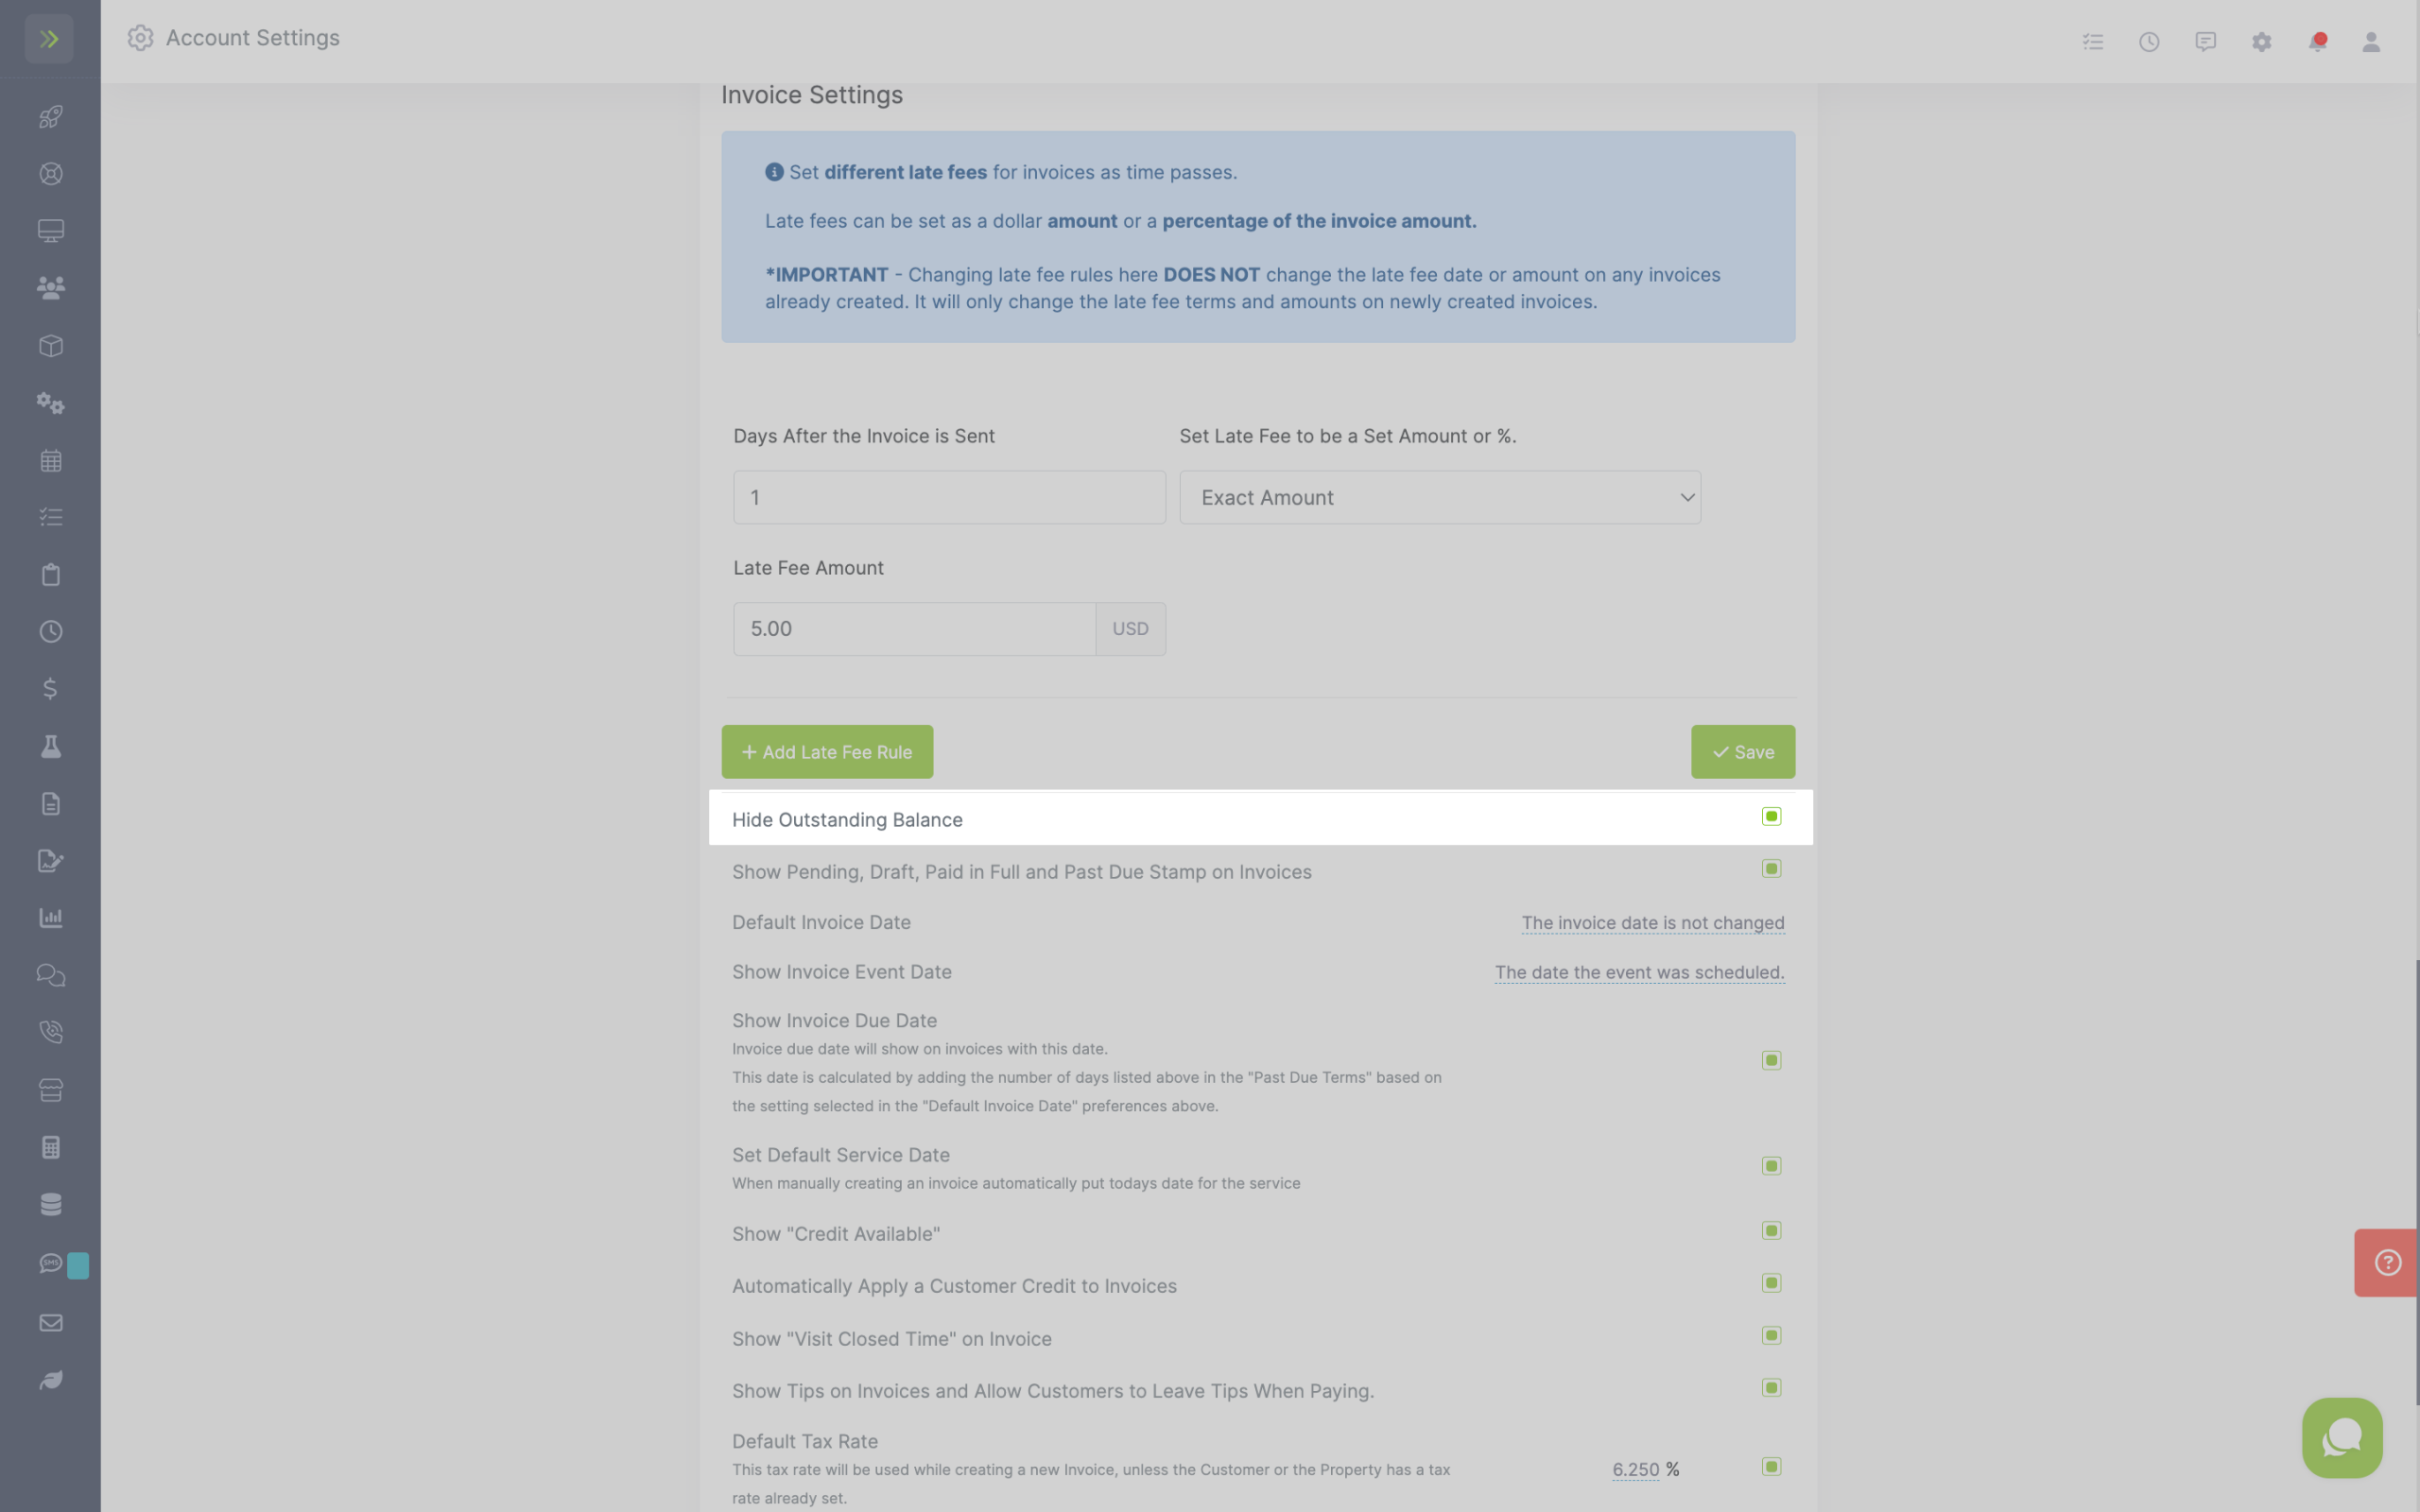
Late Fee Rules: First, select how many days until your invoices will considered “late” and what the late fee is. The fee can be a % or an exact amount.
You can set more than one late fee rule.
Example: After 15 days the late fee is $5 and after 30 days the late fee is $10 and so on.
If the one late fee rule is the rule you want for your invoices, click the blue save button or
you can add more rules by clicking the green “+ Add Late Fee Rule” button.

Hide Outstanding Balance: If checked, the outstanding balance amount will be hidden on the printed or emailed invoice.
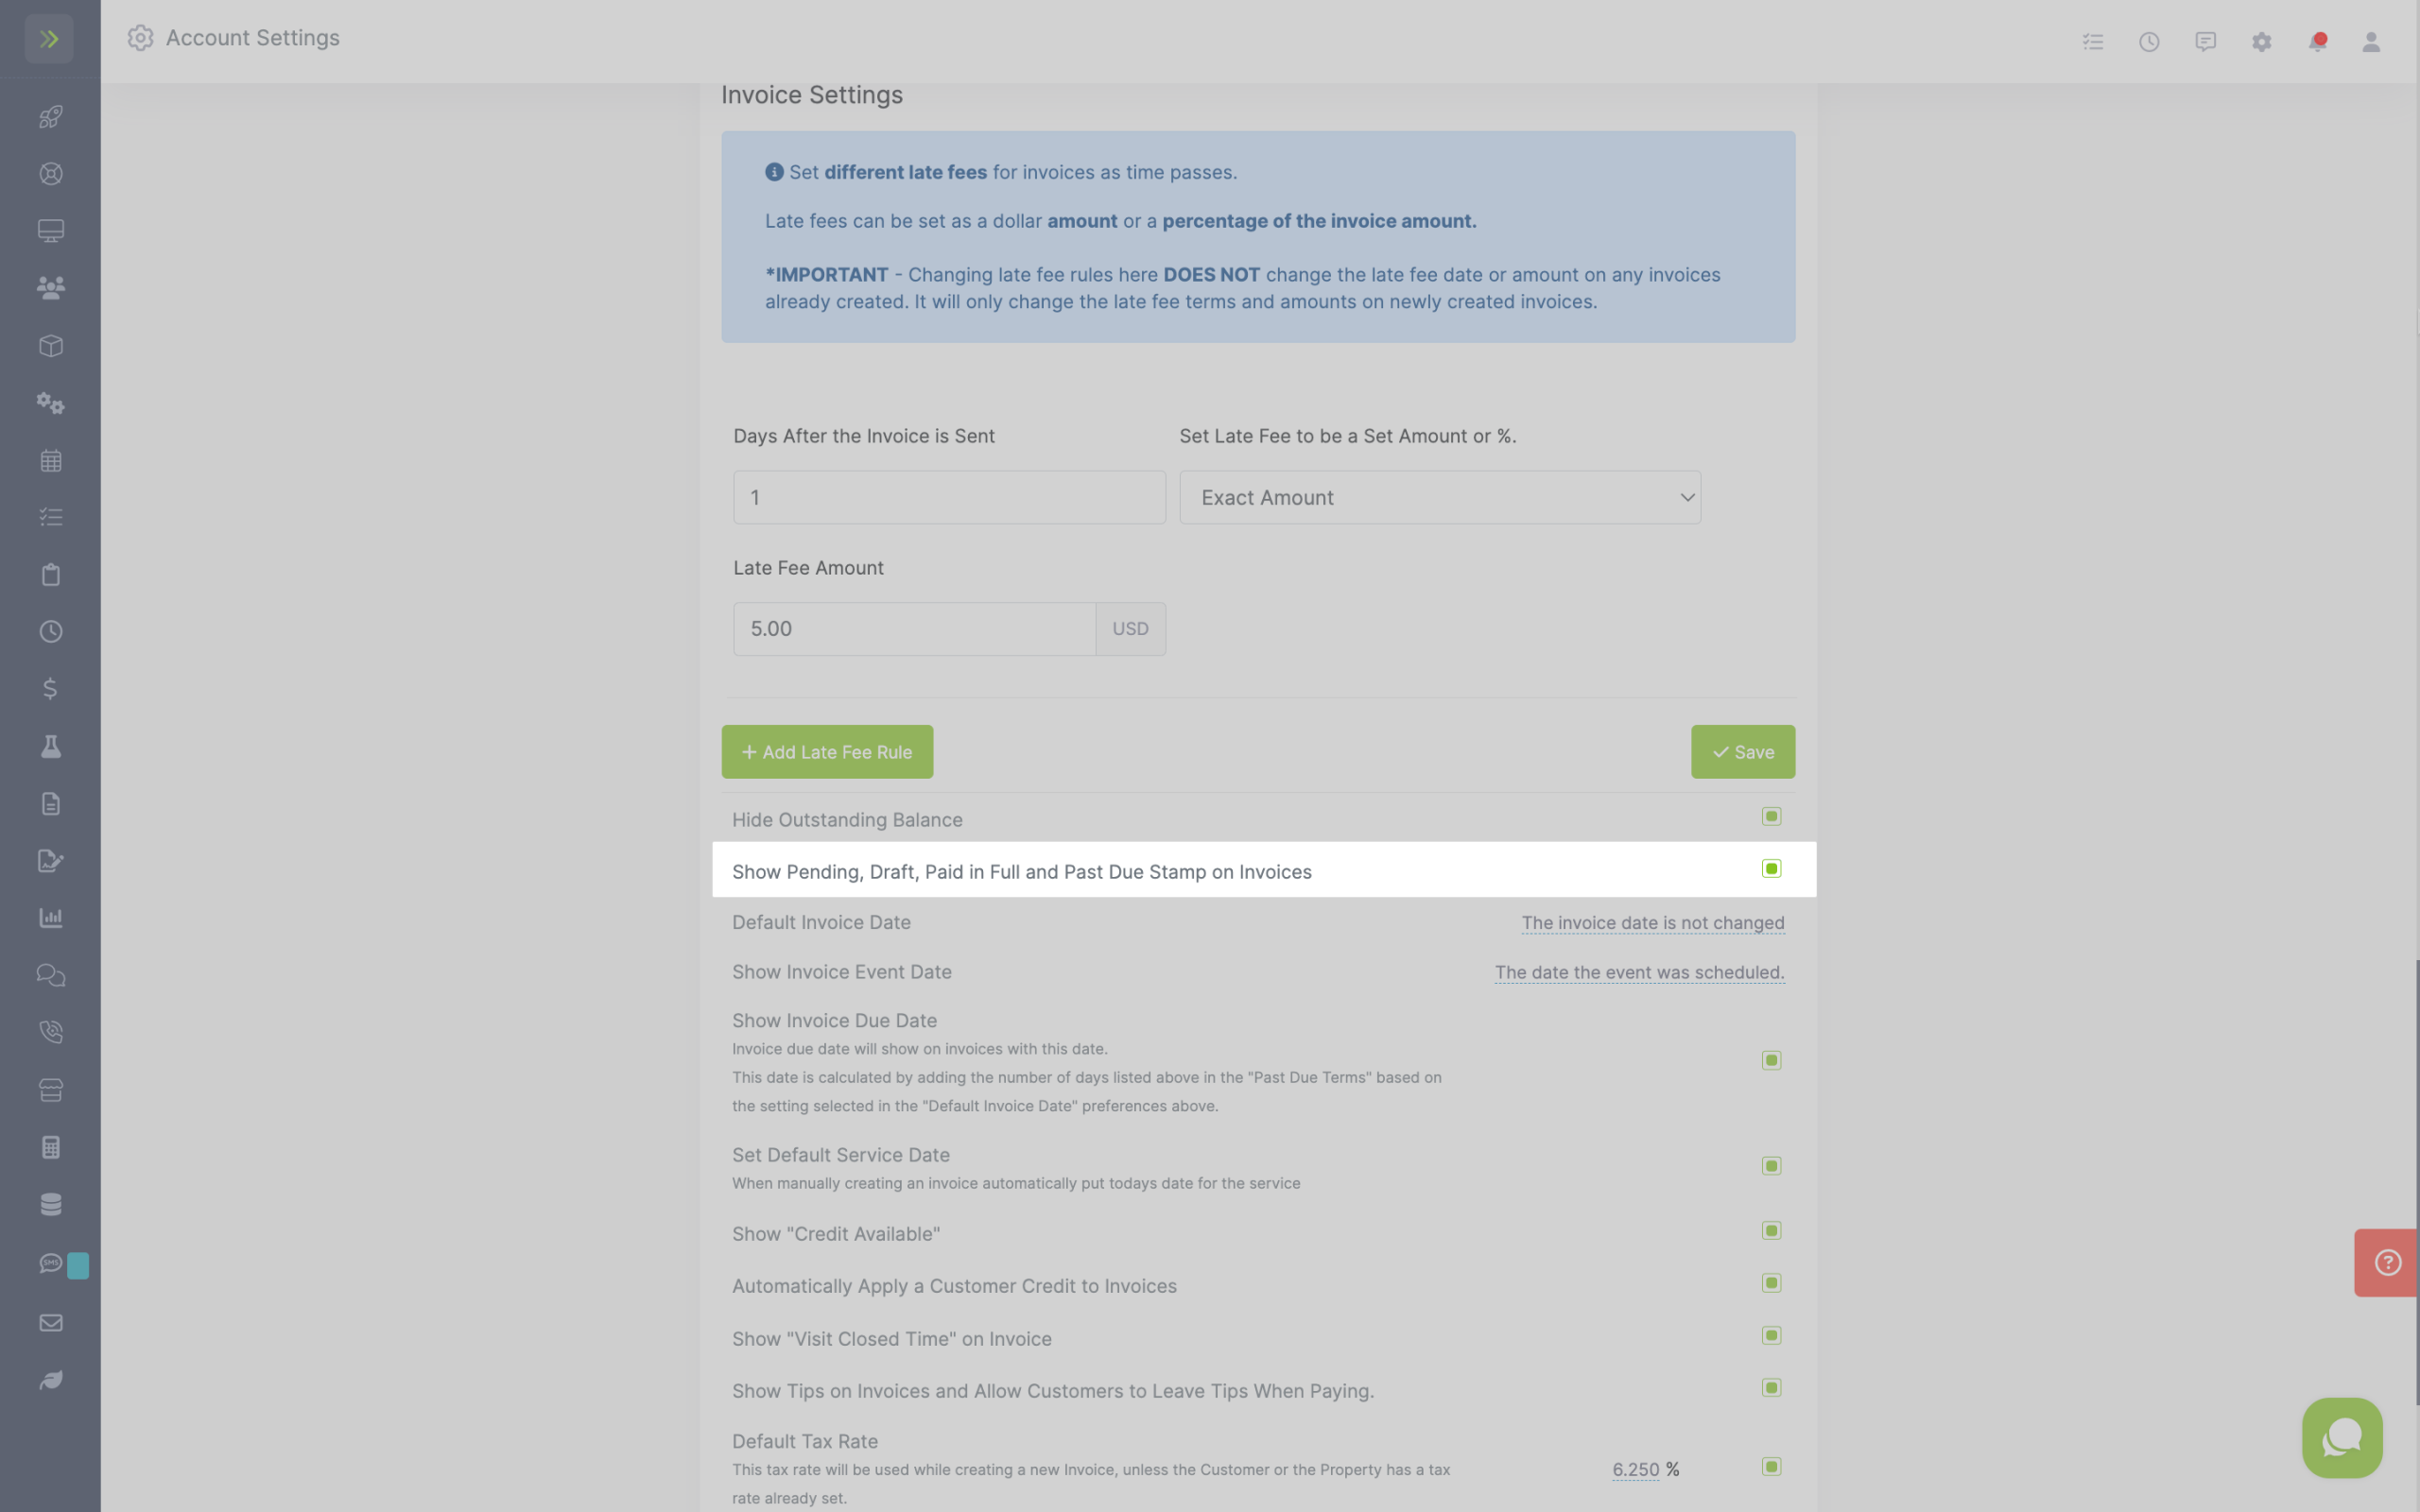
Show Pending, Draft, Paid in Full, and Past Due Stamp on Invoices: If checked, stamps will be shown on the printed or emailed invoice.
Default Invoice Date: Select what you want to the default invoice date to be.
The options include:
-The date invoice was sent
-The date the last service was added to the invoice before it was sent
-The invoice date is not changed.
Note: This is also the date your late terms start counting from. If you select the date invoice was sent then the late terms countdown will start over if you resend the invoice.

Show Invoice Event Date: Select how you would like your event dates to be selected and appear.
You have three options:
-The date the event was scheduled
-The date the event was completed or closed.
-Let me choose the visit date at the time I am closing the event if it is different from the scheduled date.

Show Invoice Due Date: If checked, the due date will be shown on the printed or emailed invoice.
This date is calculated by adding the number of days listed above in the “Past Due Terms” based on the setting selected in the “Default Invoice Date” preferences above.

Set Default Service Date: If checked, an invoice will automatically be created with today’s date for the service.

Show Credit Available: If checked, this will show the customer’s available credit on the printed or emailed invoices.

Automatically Apply Customer Credit to Invoice: If checked, whenever an invoice is created for a customer and that customer has a customer credit available, it will automatically apply the customer credit to the new invoice.
Note: The Invoice needs to be sent or marked sent for the credit to be applied.

Show “Visit Closed Time” on the invoice: If checked, the time the visit was closed will appear on the invoice.

Show Tips on Invoices and Allow Customers to leave Tips When Paying– If checked, tips will show on invoices, and your customers can leave you a tip while paying the invoice.

Default Tax Rate: This is the default tax rate that will be set on all invoices, etc. This can be overridden by setting a different tax on an item/service or customer/property or by making a customer tax-exempt.
You can use the red buttons to either Delete Tax Rates for All Items and Services or Delete Tax Rates for All Properties.
