Auto-Charge automatically charges a customer’s card on file for unpaid invoices on a schedule you choose. It’s included on the Plus plan and is a $10/month add-on on other plans. Customers need a card on file, and they must have allowed you to charge it.
- Go to Customers > Auto-Charge Cards. This menu item shows only after Auto-Charge is added to your account.
- Under Auto-Charge Settings, choose whether to check Only Auto-Charge invoices that have been Sent.
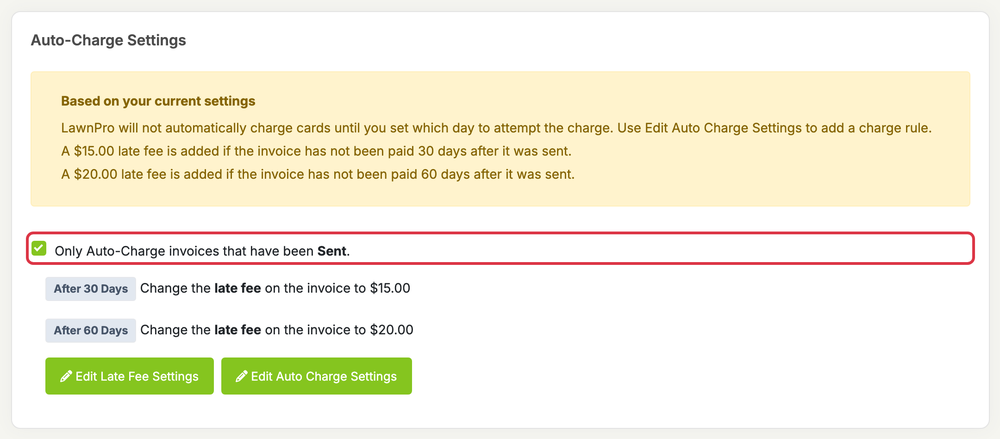
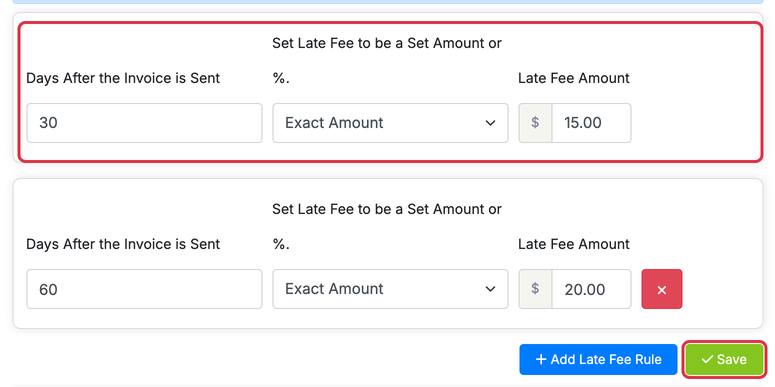
- Optional: click Edit Late Fee Settings, then click + Add Late Fee Rule. Enter the Days After the Invoice is Sent. Under Set Late Fee to be a Set Amount or %., choose Exact Amount or Percentage and enter the Late Fee Amount. Click Save, then go back.
- Click Edit Auto Charge Settings.
- Click the green Enable Auto Charge button. Nothing is charged until Auto Charge is enabled. The page then says “Auto Charge Invoice Setting Enabled.”
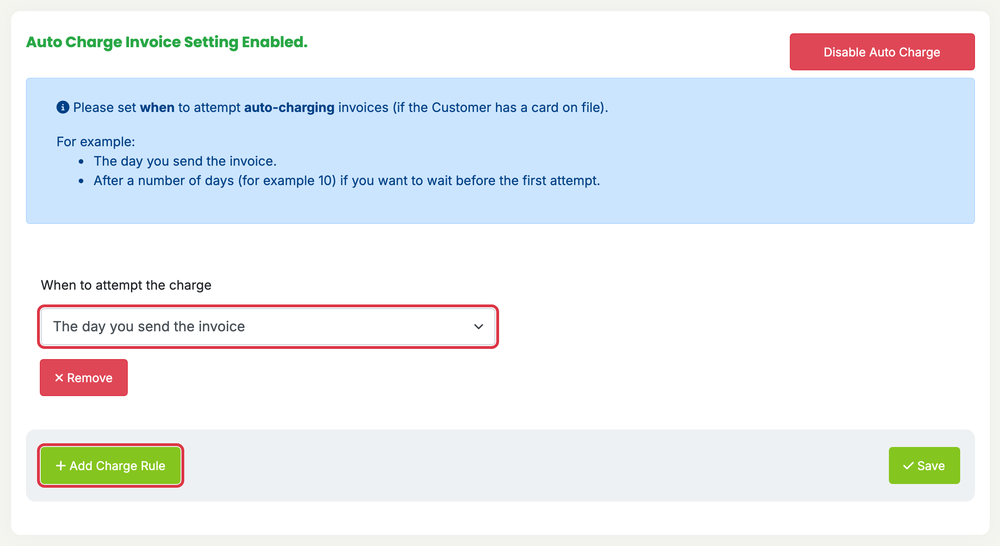
- Click + Add Charge Rule. Under When to attempt the charge, choose The day you send the invoice, or After a number of days and enter the Days later. Add more rules to try again later, for example after 3 days and again after 10.
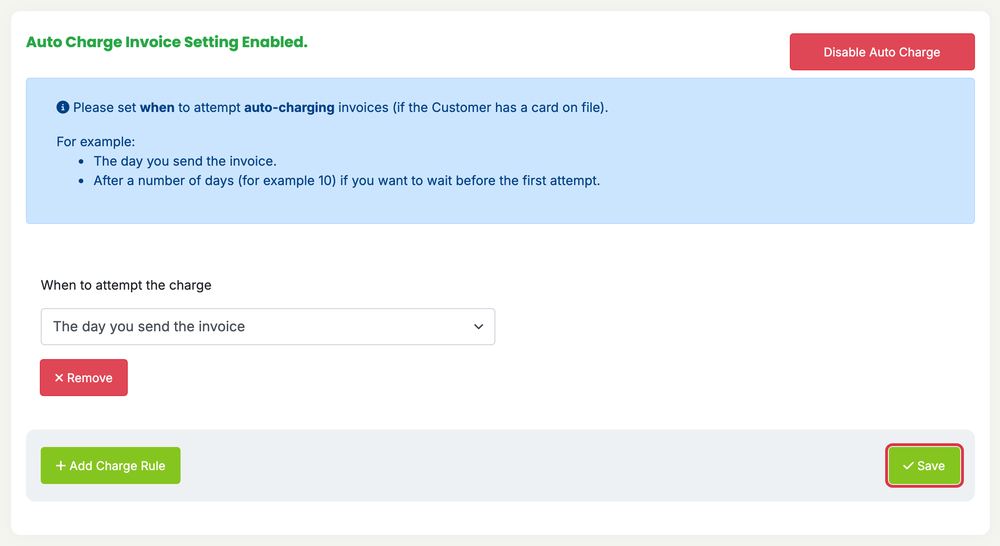
- Click Save.
Your rules show on the Auto-Charge Cards page, for example “After 10 Days: attempt to auto charge customer’s card.” To stop auto-charging, click Edit Auto Charge Settings, then click Disable Auto Charge.