In LawnPro, customers are the foundation of your business. Jobs, visits, estimates, and invoices all connect to customers. Before you can schedule work or create invoices, you’ll need to add customers to your account.
This guide will walk you through adding a new customer and setting up their information.
Help Video
Here’s a video on how to add new customers.
Below, you can also read how to add a customer, step by step.
How to Add a New Customer
From the main menu, click Customers > Customers

Click the + New Customer button
Select Enter New Customer

Customer Information
Fill out the customer form with their details. Required fields are marked with an asterisk (*). Here’s what you’ll need:
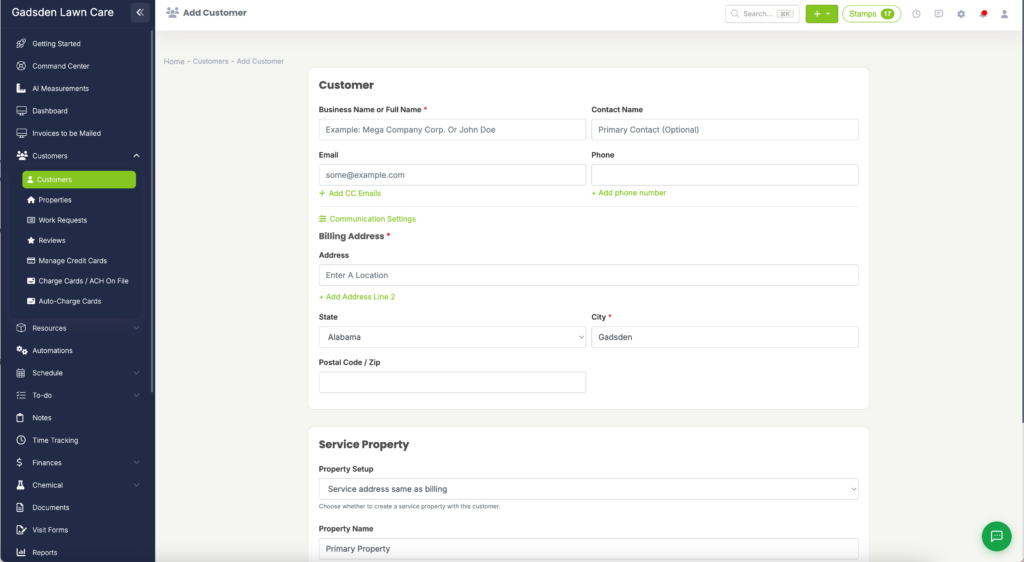
Basic Details
- Business Name or Customer Name (required): The name that will appear throughout the software
- Contact Name: First and last name of the primary contact
Contact Information
- Phone Numbers: Add mobile and office numbers
- Email Address: Primary email for invoices and communications
- CC Email: Send copies to additional email addresses
- Billing Address (required): This address appears on estimates and invoices
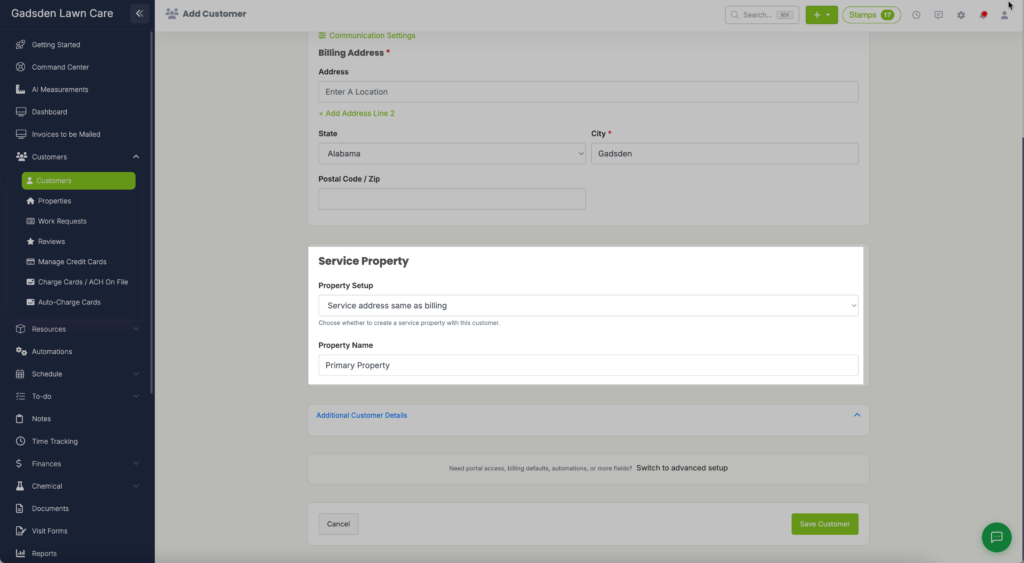
Service Property
Here you can choose whether the service property will be at the same address as billing, or you if you would like to create a property with a different service address.
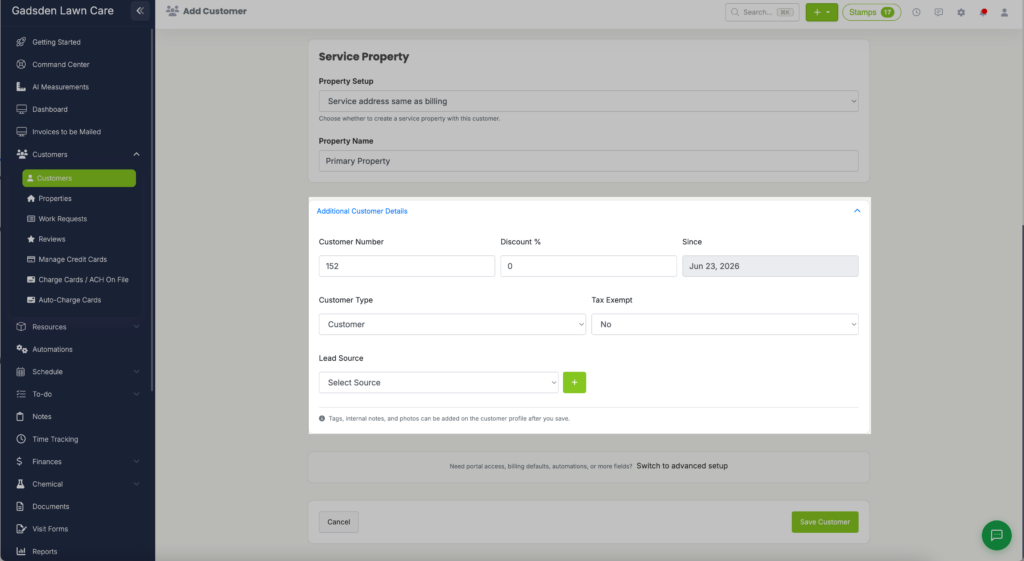
Additonal Customer Details
- Customer Number
- Discount
- Customer Since Date
- Customer Type
- Customer Tax Exempt Setting
- Lead Source
Please note: It is possible to add multiple properties to the same customer.
Also Note: It is not currently possible to merge two customer profiles into one. You will either need to manually move the data over into one profile and delete the duplicate, or keep both customers, but rename one of the clients that you won’t be using to include “do not use” in the customer/business name.