In LawnPro, customers are the foundation of your business. Jobs, visits, estimates, and invoices all connect to customers. Before you can schedule work or create invoices, you’ll need to add customers to your account.
This guide will walk you through adding a new customer and setting up their information.
Help Video
Here’s a video on how to add new customers.
Below, you can also read how to add a customer, step by step.
How to Add a New Customer
From the main menu, click Customers > Customers

Click the + New Customer button
Select Enter New Customer

Customer Information
Fill out the customer form with their details. Required fields are marked with an asterisk (*). Here’s what you’ll need:
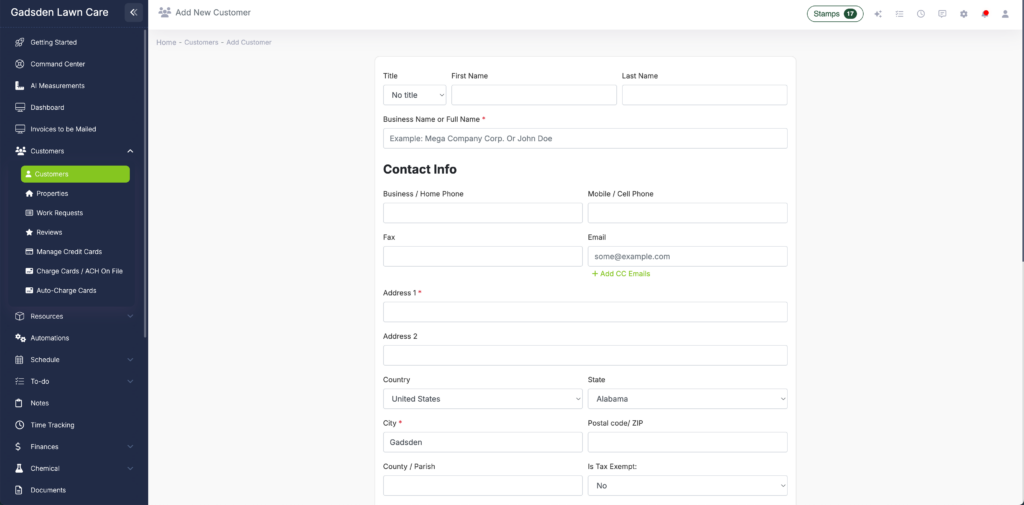
Basic Details
- Business Name or Customer Name (required): The name that will appear throughout the software
- Contact Name: First and last name of the primary contact
Contact Information
- Phone Numbers: Add mobile and office numbers
- Email Address: Primary email for invoices and communications
- CC Email: Send copies to additional email addresses
- Billing Address (required): This address appears on estimates and invoices
- Tax Exempt: Select this if the customer is tax exempt (no taxes will apply)
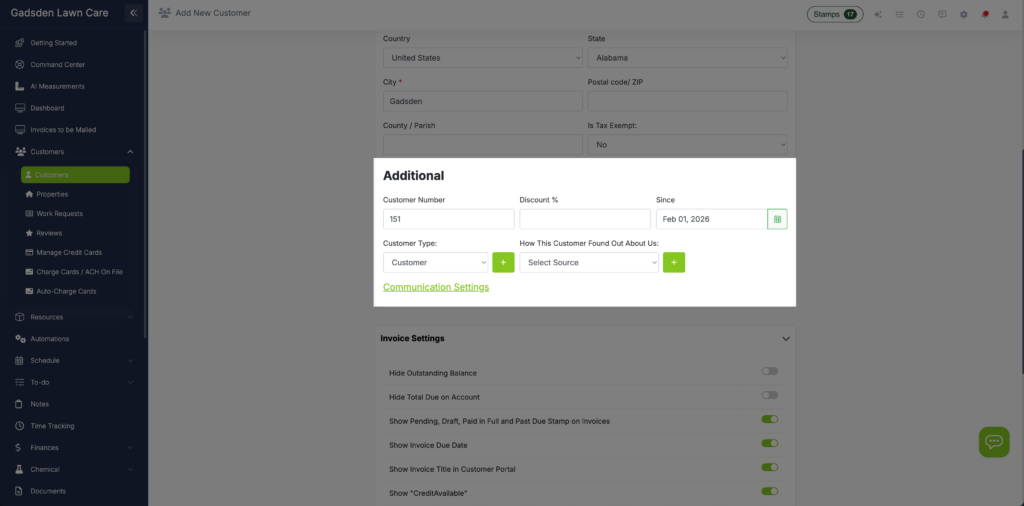
Additional Settings (Optional)
- Customer Number: This can be any number.
- Discount: Set a default discount that applies automatically to this customer’s estimates and invoices
- Customer Type: Categorize customers (residential, commercial, etc.). Click the + button to create new categories
- Customer Since: Defaults to today’s date, but can be changed
- How This Customer Found Out About Us: Select how the customer heard about your company. Click the + button to create a new source.
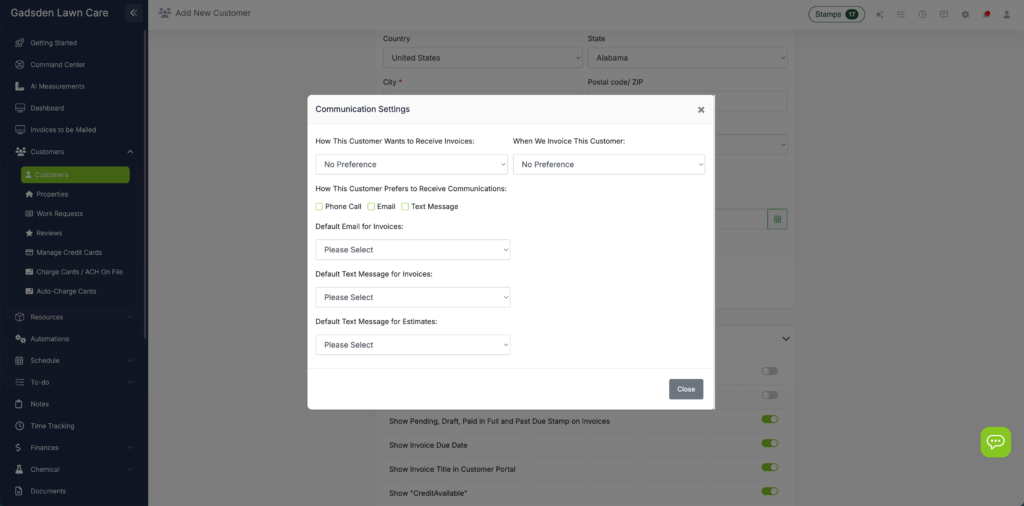
Communication Settings
- How This Customer Wants to Receive Invoices: Select which method this customer prefers to receive their invoices. (email, text, mail, etc)
- When We Invoice This Customer: Select when you invoice this particular customer. (This is just a reminder and does not automatically send the invoice)
- How This Customer Prefers to Receive Communication: Choose how this customer likes to communicate. Phonem, email, or text.
- Default Email for Invoices: When this customer is sent an emailed invoice, if you want this customer to receive an email template other than the one selected in main settings, you can select that here.
- Default Text Message for Invoices: When this customer is sent a text invoice, if you want this customer to receive a text template other than the one selected in main settings, you can select that here.
- Default Text Message for Estimates: When this customer is sent a text estimate, if you want this customer to receive a text template other than the one selected in main settings, you can select that here.
These template choices will override the ones chosen in main settings. You can learn more about email templates here and text templates here.
Invoice Settings
You can manage invoice settings for this new customer. Again, if these settings are changed/used they will over ride the settings selected in the main settings.
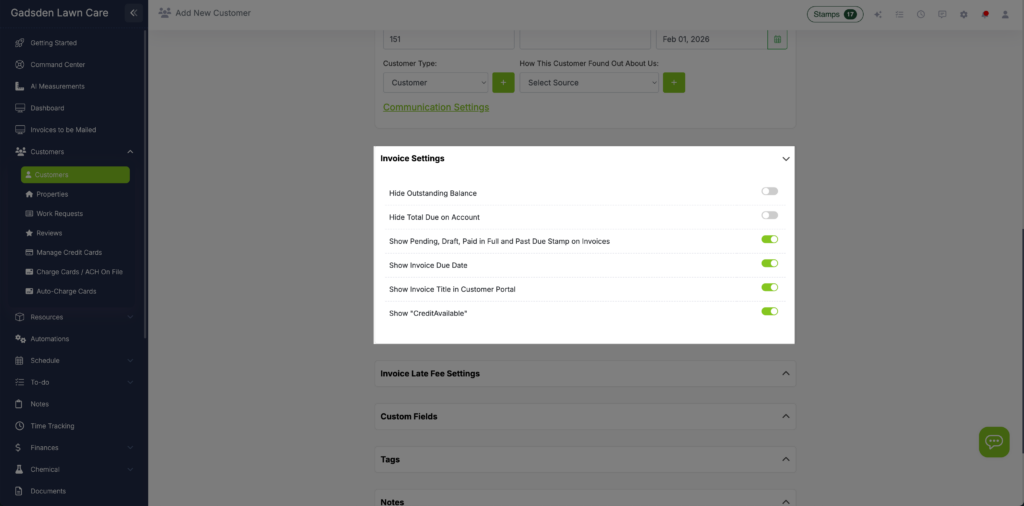
You can choose to:
- Hide outstanding balances
- Hide Total Due on Account
- Show Pending, Draft, Paid in Full and Past Due stamps on invoices
- Show Invoice Due Date
- Show the Invoice Title in Customer Portal
- Show “Credit Available”
Invoice Late Fee Settings
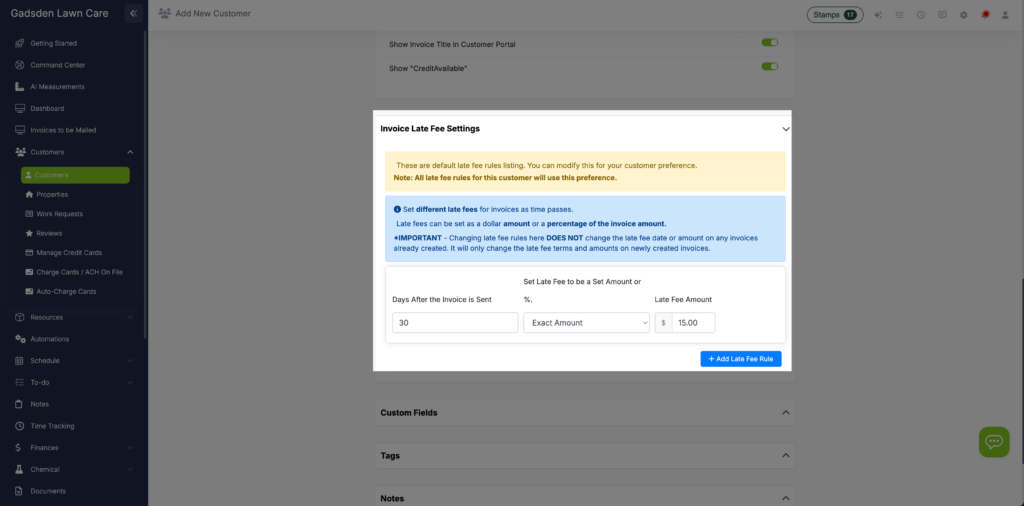
Late Fee Rules: First, select how many days until your invoices will considered “late” and what the late fee is. The fee can be a % or an exact amount.
You can set more than one late fee rule by clicking the blue “+ Add Late Fee Rule” button.
Example: After 15 days the late fee is $5 and after 30 days the late fee is $10 and so on.
* Note- These settings will only be for this customer and will override what is in main settings for the rest of your customers.
Custom Fields
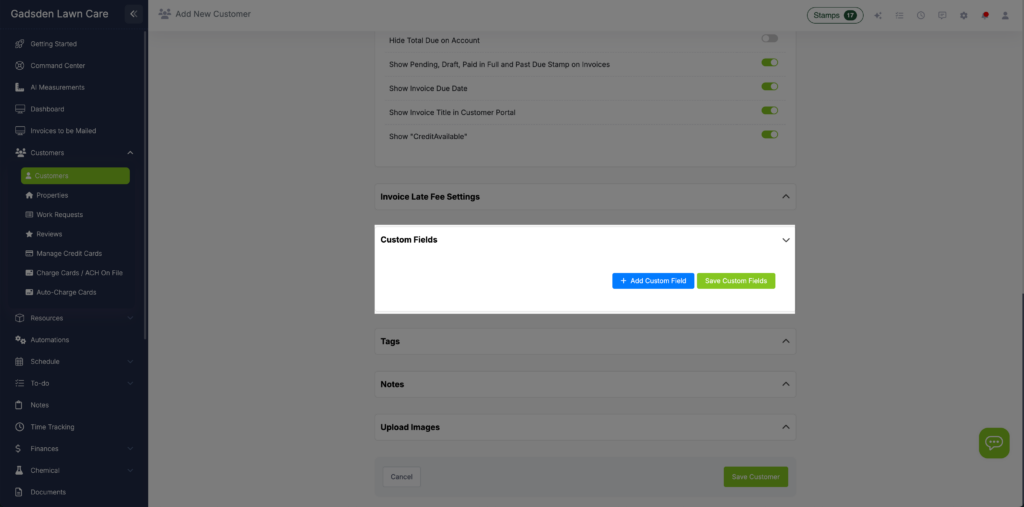
We know that all business aren’t the same and have different needs when it comes to assets (properties), chemical tracking, chemical applications, customers, equipments, estimates, events, invoices, or vendors.
You have the option to add your own custom fields for your team to use to these areas with LawnPro.
Note: These custom fields do not show on the customer side. It is only for you and your team.
Tags
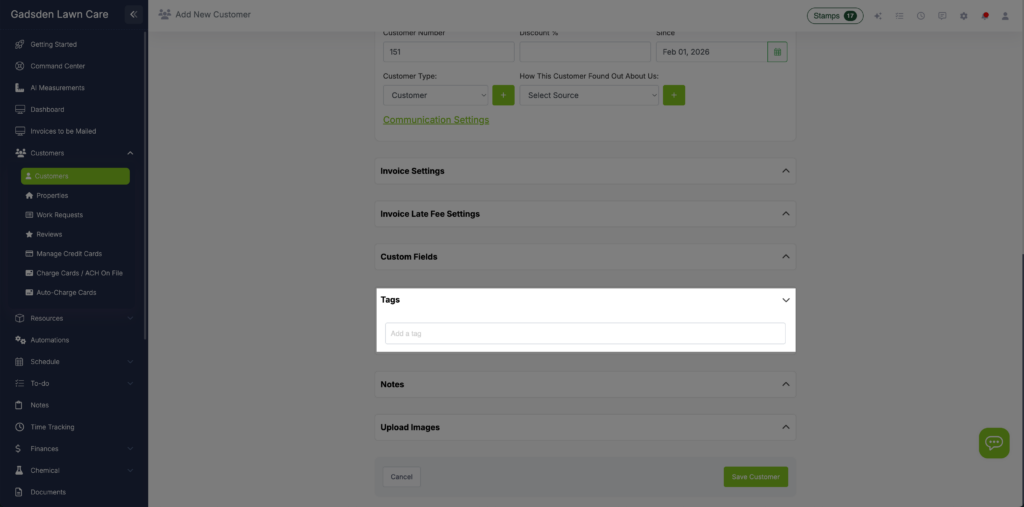
You can add any tags you want for this customer. Type the tag and hit enter. This will create your tag.
Notes and Terms
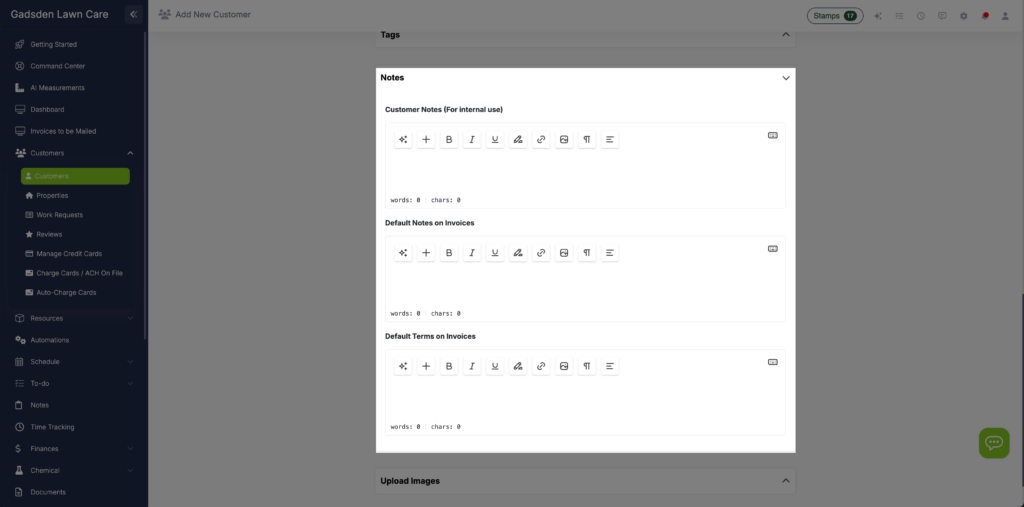
Customer Notes (For Internal Use): Any notes you want to add for this customer. Only you and your team will see this. It is not visible to the Customer.
Default Notes On Invoices: Any notes you want to appear by default on all Invoices. The notes you enter here will override the notes in your main settings.
Default Terms on Invoices: The terms you’d like to appear by default on all invoices such as “All invoices due within 15 days of receipt”. The terms you enter here will override the main settings.
This prevents you from having to manually enter all of this notes and terms on each new Invoice you create for this customer.
Images
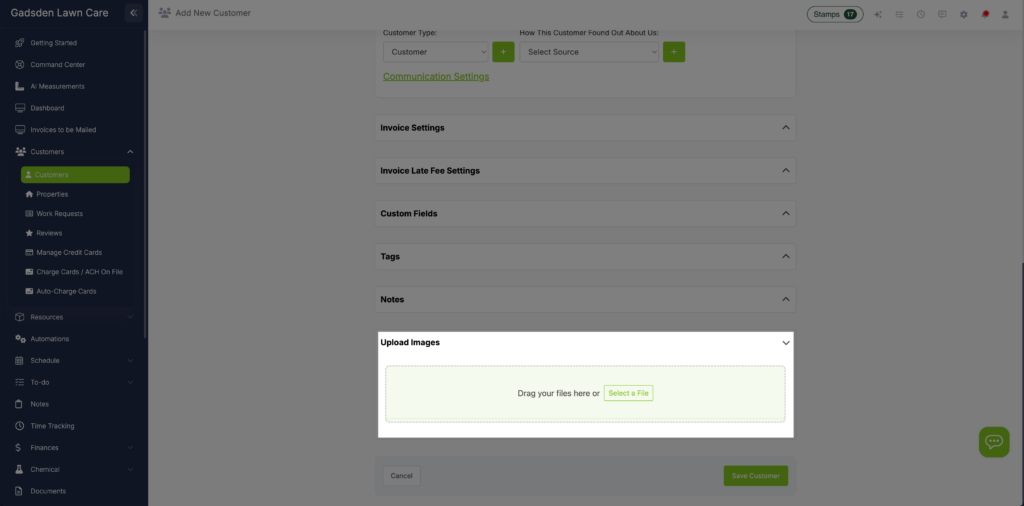
You can upload photos and documents for this customer. They will appear for the customer to view in their customer portal.
When you are done filling out the information for your customer hit the “Save Customer” button. You will see a popup asking if you would like to add a property for this customer. You should add a property as this is the service location for this customer and having a property for a customer is required if you would also like to add a visit to the calendar later on.
Please note: It is possible to add multiple properties to the same customer.
Also Note: It is not currently possible to merge two customer profiles into one. You will either need to manually move the data over into one profile and delete the duplicate, or keep both customers, but rename one of the clients that you won’t be using to include “do not use” in the customer/business name.