Once your Zapier account is set up, you can set up a workflow.
You will first connect the two apps you want in the workflow.
In this example, I am connecting my LawnPro account to Google Sheets and I want my Google Spreadsheet to be updated each time a new customer is added to my LawnPro account.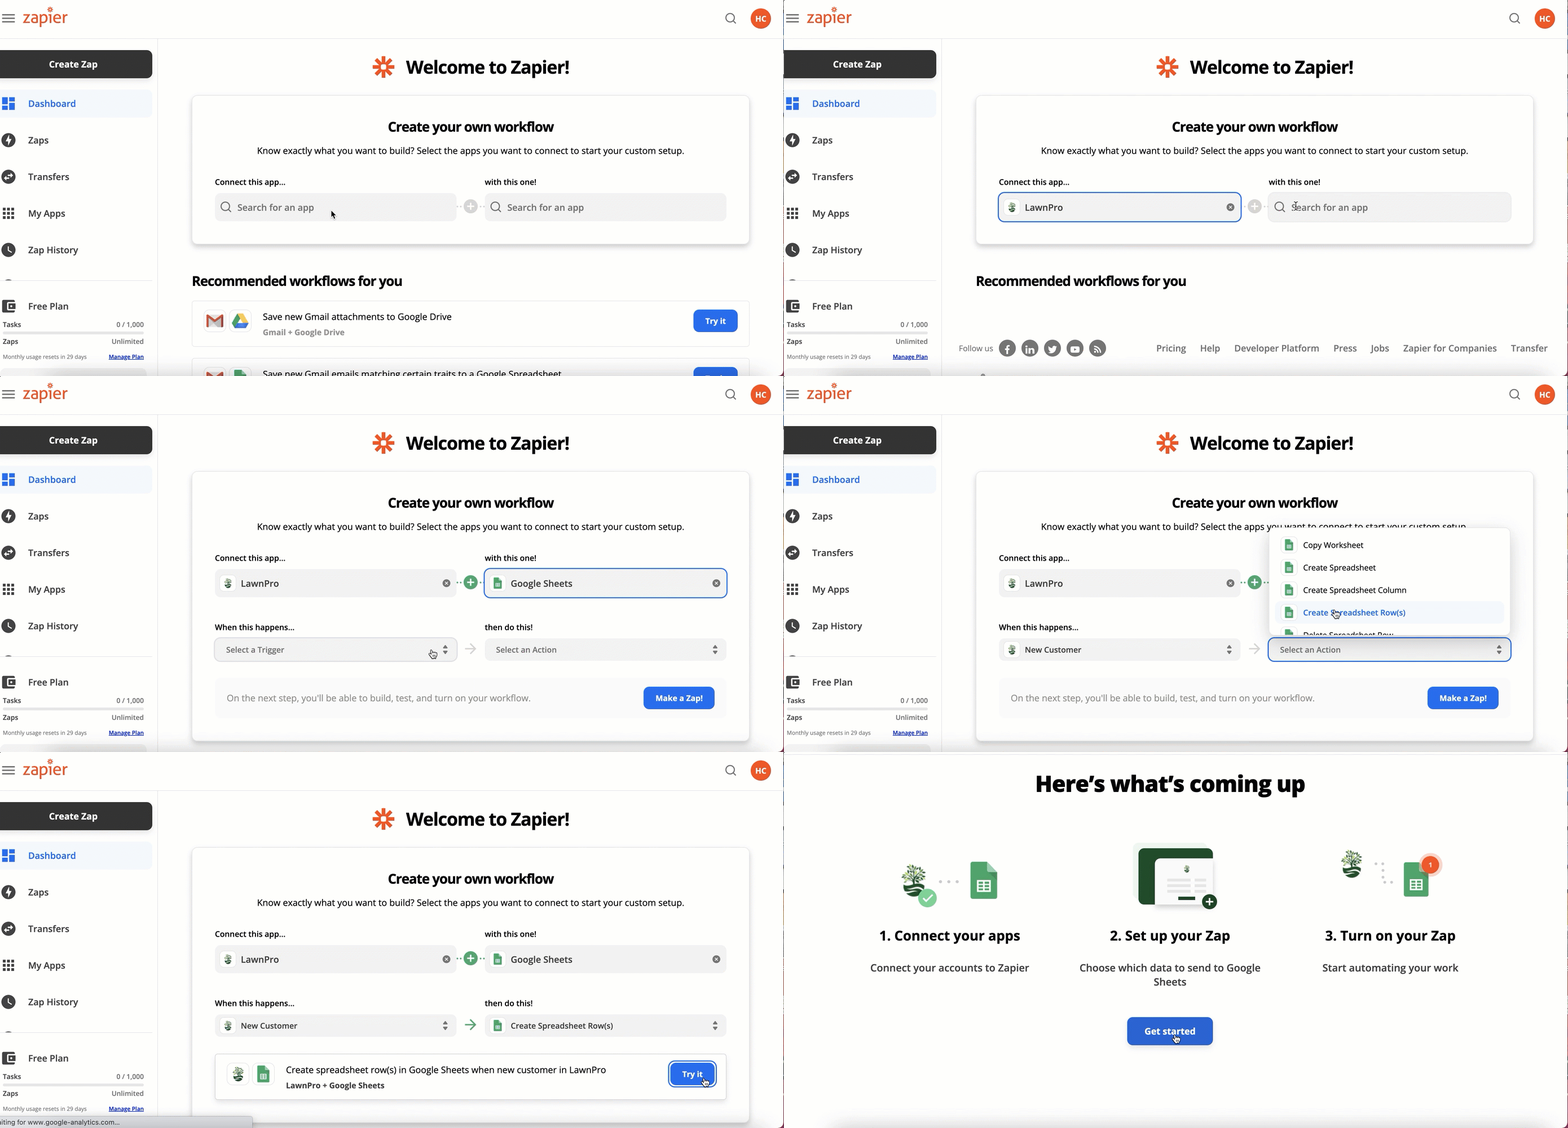
You will then choose your Trigger.
I am choosing the “New Customer” trigger which means “When a new customer is added in LawnPro“
Next you will choose the Action that will occur when the trigger happens.
In this case I selected “Create Spreadsheet Row(s)“
After you choose the trigger and action you will click the blue “Try It” button.
You will then see a “Here’s What’s Coming Up” page that will explain the next steps.
Click “Get Started” to continue.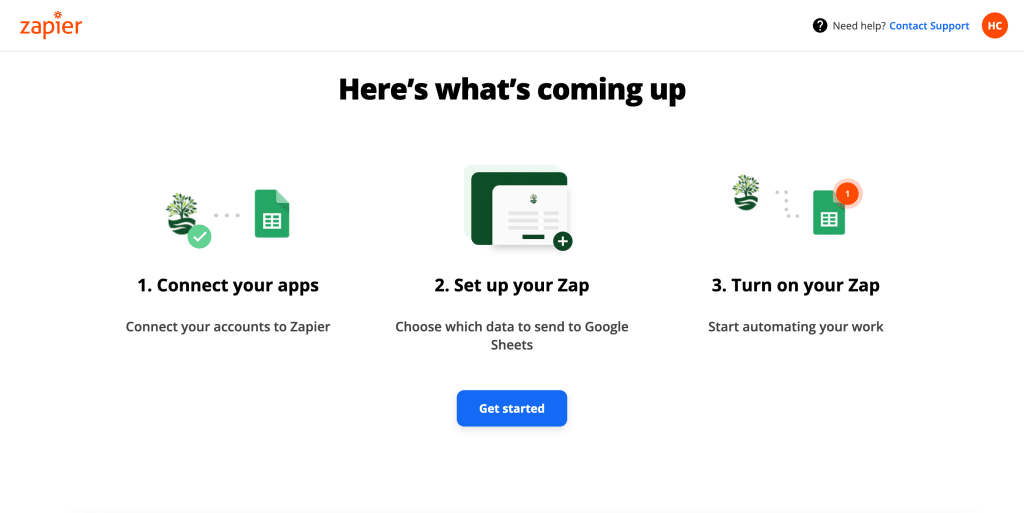
The next step is to login to your LawnPro account.
I am already logged in so I can just select my account. If you are not logged in you will enter your LawnPro email and password here. Then click “Next“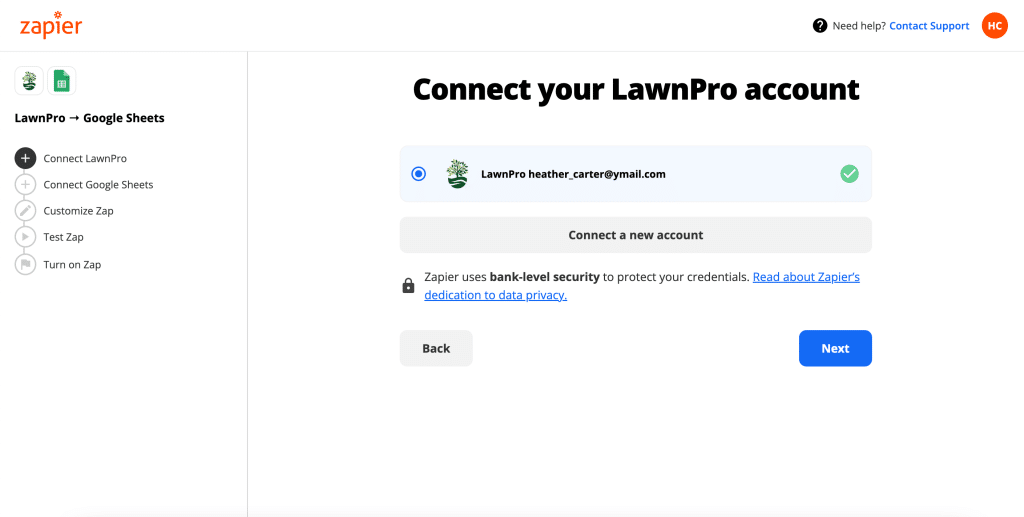
Then you will log in to the second app you chose. In this case, it’s Google. Either select a Google account listed or connect your account by clicking “Connect a New Account” Click the blue “Next” button when you are ready to move to the next step. 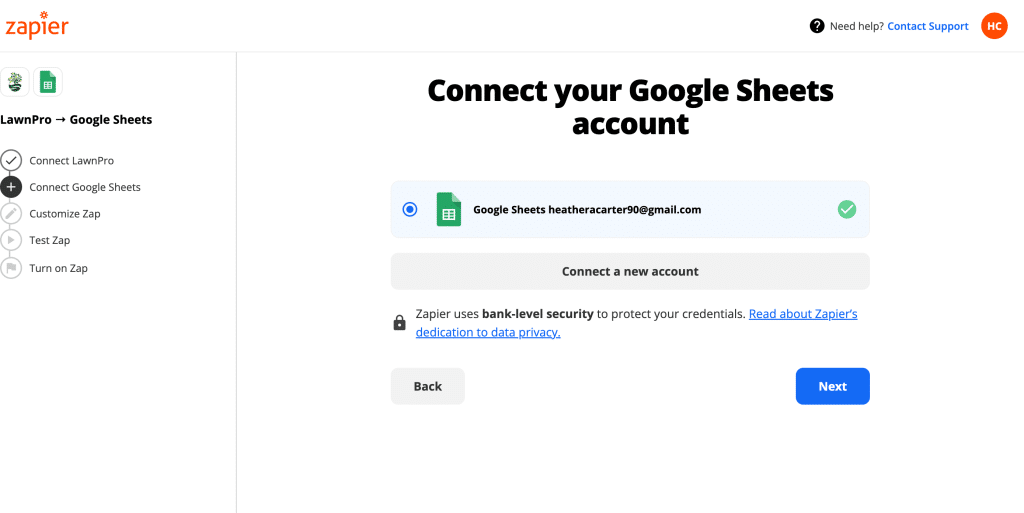
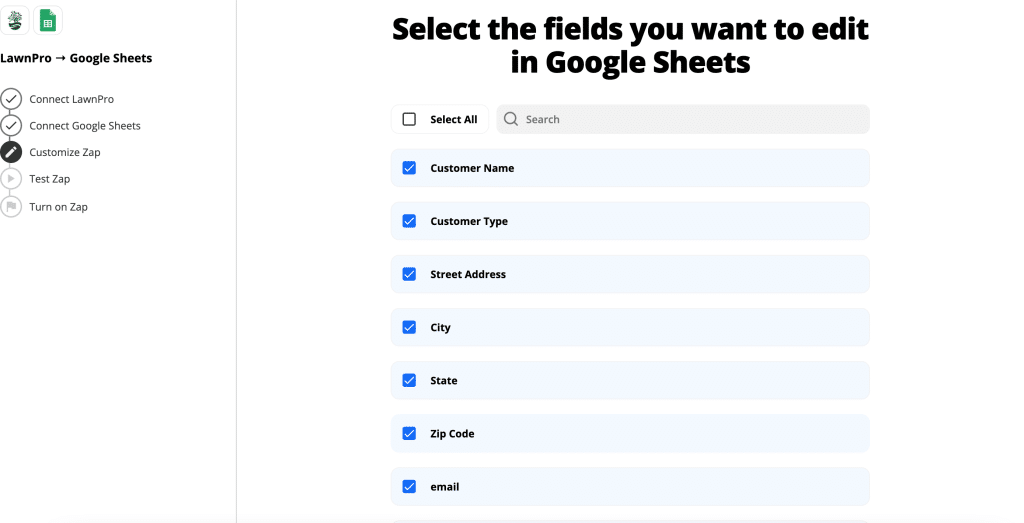
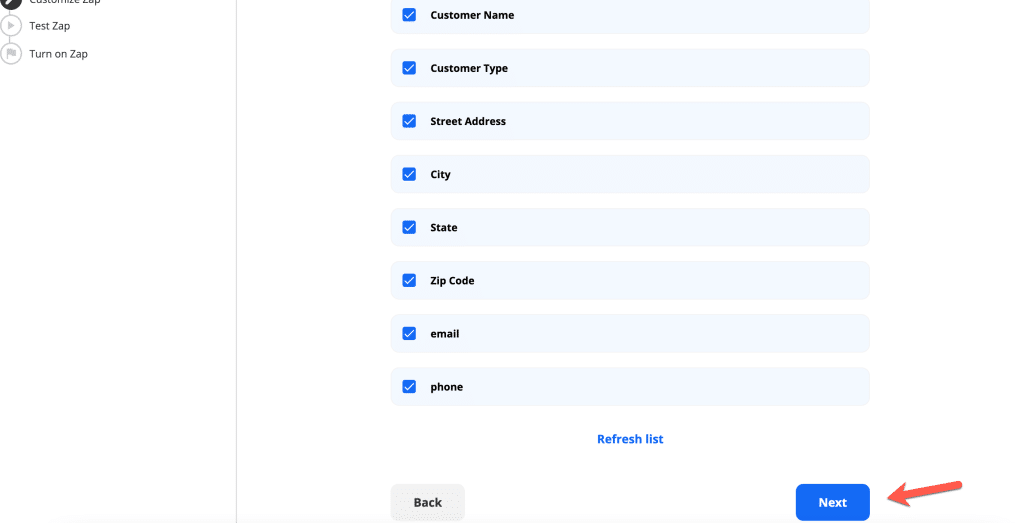
You will then select which fields you want Zapier to move from LawnPro to your Google Sheet.
Click the blue “Next” button when you are ready to move to the next step.
Next you will map the fields so Zapier knows which fields from LawnPro go under which Columns on the spreadsheet. Click the blue “Next” button when you are ready to move to the next step.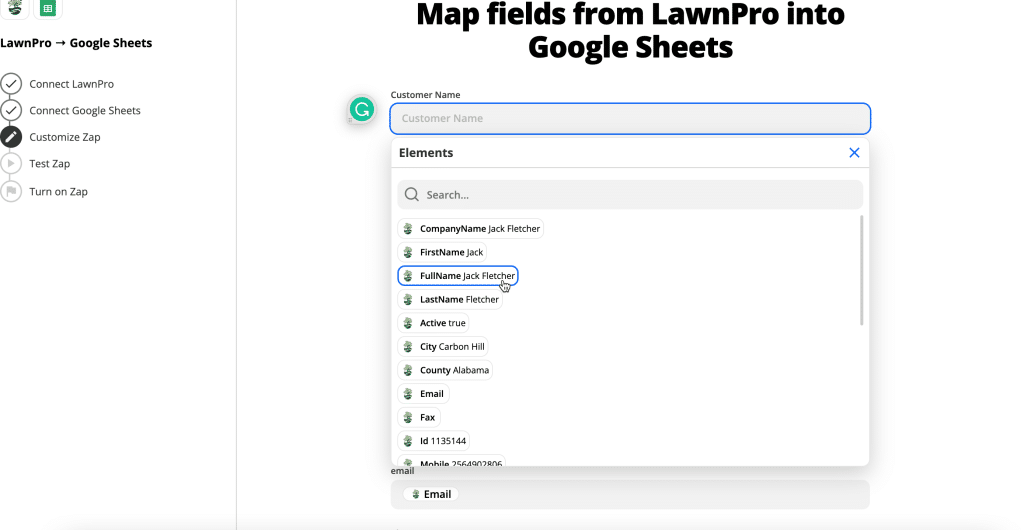
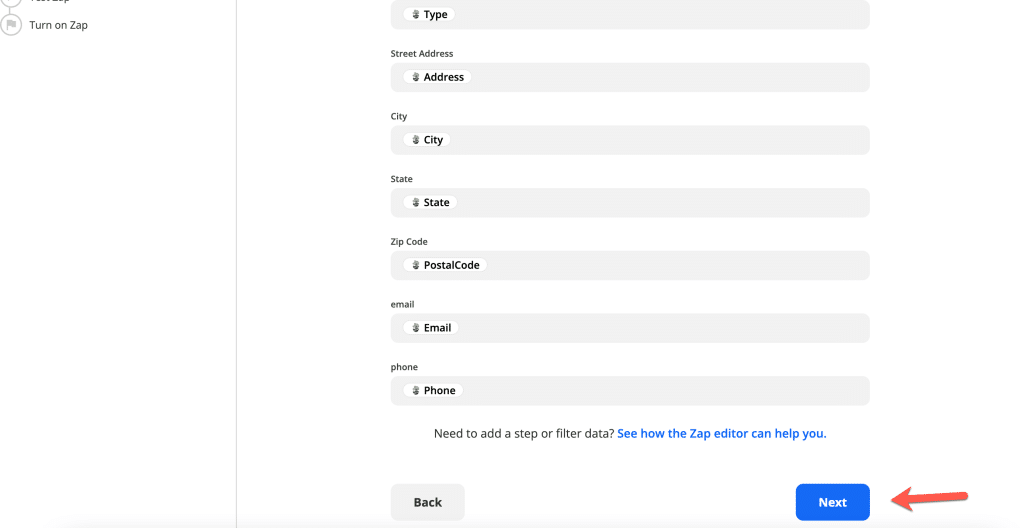
It will then create a test for you to send.
Click the blue “Send Test” button.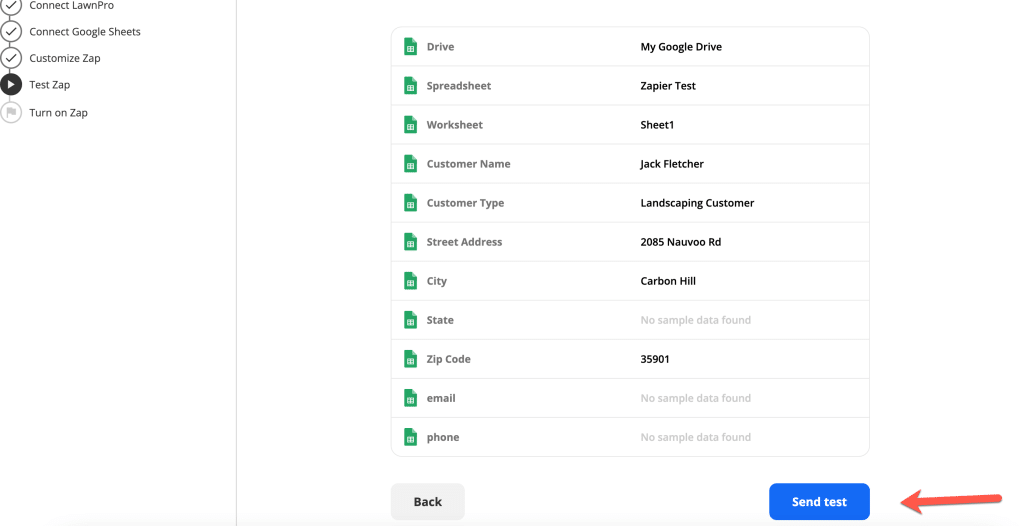
You will see a success message at the top if the test was sent successfully. 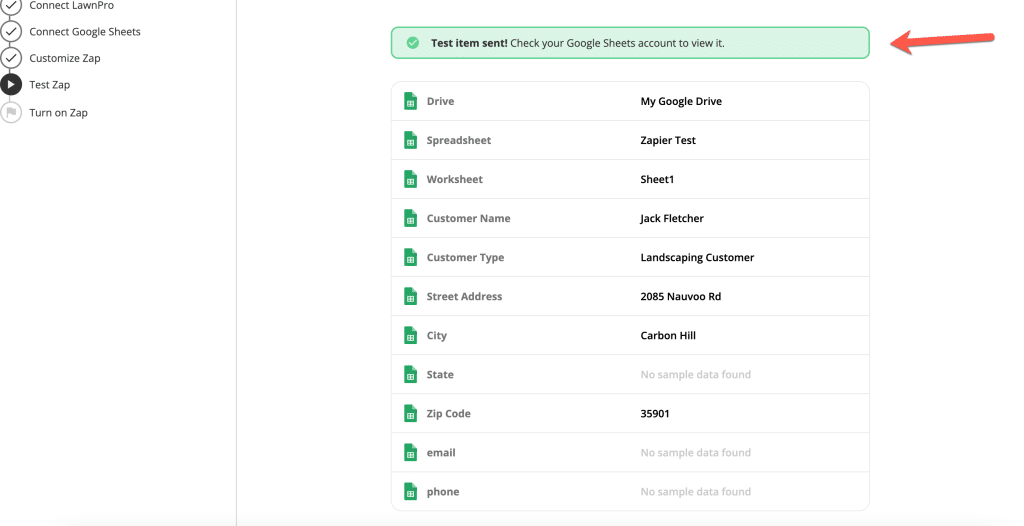
You can see here that the information was transferred from my LawnPro account to my spreadsheet. 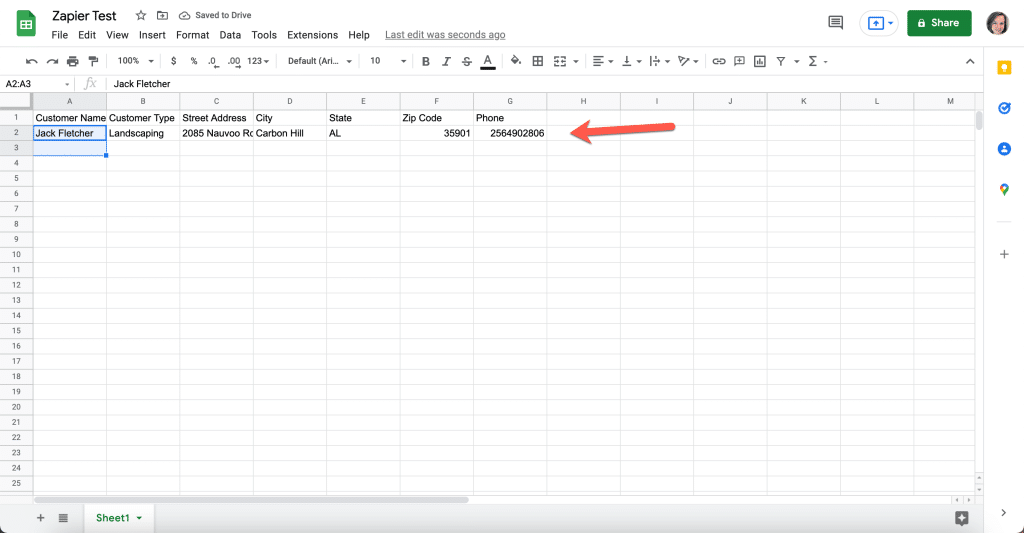
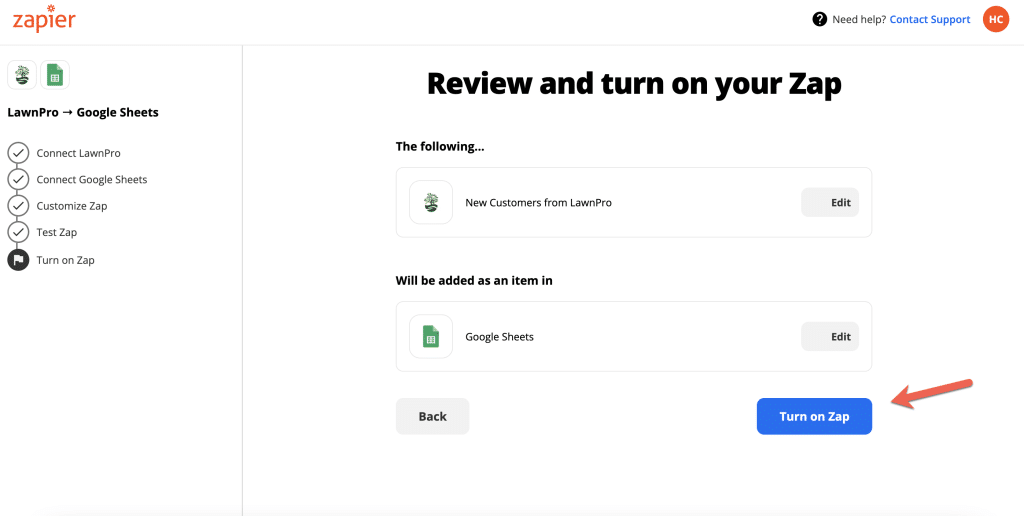
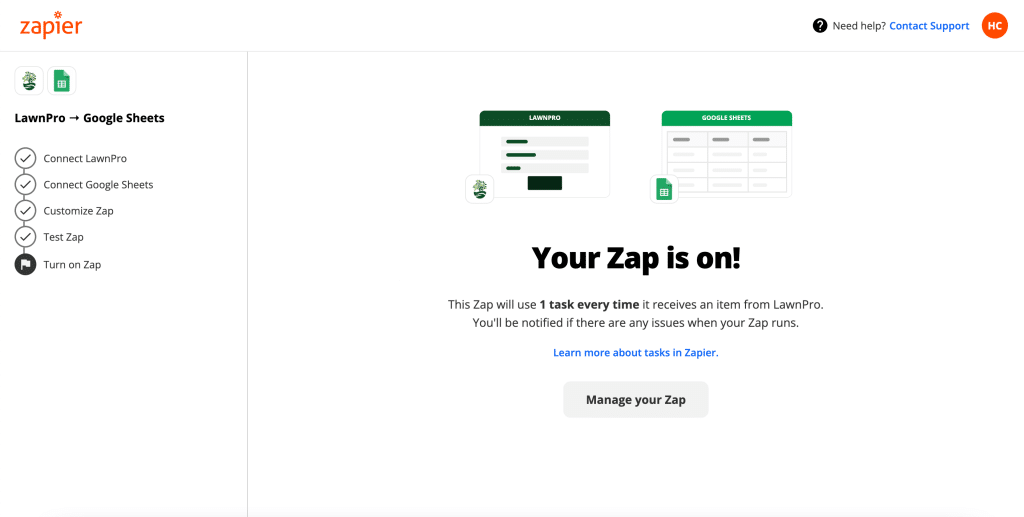
If you are happy with the workflow, you can now turn on your Zap so that it completes this workflow automatically. 