Filters allow Zaps to only perform actions on the items you want. With filters, you set a specific condition and the Zap will only continue if the data from your app meets that condition.
Steps to adding filters to a Zap
1. Add a Filter Step
– In the Zap editor, click the plus + icon to add an action step.
– Select Filter.
– Click Continue.
You can add a filter at any point after the trigger and can use multiple filters in the same Zap.
2. Customize Your Filter Rules
In the Filter Setup & Testing section, set up your filter rules:
– In the first dropdown menu, select the field that you want the filter to check.
– In the second dropdown menu, select the rule that you want to use.
– In the third dropdown menu, define the value that you want to compare the field against.
Click Continue.
3. Test Your Filter
If the test data would have passed the filter, you’ll see a confirmation that the Zap would have continued.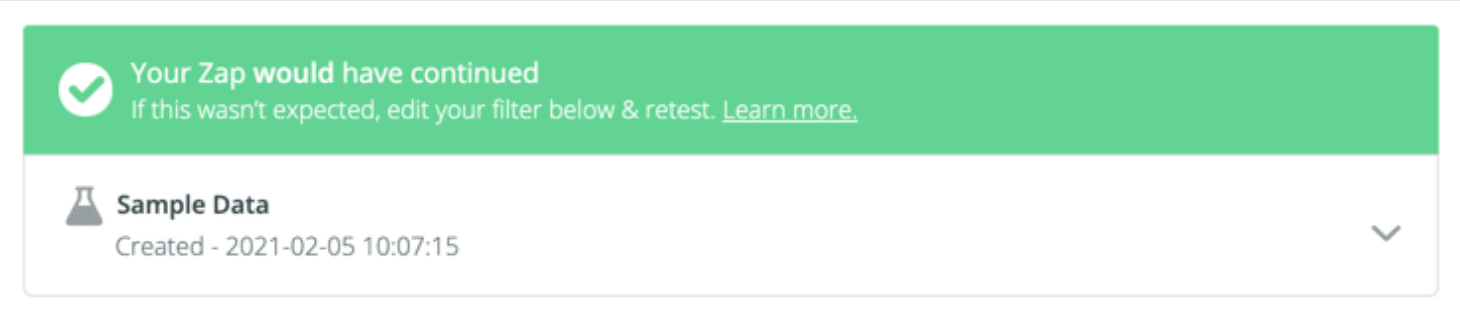
If the test data would not have passed the filter, you’ll see a confirmation that the Zap would not have continued.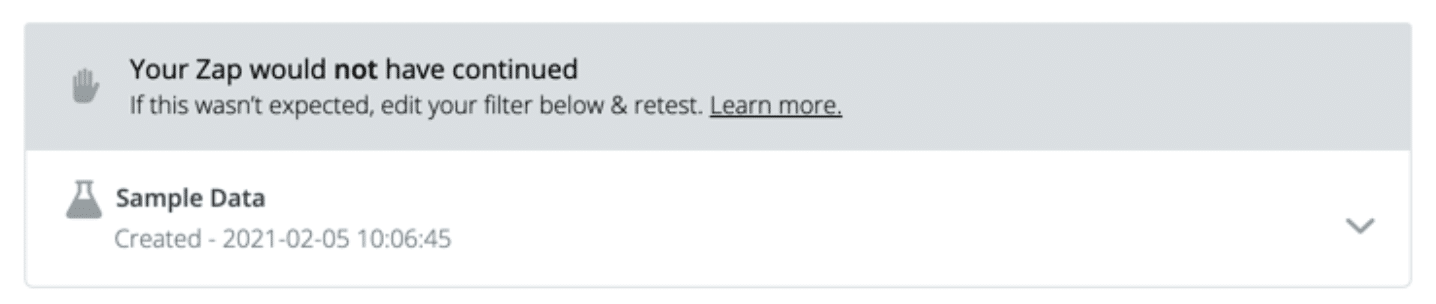
Note: If a Filter step uses data from a search step that didn’t find anything, the Filter step and any other steps afterward won’t run.
After the filter is created, you can continue setting up the rest of your Zap. The actions added to the Zap after this filter step will only be performed if the incoming data passes the filter.