Using Quick Dispatch
Quick Dispatch allows you to quickly create and dispatch visits for multiple properties at once. You can load properties from a saved template, search for them individually, or dispatch visits that were previously created using Pending Dispatch.
To access it go to Schedule → Quick Dispatch.
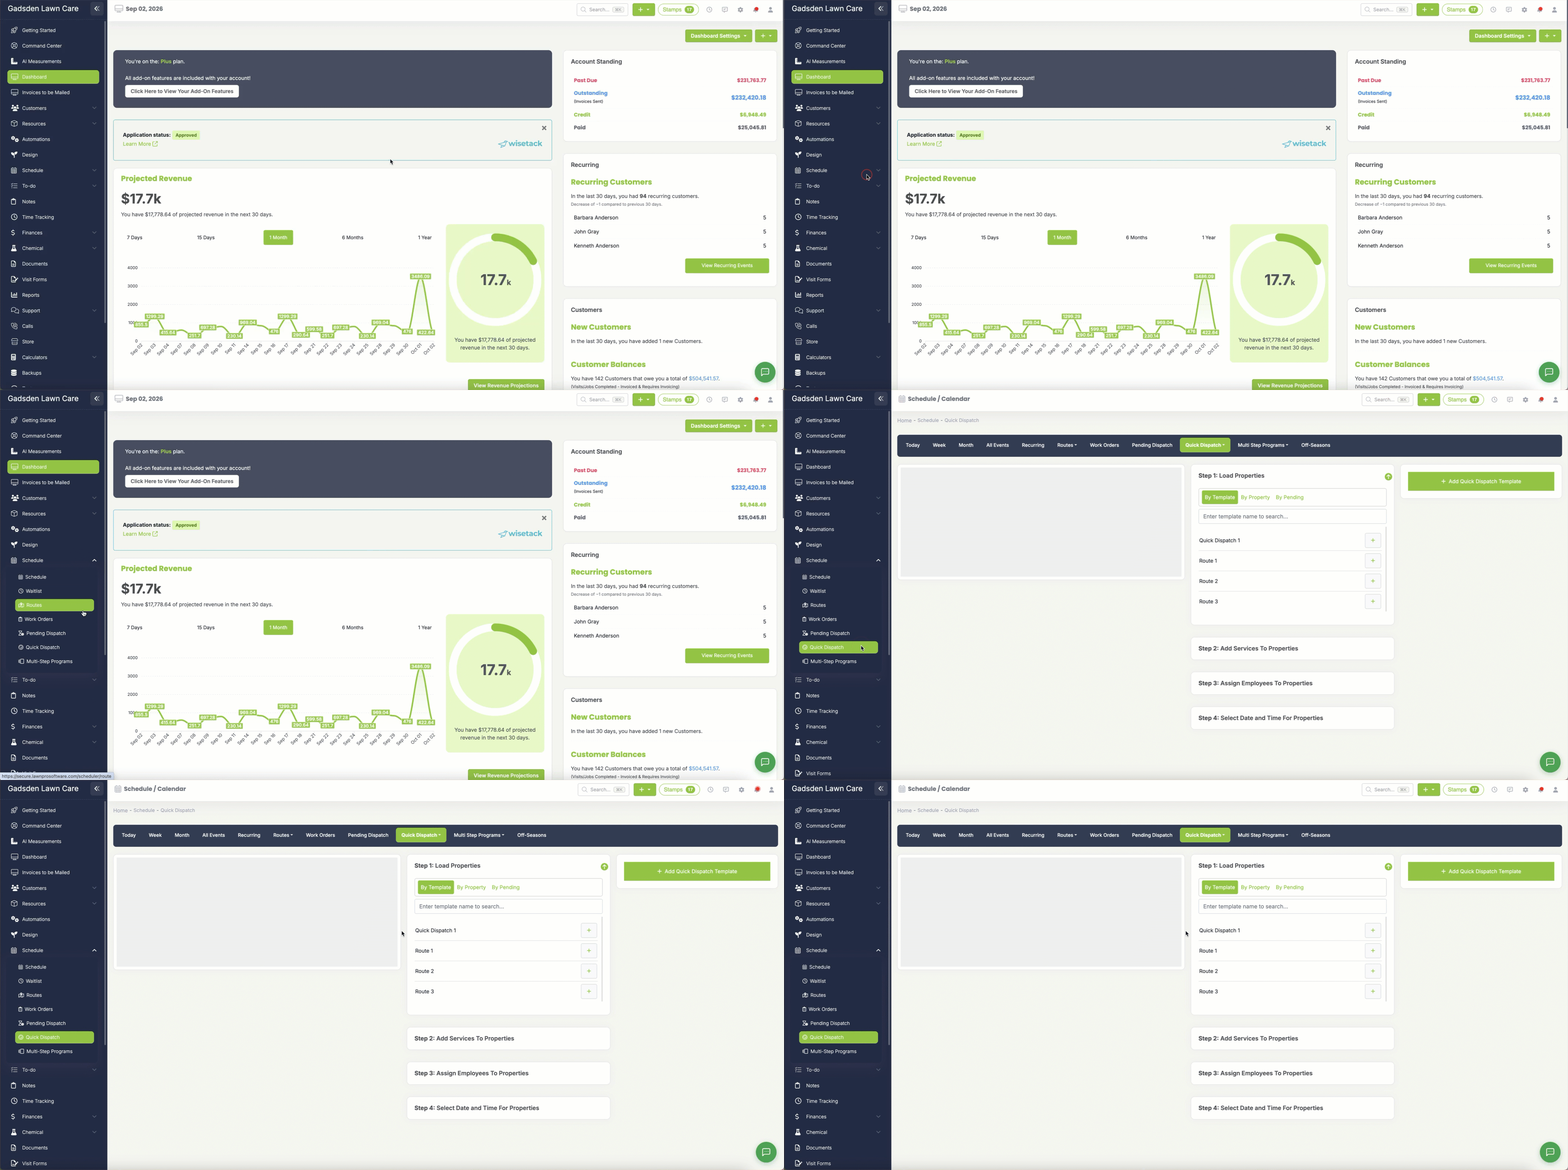
Step 1 — Load Properties
There are three ways to load properties into Quick Dispatch:
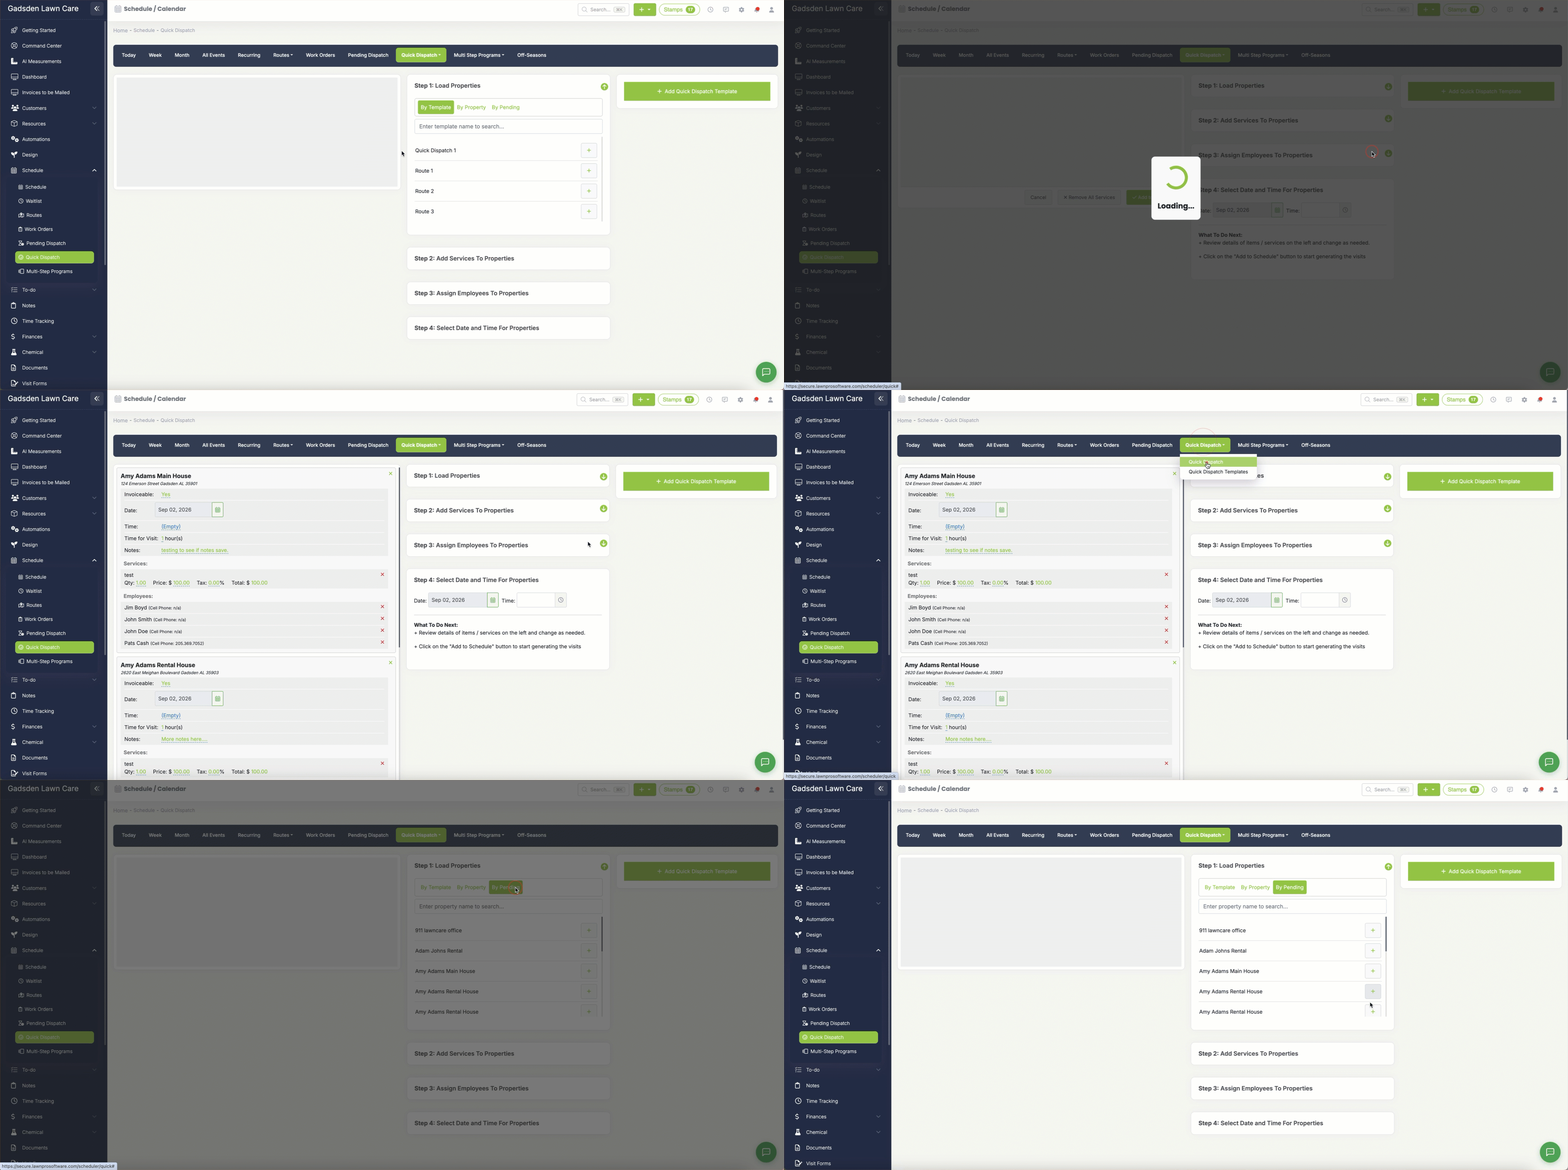
By Template
Select this option to load properties from a Quick Dispatch Template you have already created. Search for a template by name or select one from the list and click the + button to add it. See our Create a Quick Dispatch Template article to learn how to set up templates.
By Property
Select this option to search for and add individual properties one at a time. This is useful if you need to quickly add a few properties that aren’t in a template.
By Pending
Select this option to load properties that were previously set up using Pending Dispatch. This is how you dispatch the pending visits you created there. Search for a property by name and click the + button to add it to your dispatch.
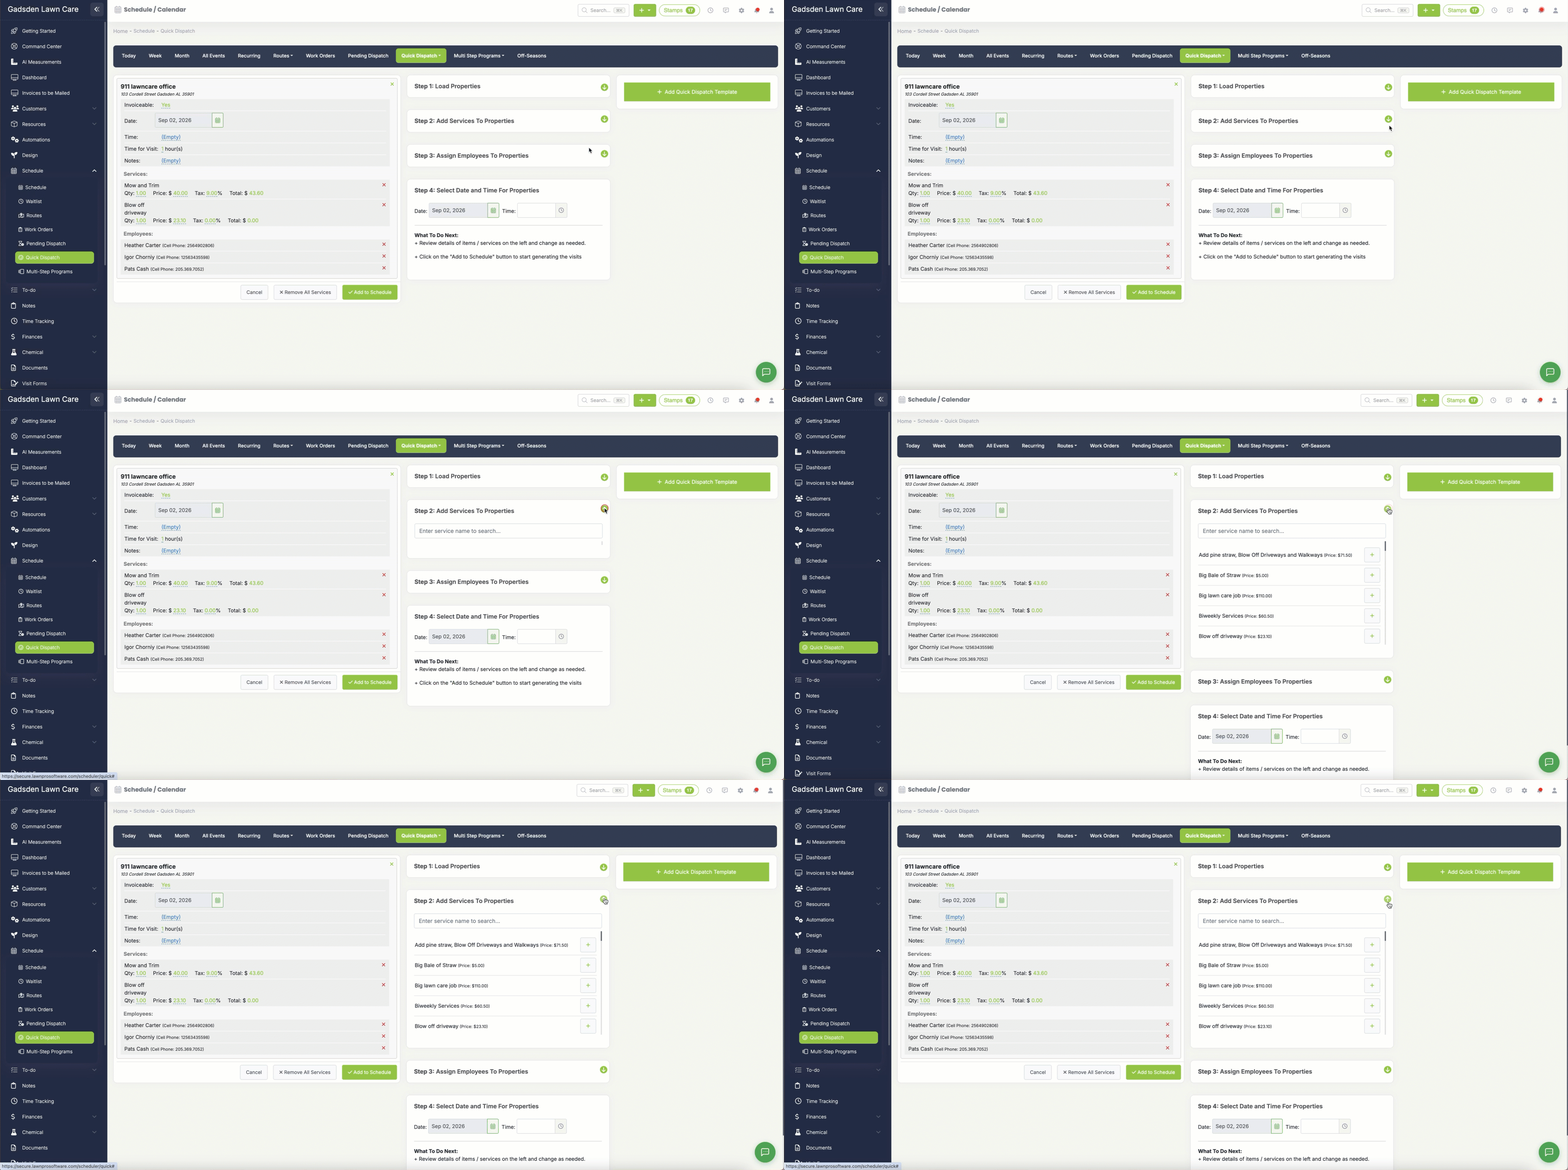
Step 2 — Add Services to Properties
Click Add Services To Properties to expand this section. Add or adjust the items and services for the visits you are dispatching.
Step 3 — Assign Employees to Properties
Assign a crew or individual employees to the visits.
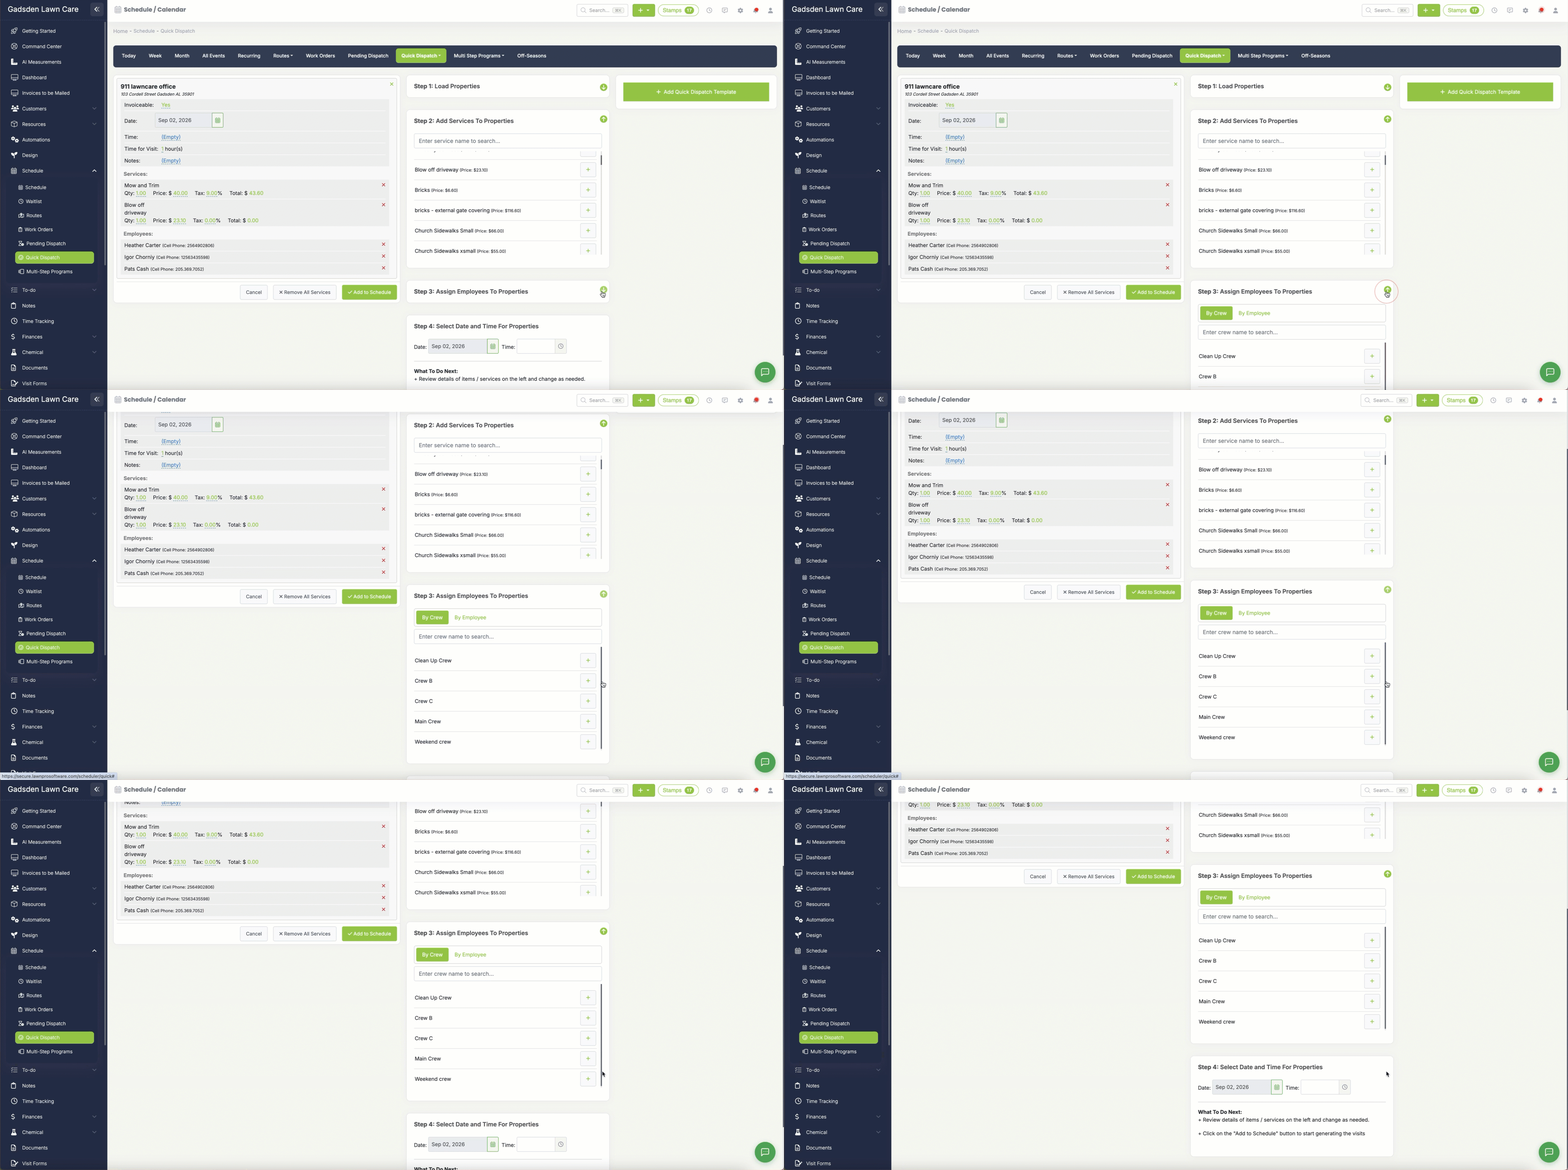
Step 4 — Select Date and Time
Choose the date and time you want these visits to be scheduled for.
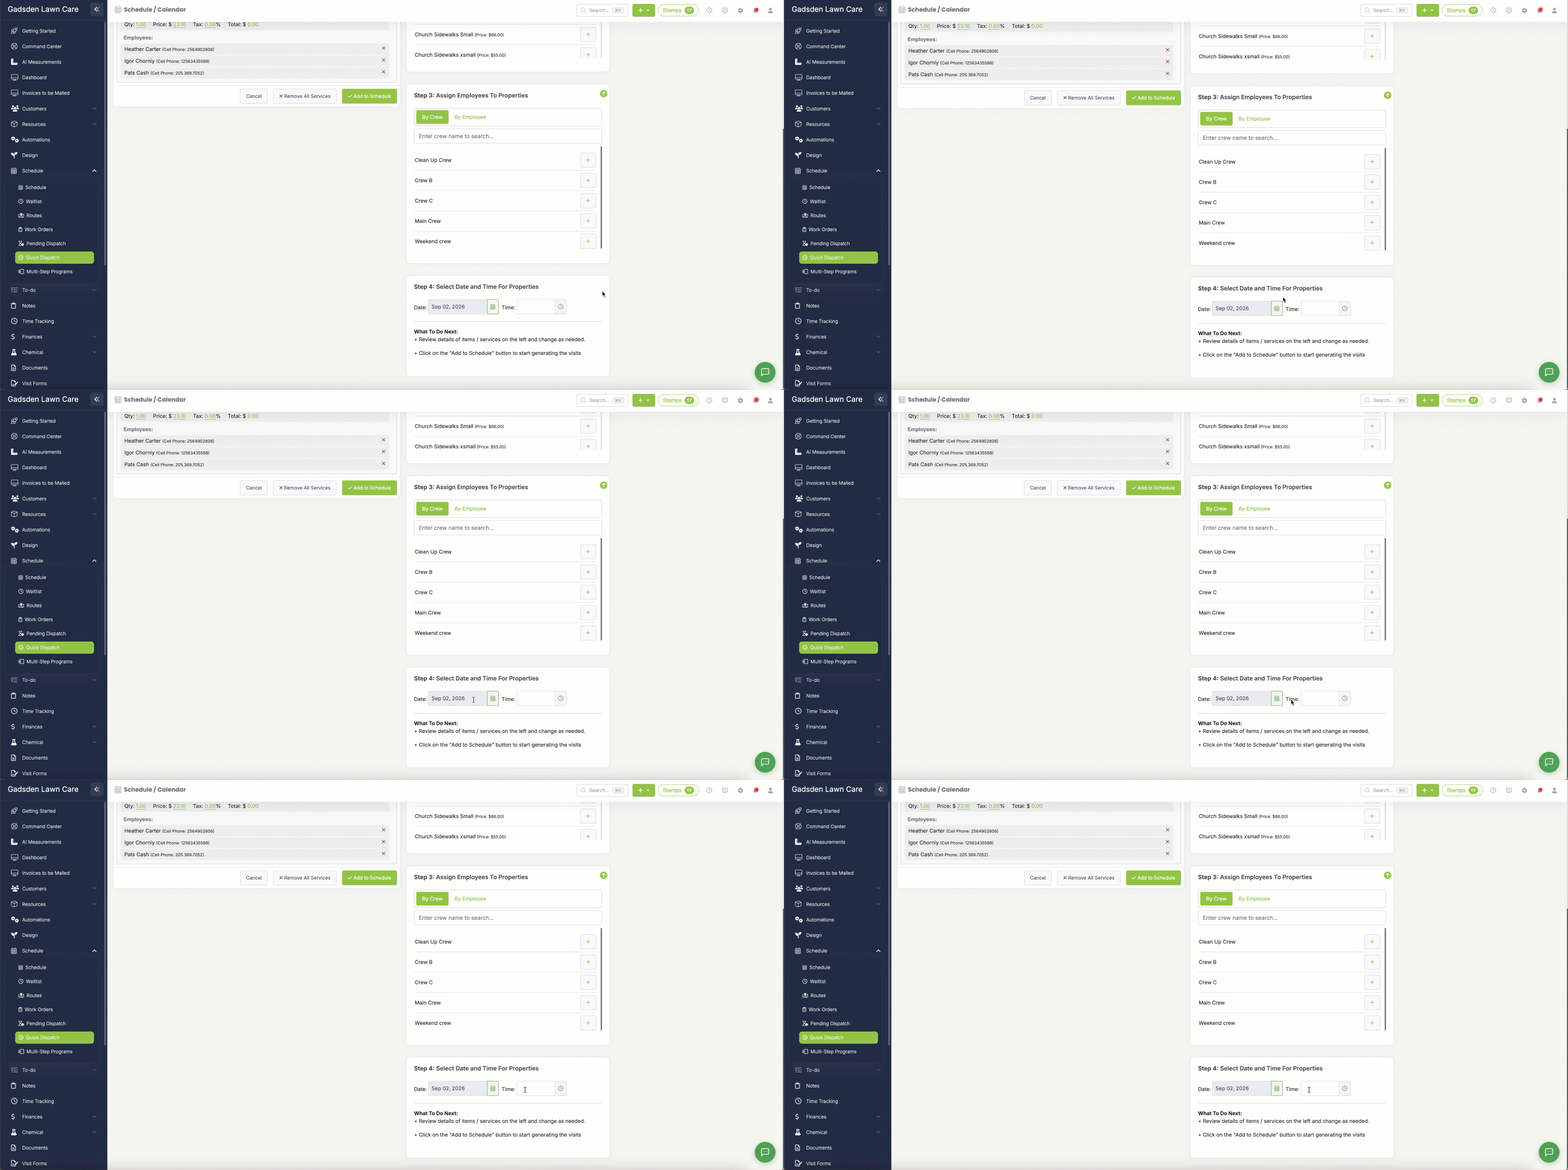
Add to Schedule
Once all four steps are complete click the Add to Schedule button to dispatch the visits and add them to your calendar.
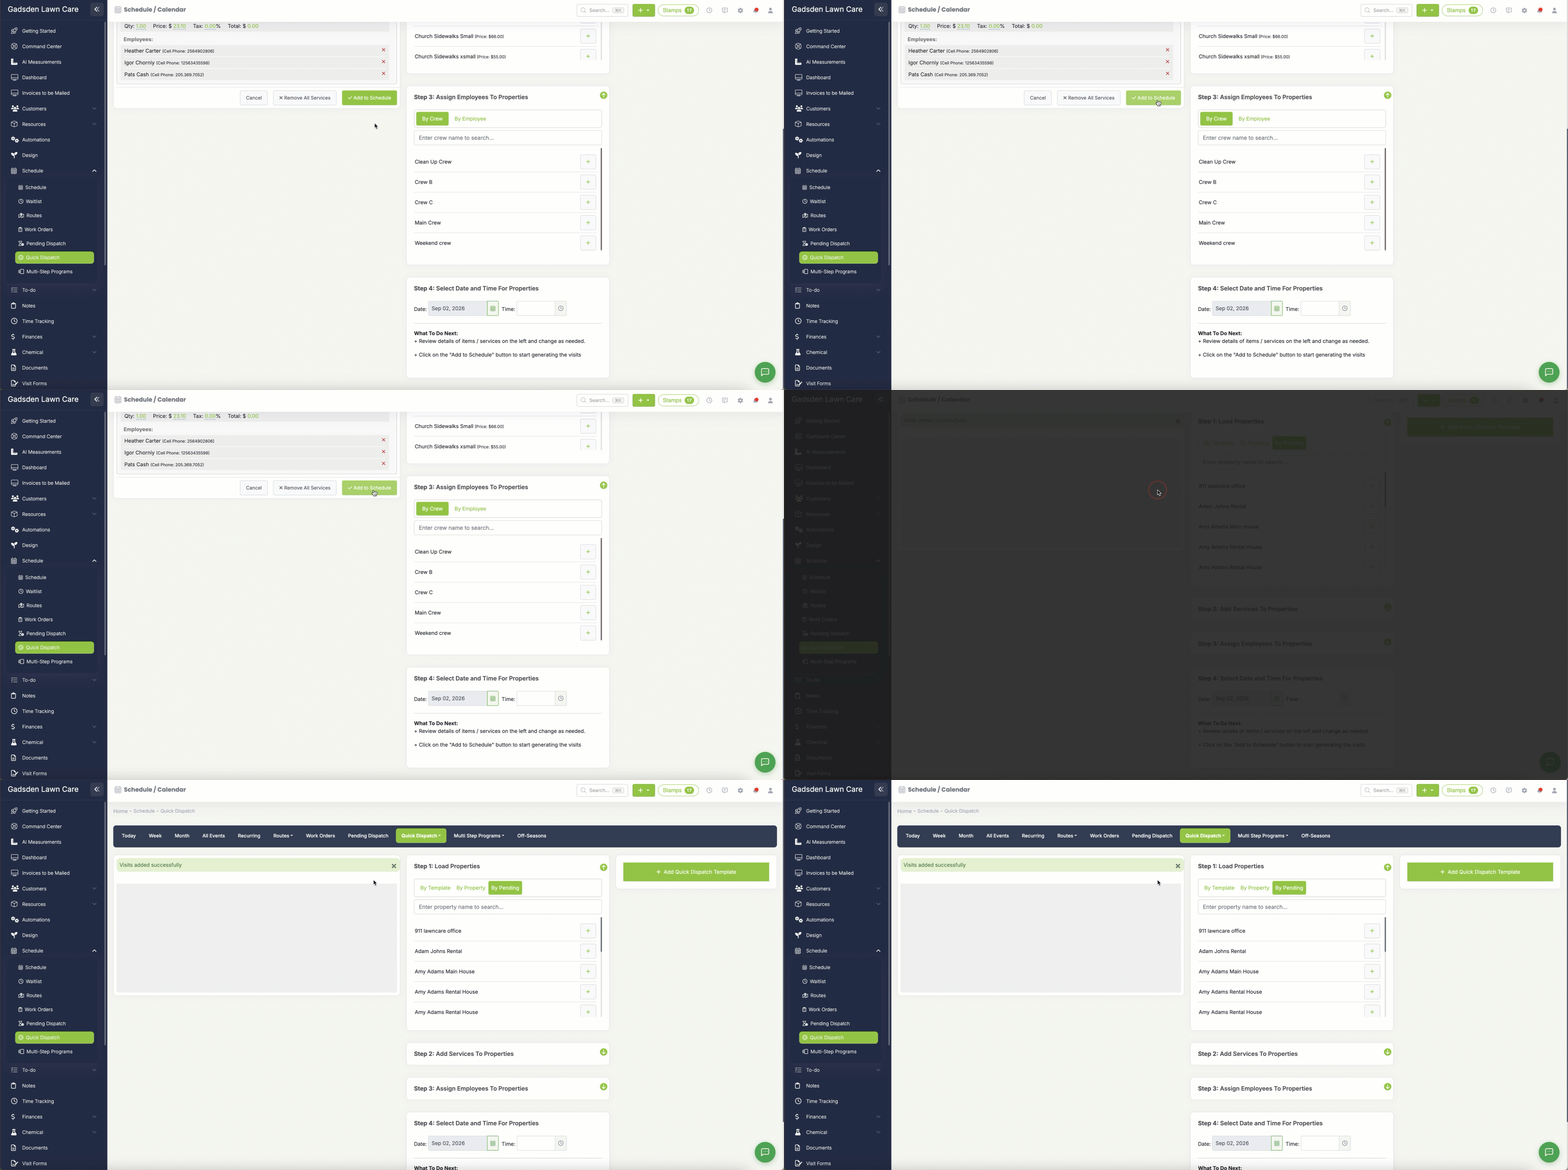
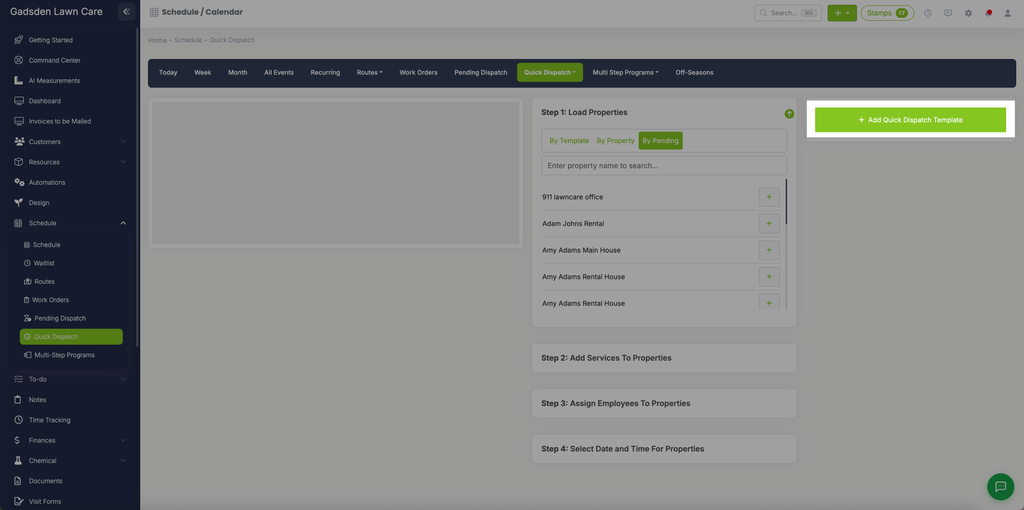
Add Quick Dispatch Template
Click the green Add Quick Dispatch Template button in the top right corner to create a new template. See our Create a Quick Dispatch Template article for step by step instructions.