If you want to bill someone the same amount each month but show the services you performed at their property, level billing is the way to go.
To set up a level billing agreement, click on “Finances” from the left menu, then click on “Level Billing”
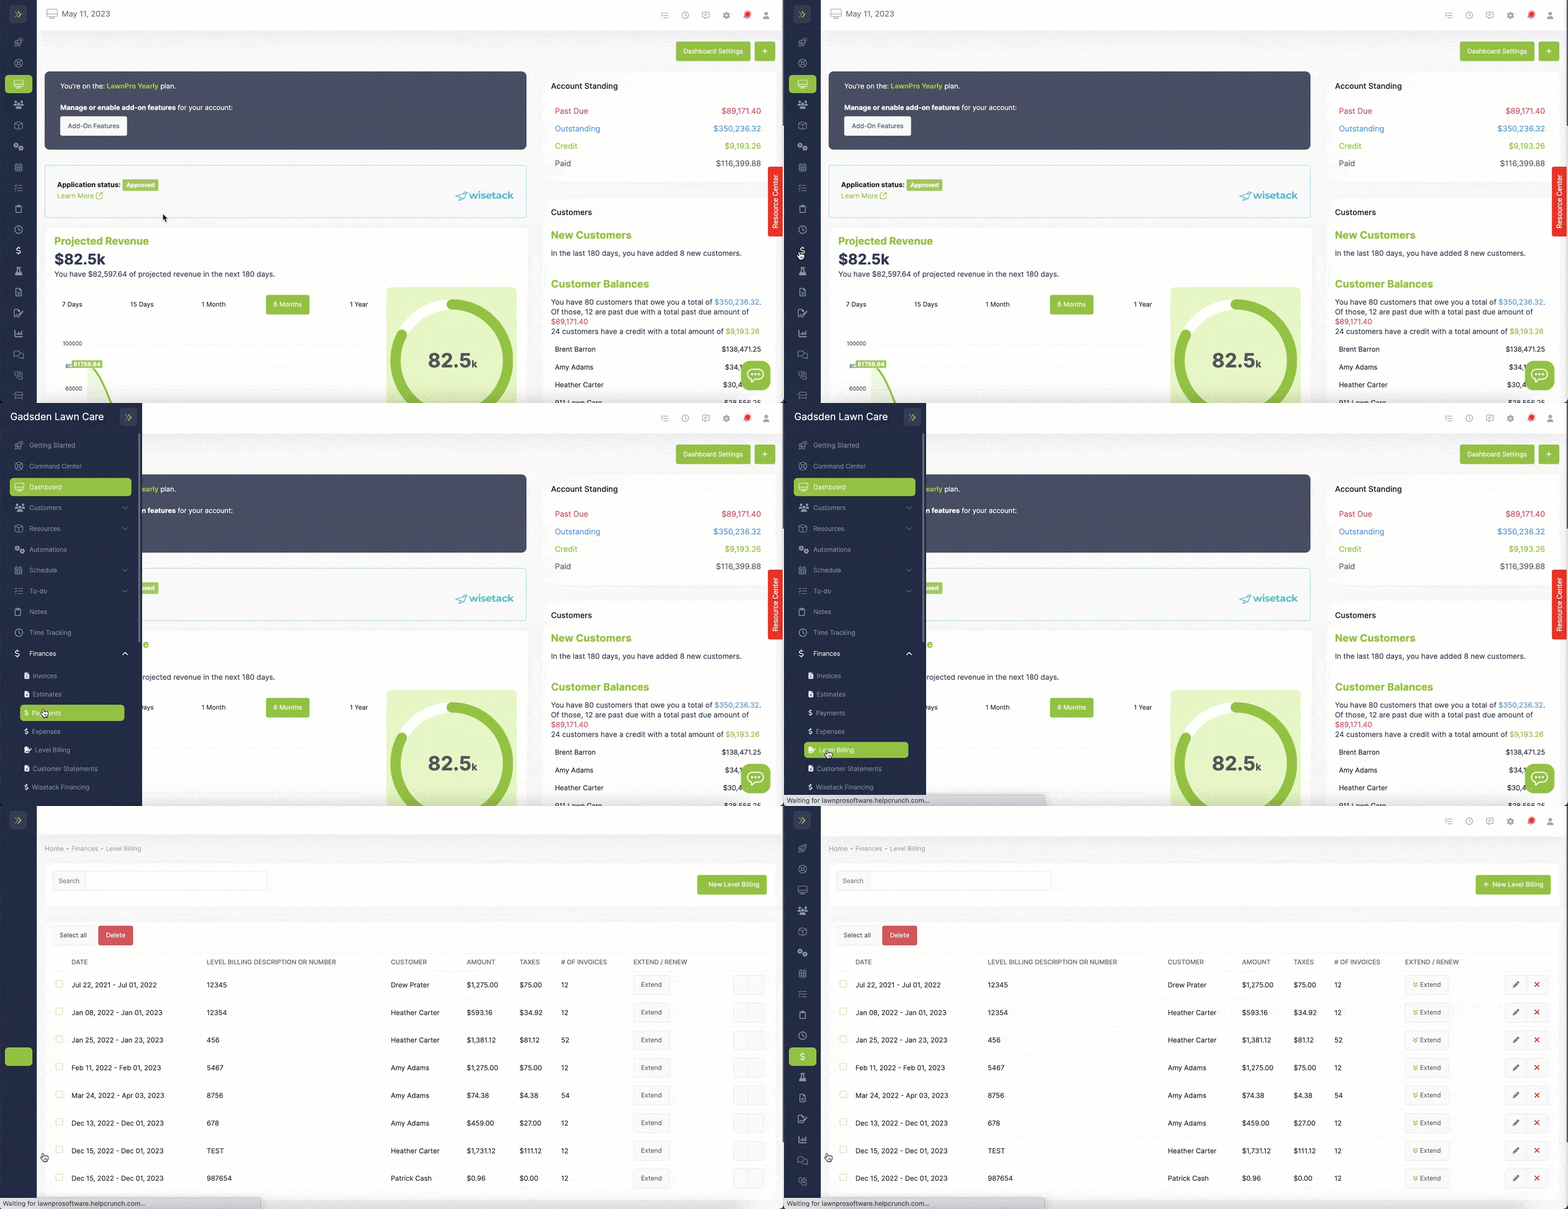
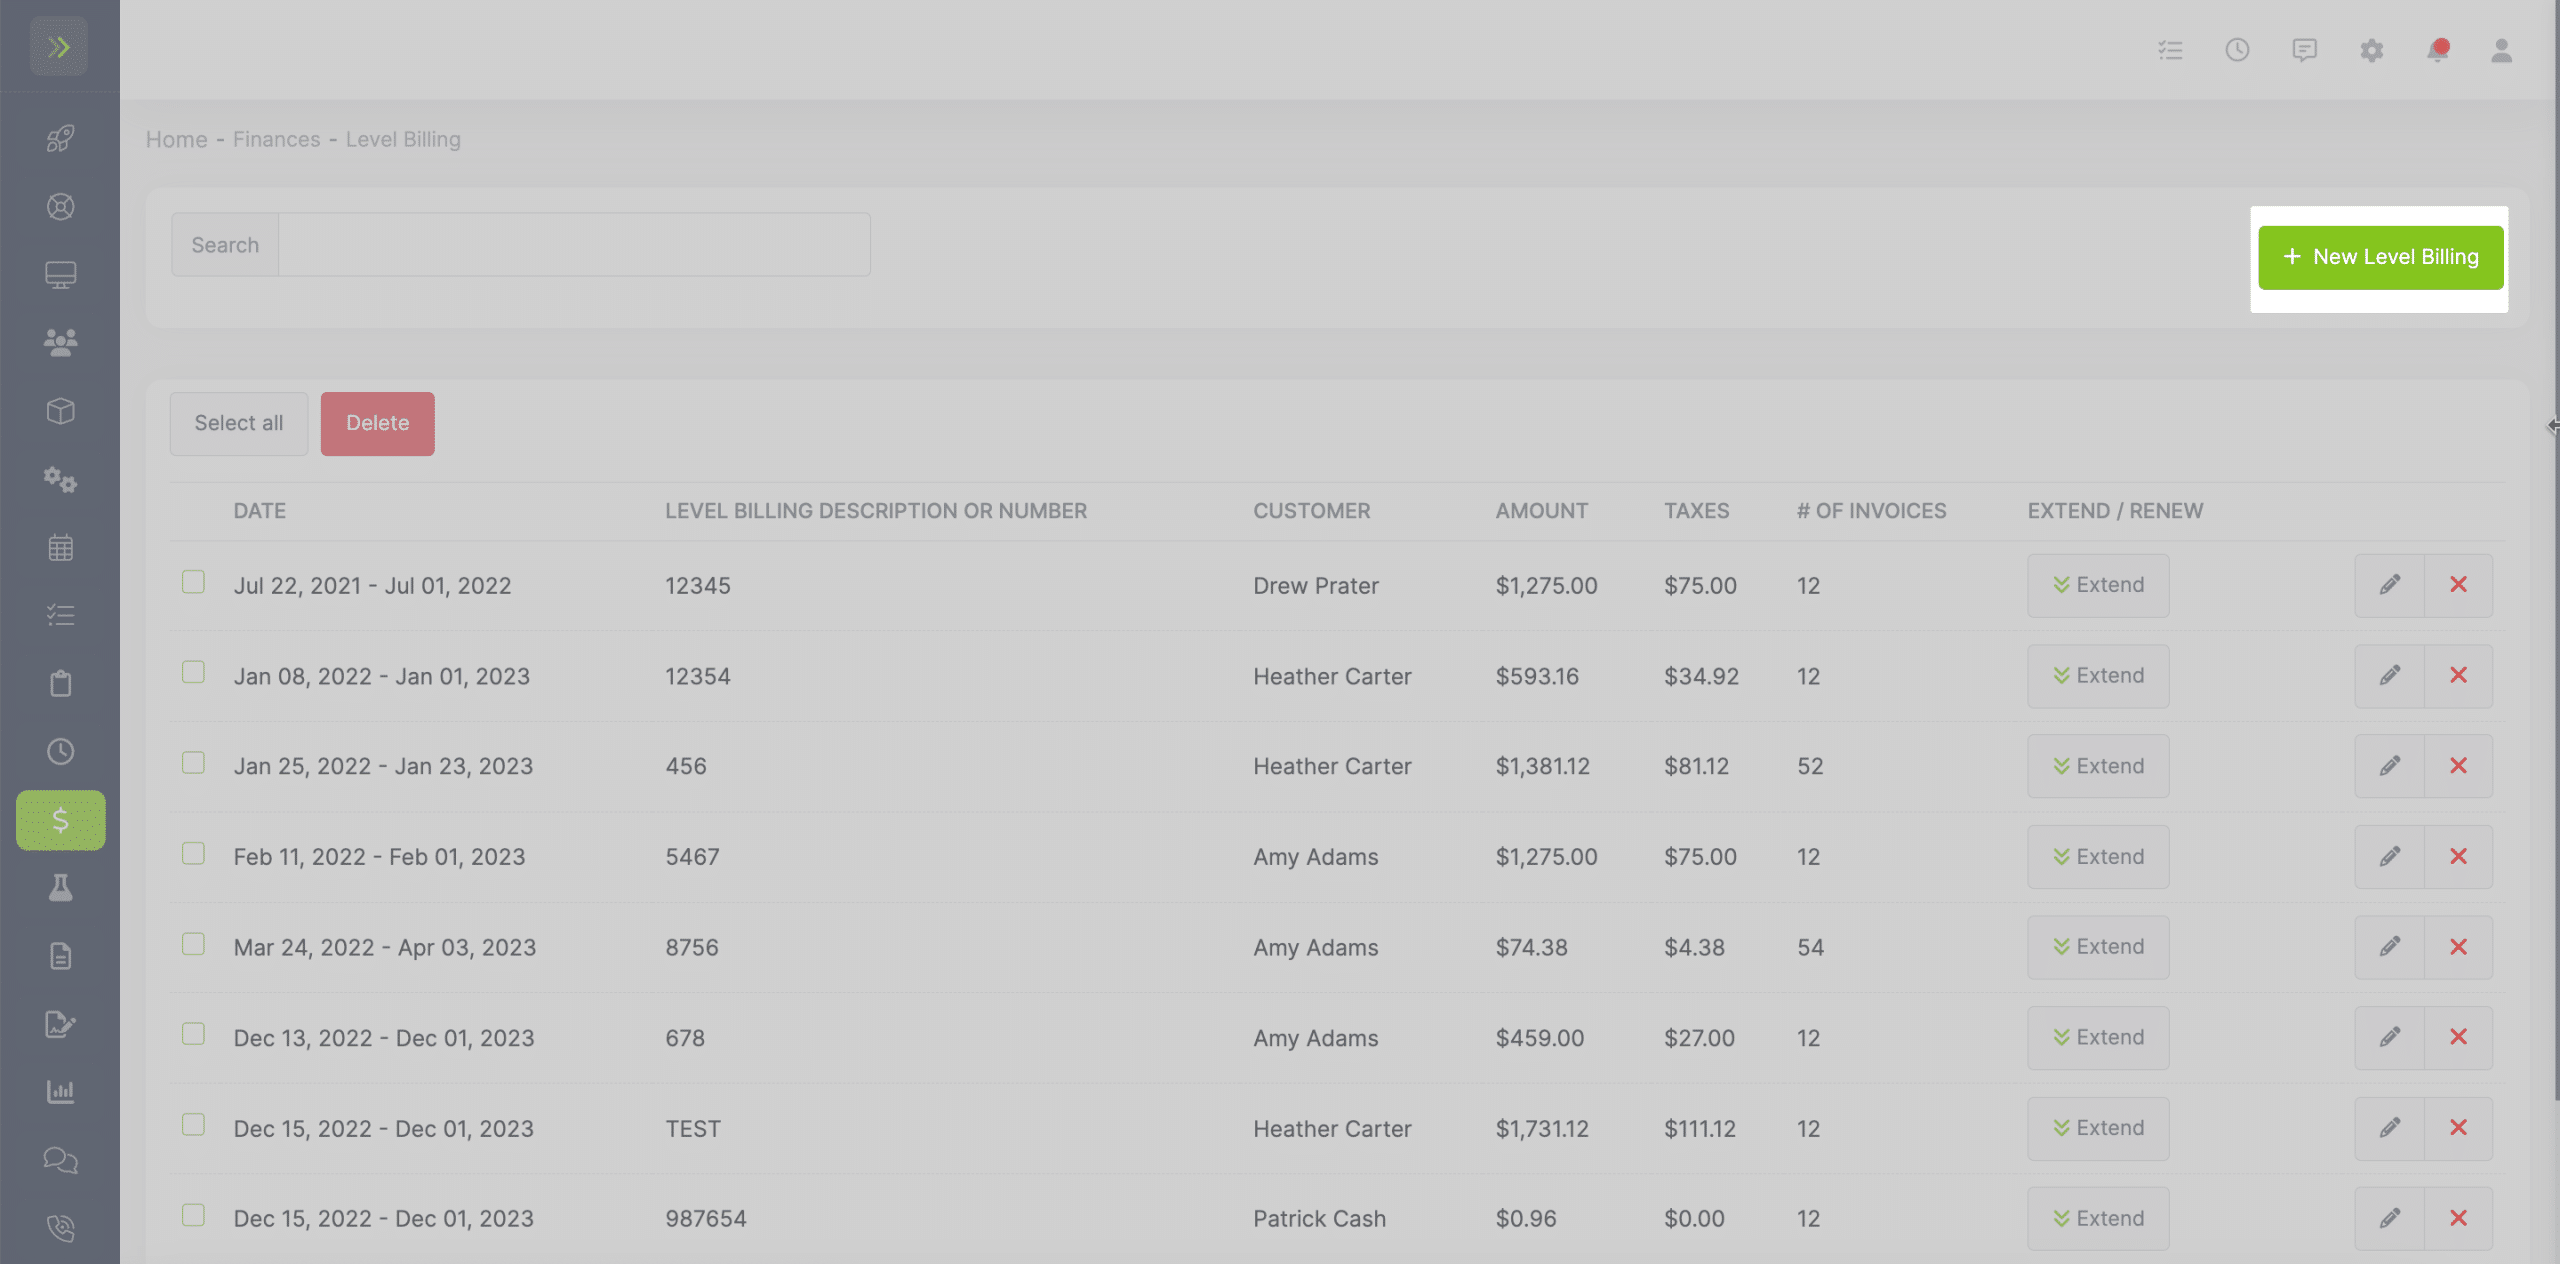
Click the green “+ New Level Billing” button
Select the customer you want to create the level billing agreement for.
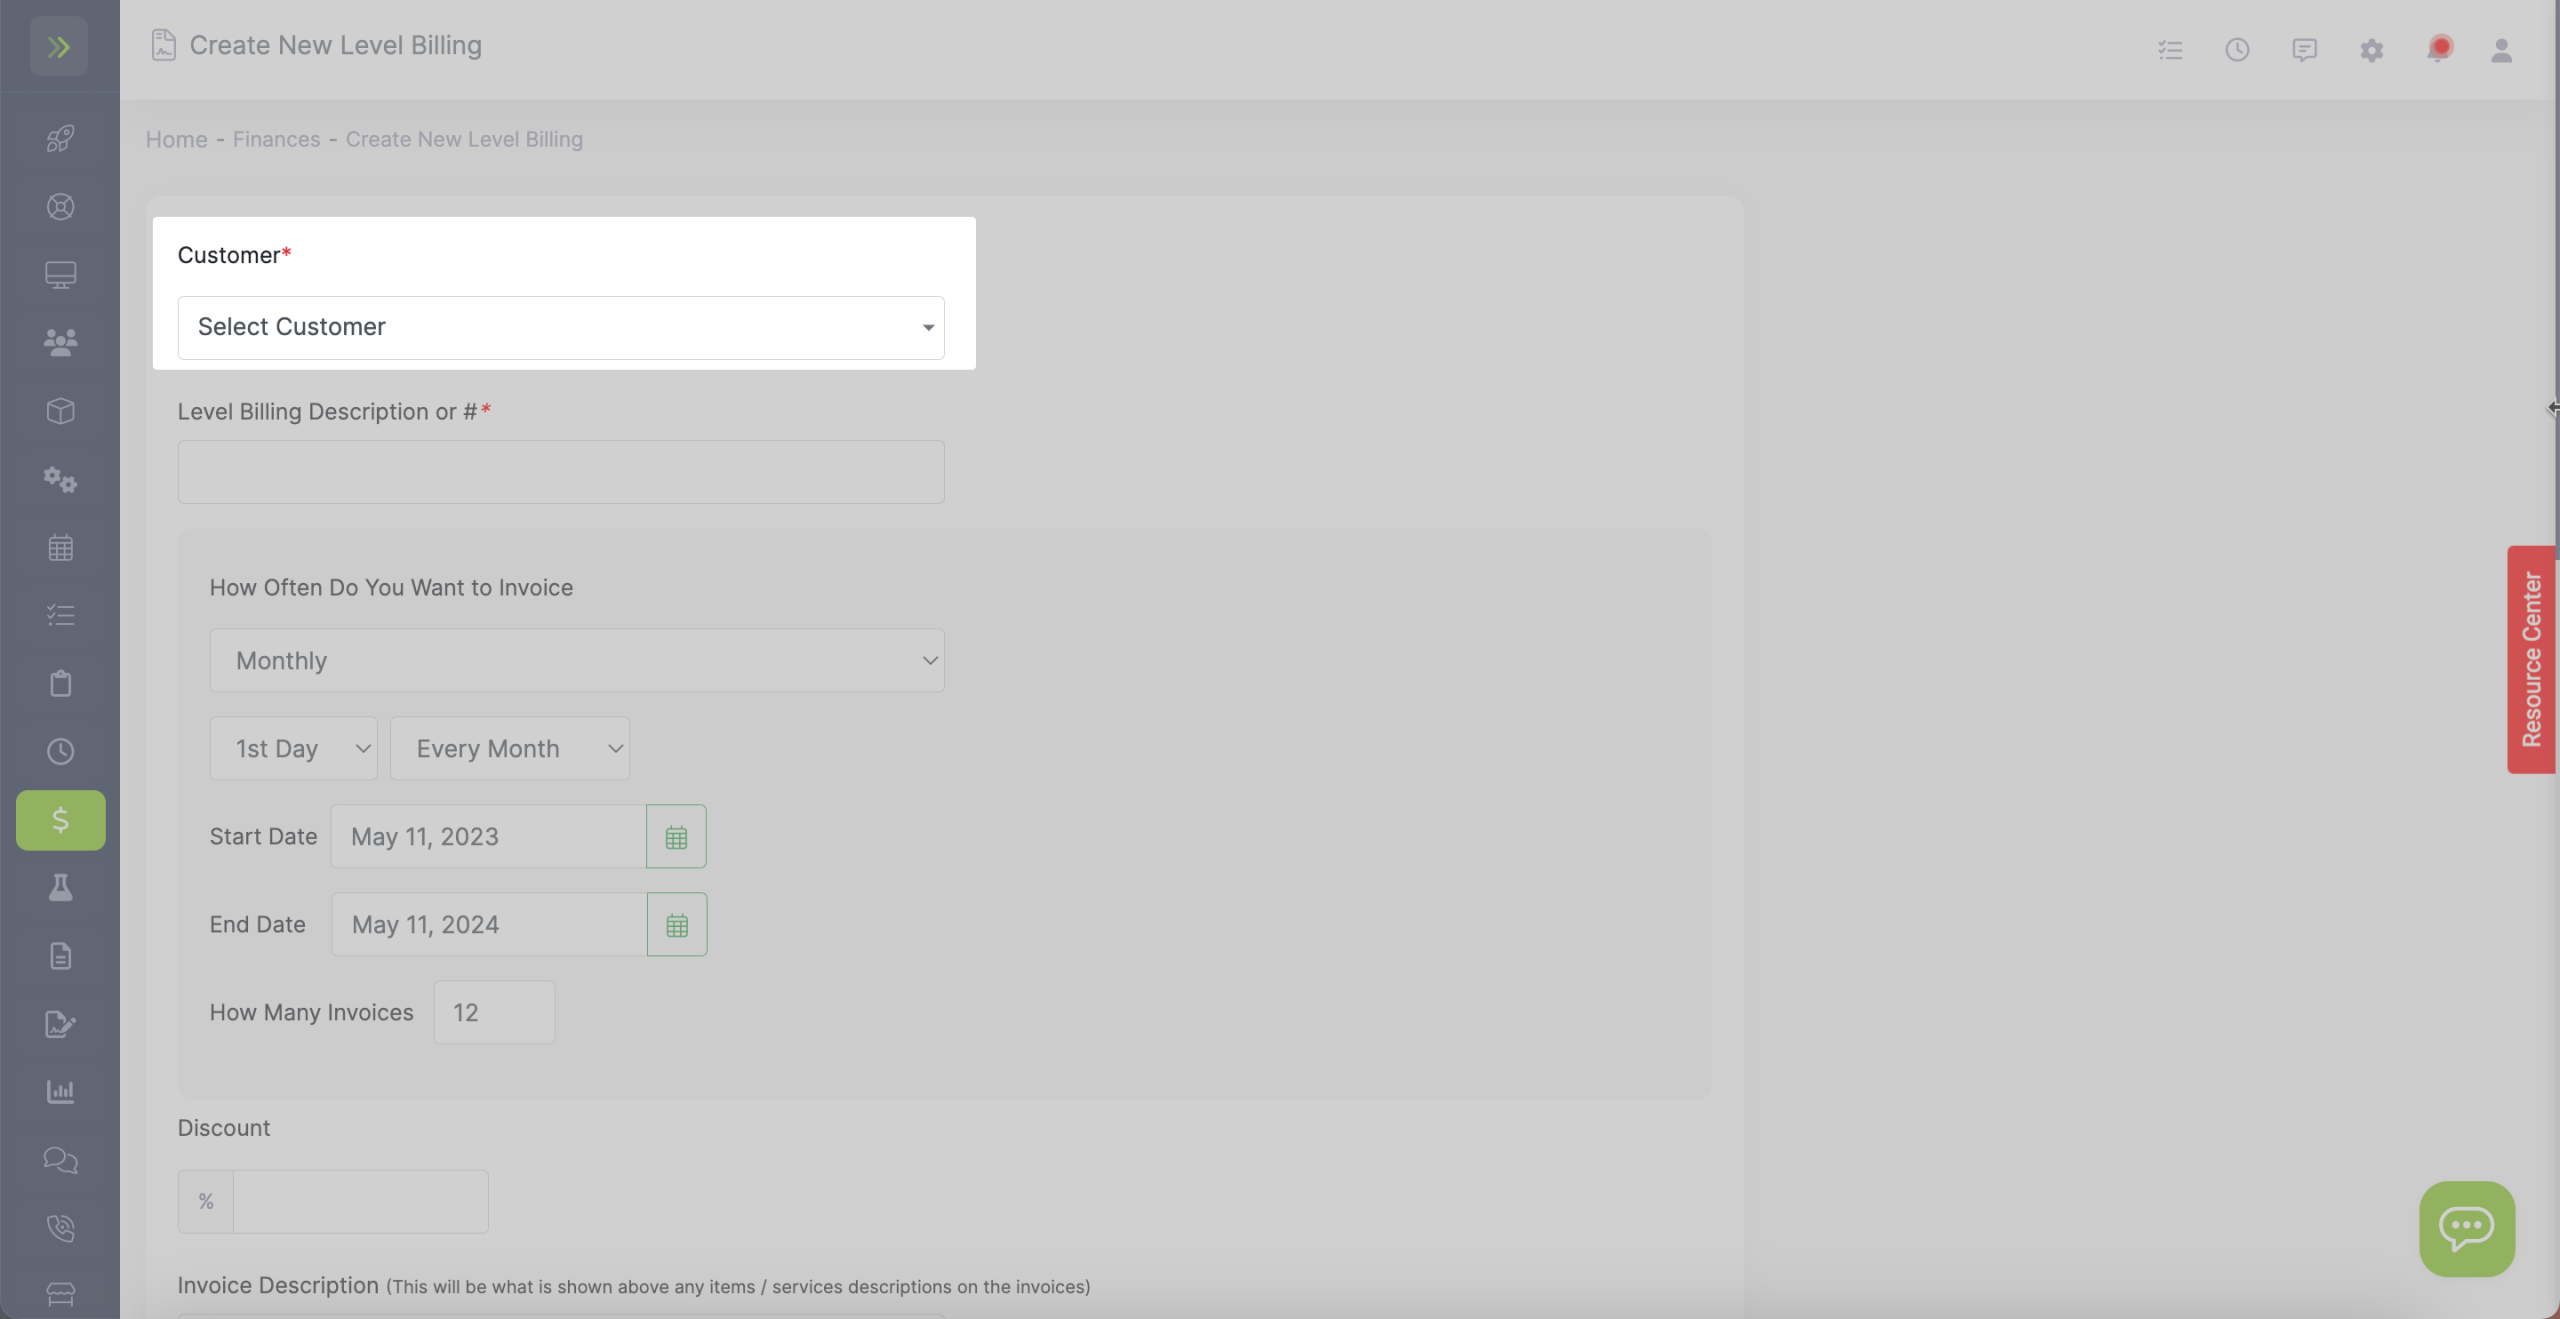
Enter a Level Billing description or number. This can be anything you want it to be.
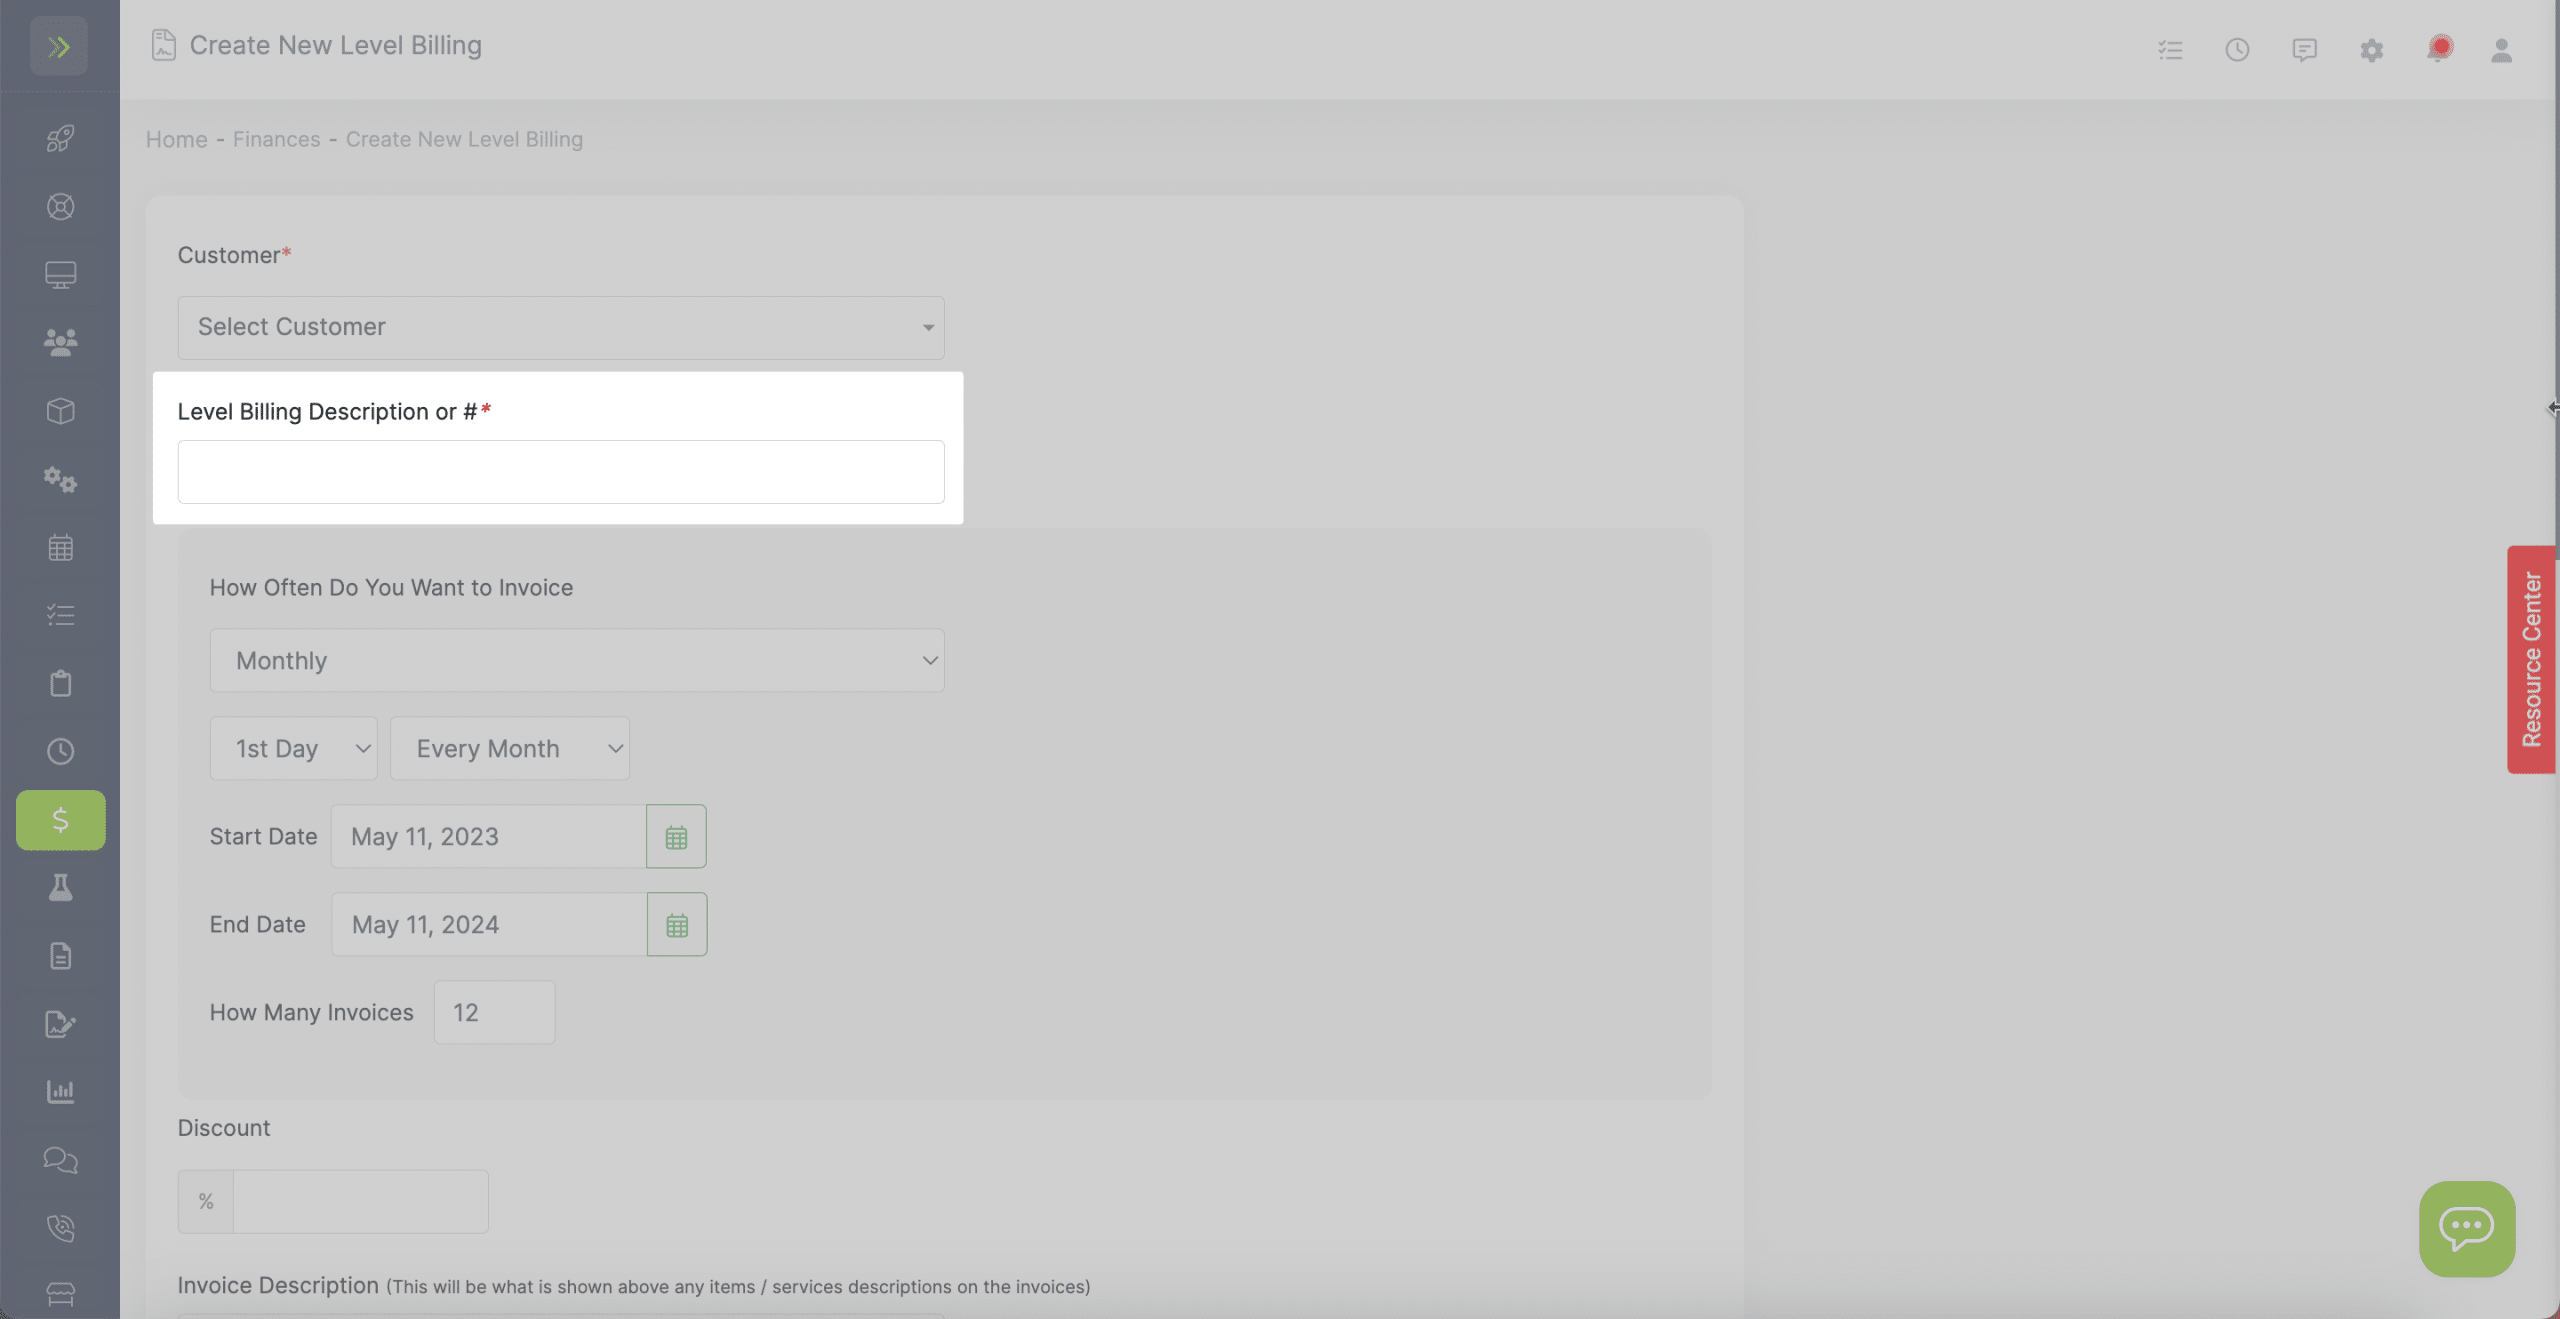
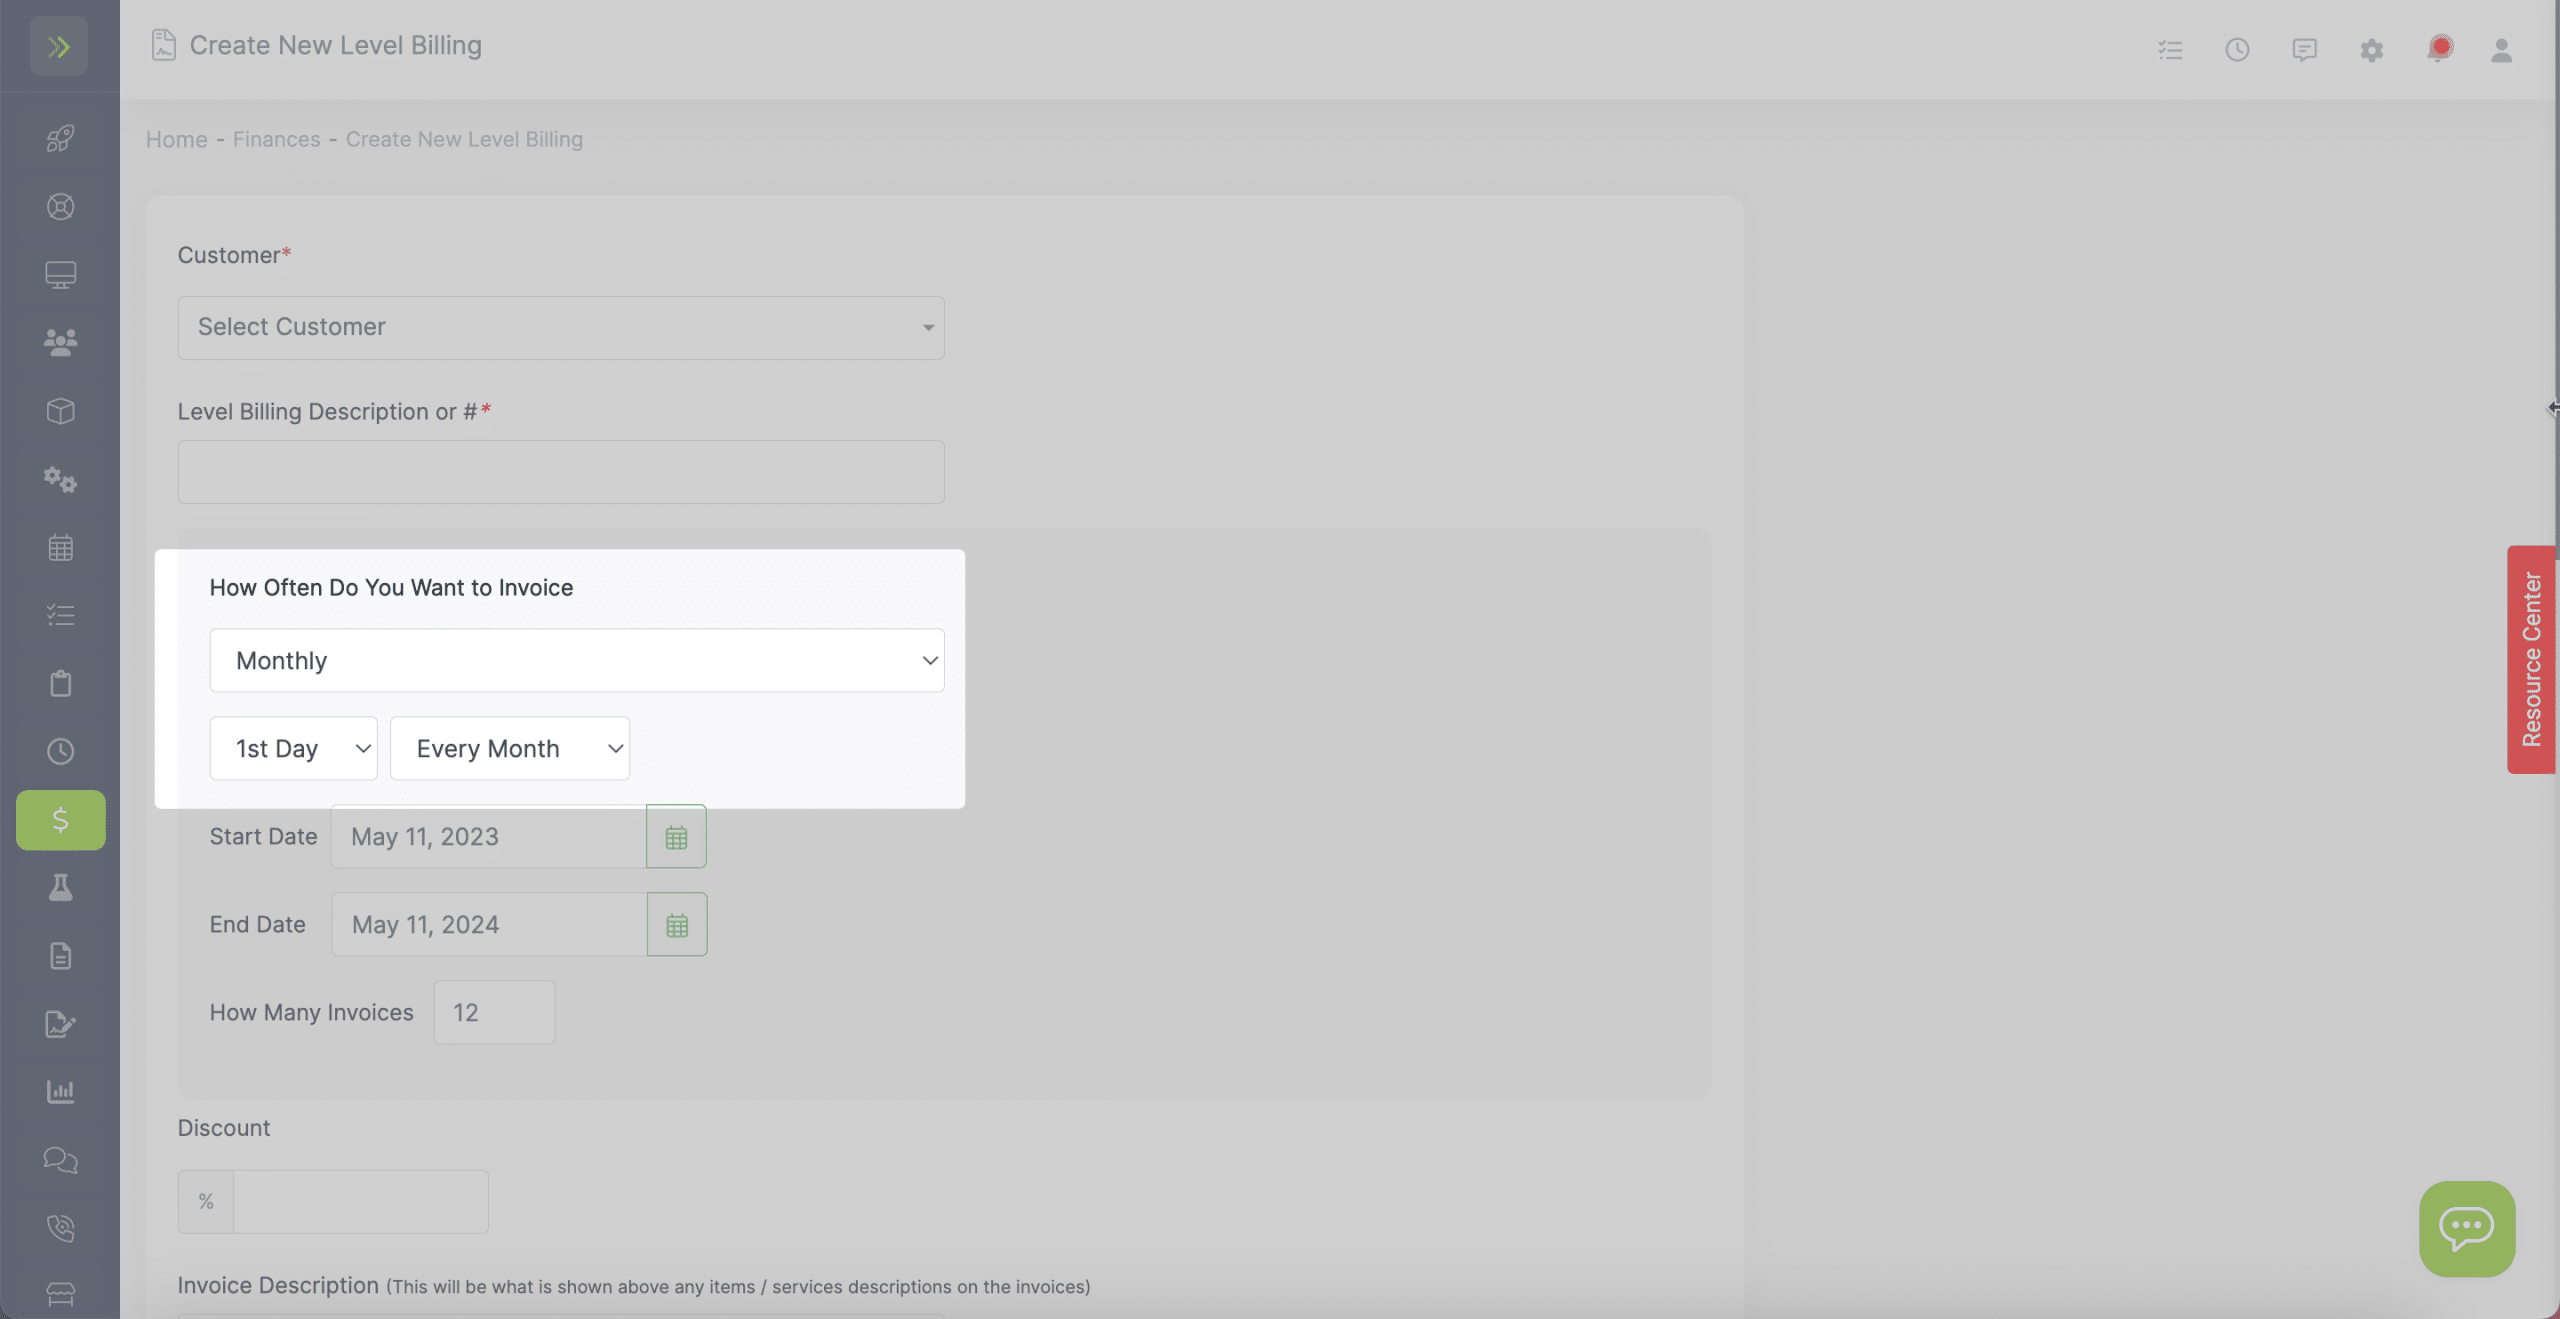
Next, choose how often you want to bill them.
This can be weekly, monthly, or yearly.
Choose the start date and end dates for this agreement.
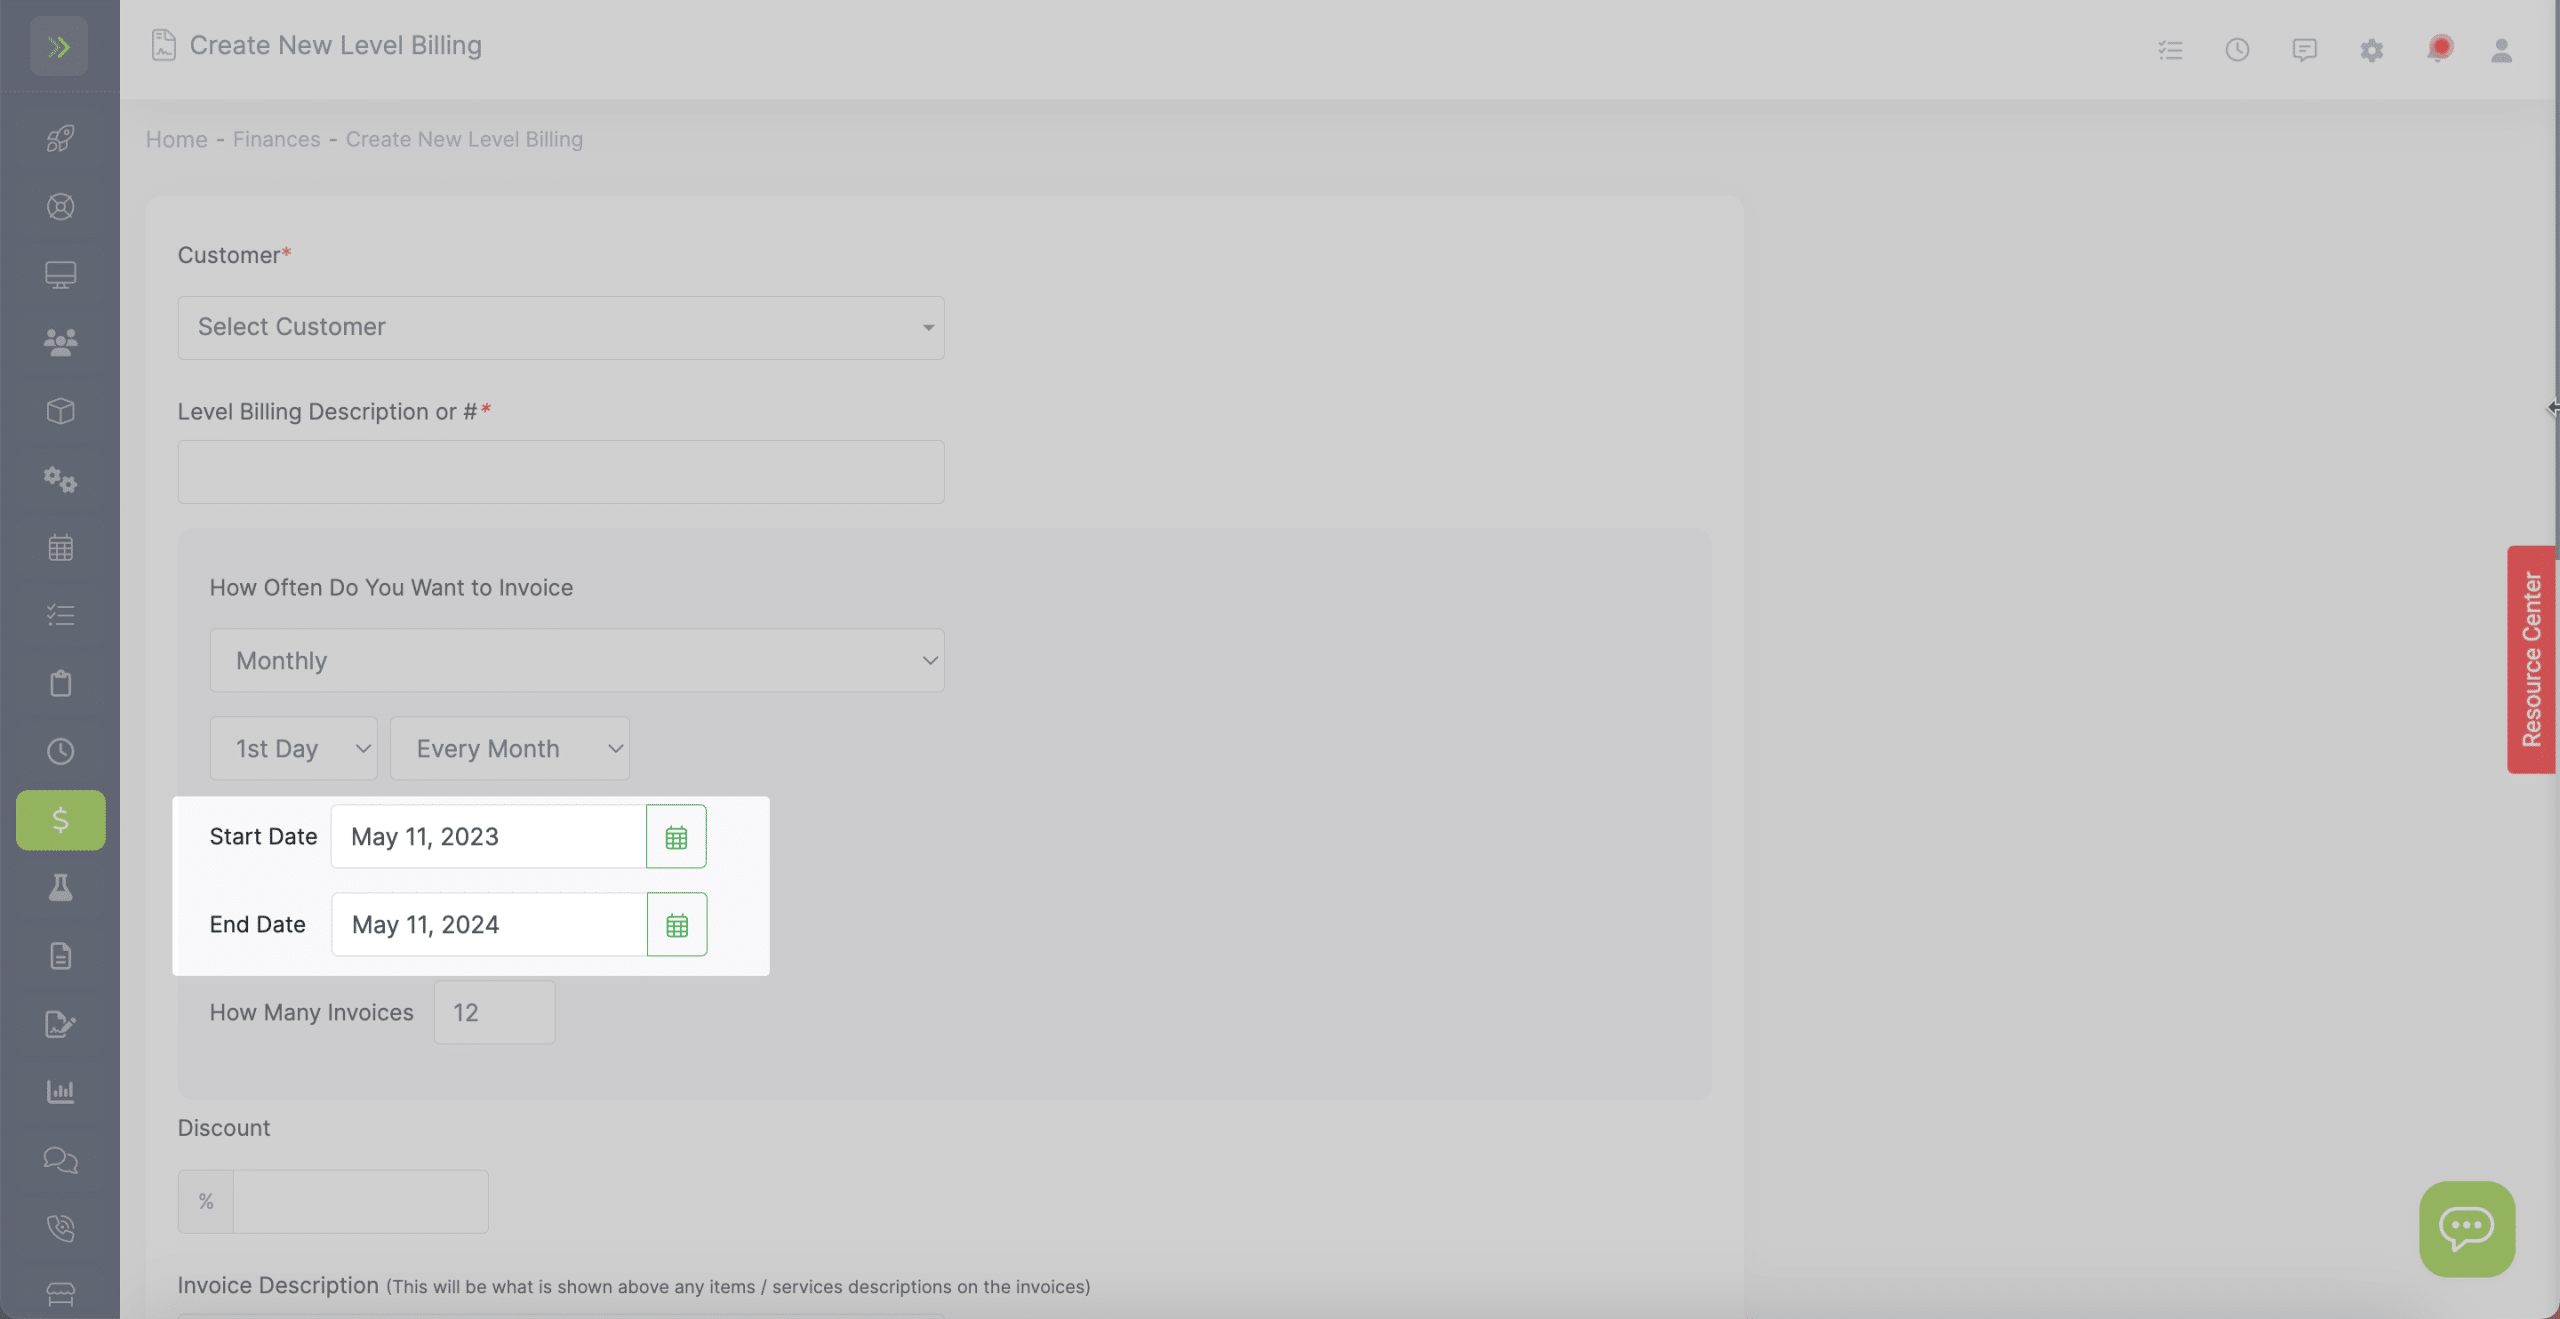
Finally enter the number of Invoices. In most cases this will be 12 (one for each month).
You are able to edit the title that will appear over these items/services here:
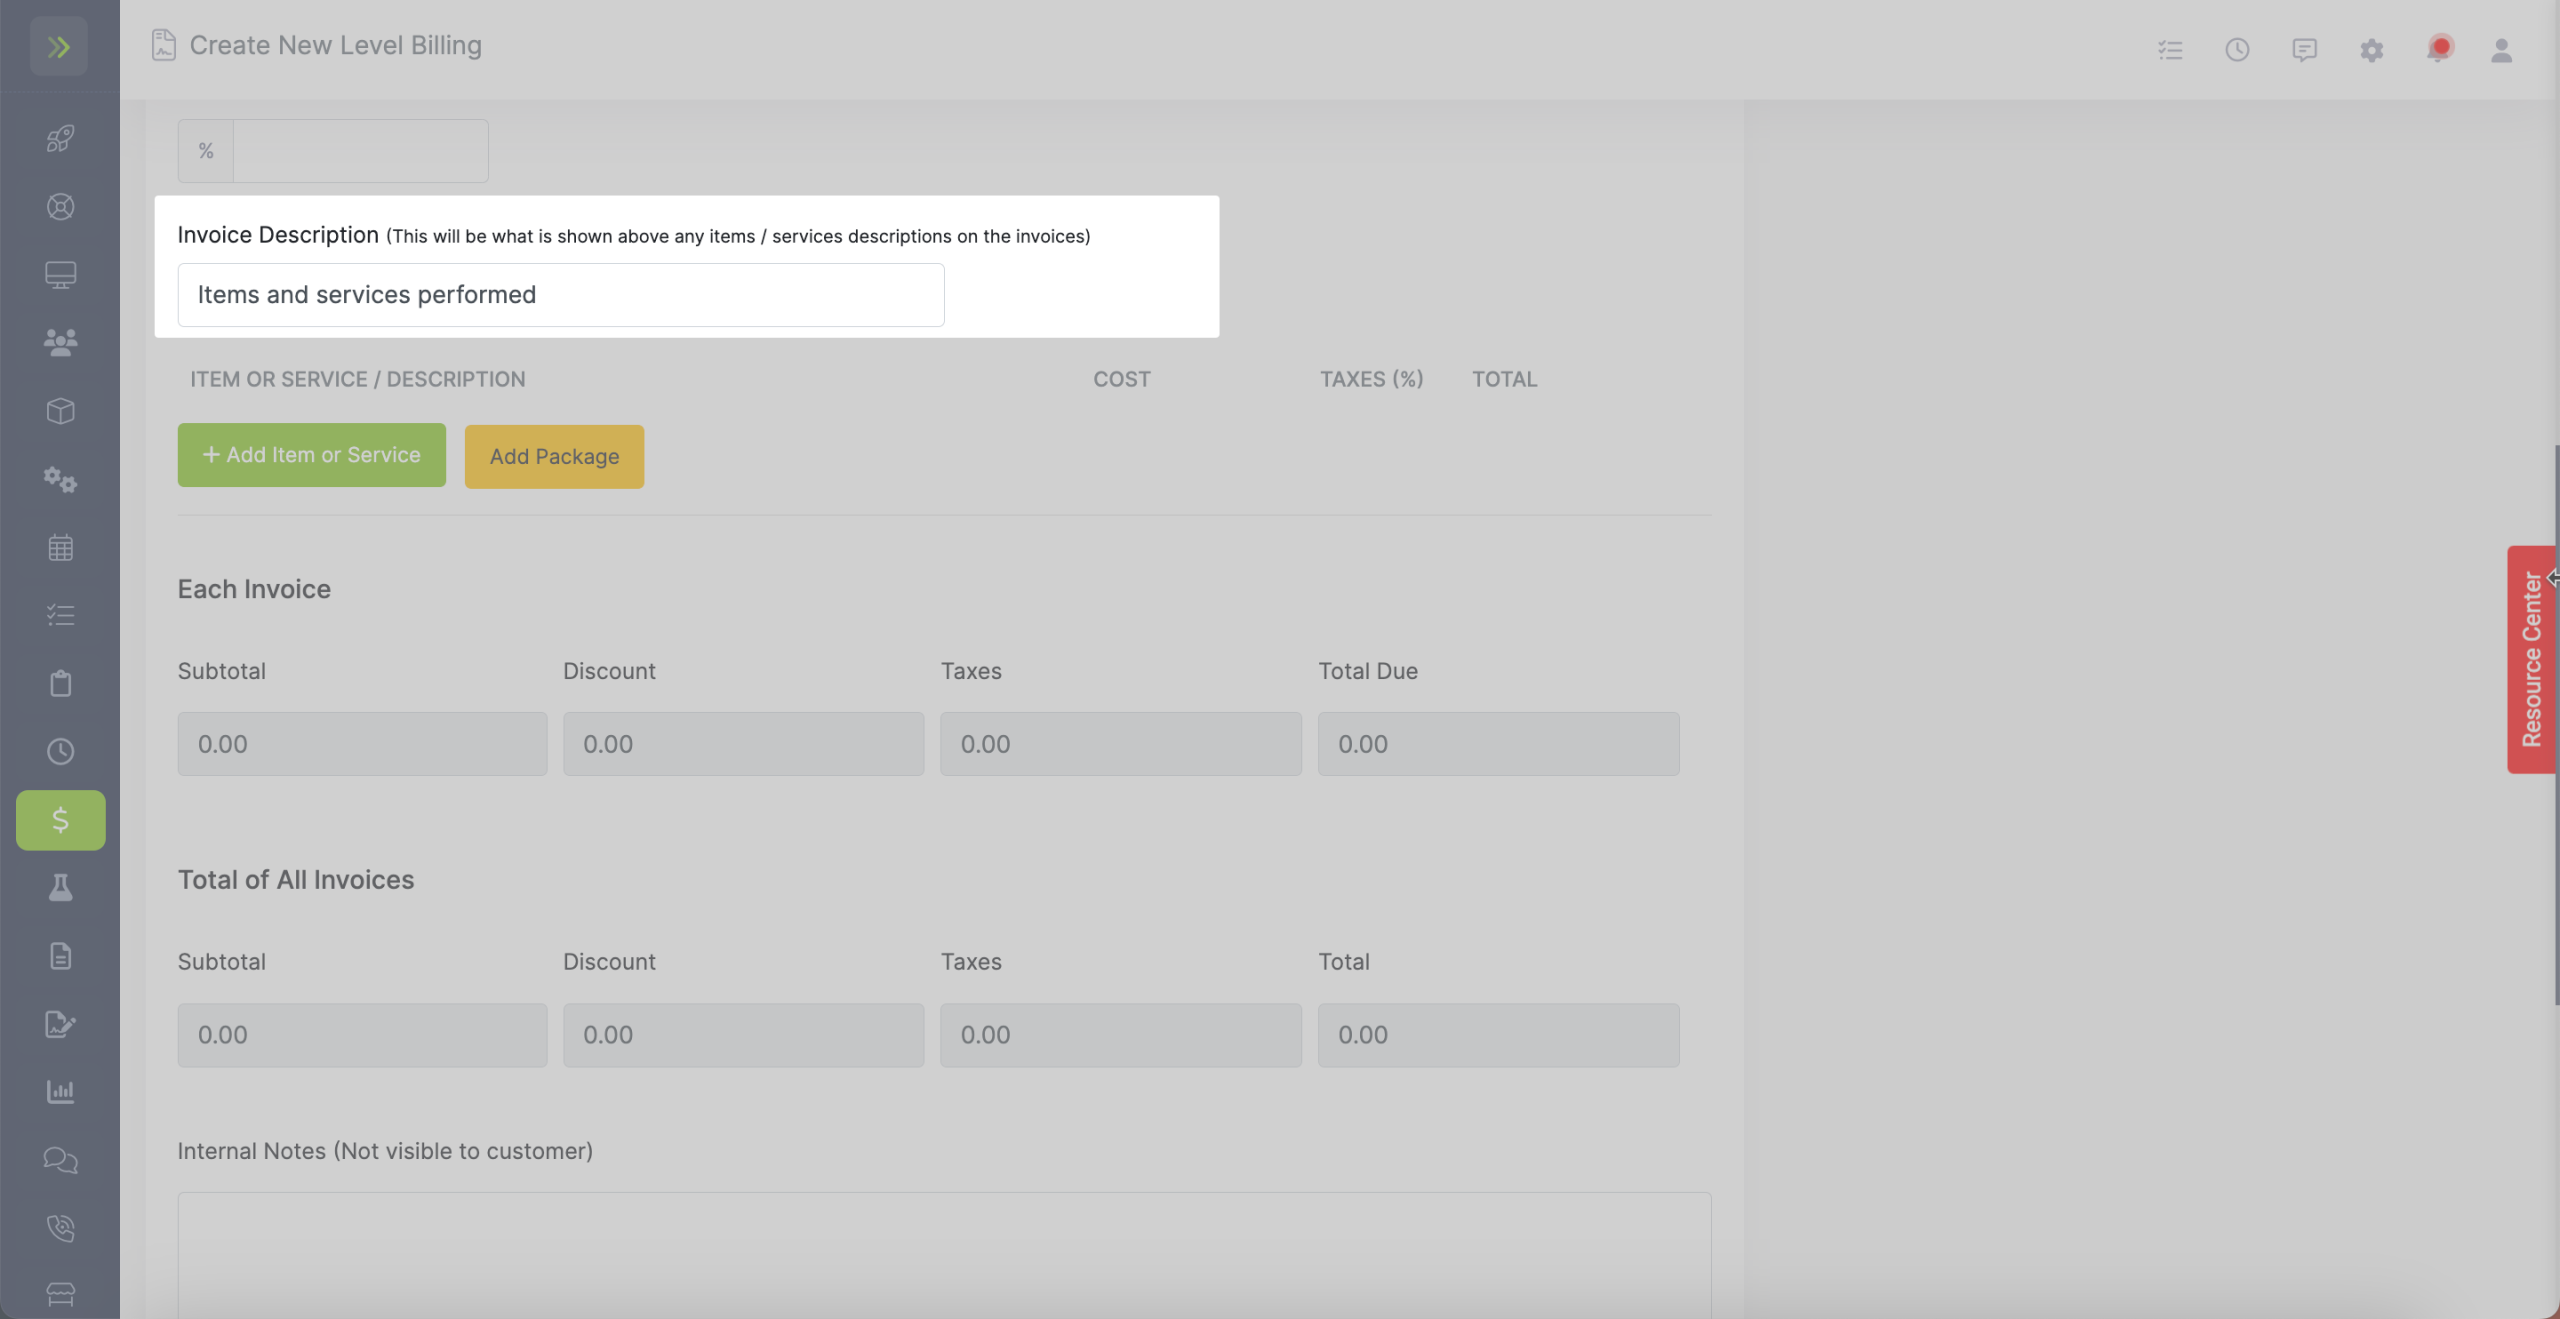
(That title will appear here on the invoices)
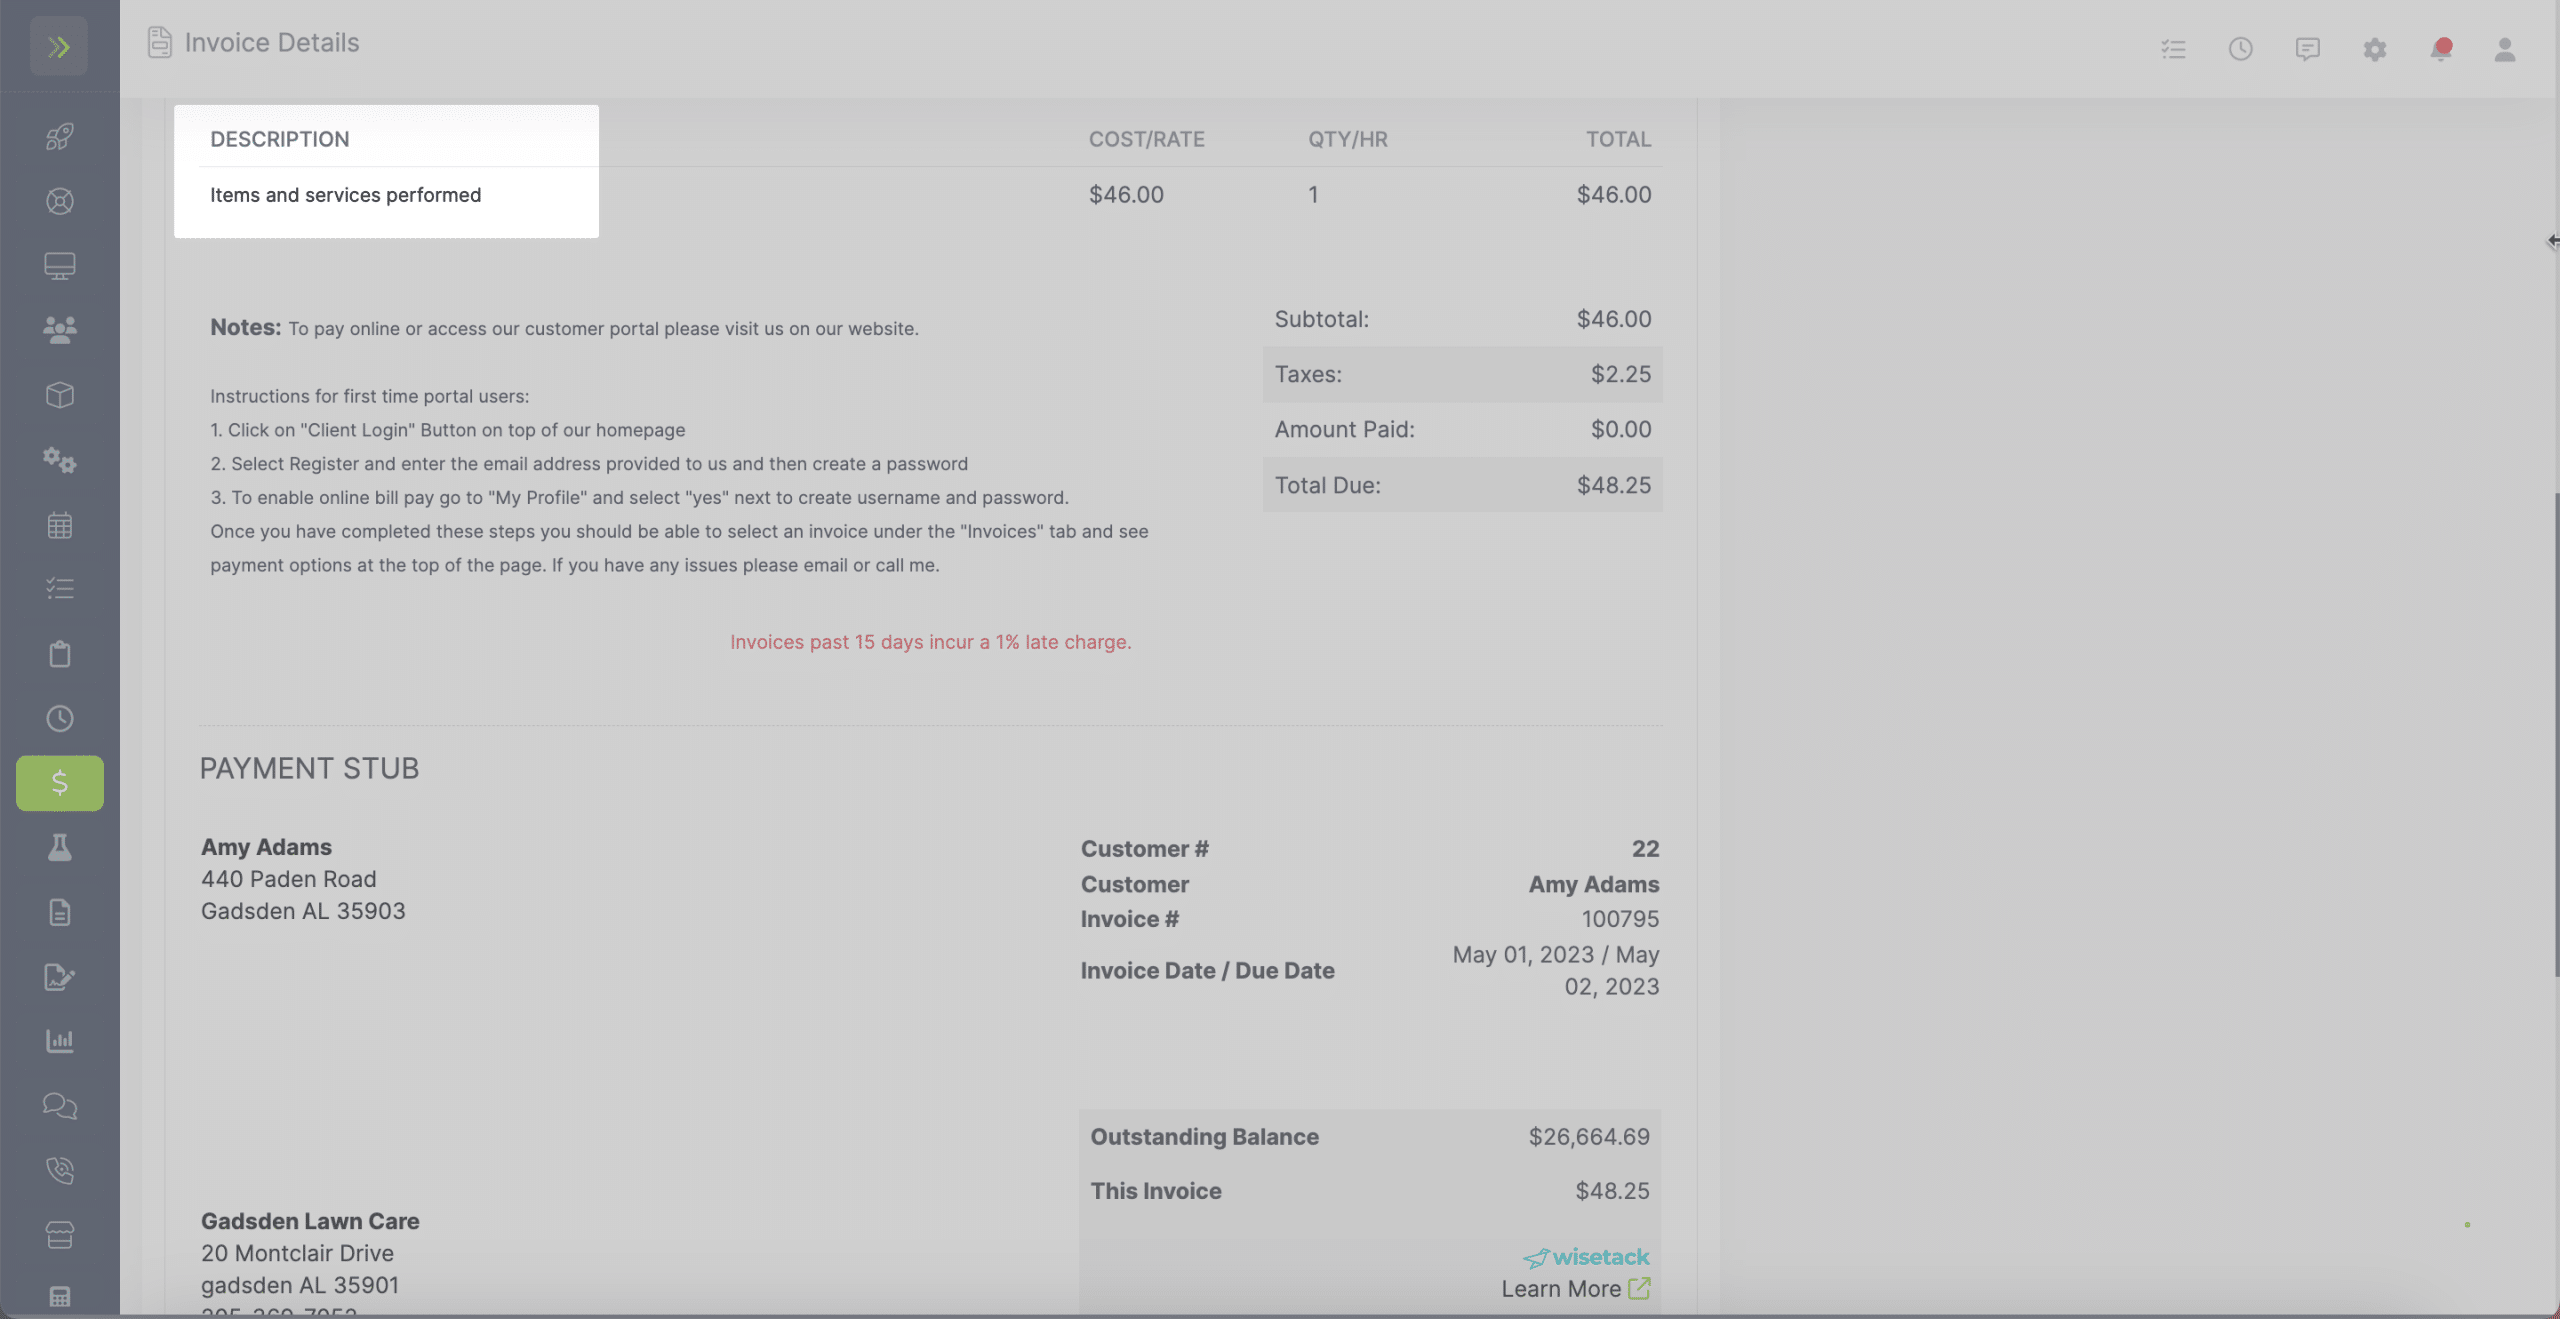
Next, we will enter an item or service we will perform.
As you enter the items and services you will see this multiplied x the number of invoices you chose to create for the year.
In the “Invoice Total” box this will show you what the total for each invoice will be.
In the “Contract Total” box you will see the total for the year / contract.
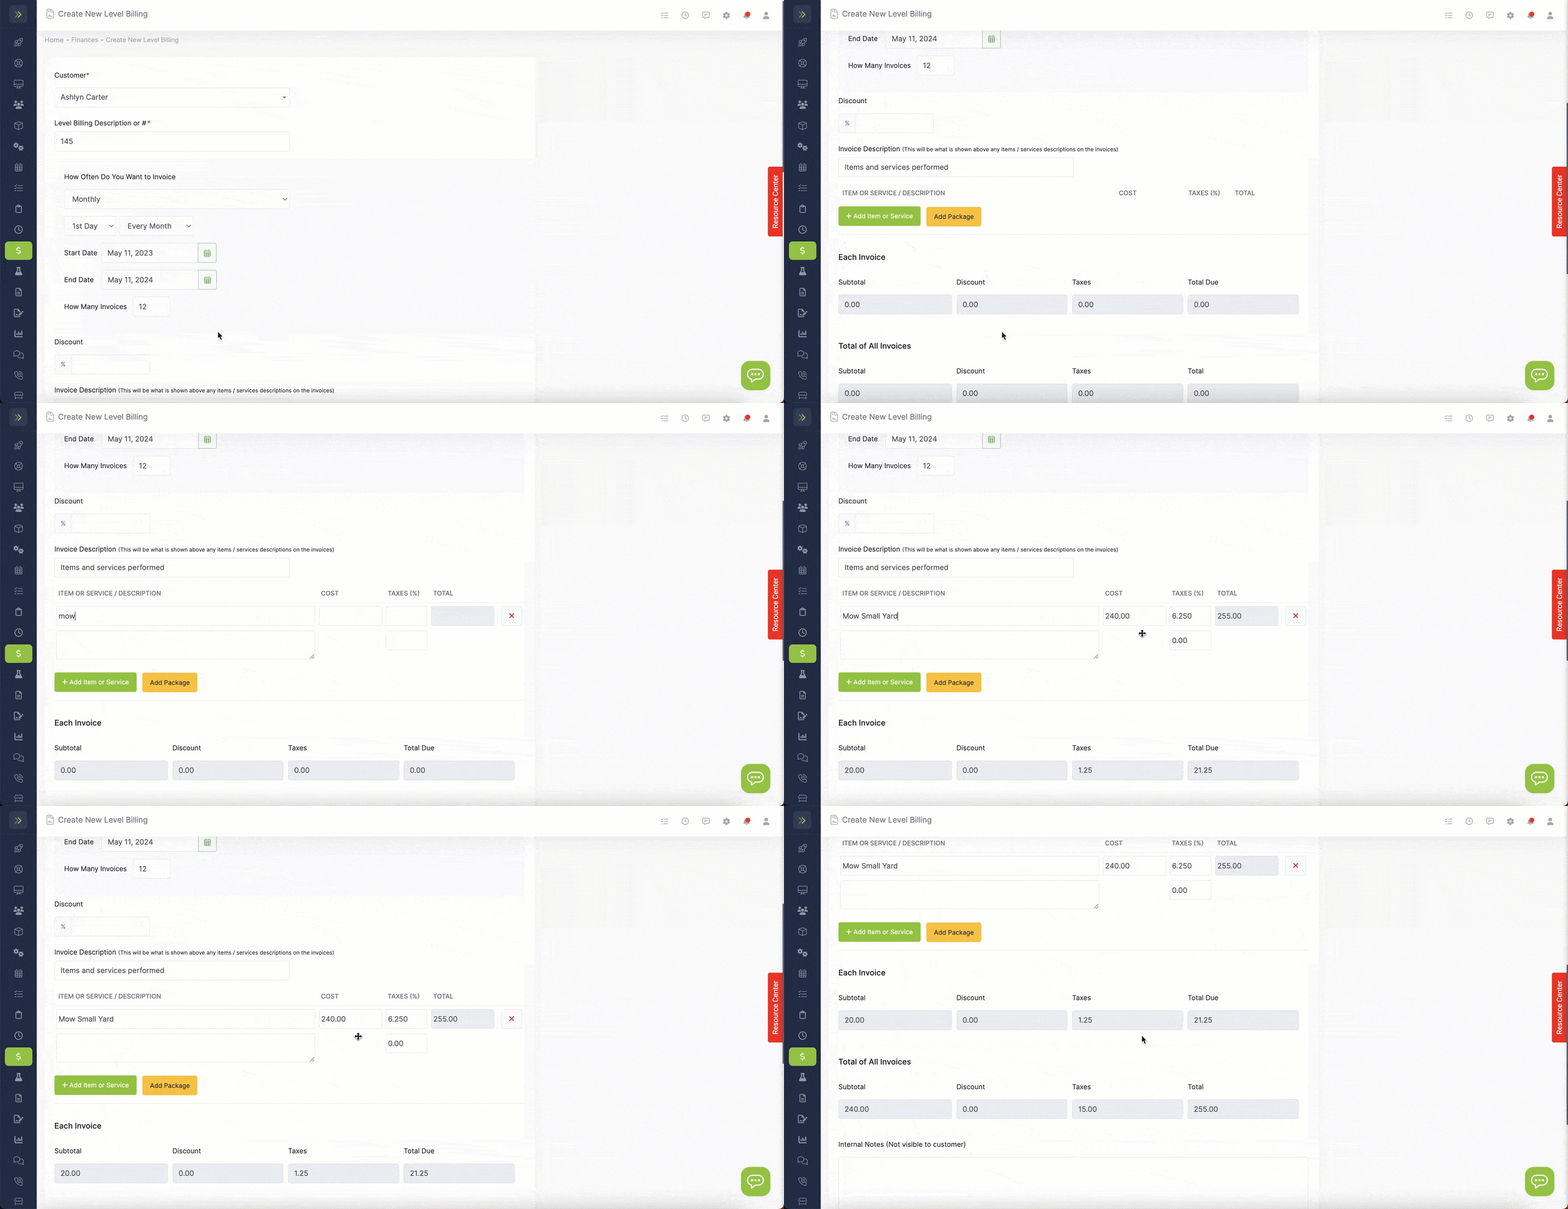
The name of the item or service does not matter on this page.
The invoice will have the title you entered above.
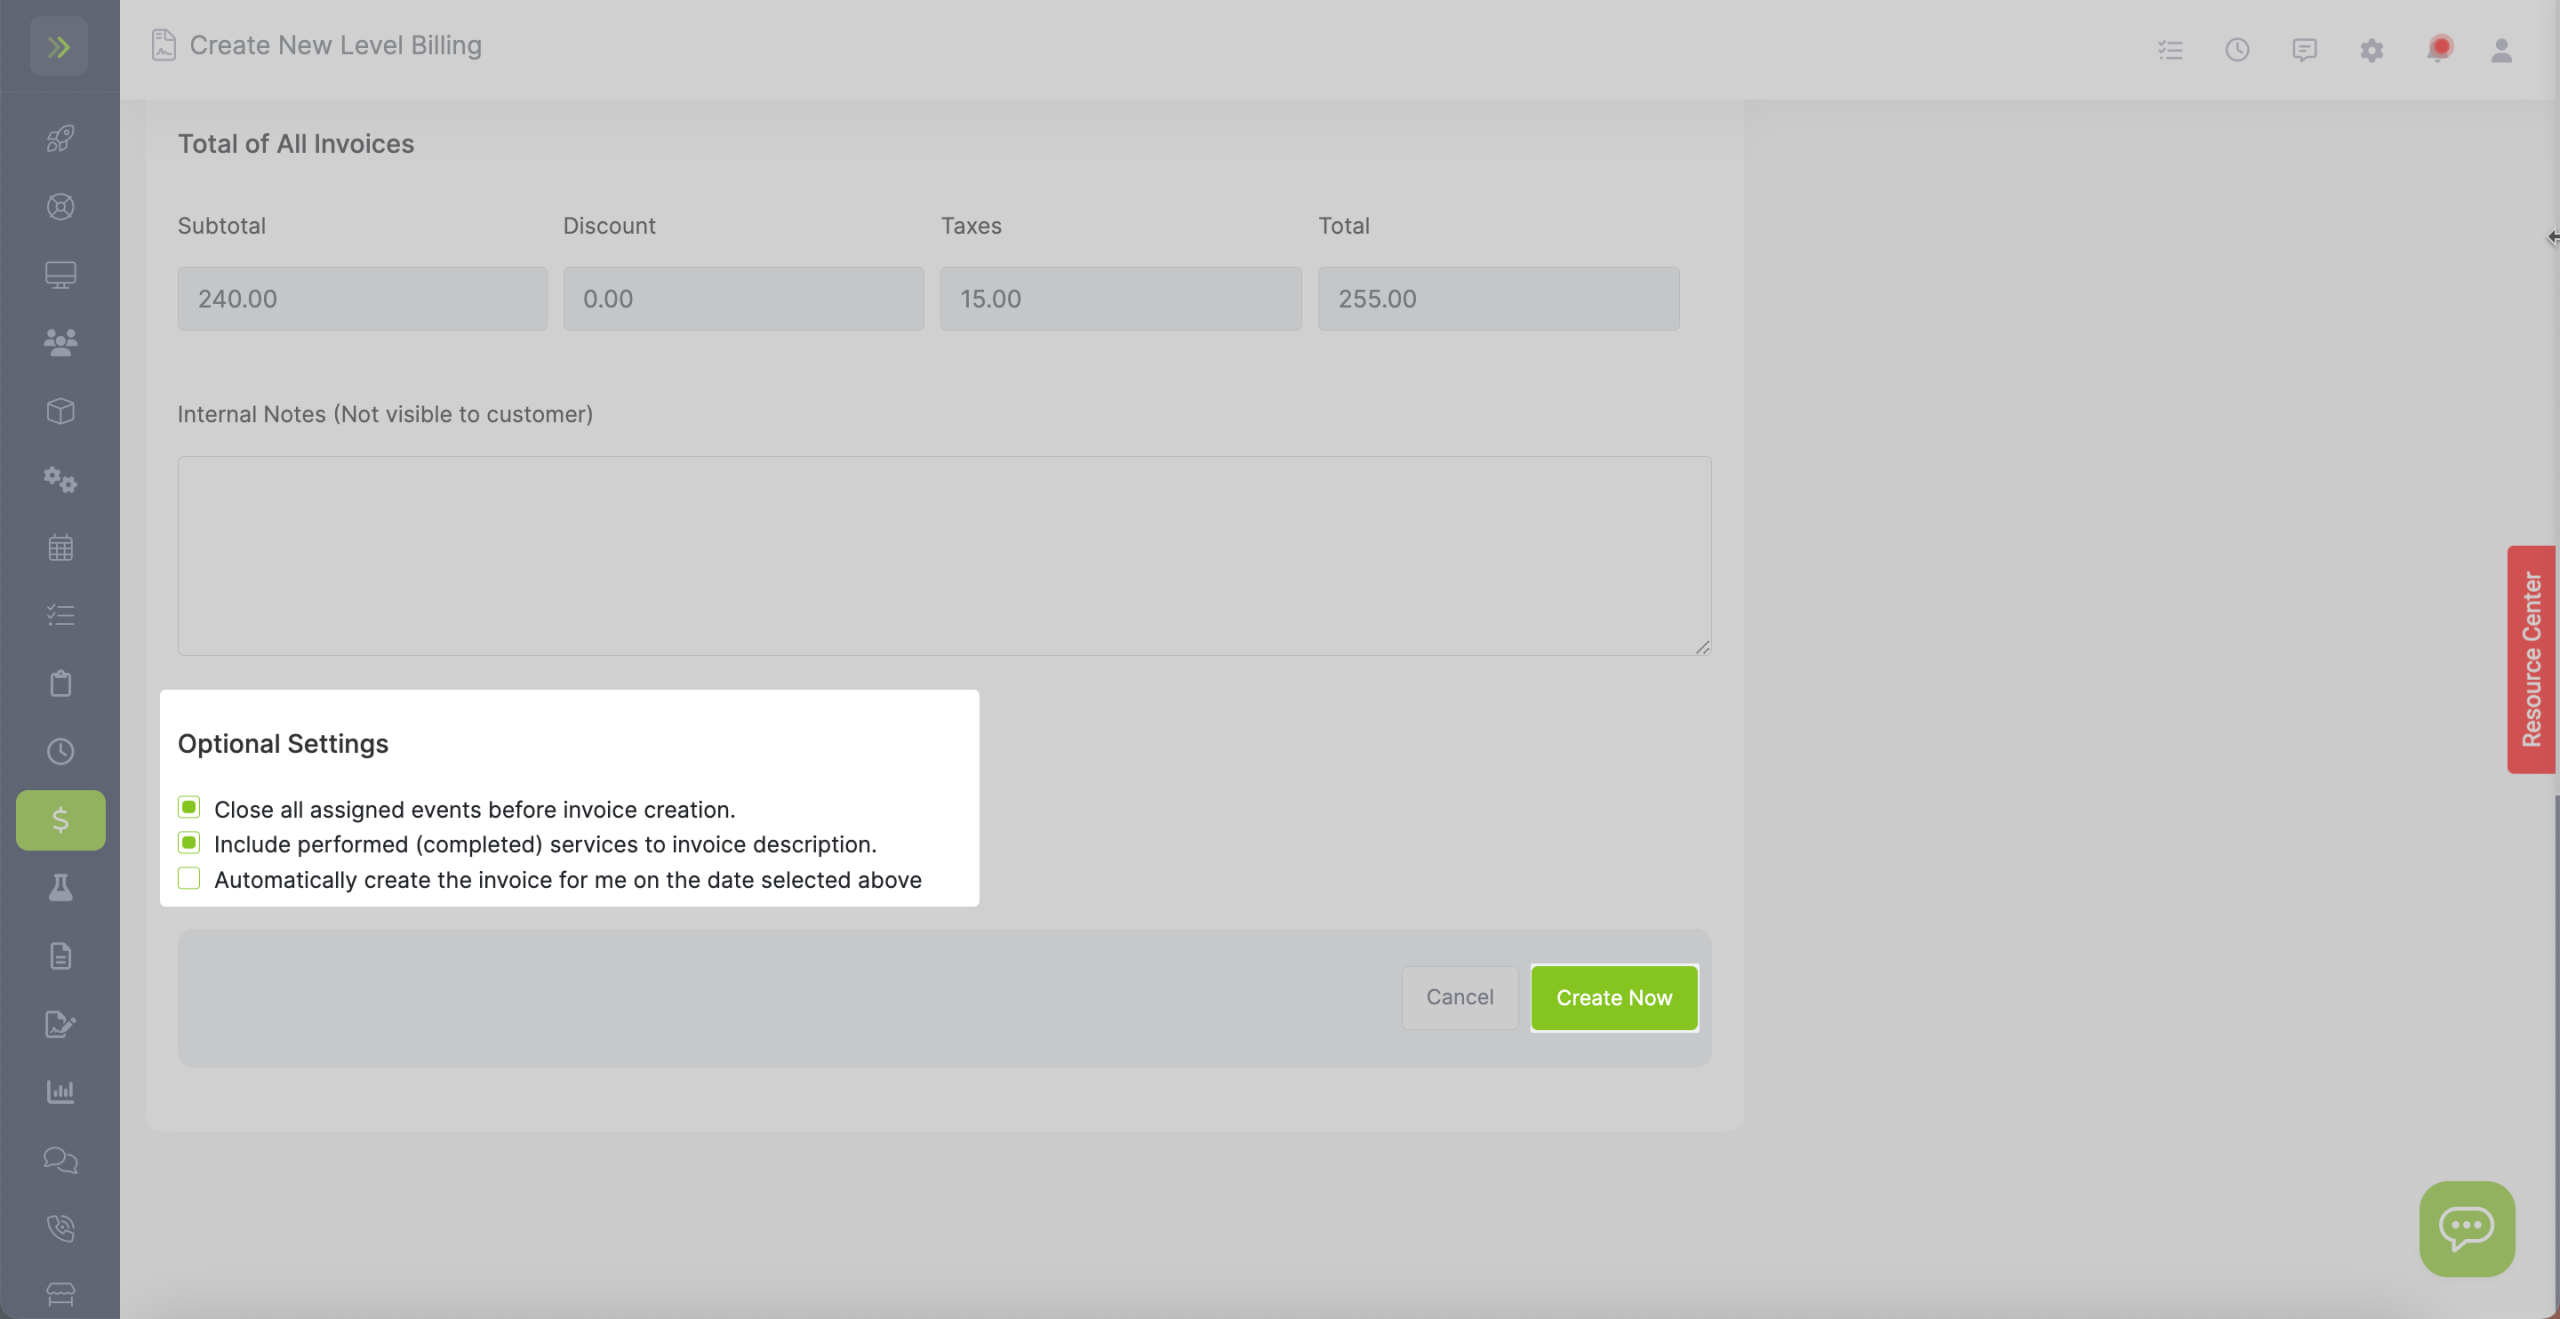
It is important to note the optional settings at the bottom of the page.
Choose if you would like the system to close all visits for this customer (that are tied to this contract) before creating the monthly invoice.
If you want the item/services listed on those visits to show on the invoice select the middle box. If you do not select this box, the invoice will only have the Item/Service title you entered above.
Last, choose if you would like the invoice created automatically for you.
Once you are done filling out your contract, click the green “Create Now” button to create your Level Billing Agreement.
