Table of Contents
- Overview
- Create a Property When a New Customer is Added
- Create a Property for an Existing Customer
- Create a Property from Customer Profile
Overview
All customer’s have to have at least one property.
This is because you can have multiple properties for customers.
There are several ways to add a property for a customer.
Create a Property When a New Customer is Added
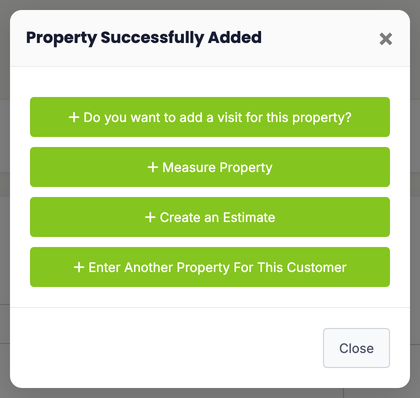
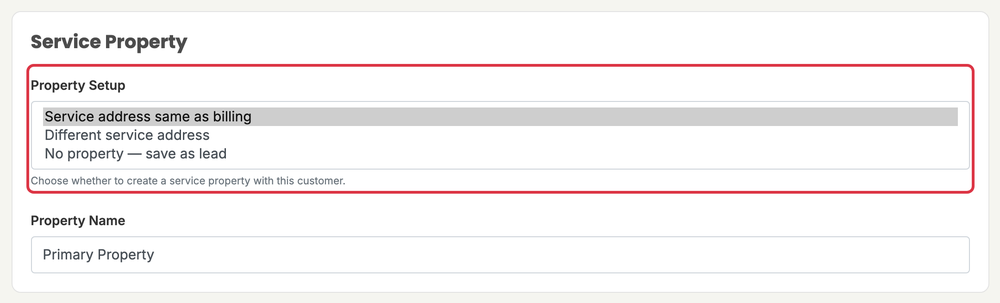
When you add a customer, the Service Property section creates their first property for you: Service address same as billing, Different service address, or No property — save as lead. After saving, the Setup complete panel has Add Another Property.
Create a Property for an Existing Customer
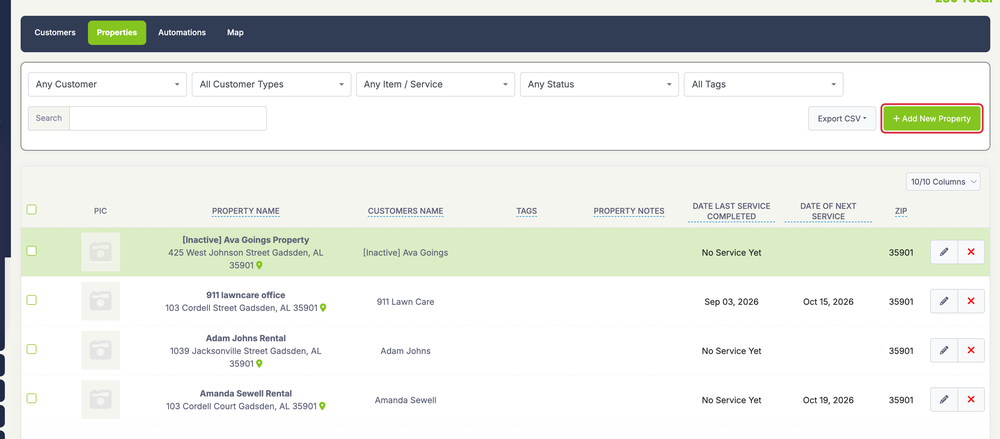
To add a property for a new or existing customer, from the menu, click the “Customers” tab then click “Properties“
Once on the property screen, click the green “+ Add New Property” button.
This will take you to the Add New Property screen where you can choose the customer you are adding the property for, add information such as the default items / services you perform there, and more.
Create a Property From Customer Profile
The last way to create a property is from a customer profile.
To get to the customer profile, click the “Customers” Tab> Customers
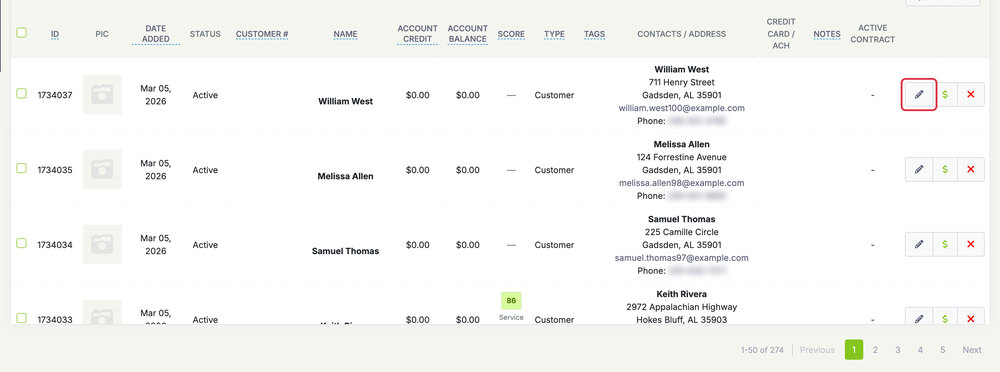
Find the customer you would like to add the property for and click the pencil button for that customer.

Scroll down and you will see a + Add a New Property button, or use Create New ▾ > Property at the top of the profile.
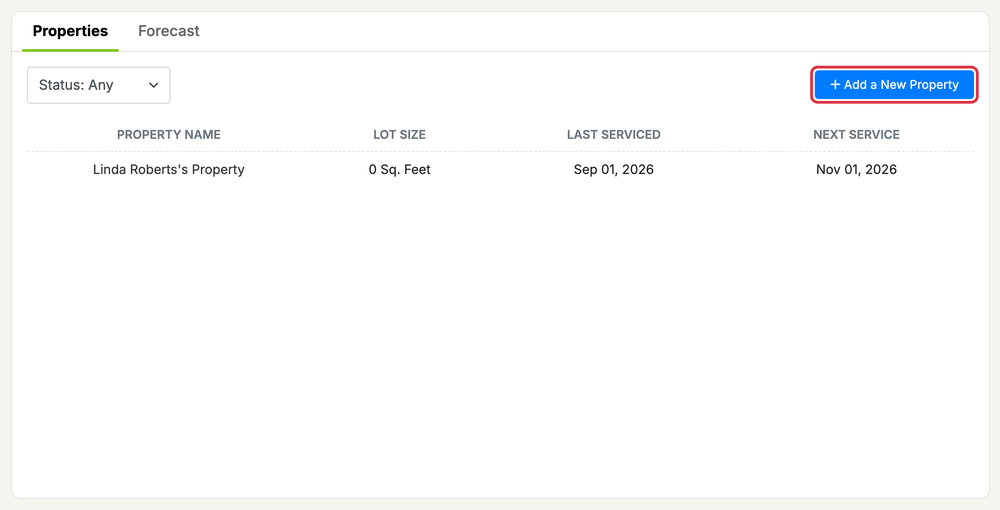
Here is how to fill out information for the property:
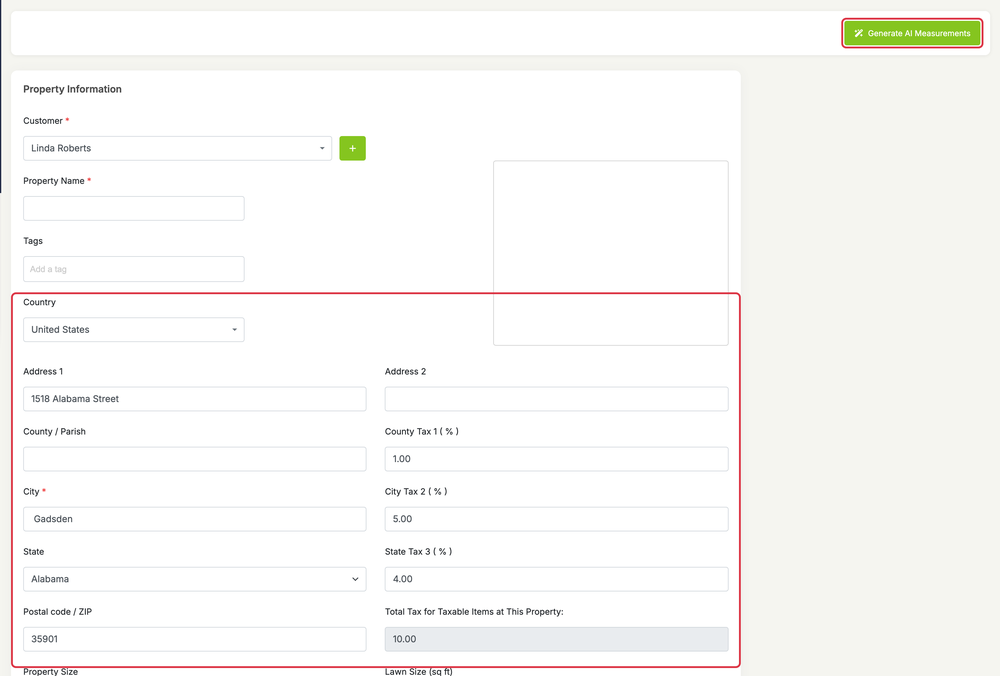
First, select the customer the property is for and name the property. If you havent added this customer yet, you can do so now by clicking the green “+” button.

Next, add the address for the property and the tax information for the area the property is in. At the top of the page, Generate AI Measurements can fill in the property’s size from satellite imagery (it uses AI measurement credits).
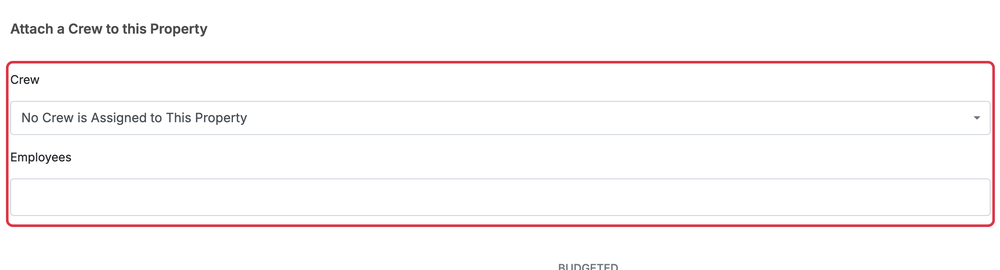
Then, you can assign a default crew or employee(s) to this property, but it is not required.
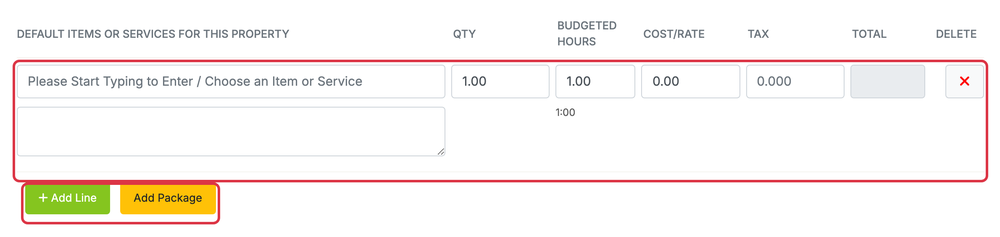
Add a default service to the property
(This will be the items and services that will be automatically filled in when you create a visit or invoice)
You can also customize the pricing for this customer here. The price you enter here will override the price you have set for the item and service.
You can also add custom fields, notes, and pictures for this property.
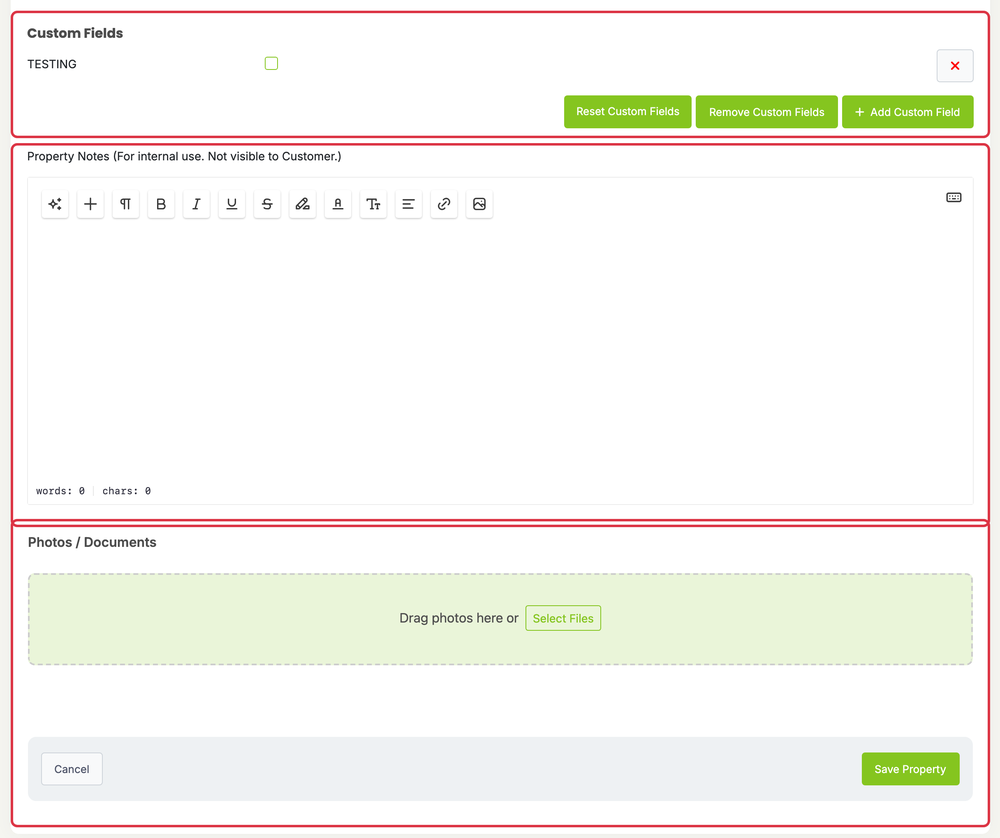
When finished, click the “Save Property” button
A pop-up will appear and ask what you want your next action to be. You can add a visit for this property, measure the property, create an estimate or enter another property for this customer.