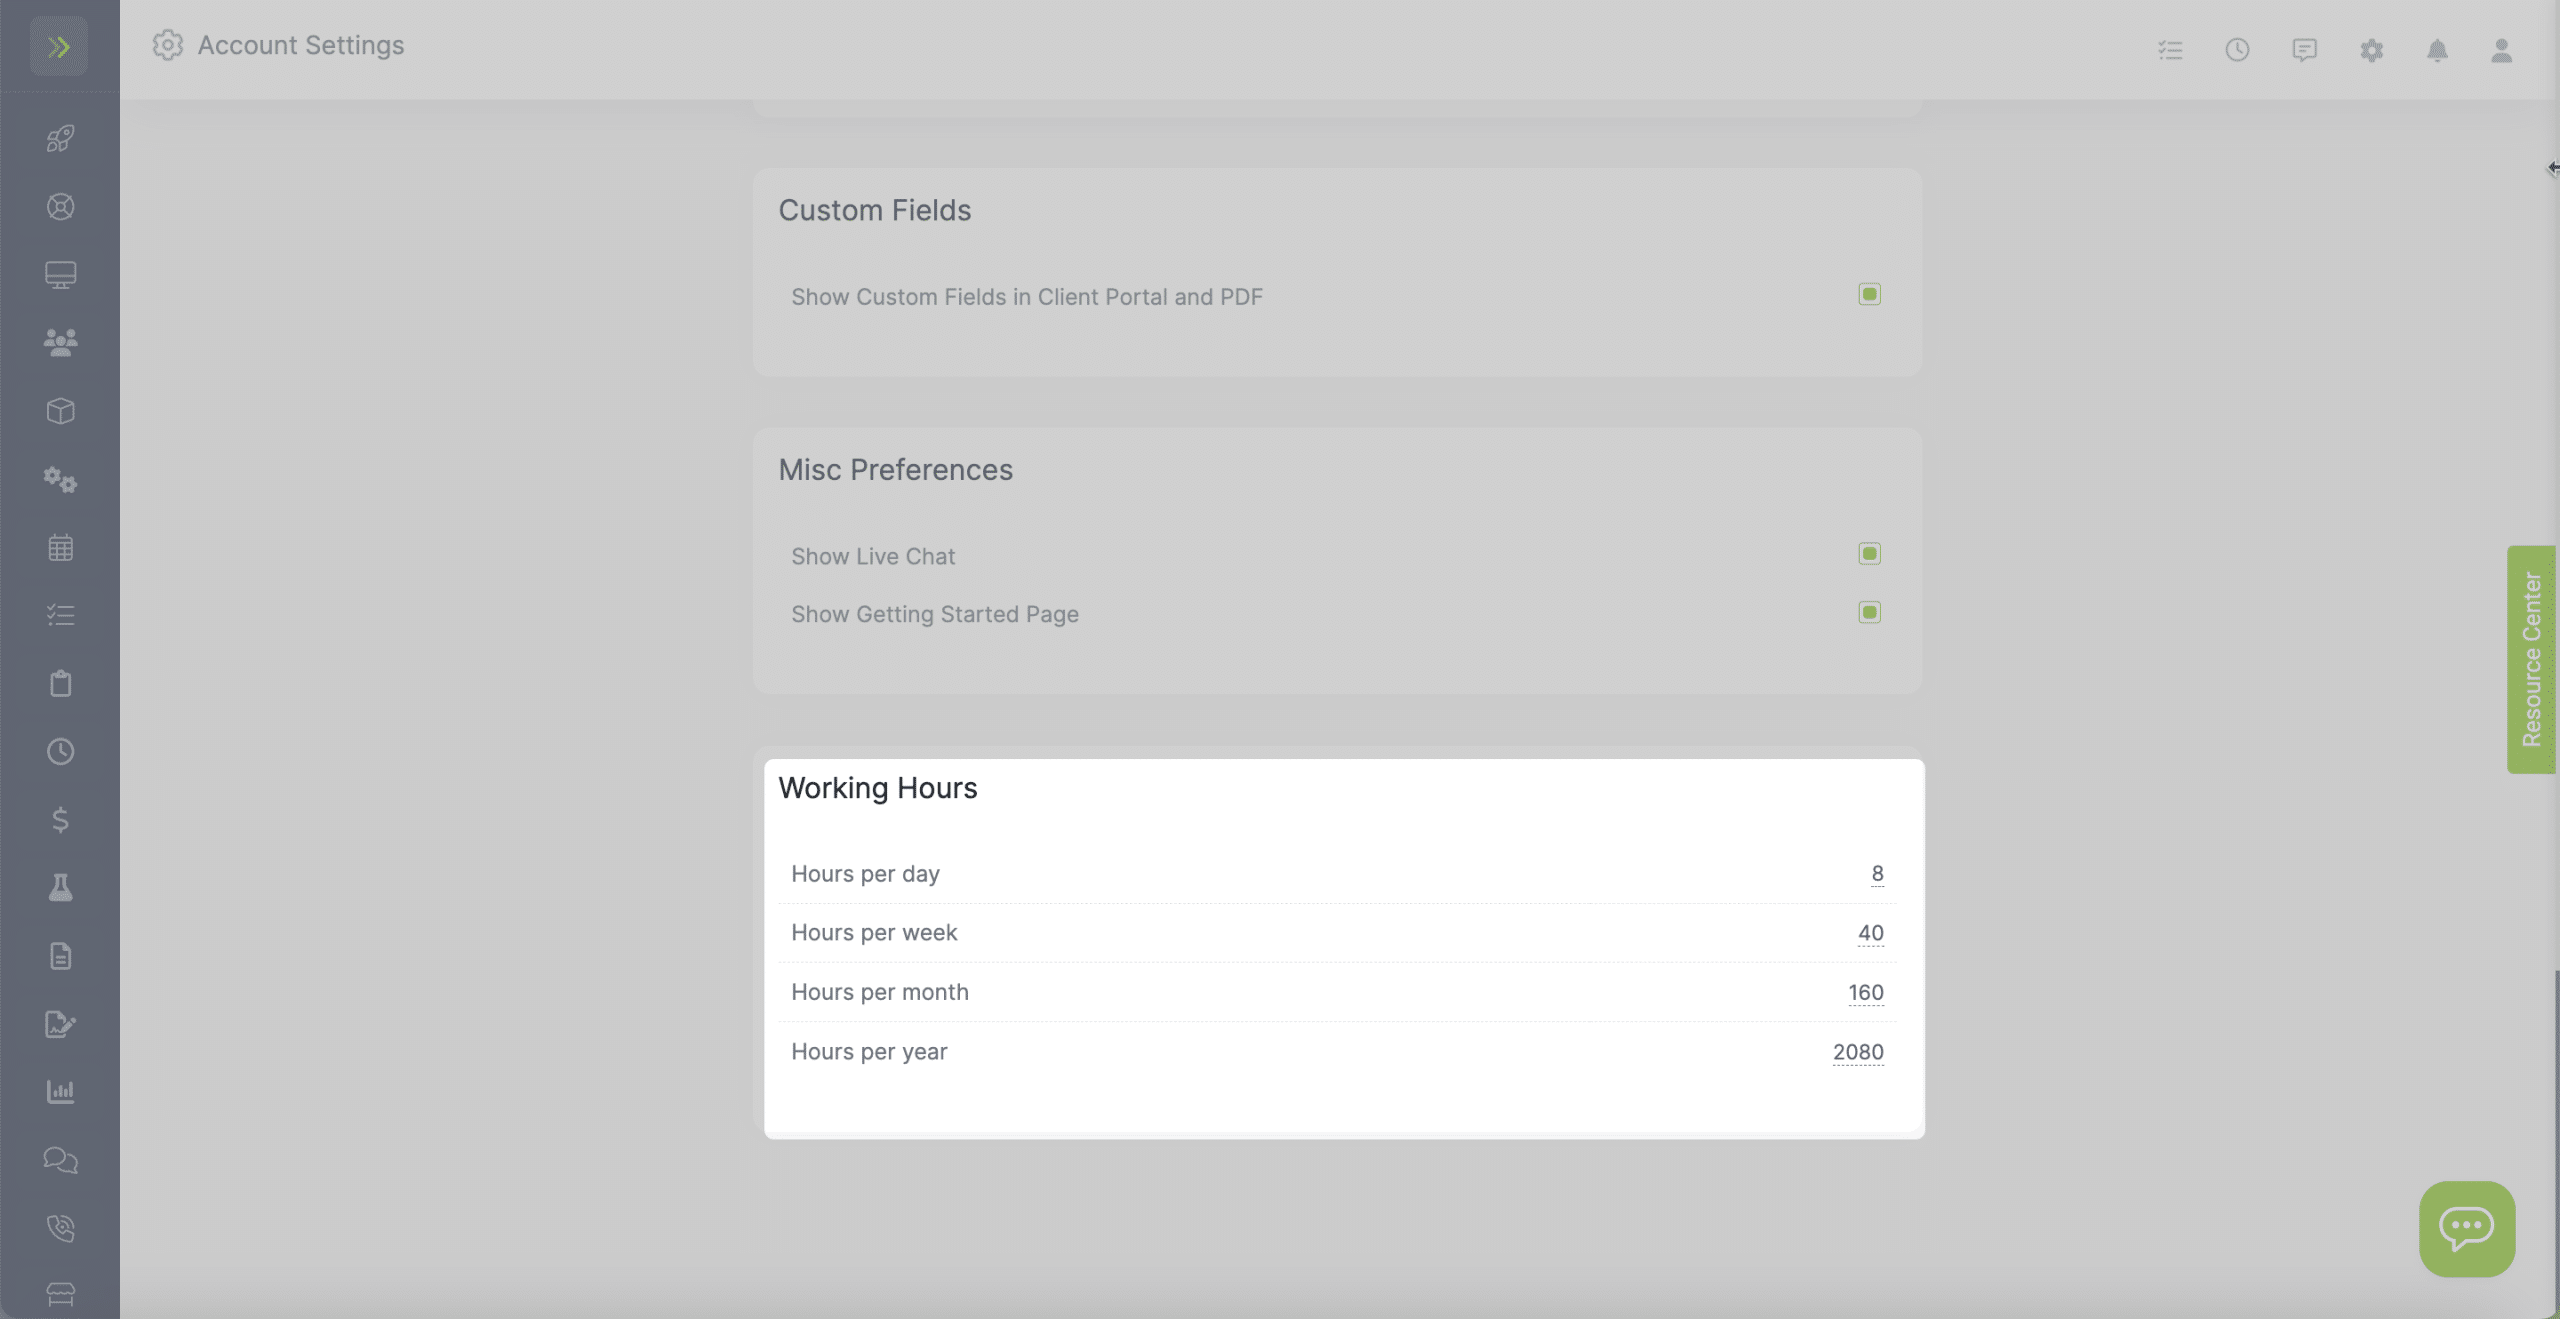
To get to your Preferences Settings, click the gear icon at the top right of the screen and then find “Preferences” on the Settings Menu.
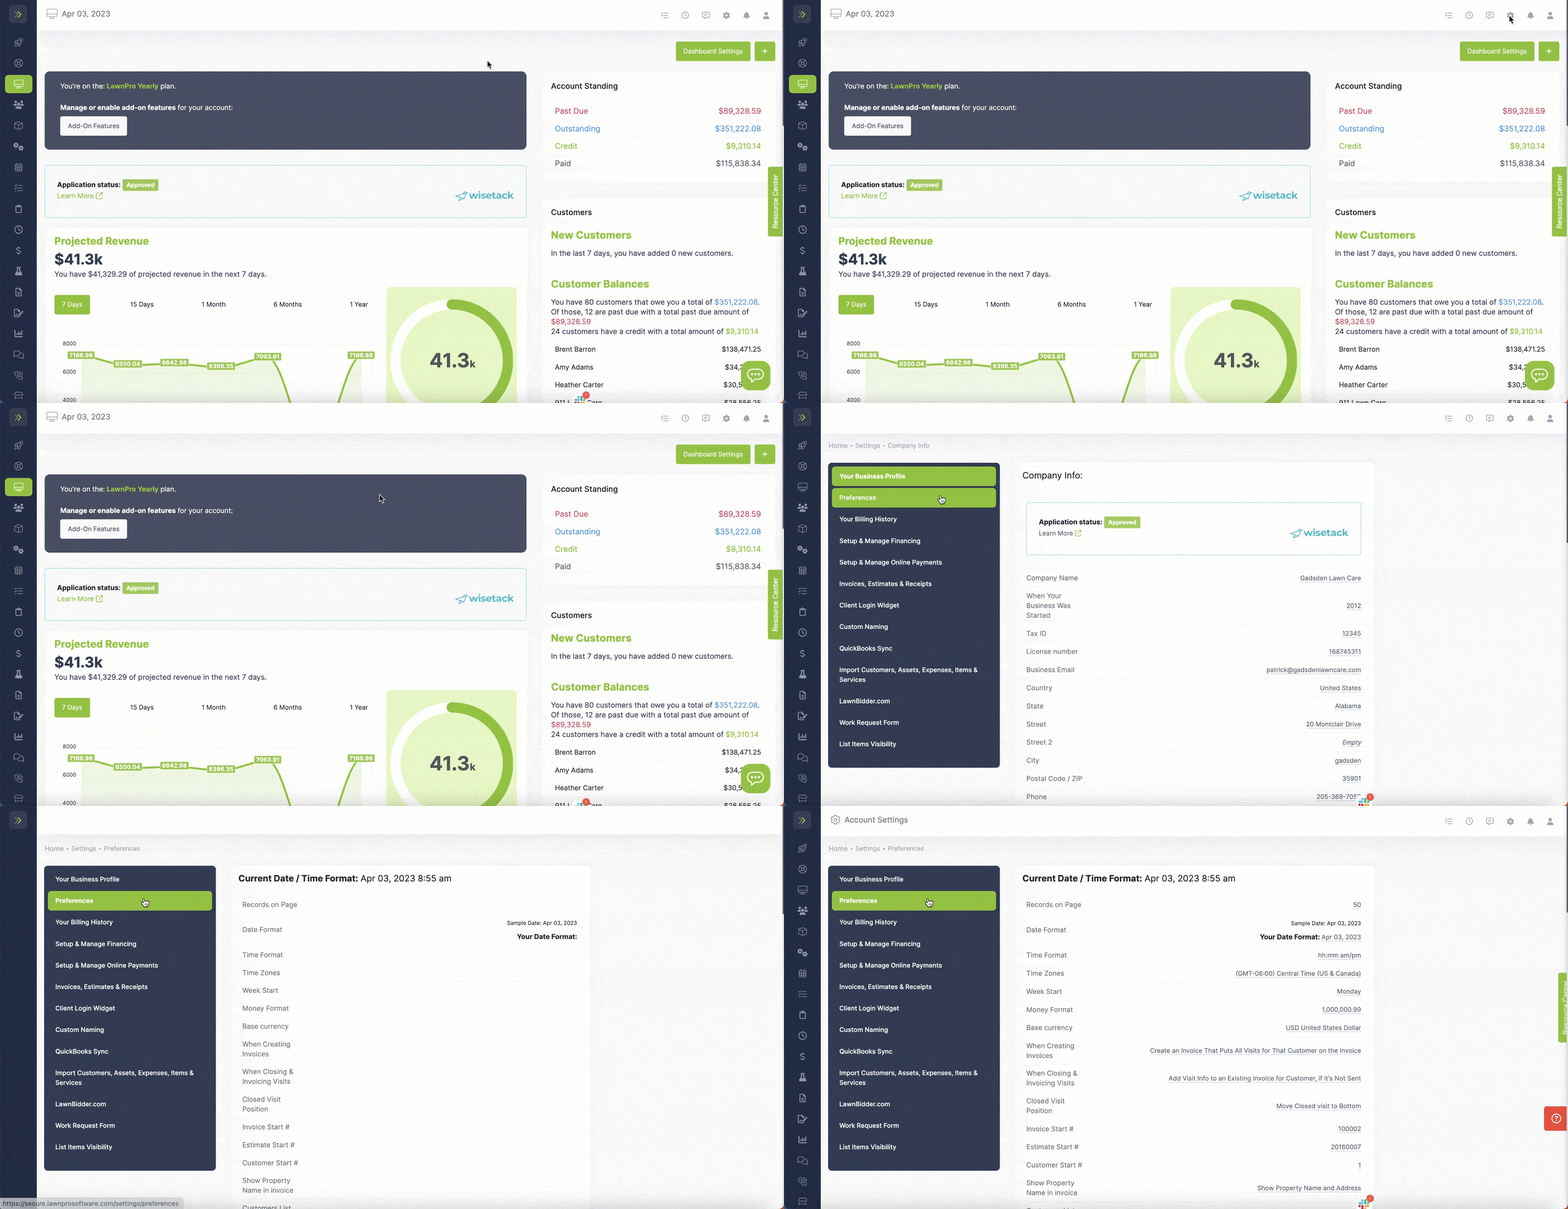
Settings You Will Find on the Preference Page:
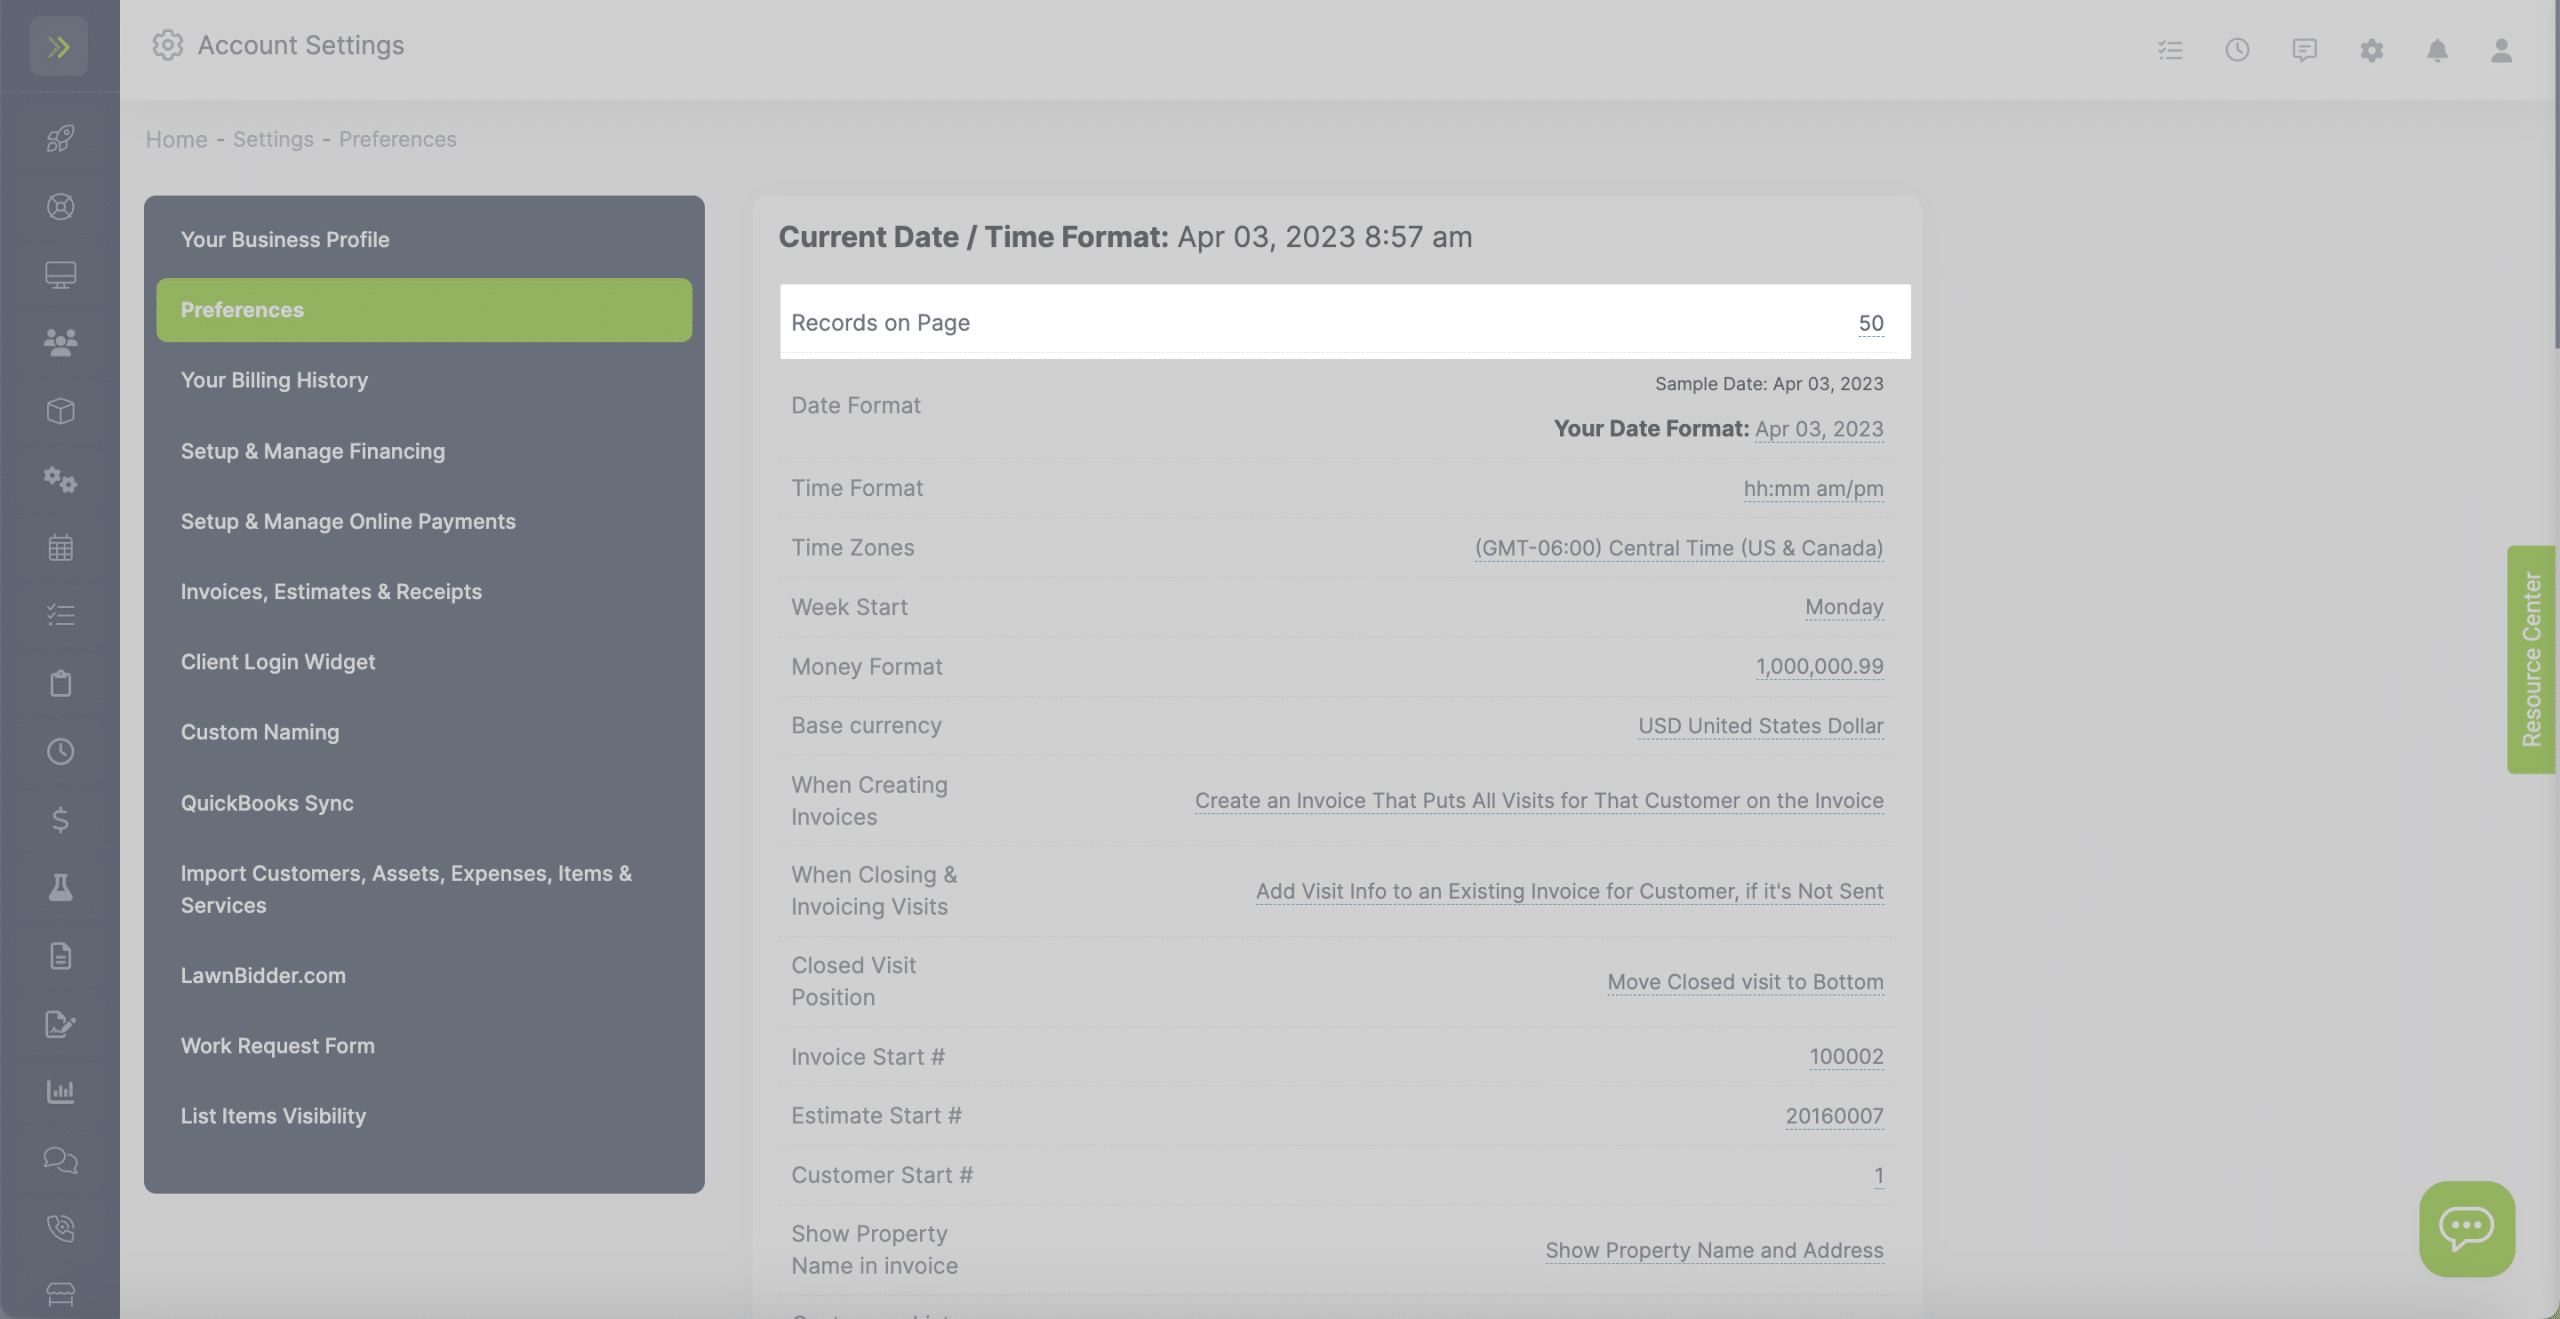
Records on Page – The number of results you want to appear on each page such as invoices, customers, etc.
Note: The lower the number the faster the page will load
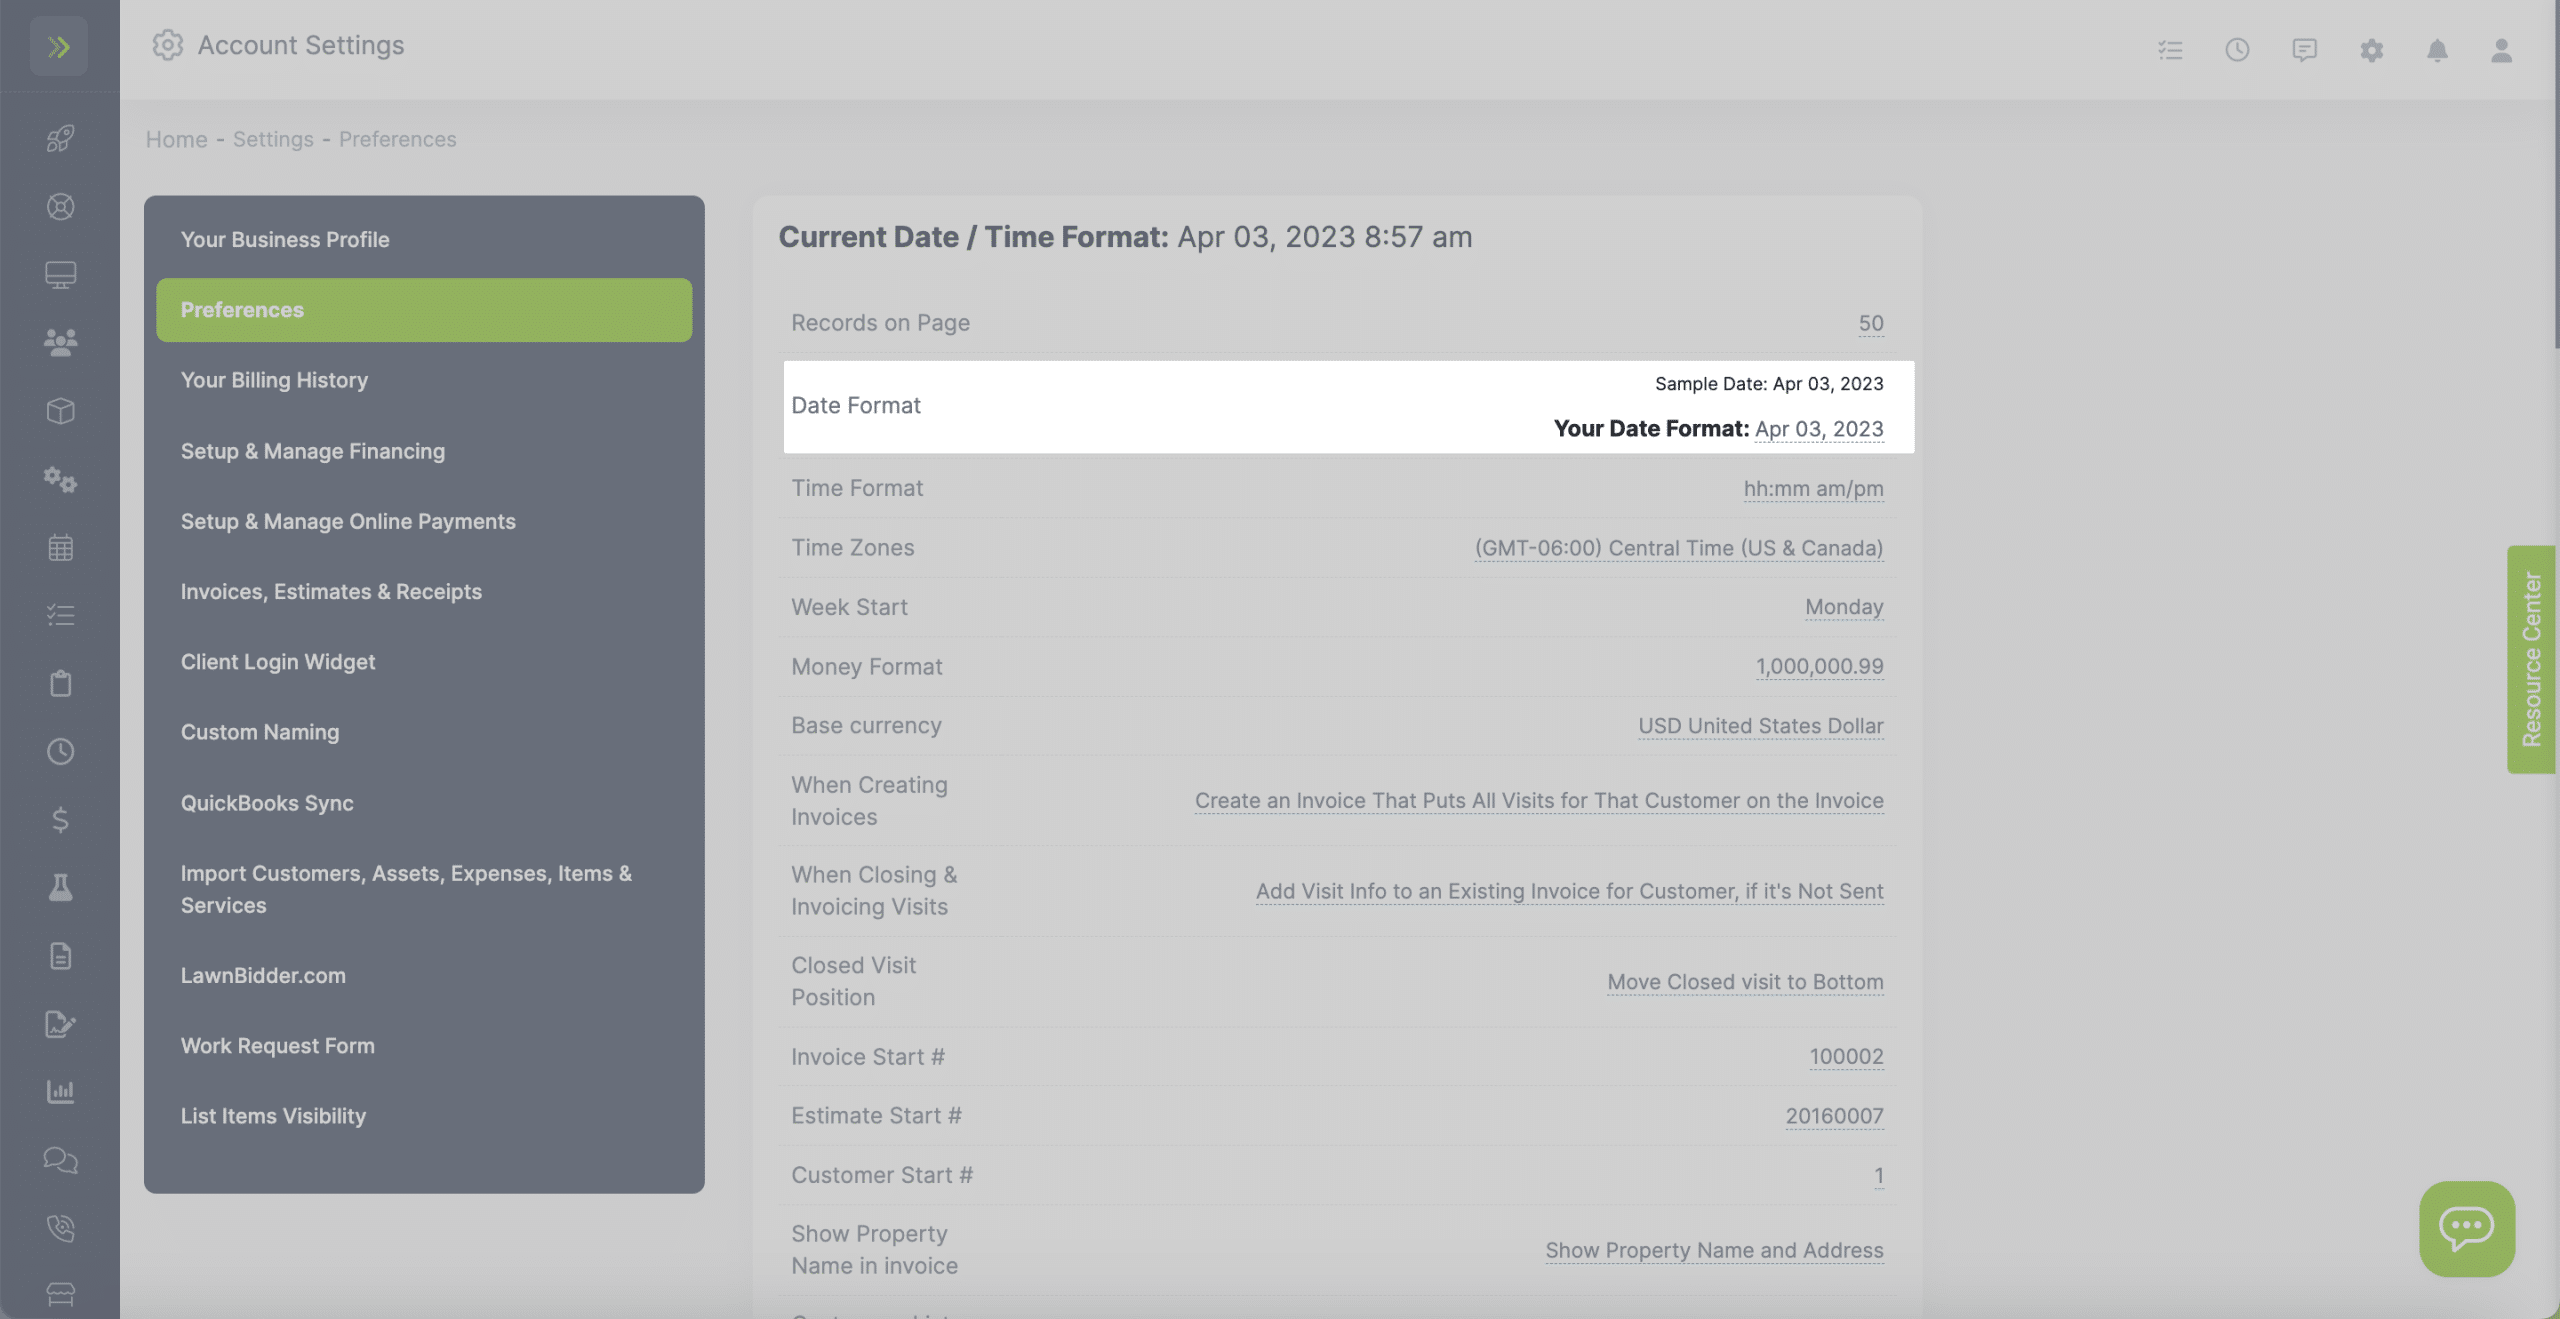
Date Format – How you want the date to appear on invoices, estimates and anywhere in the program.
Example Jun 1, 2013 or 06/01/13 etc.
Time Format – How you want the time to appear anywhere in the program
(You can choose 12 hour format or 24 hour format).
Time Zone – The time zone you are located in.
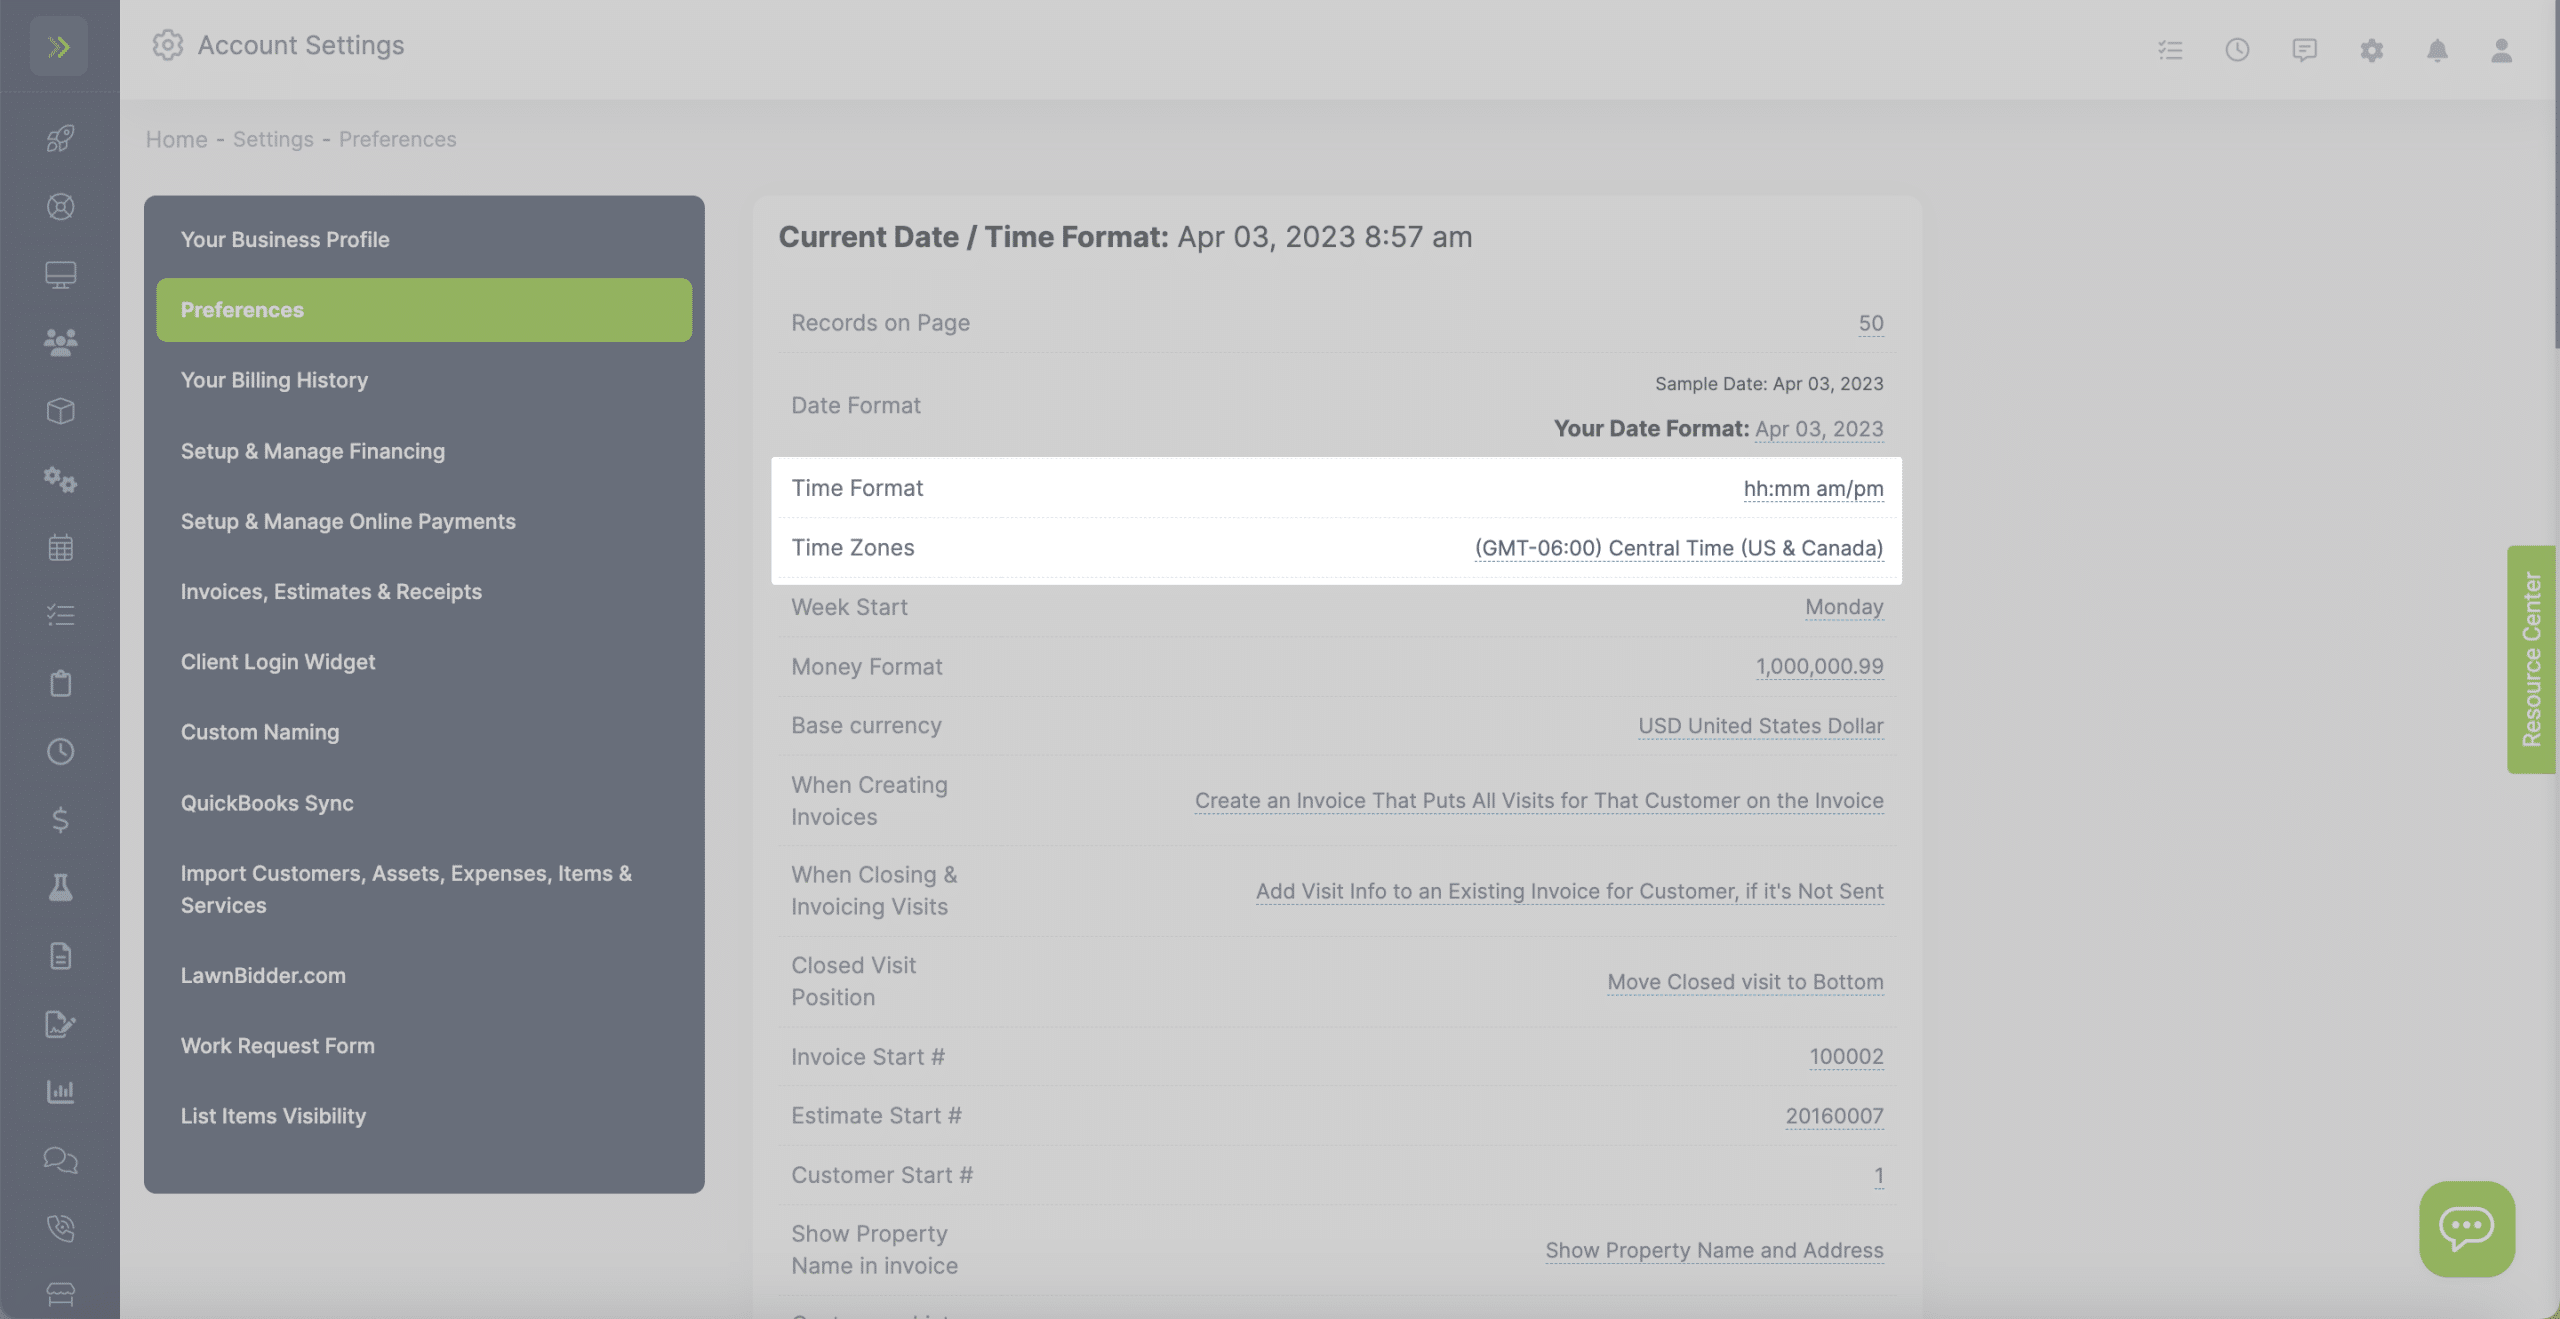
Week Start – The day of the week you want your Schedule/Calendar to start on.
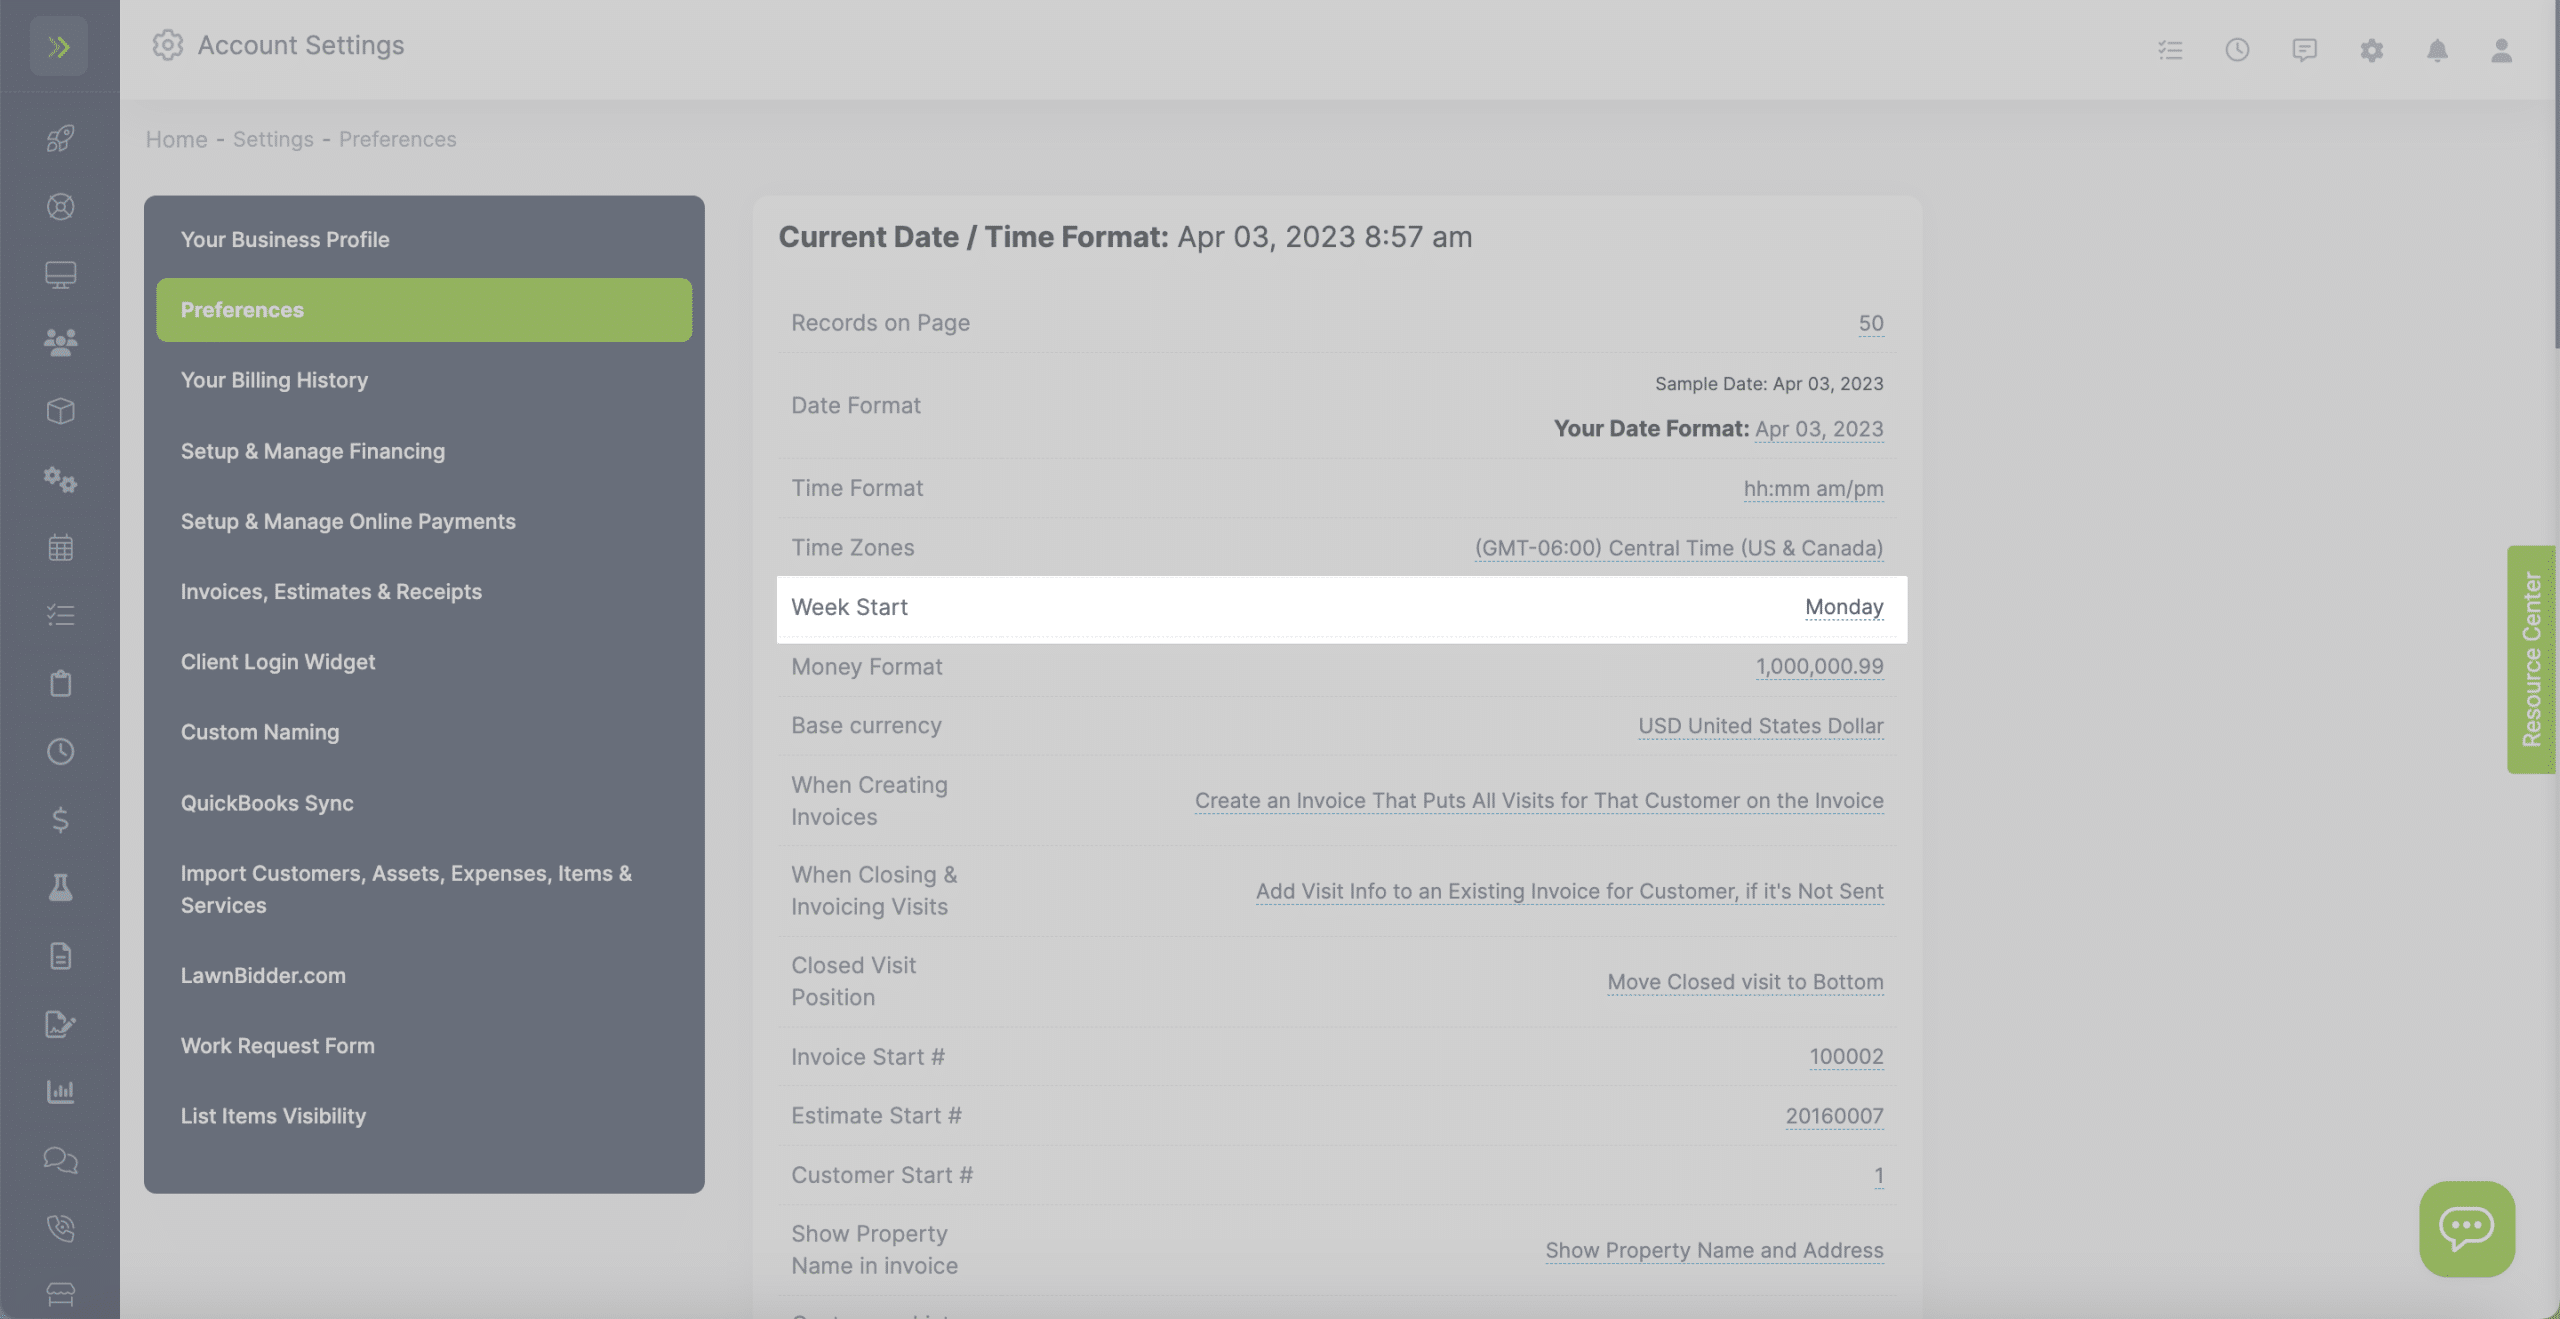
Money Format – How you want money formatted such as $100,000.00 or $100.000,00
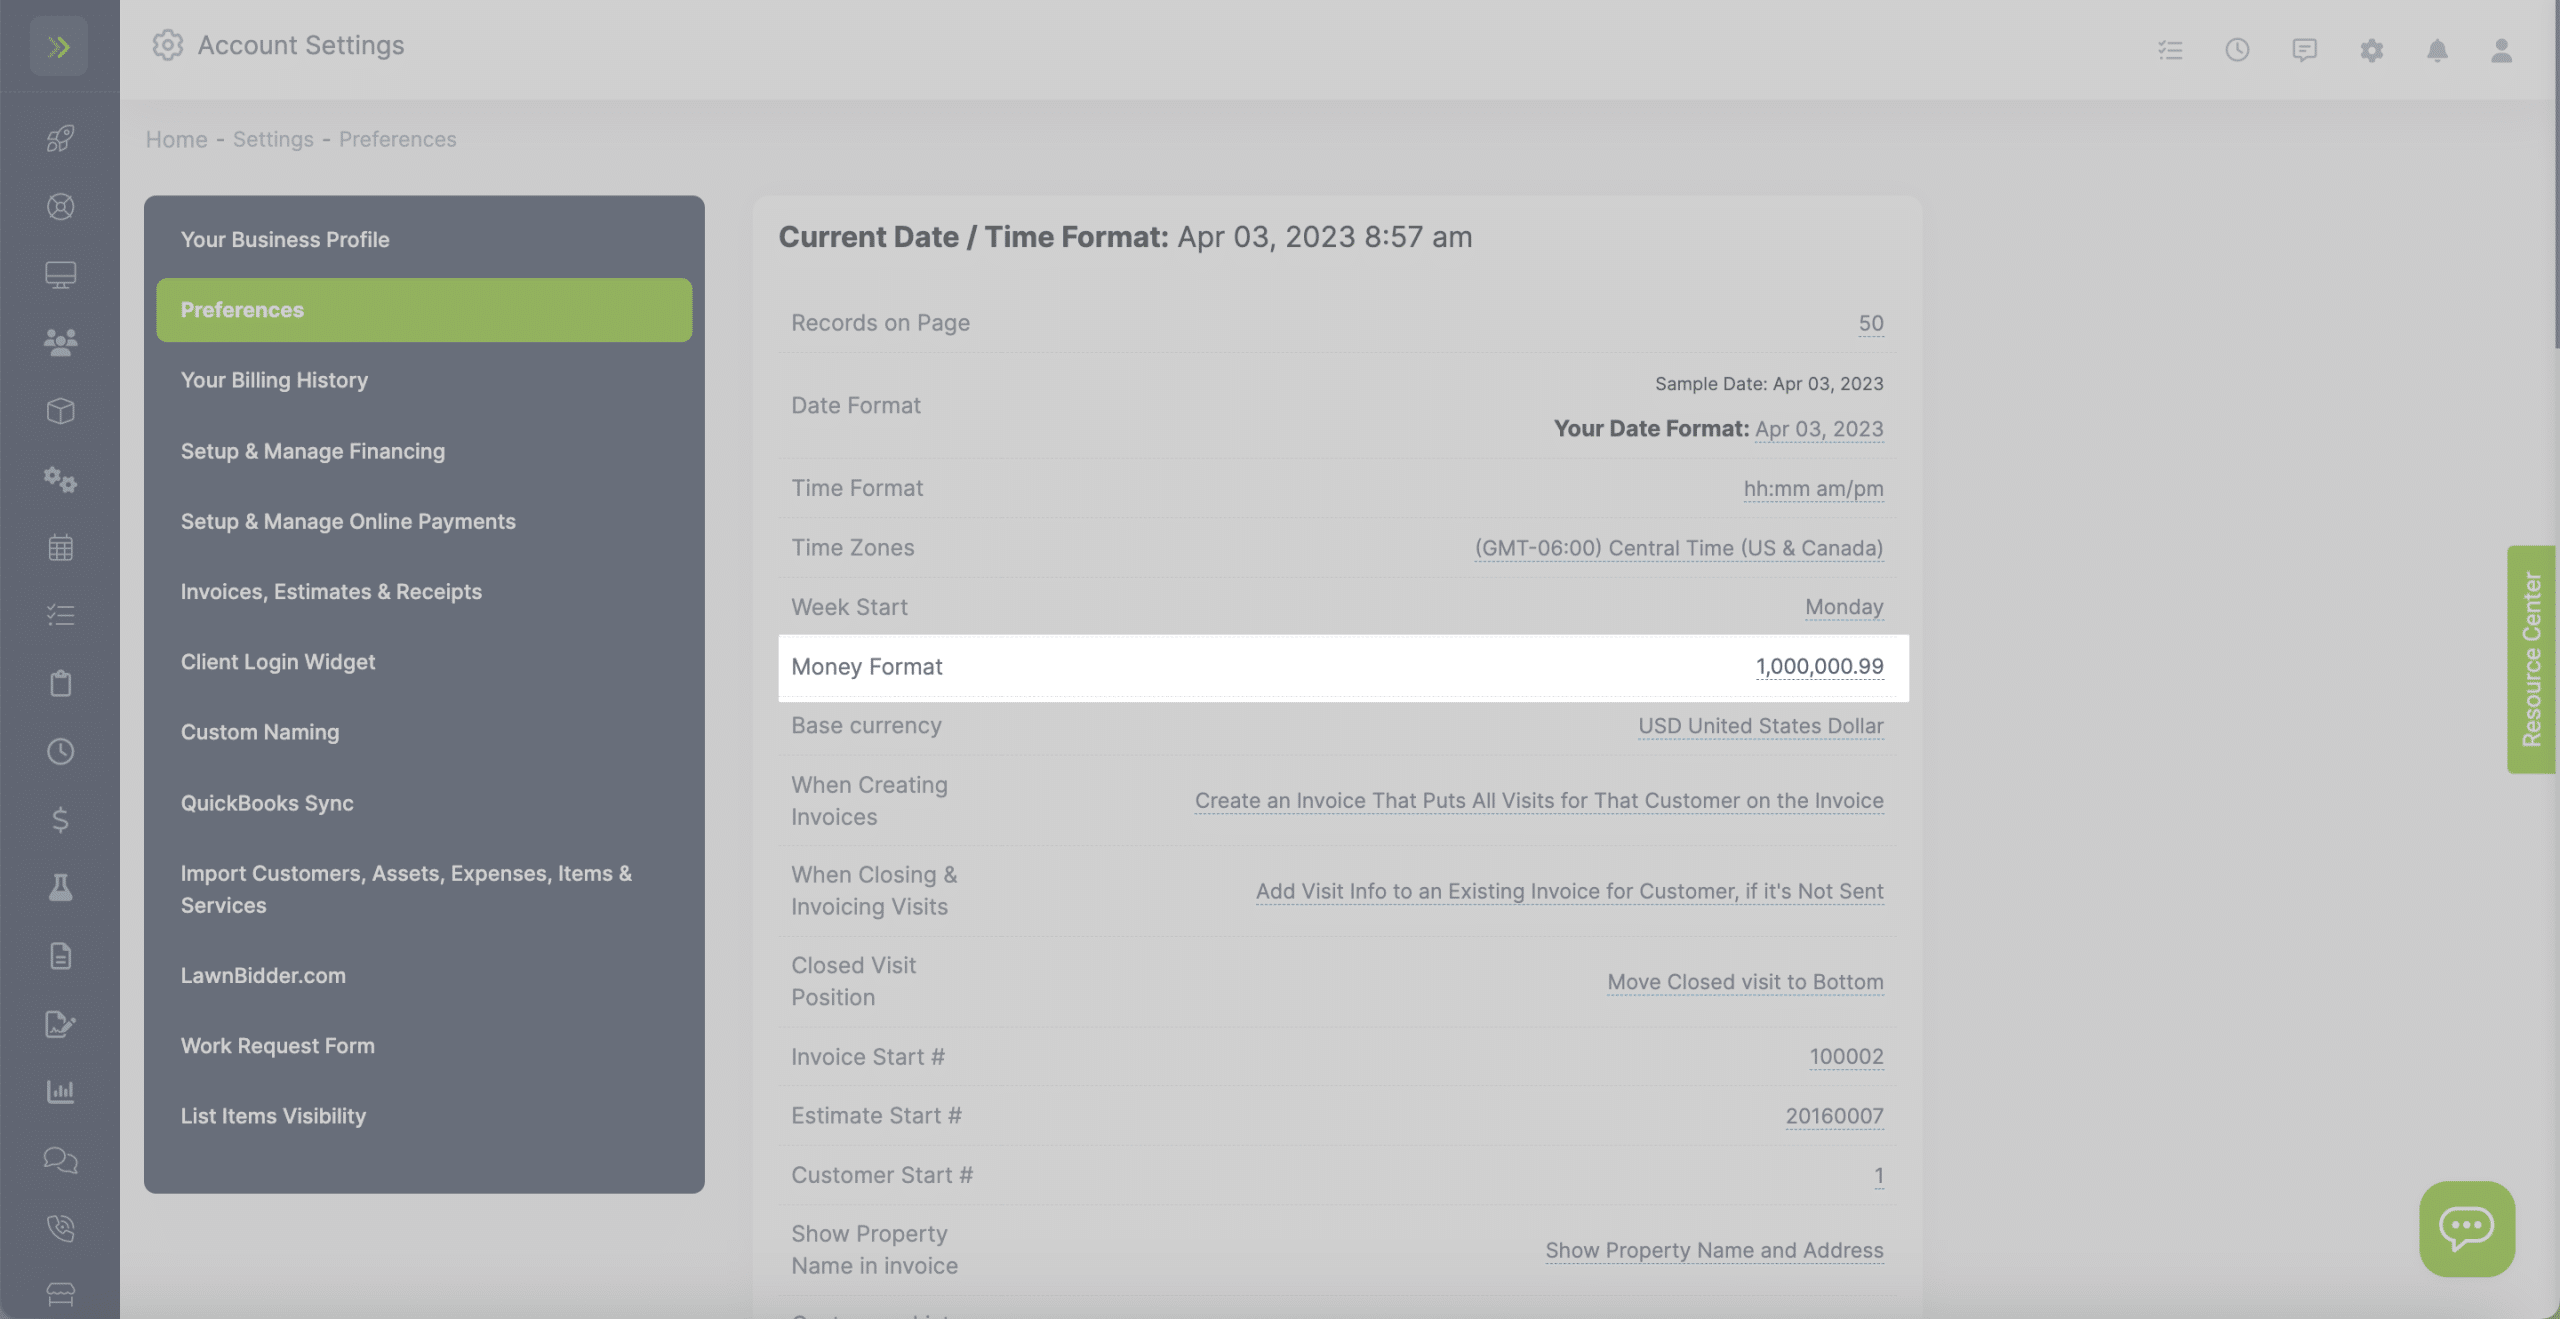
Base Currency – This is the currency for your country.
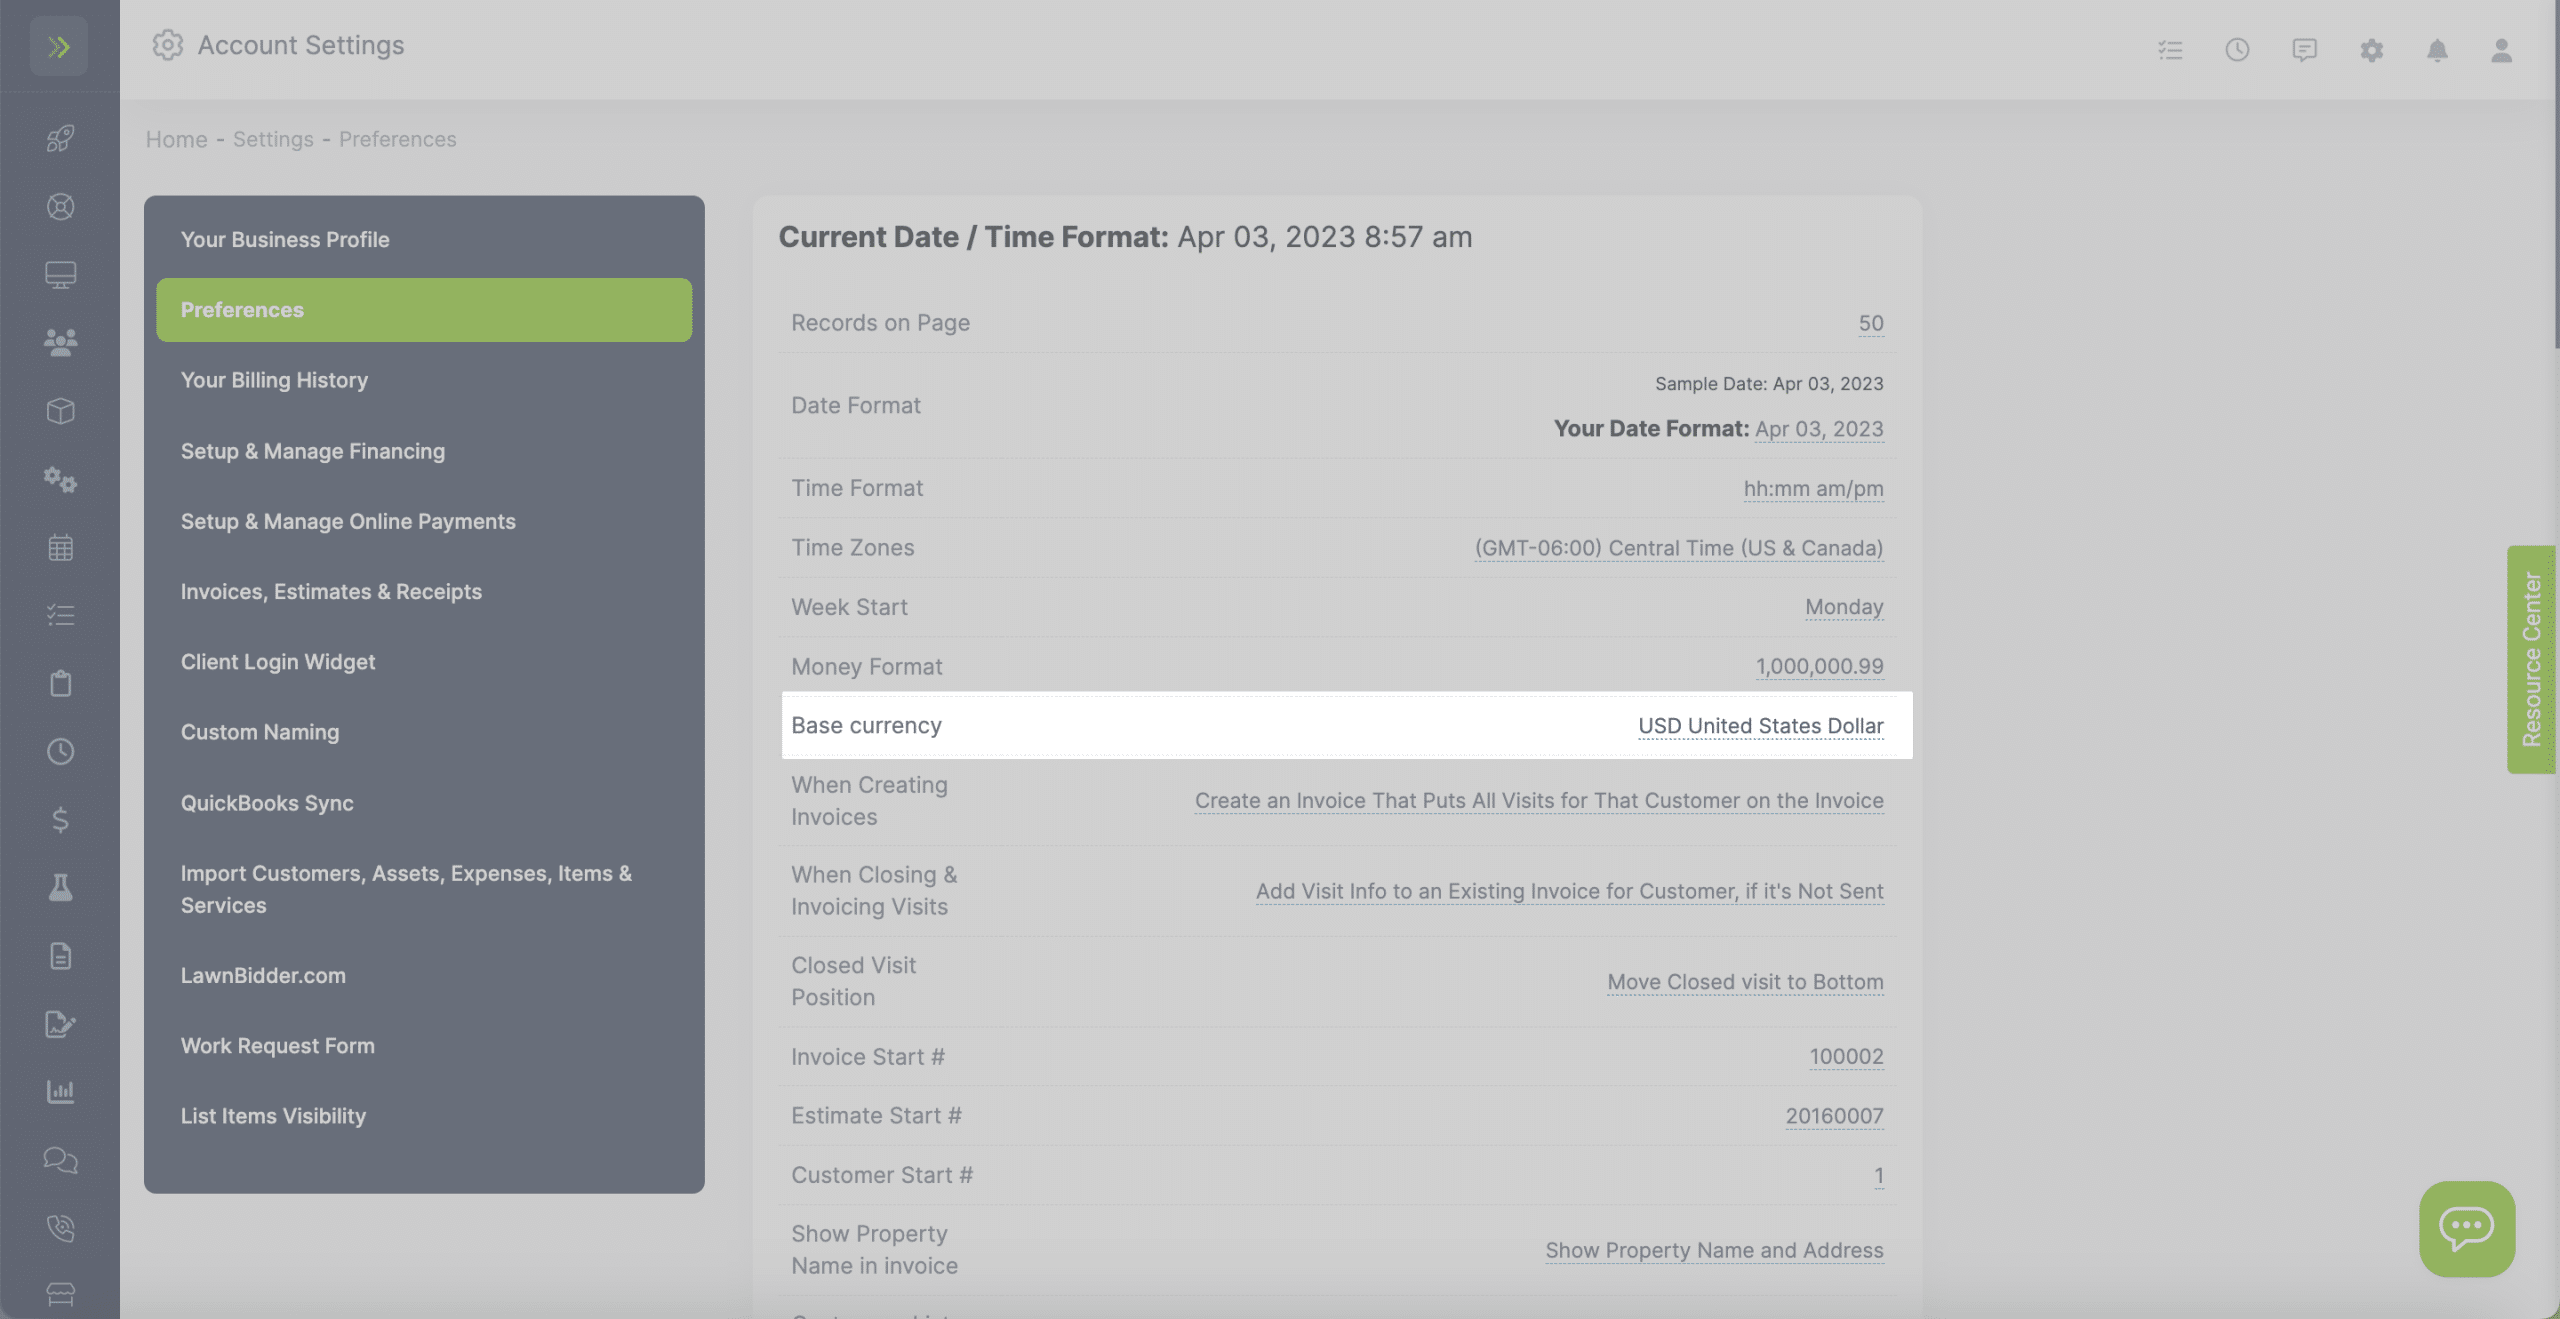
When Creating Invoices – This how visits are grouped for invoicing purposes.
For example, “Create an Invoice That Puts All Visits for That Customer on the Invoice” puts all visits for a customer on one invoice, along with the date you were there, and the services you performed. (This is how most people prefer to bill).
When Closing and Invoicing Visits – This where you will choose to either create a new invoice for each visit or for the visits to be added to an existing invoice that hasn’t been sent yet.

Closed Position – Select whether you want closed visits to move to the bottom of your list on the schedule or stay in the same position.
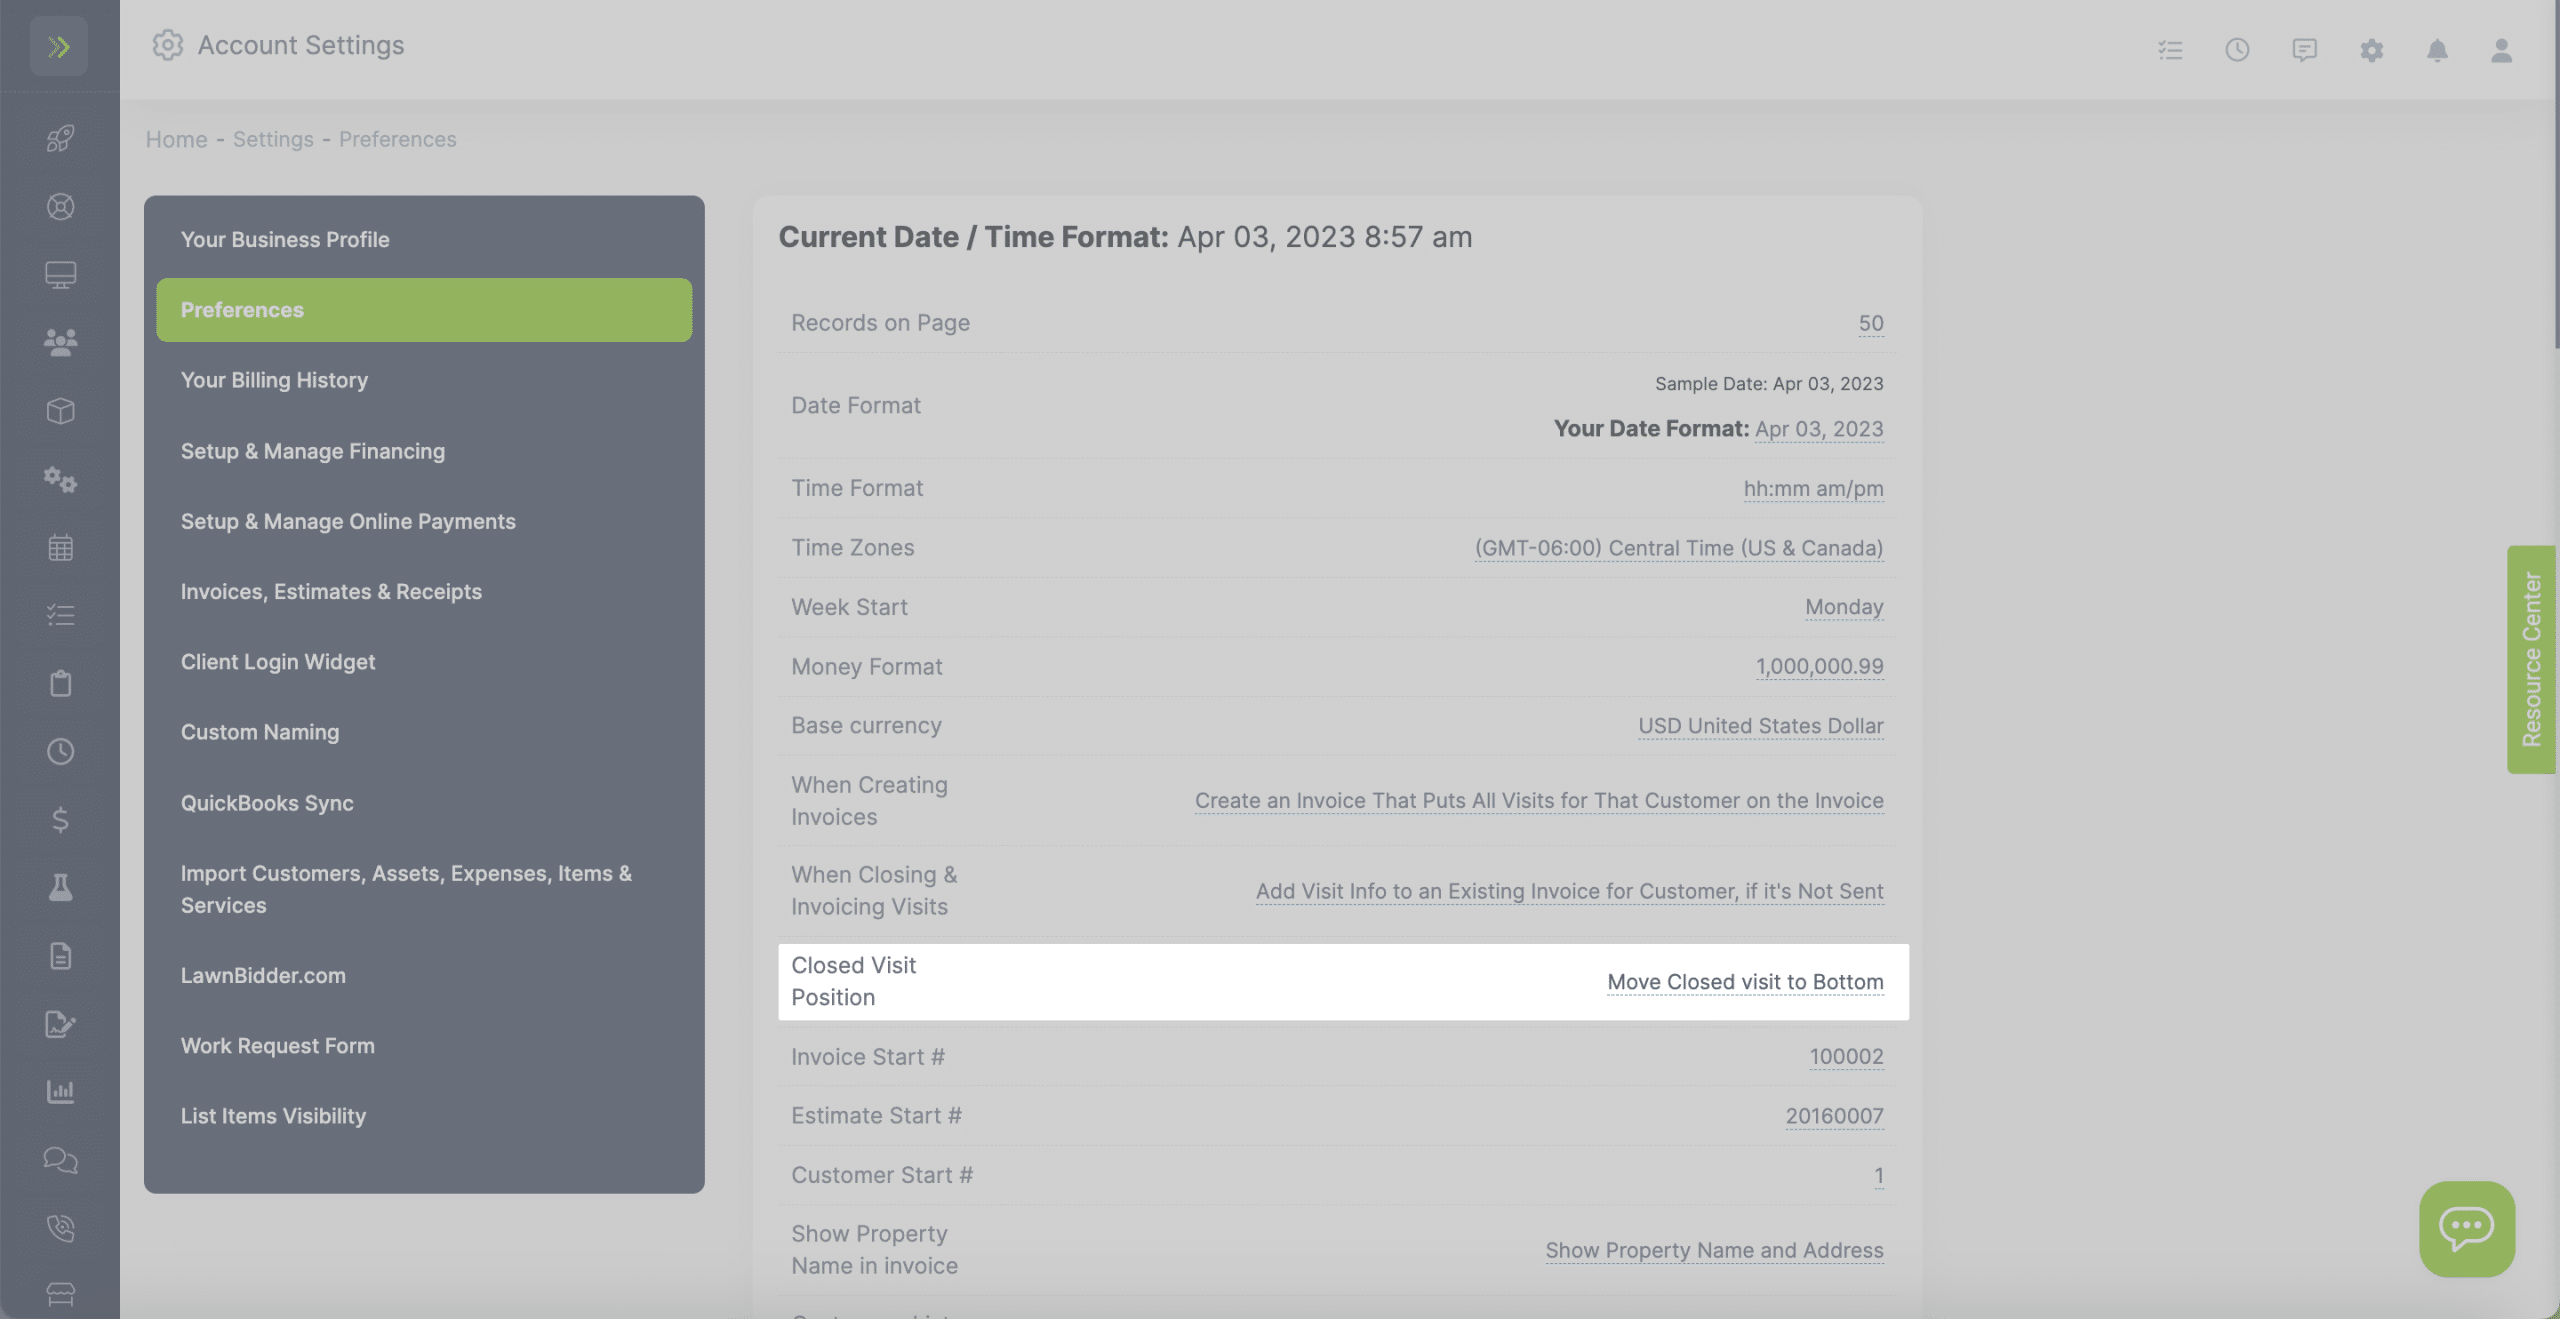
Invoice Start #- The starting # of invoices. You can have invoices start with any number you’d like such as 00001 or 10000.
Estimate Start #- The starting # of estimates. You can have estimates start with any number you’d like such as 00001 or 10000…
Customer Start #- The starting # of your customers. You can have customers start with any number you’d like such as 00001 or 10000…
Note: Once any of these numbers have been changed, the system uses the next number available.
Example: You have your settings set to start invoices at 0001, but you change one of your invoice numbers to 0100, then next created invoice will be 0101.
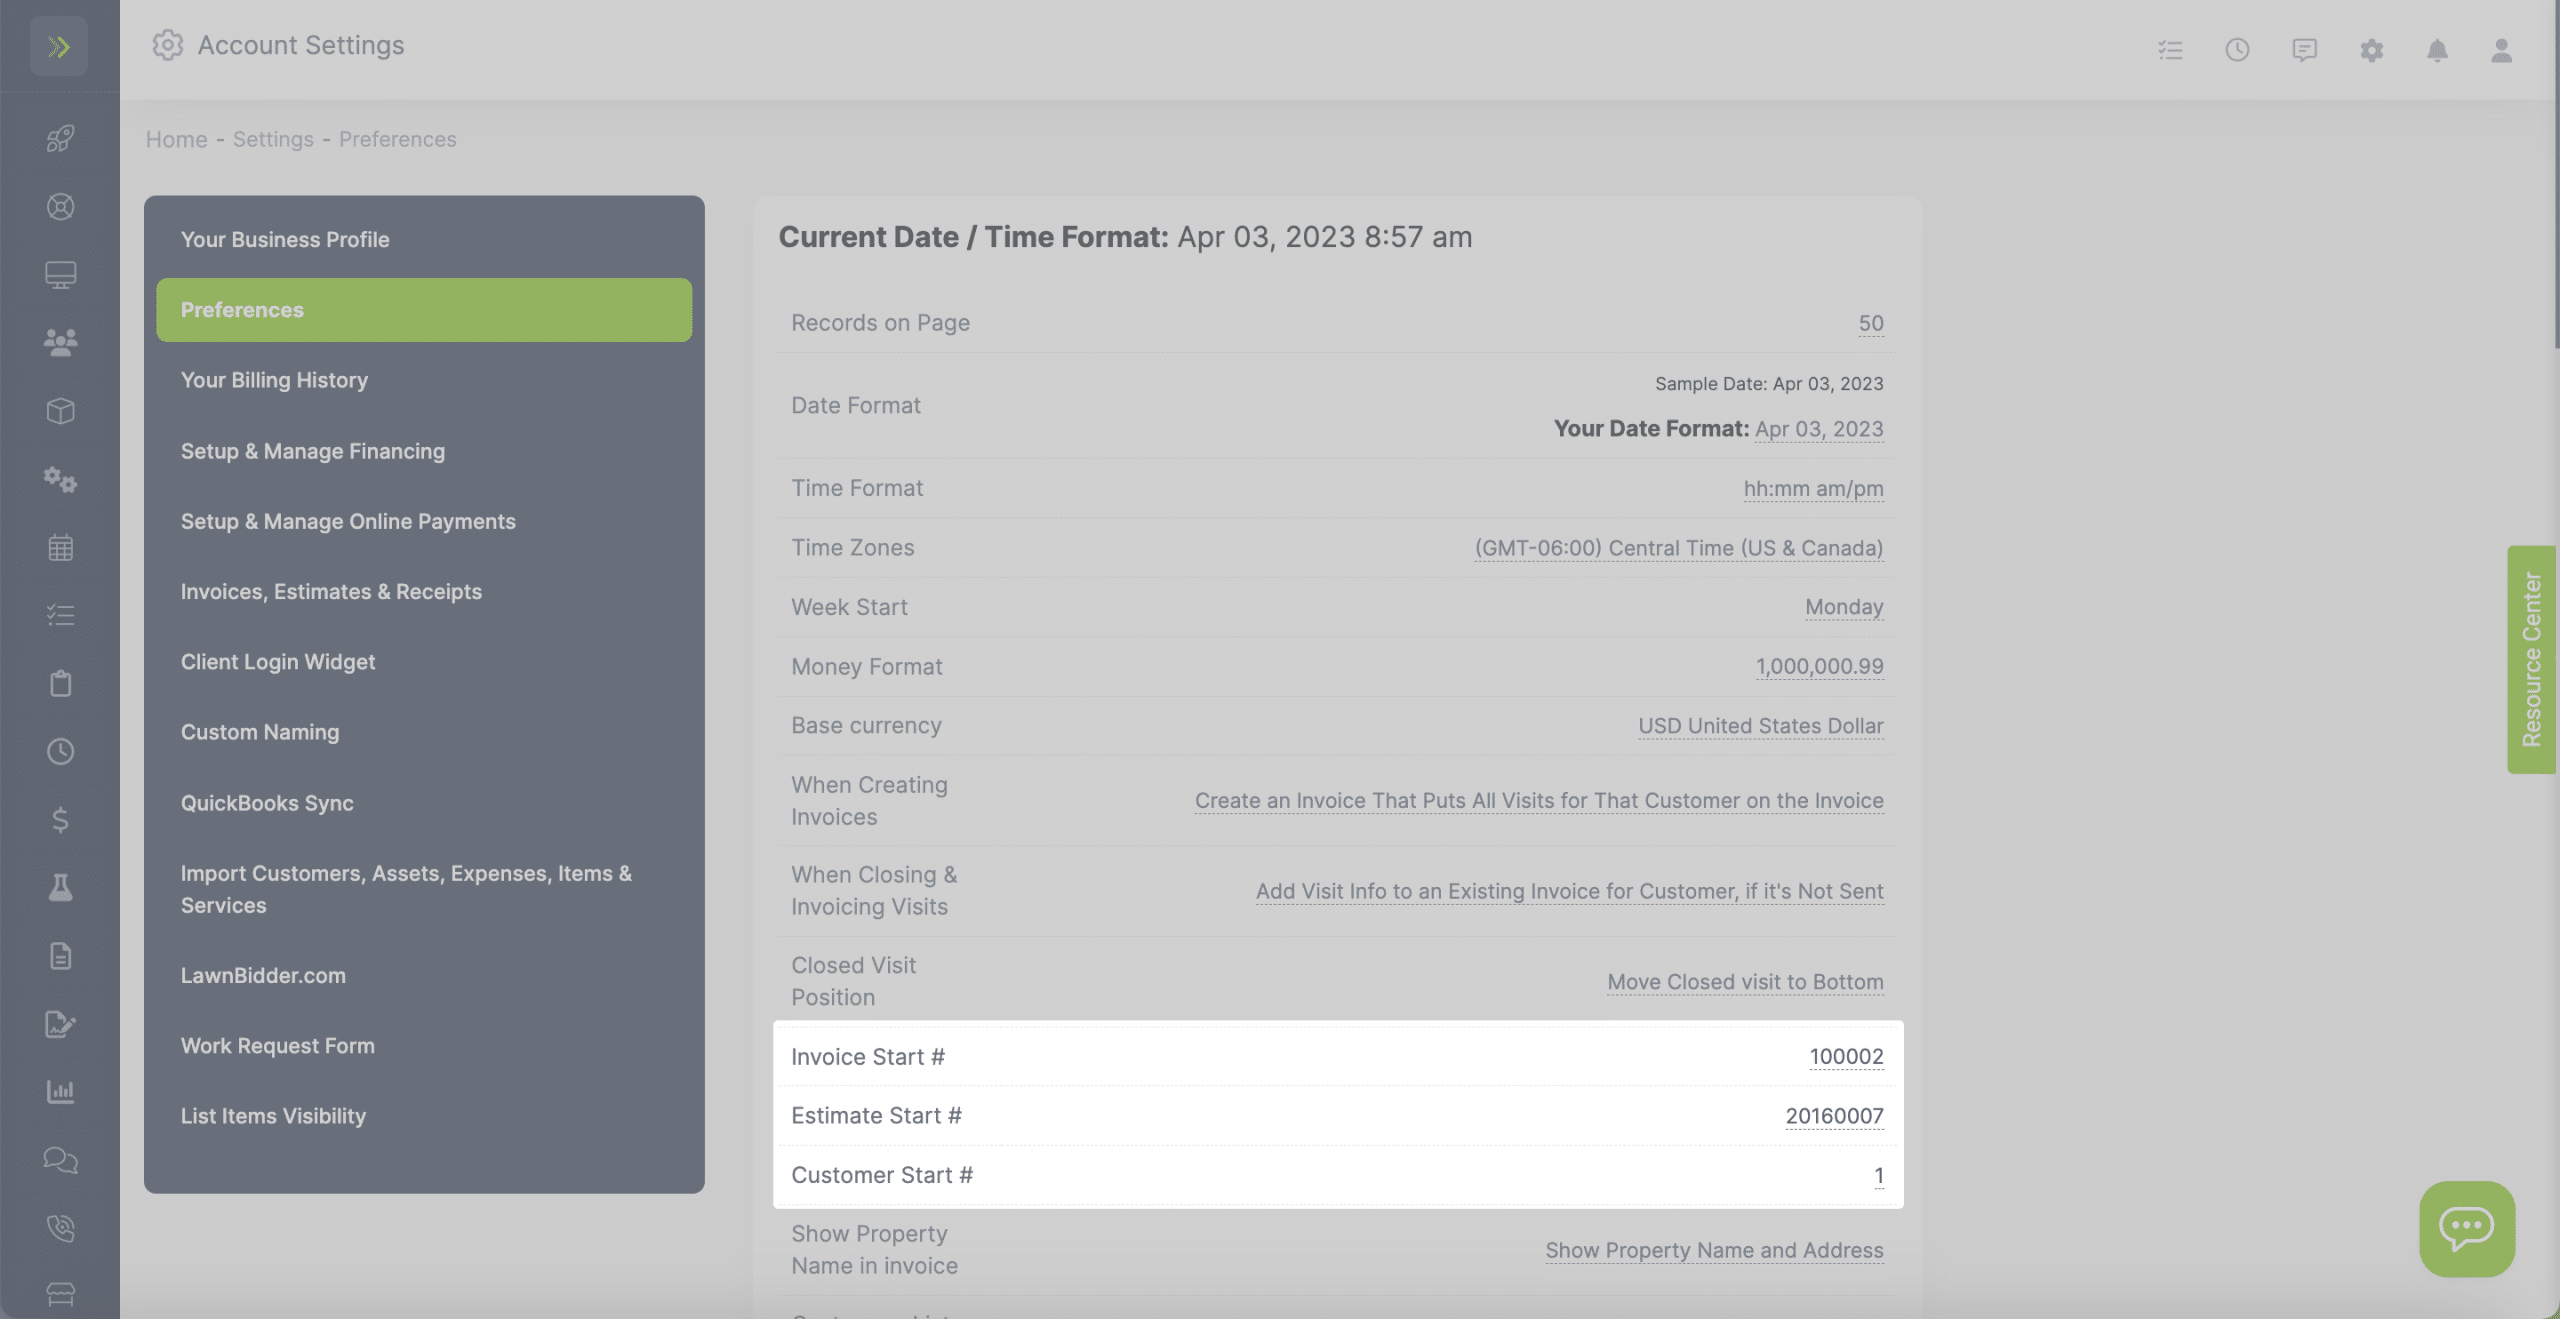
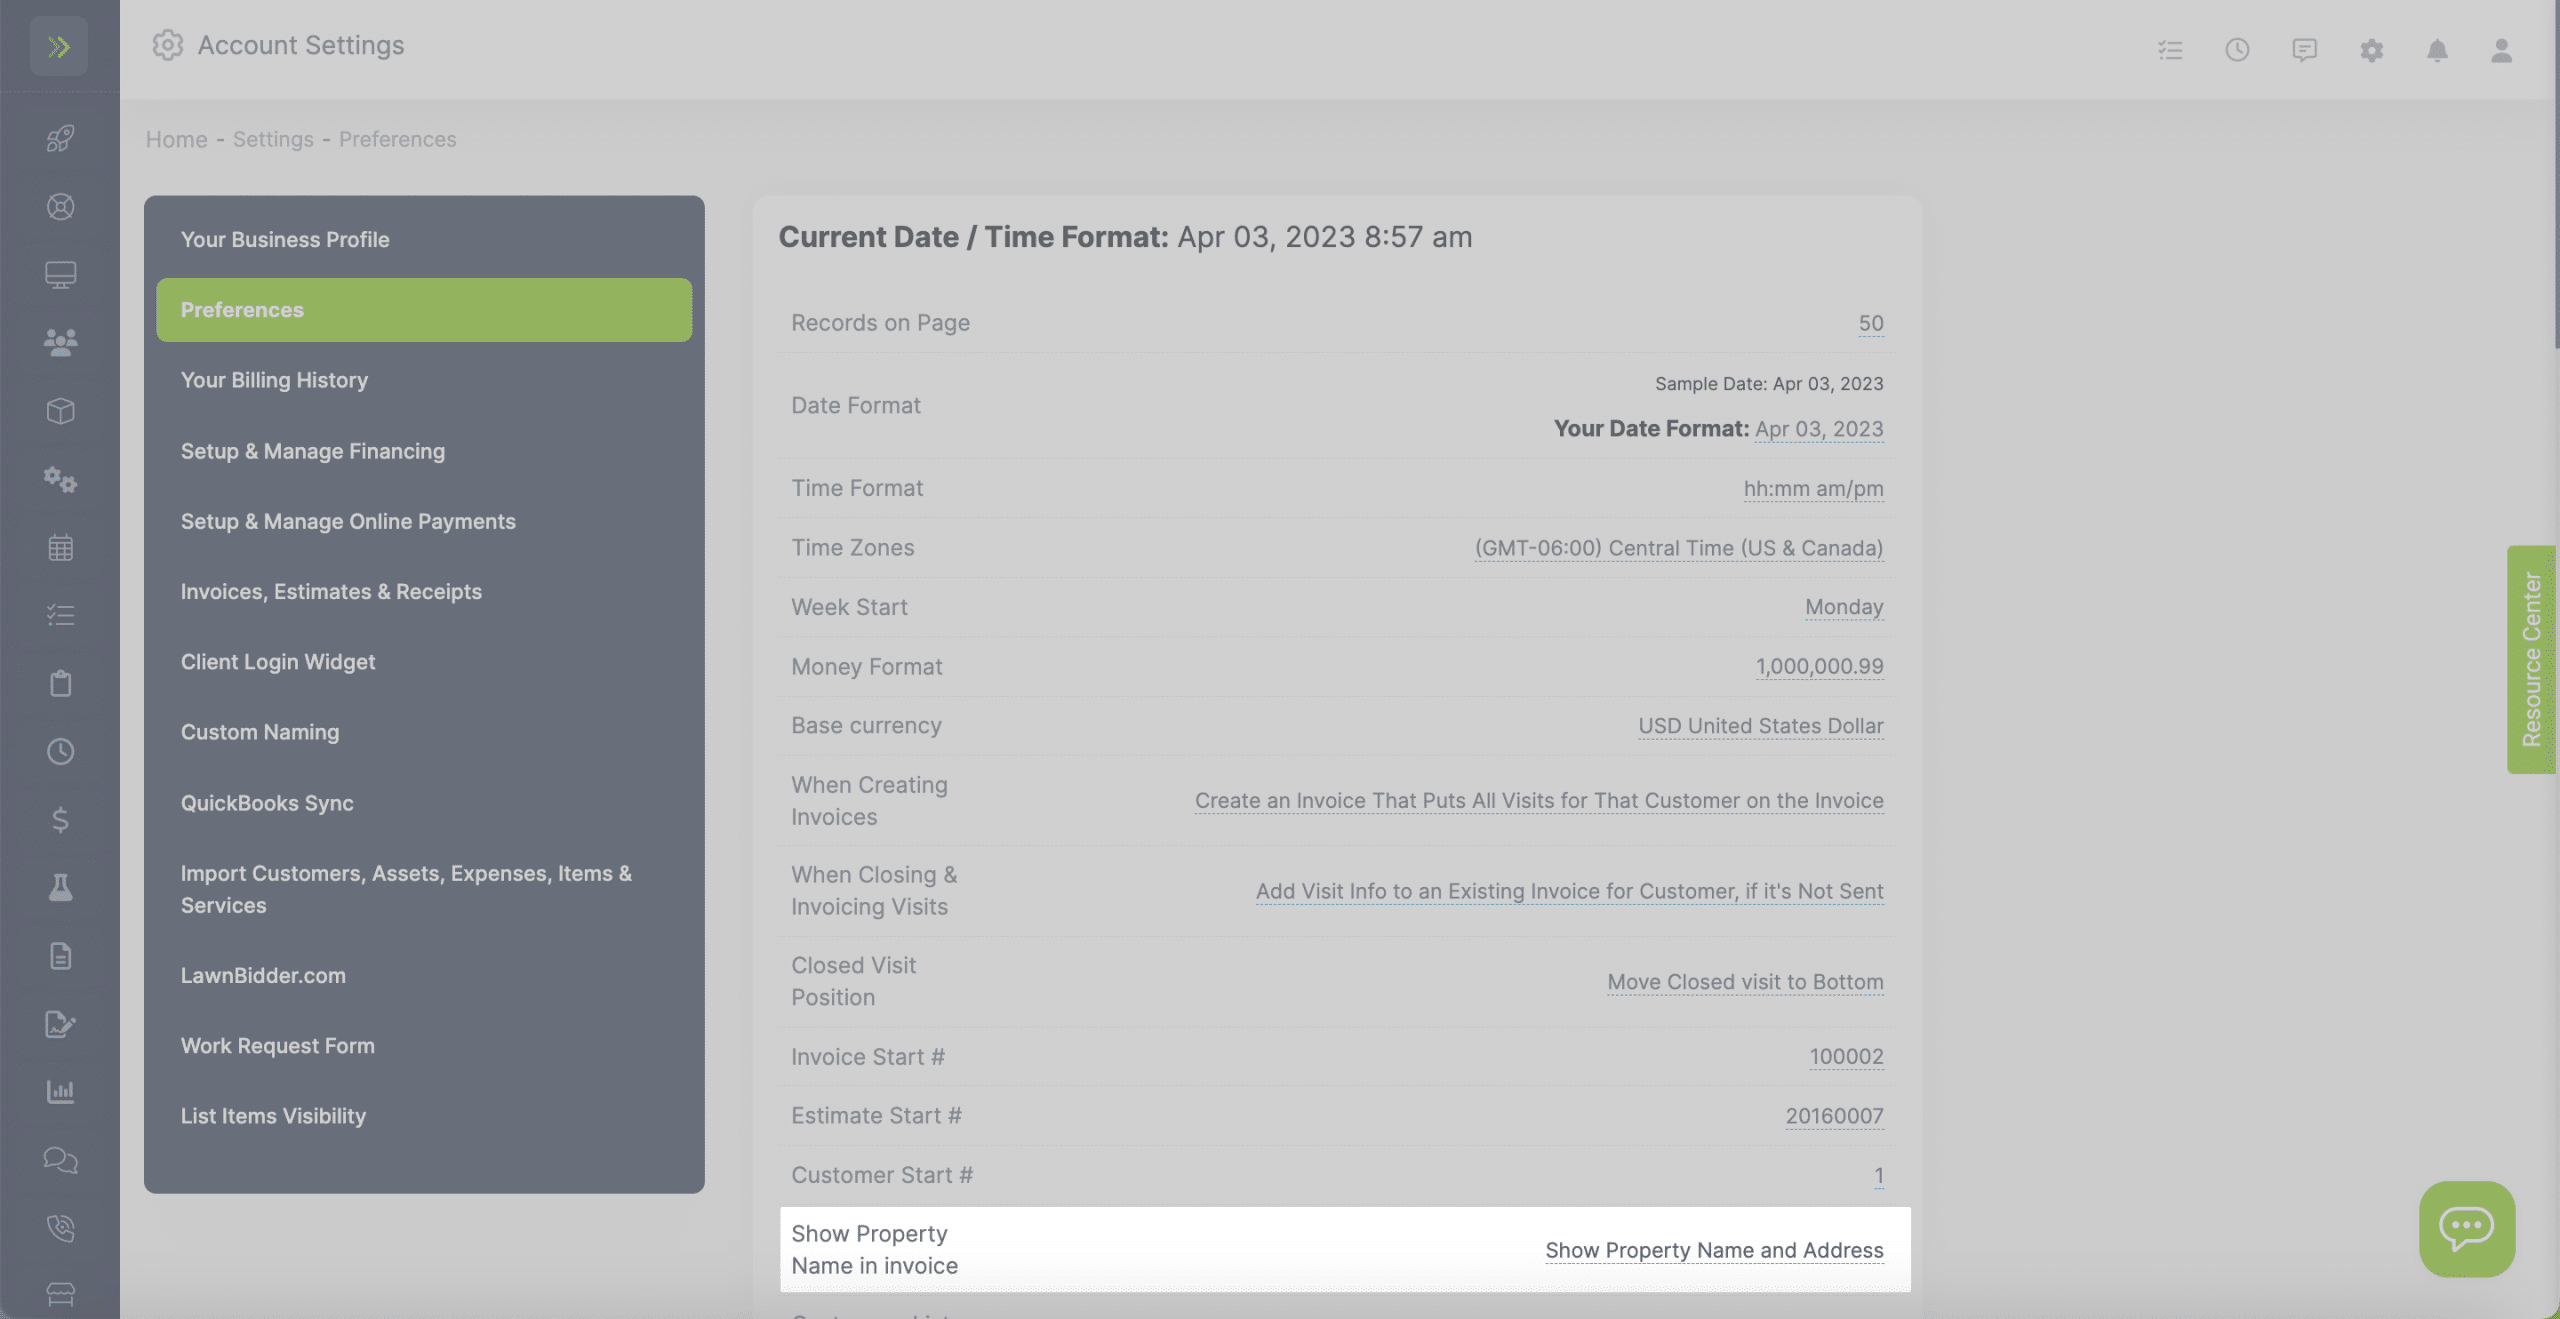
Show Property Name on Invoice- Choose to show the name and address or just the address of properties on invoices.
This will be shown under the list of items and services performed at the property.
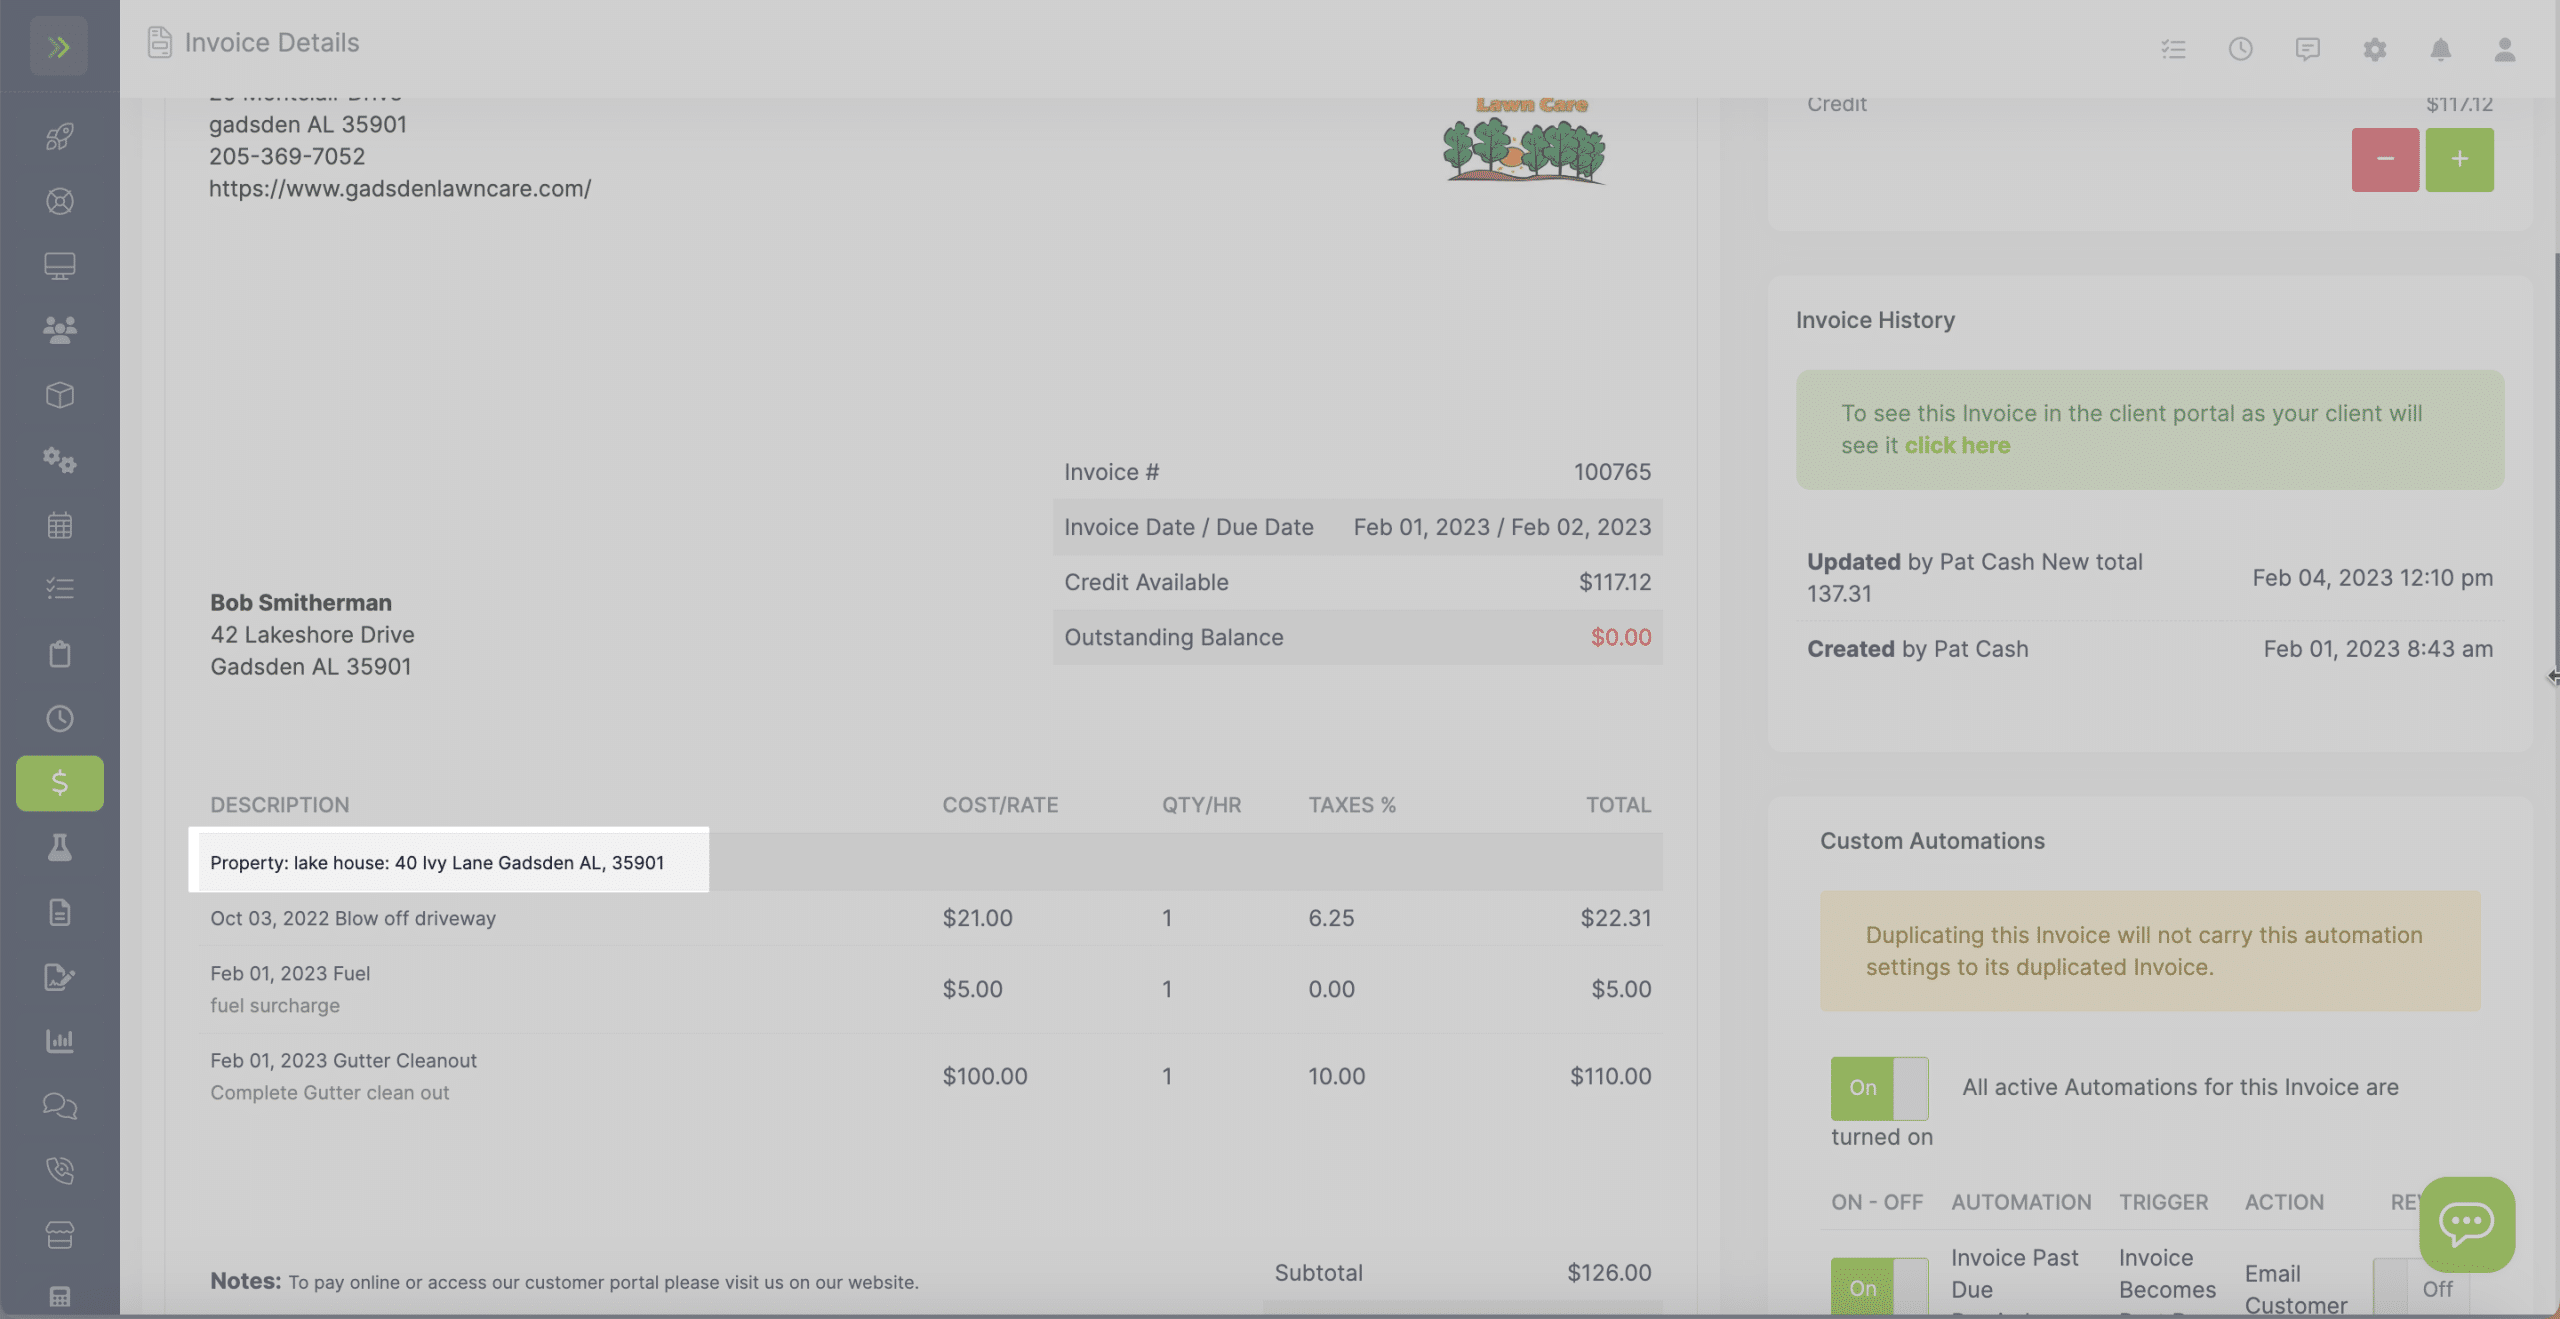
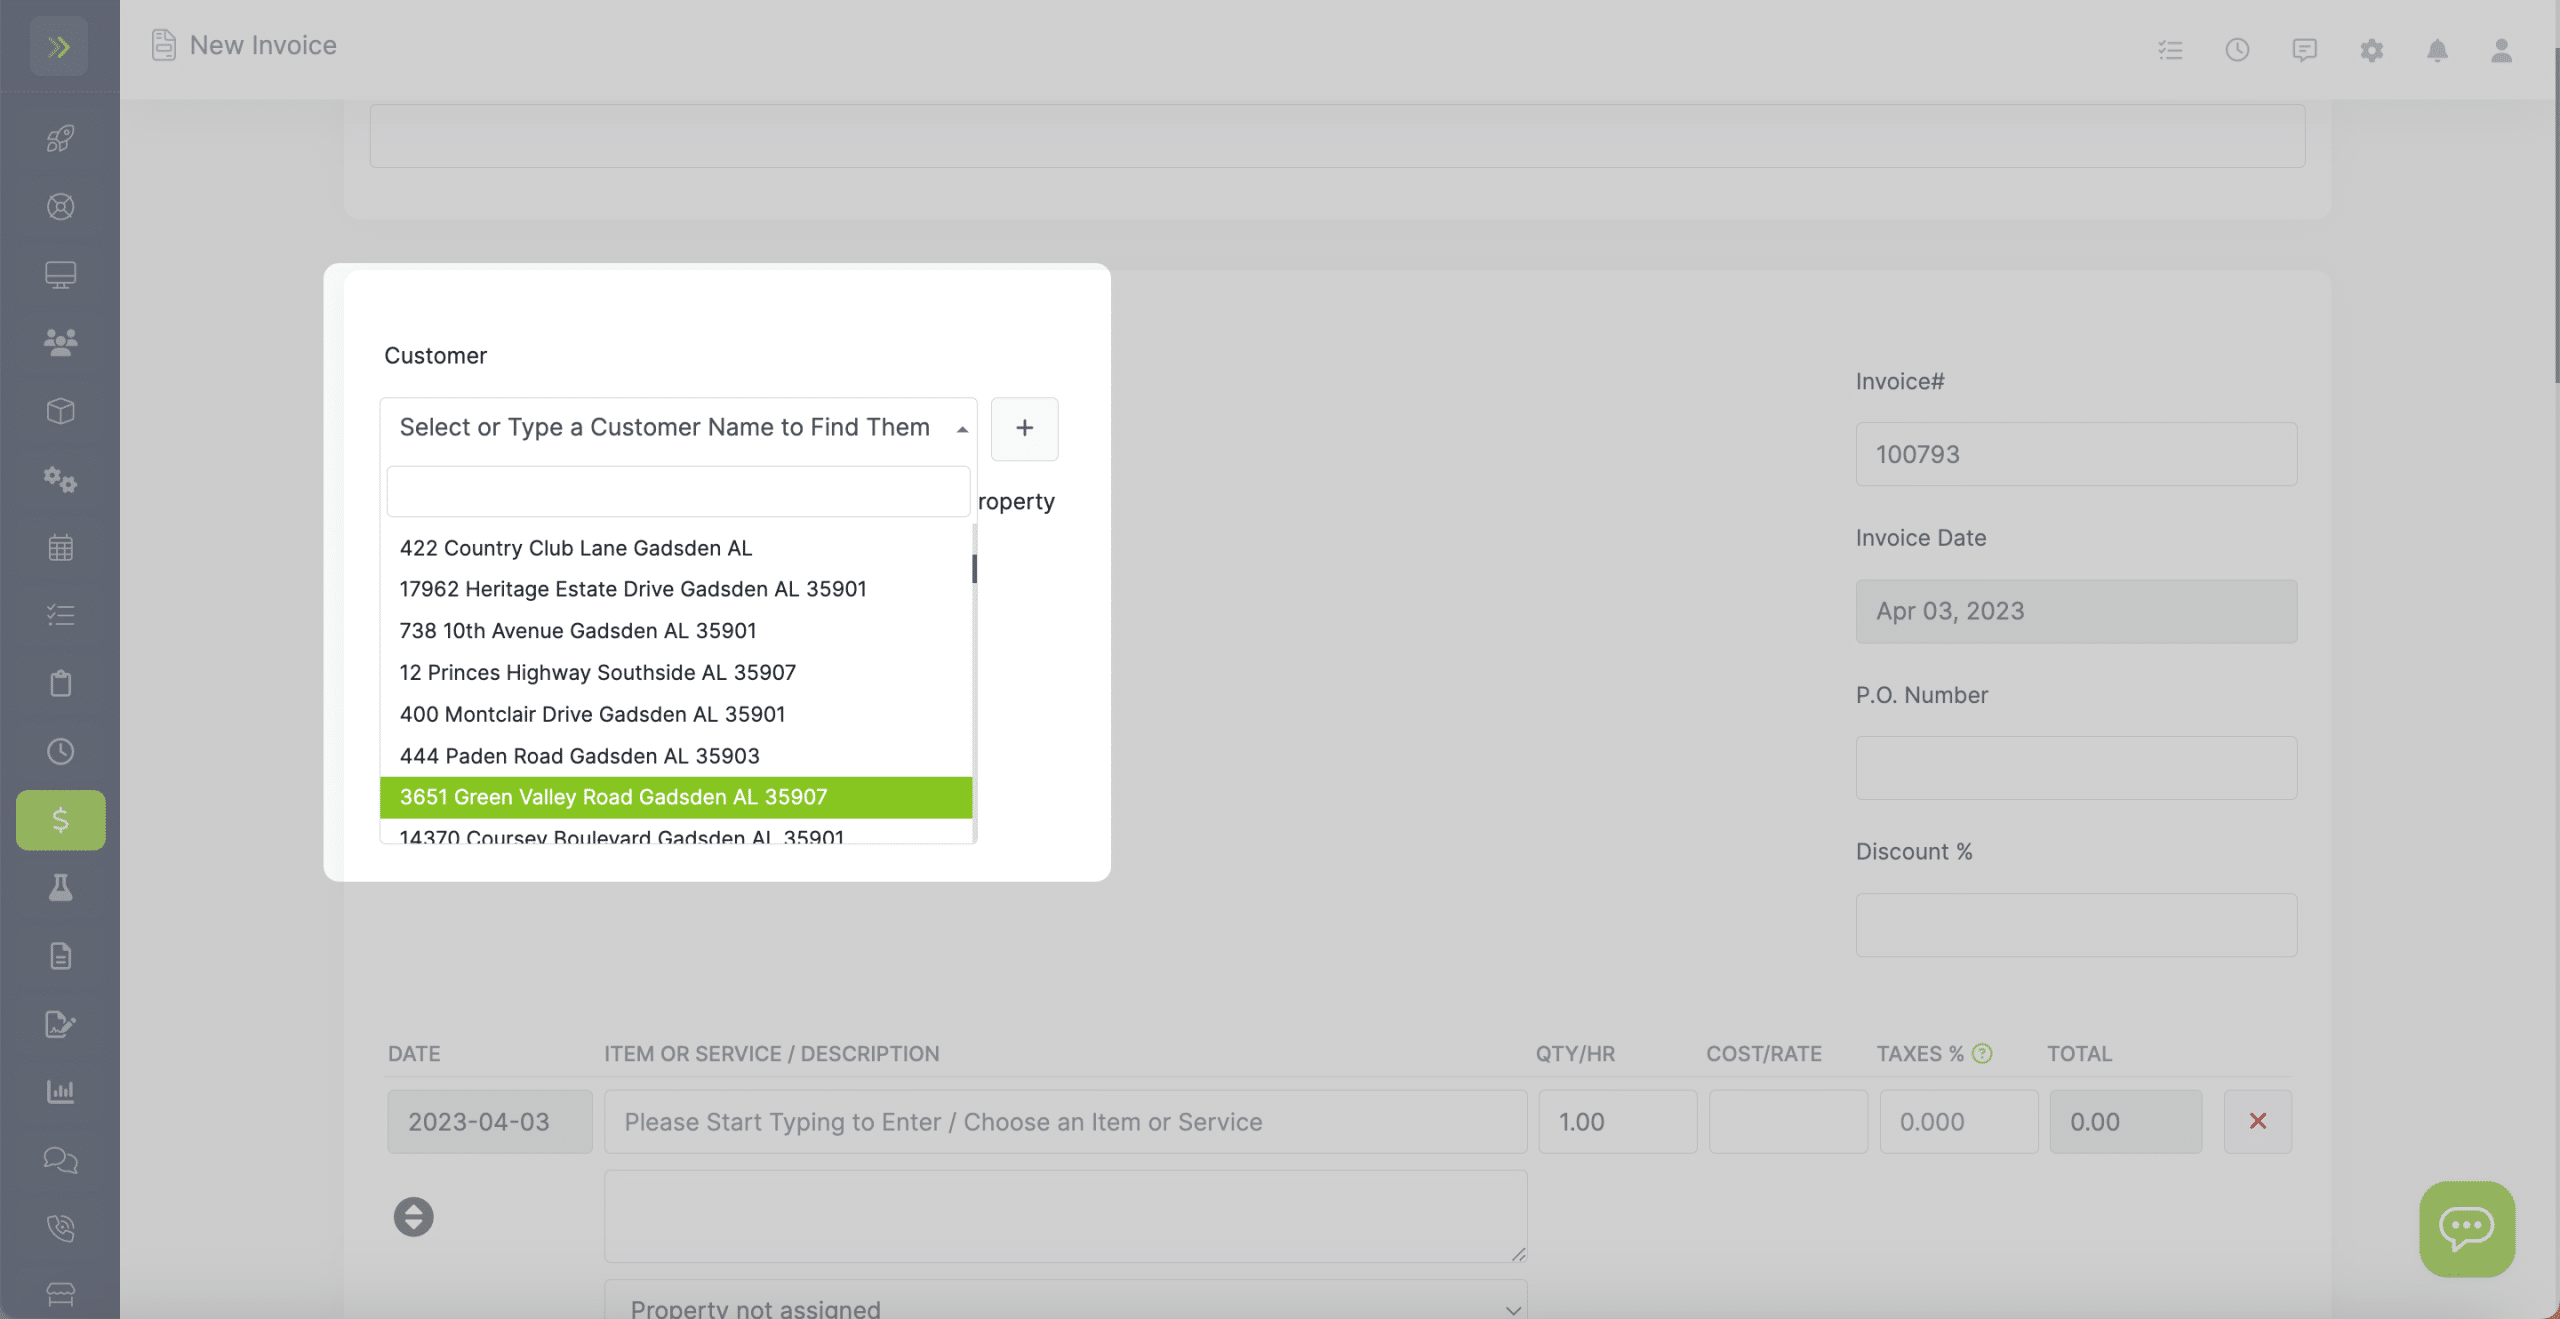
Customer List View Mode – This will show the customers name or name and address on the customer lists when searching for a customer.
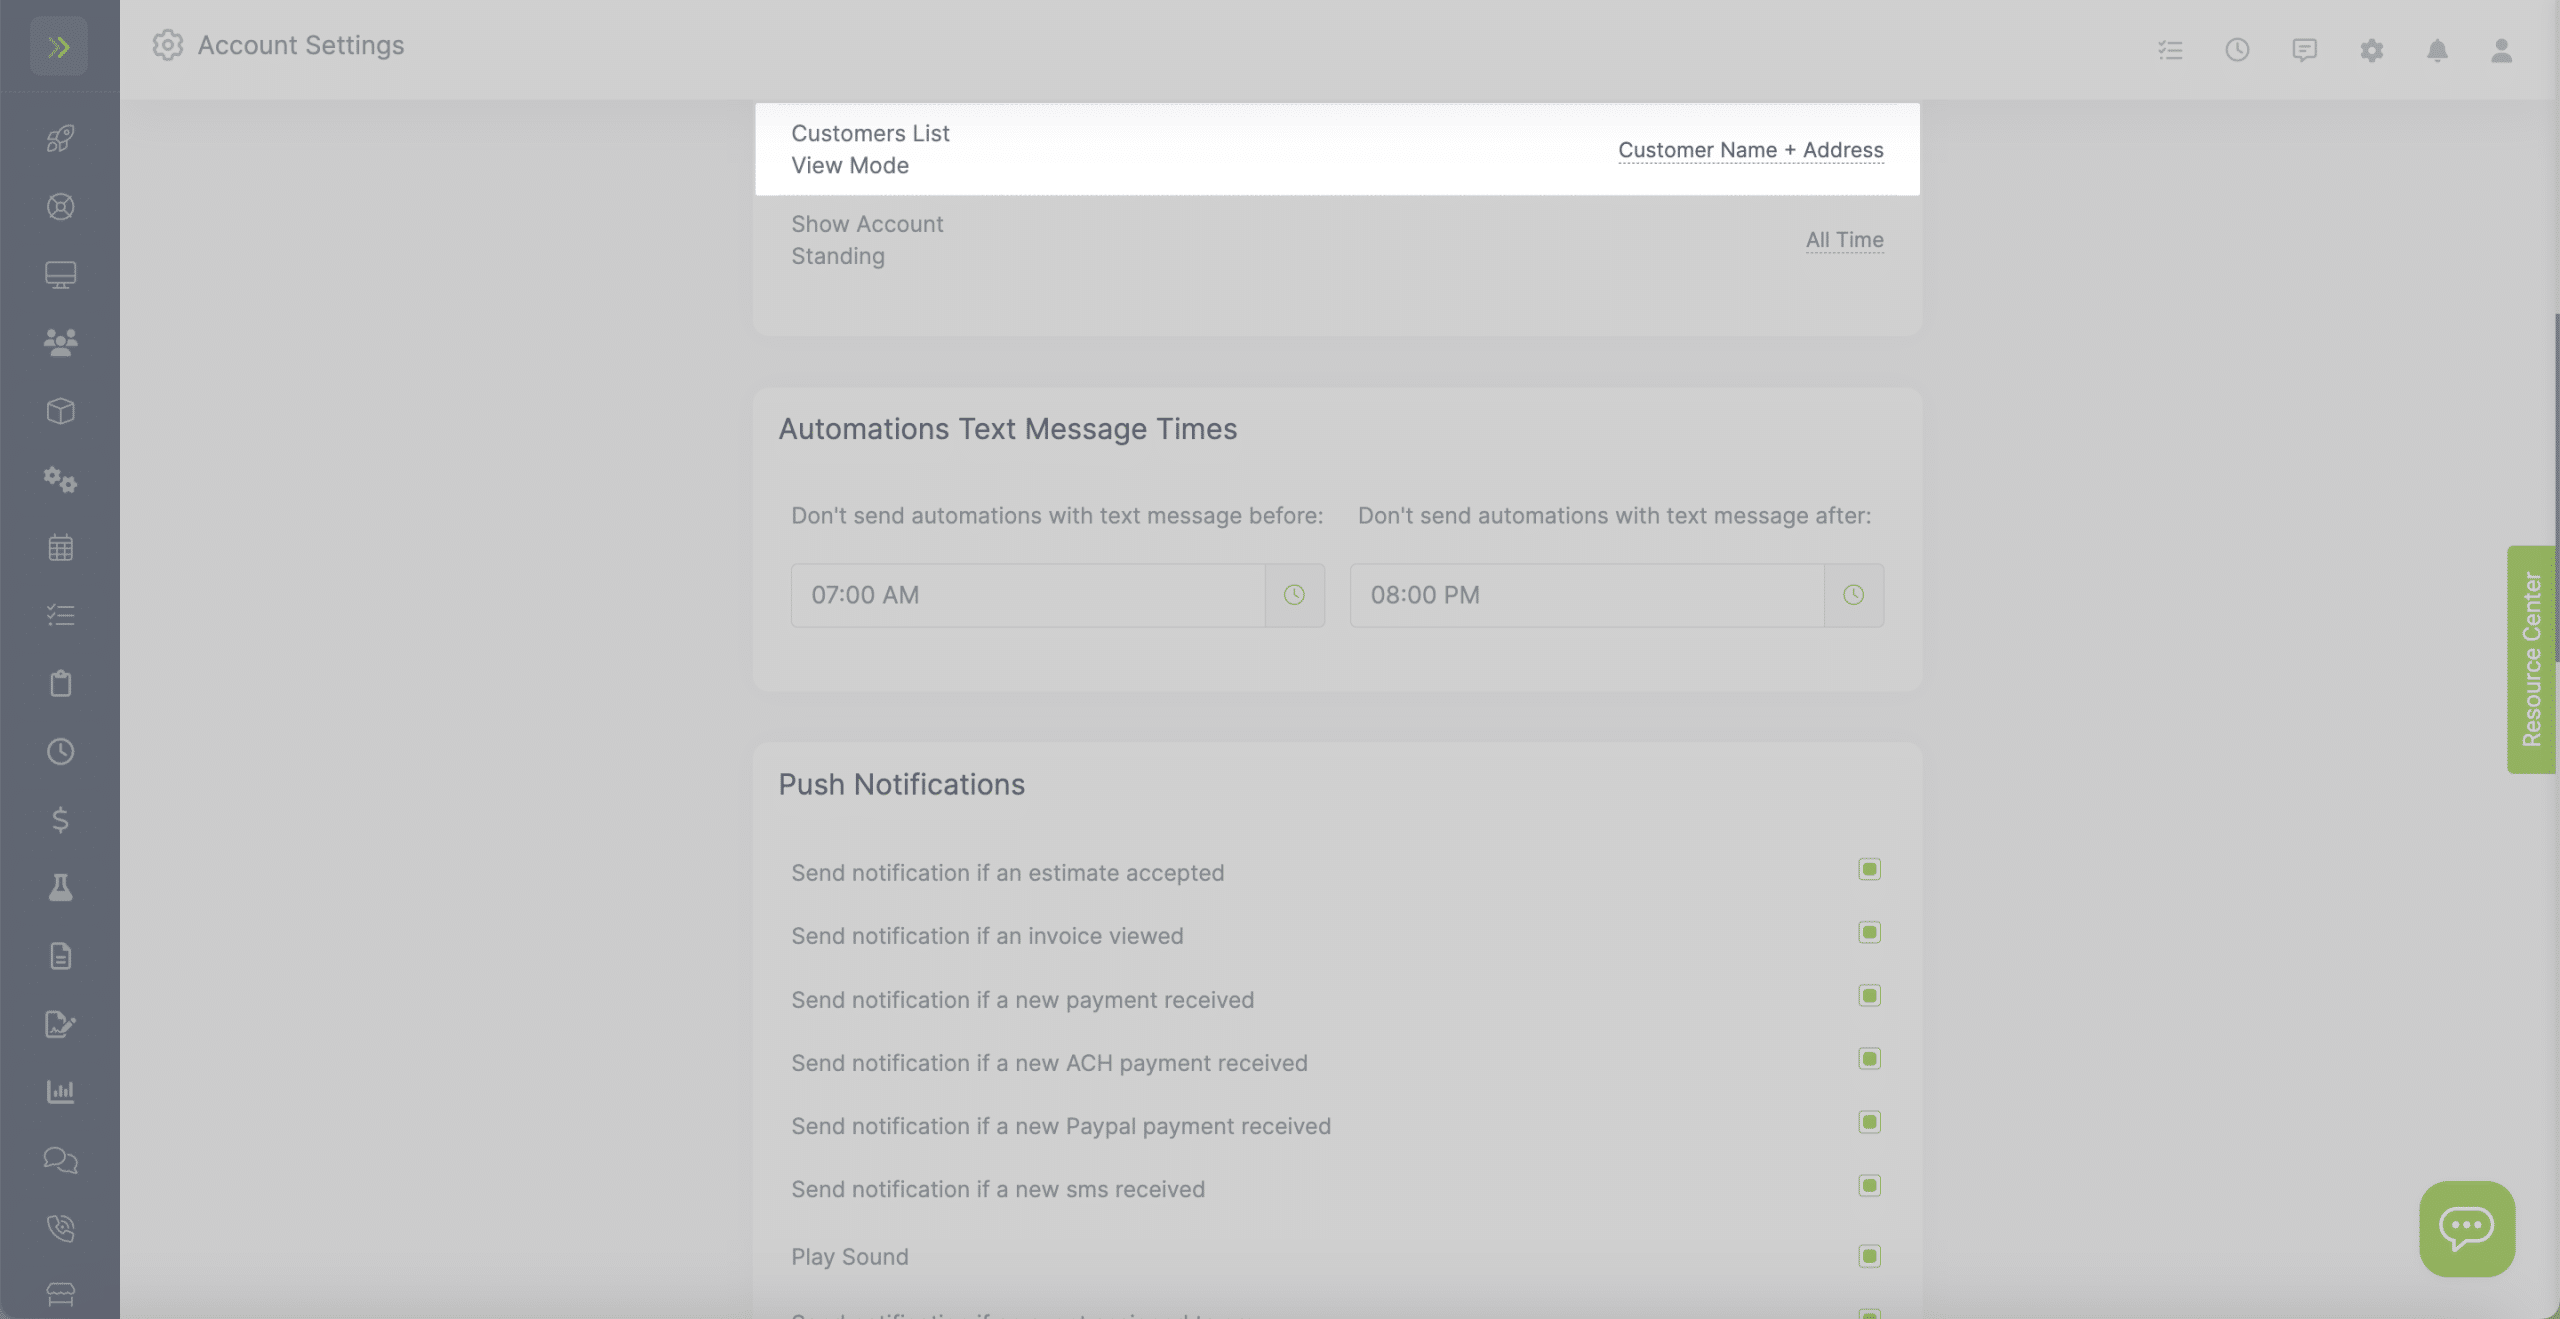
Here I changed the setting to only show only address and you can see when I go to search it only shows me the addresses:
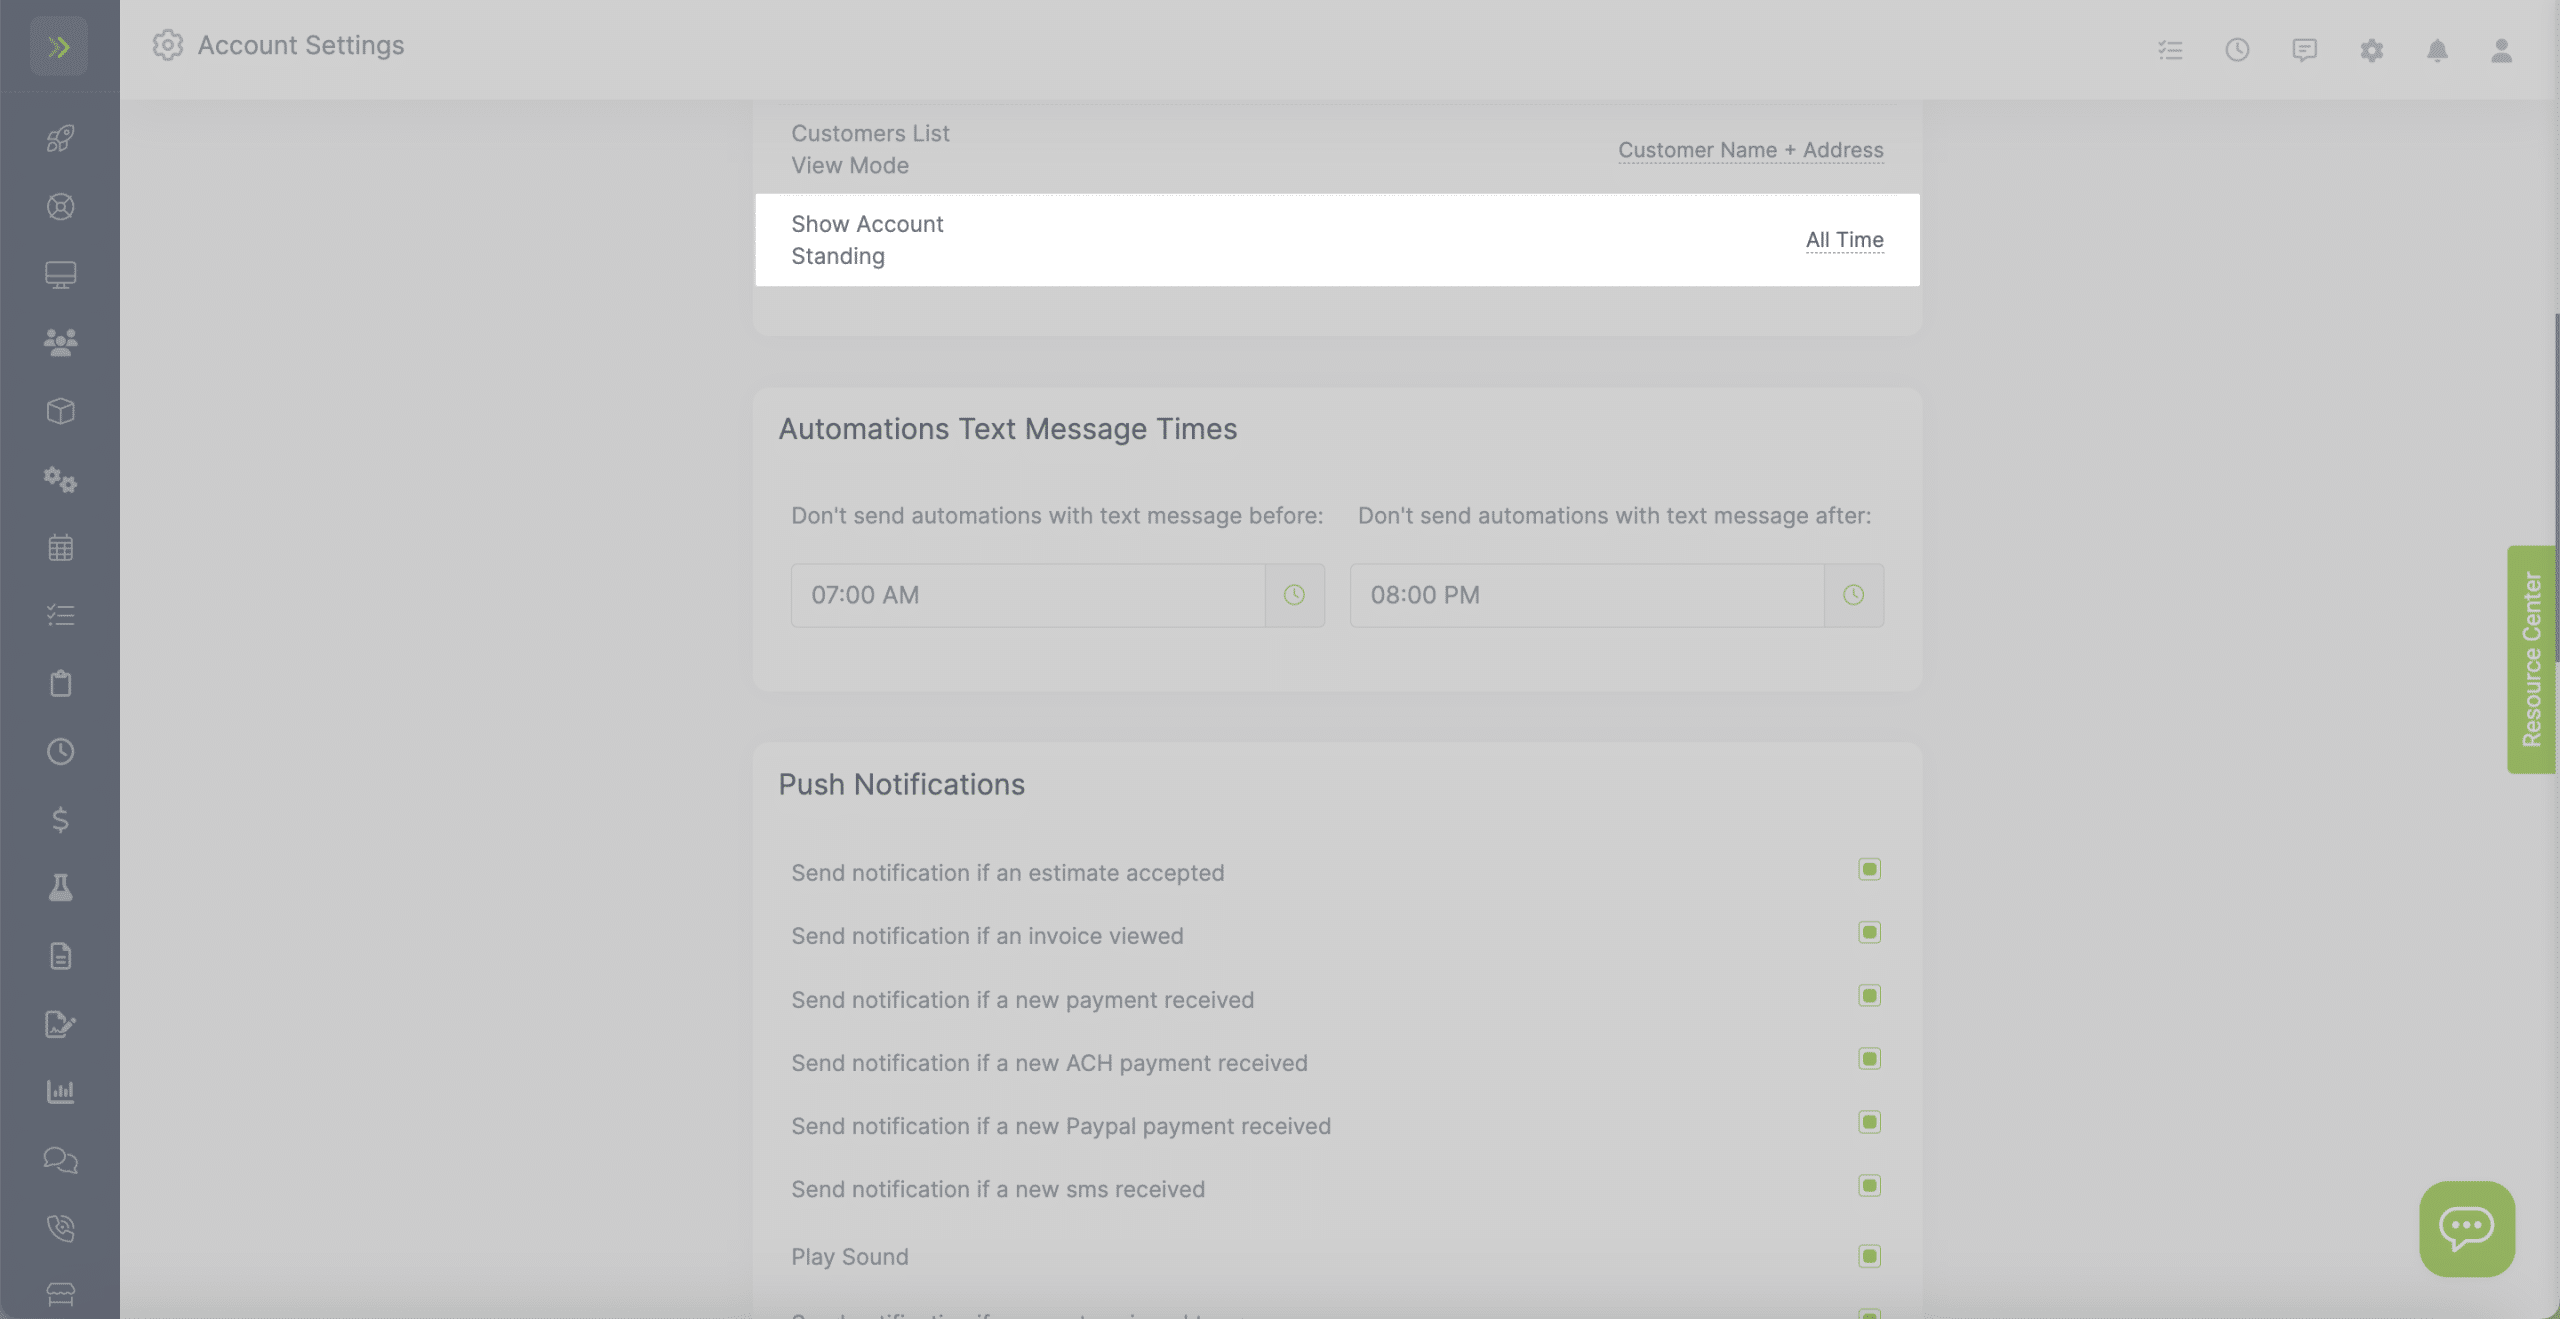
Show Account Standing – This will show customer account info for all time or just for the current year.
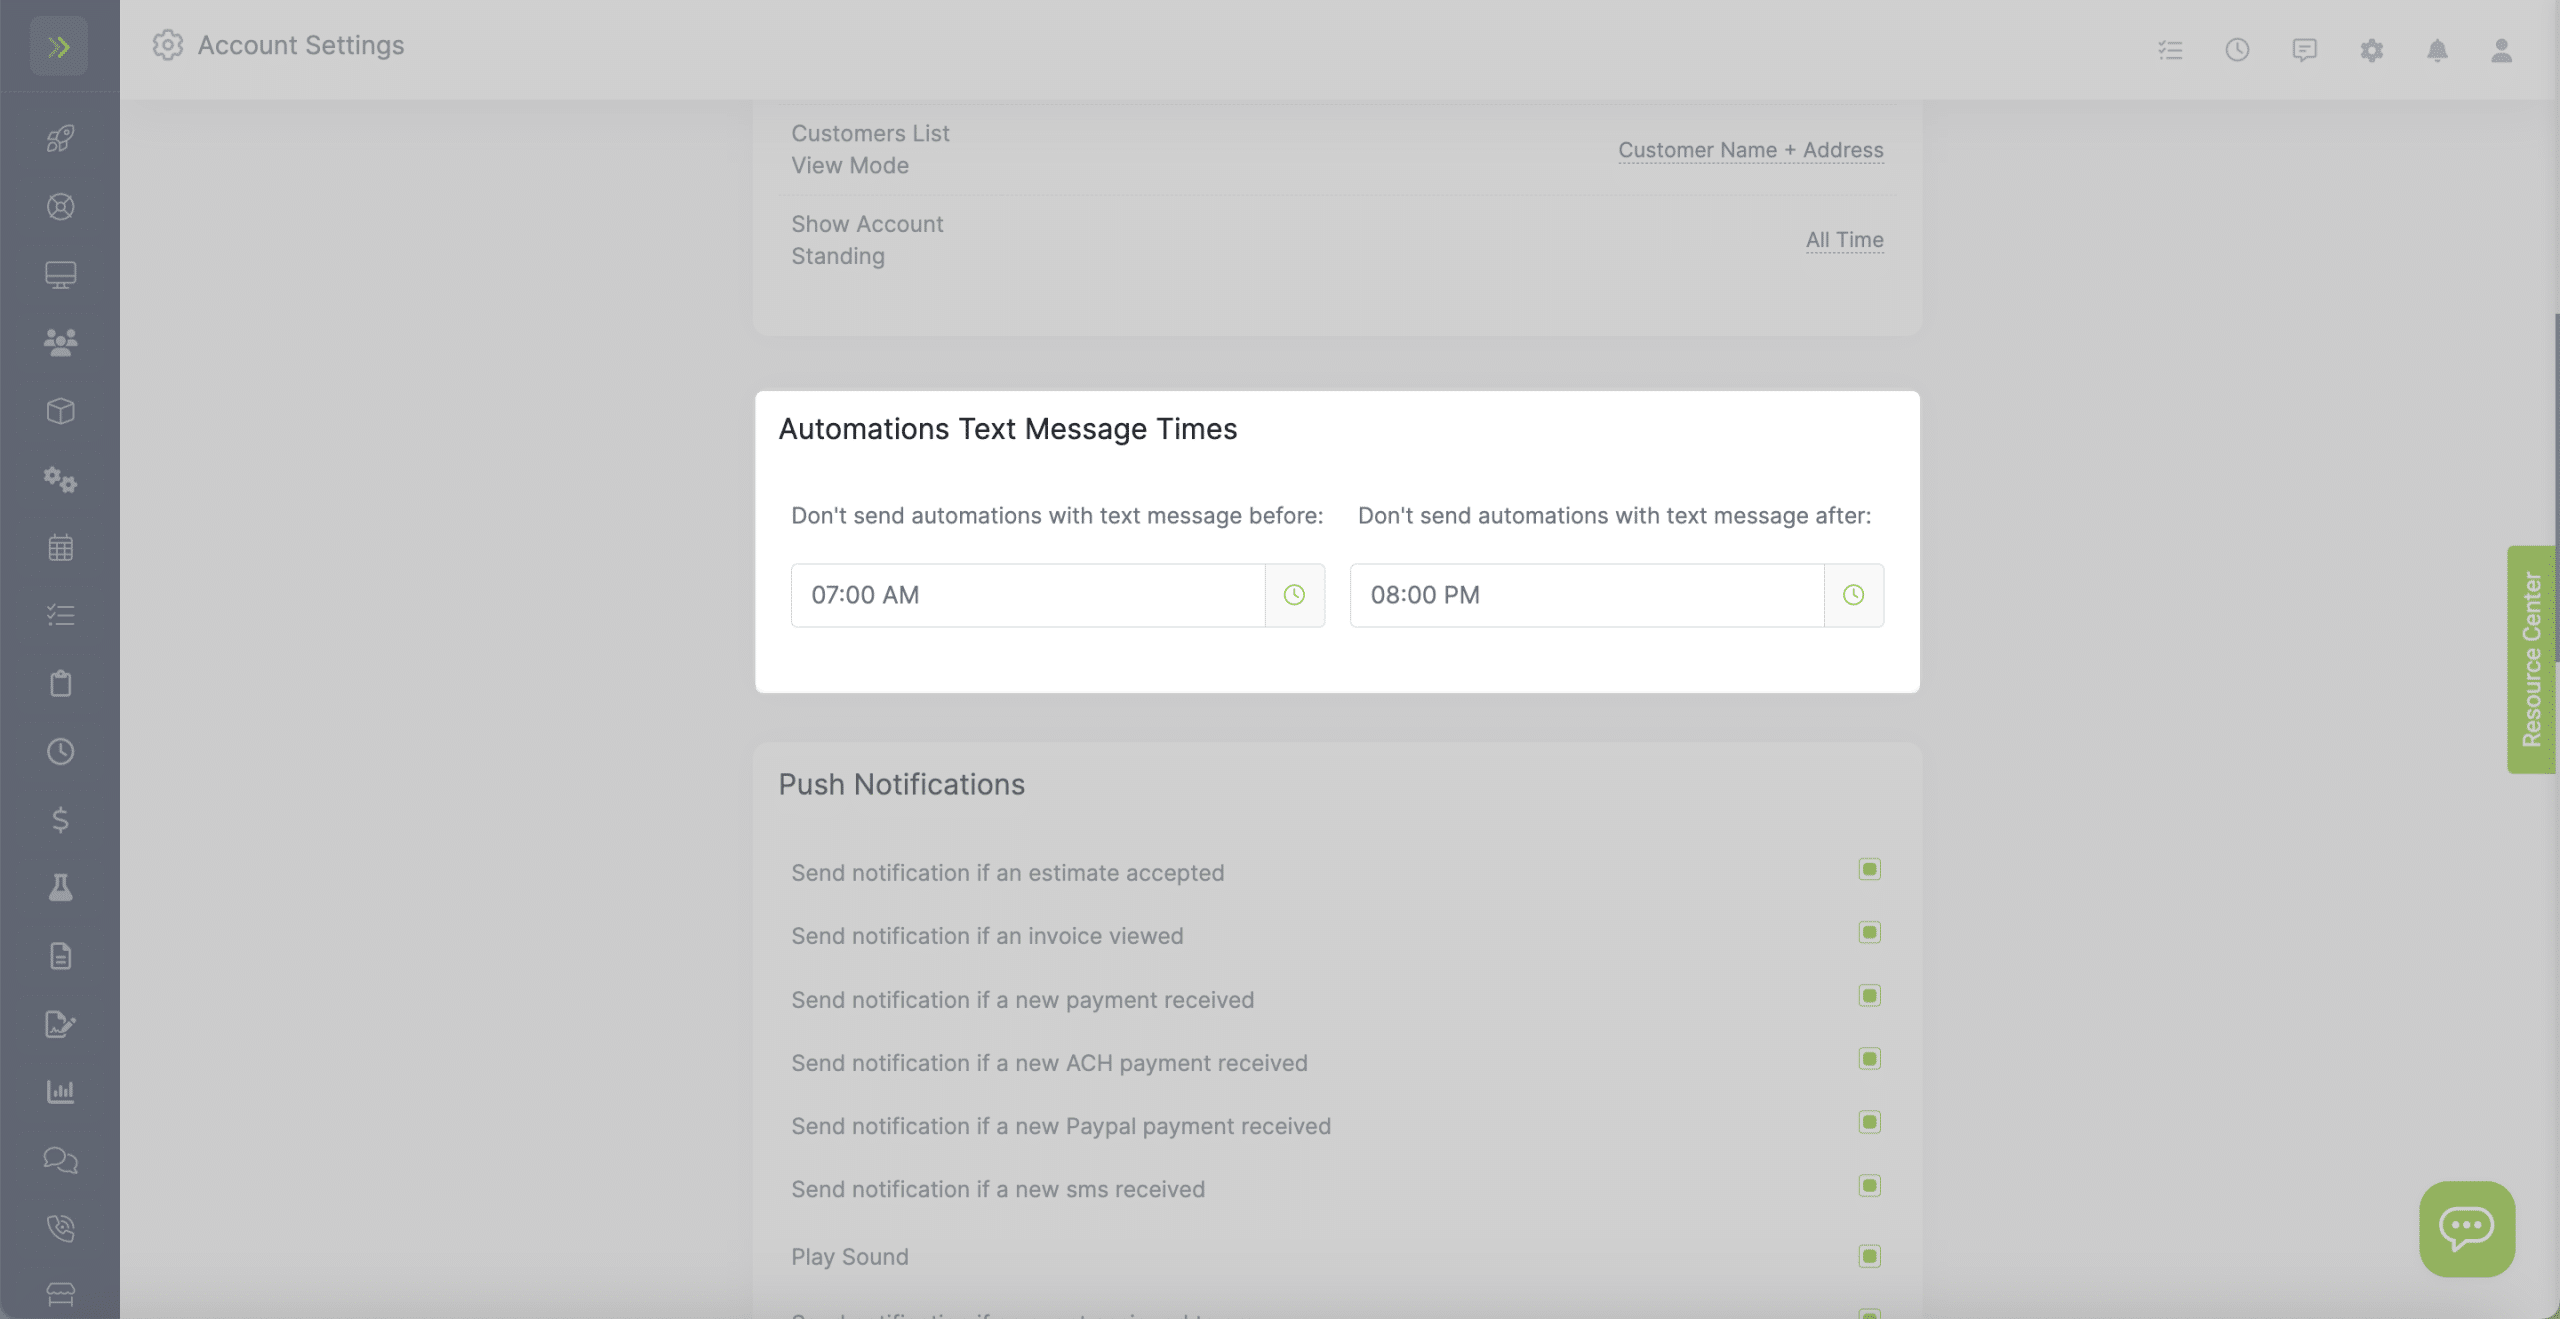
Automations Text Message Times – Set the times you do not want your automated texts to be sent before or after.
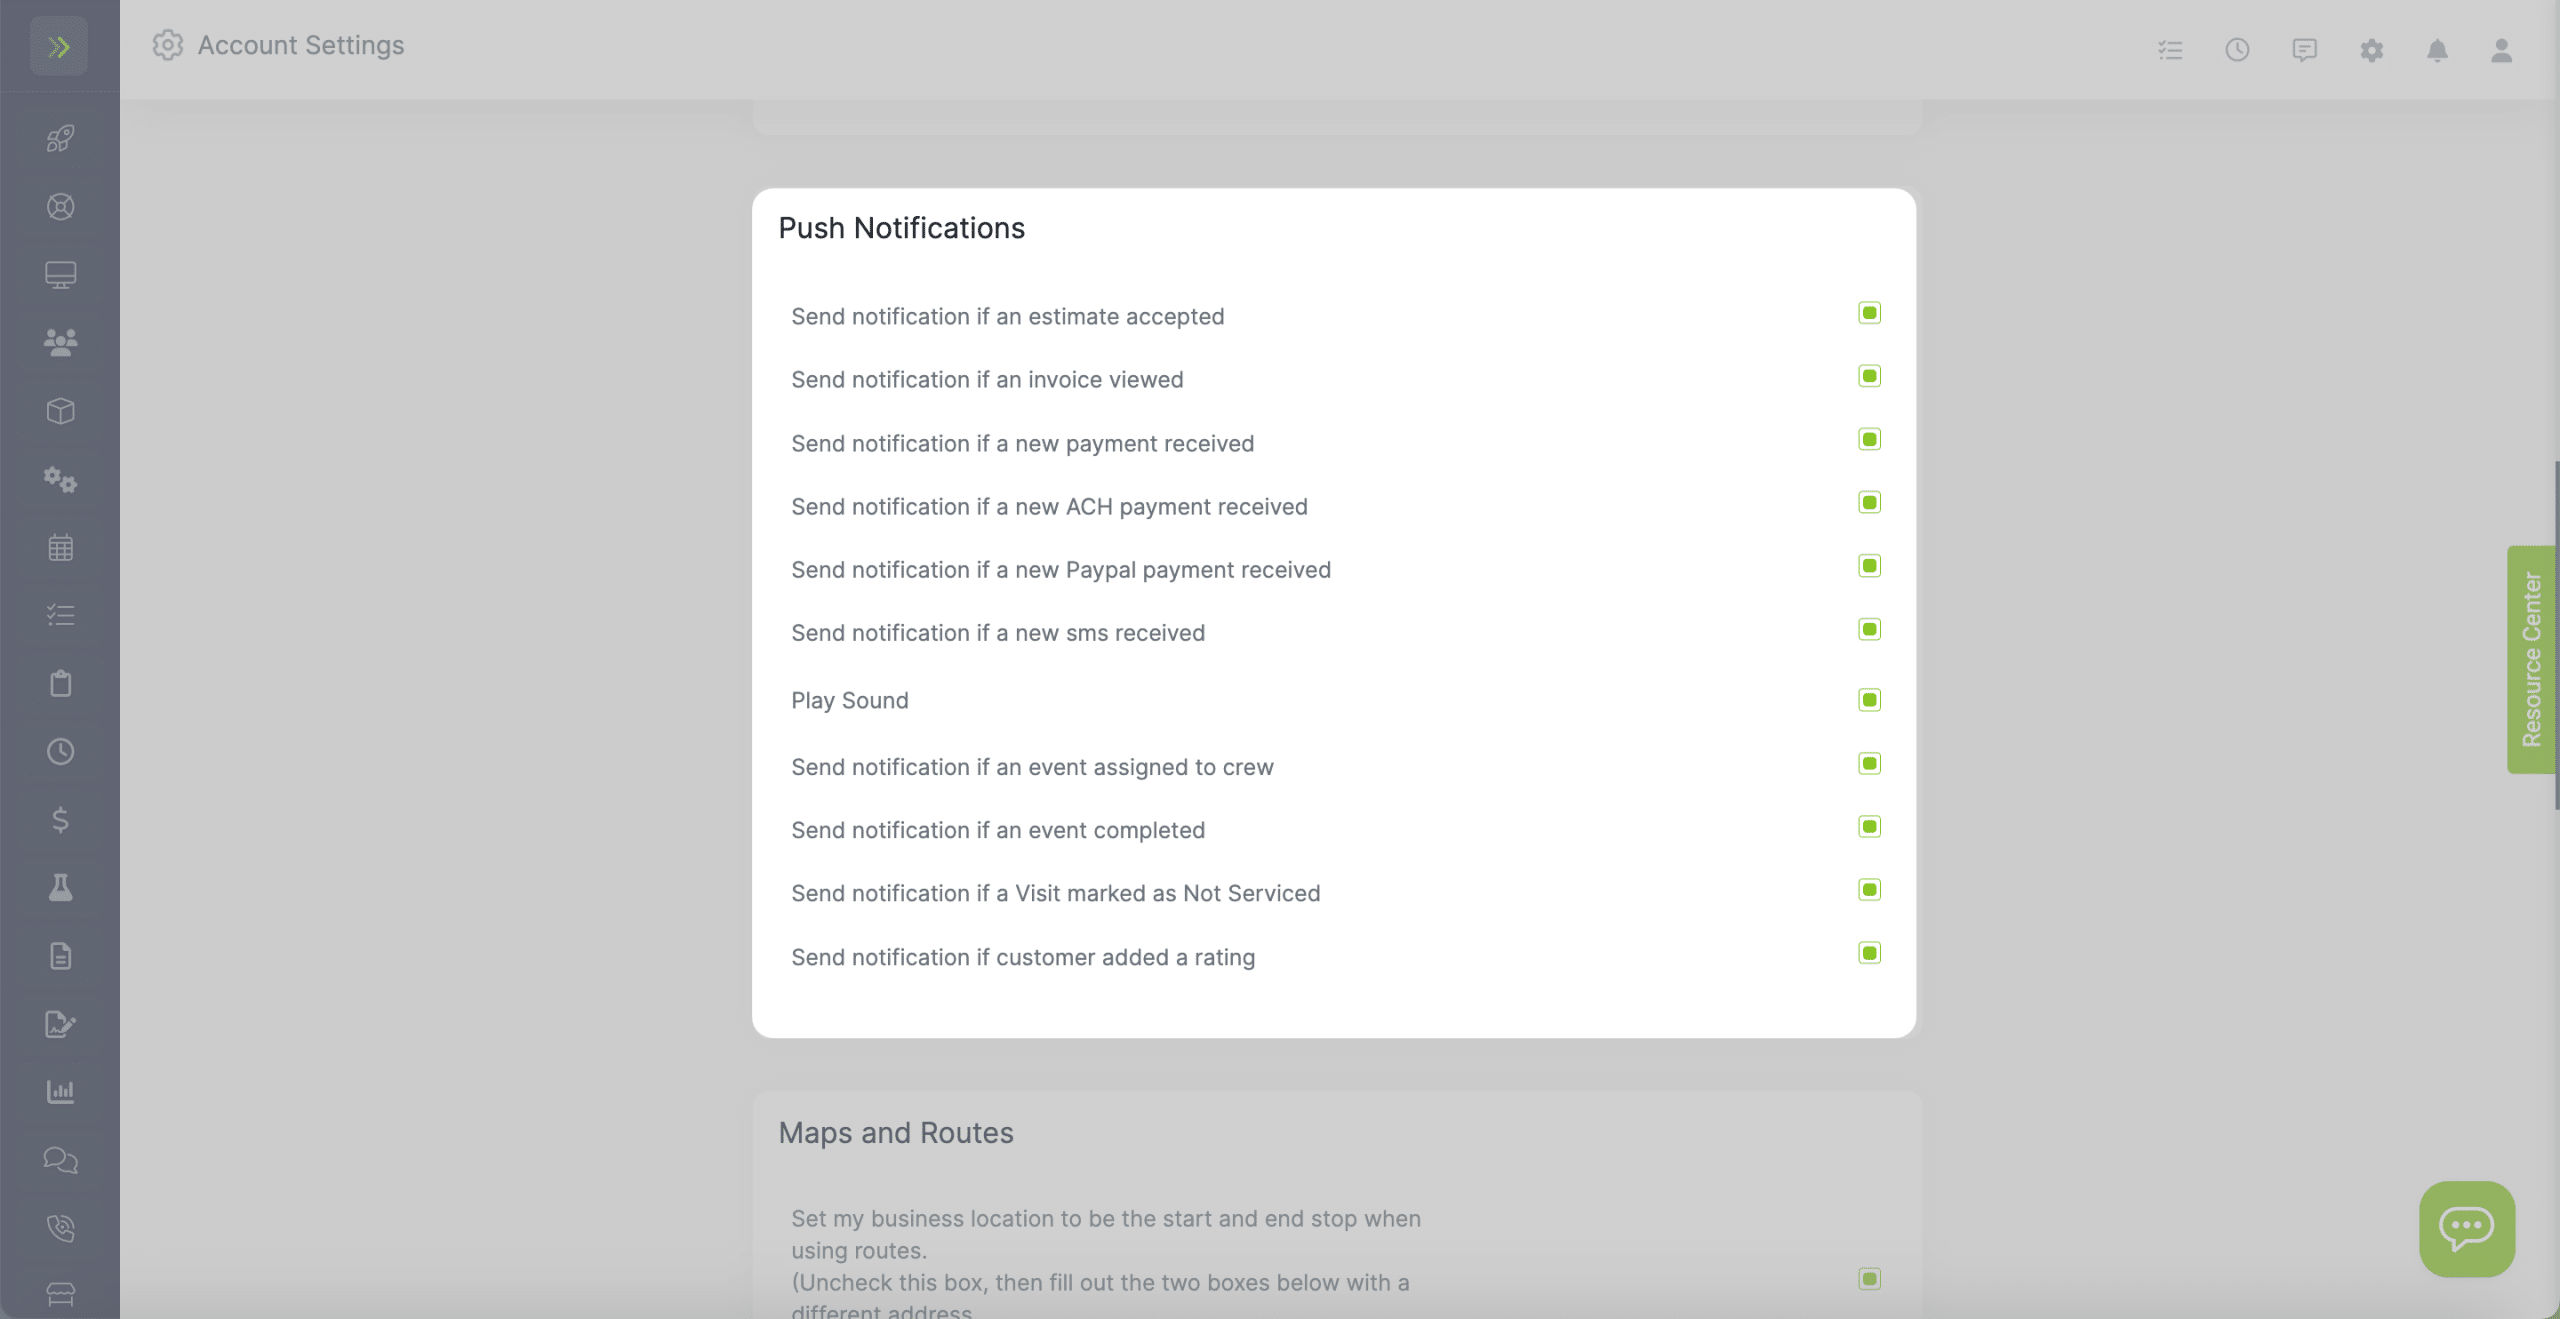
Push Notifications – Select which push notifications you would like to receive.
Maps and Routes
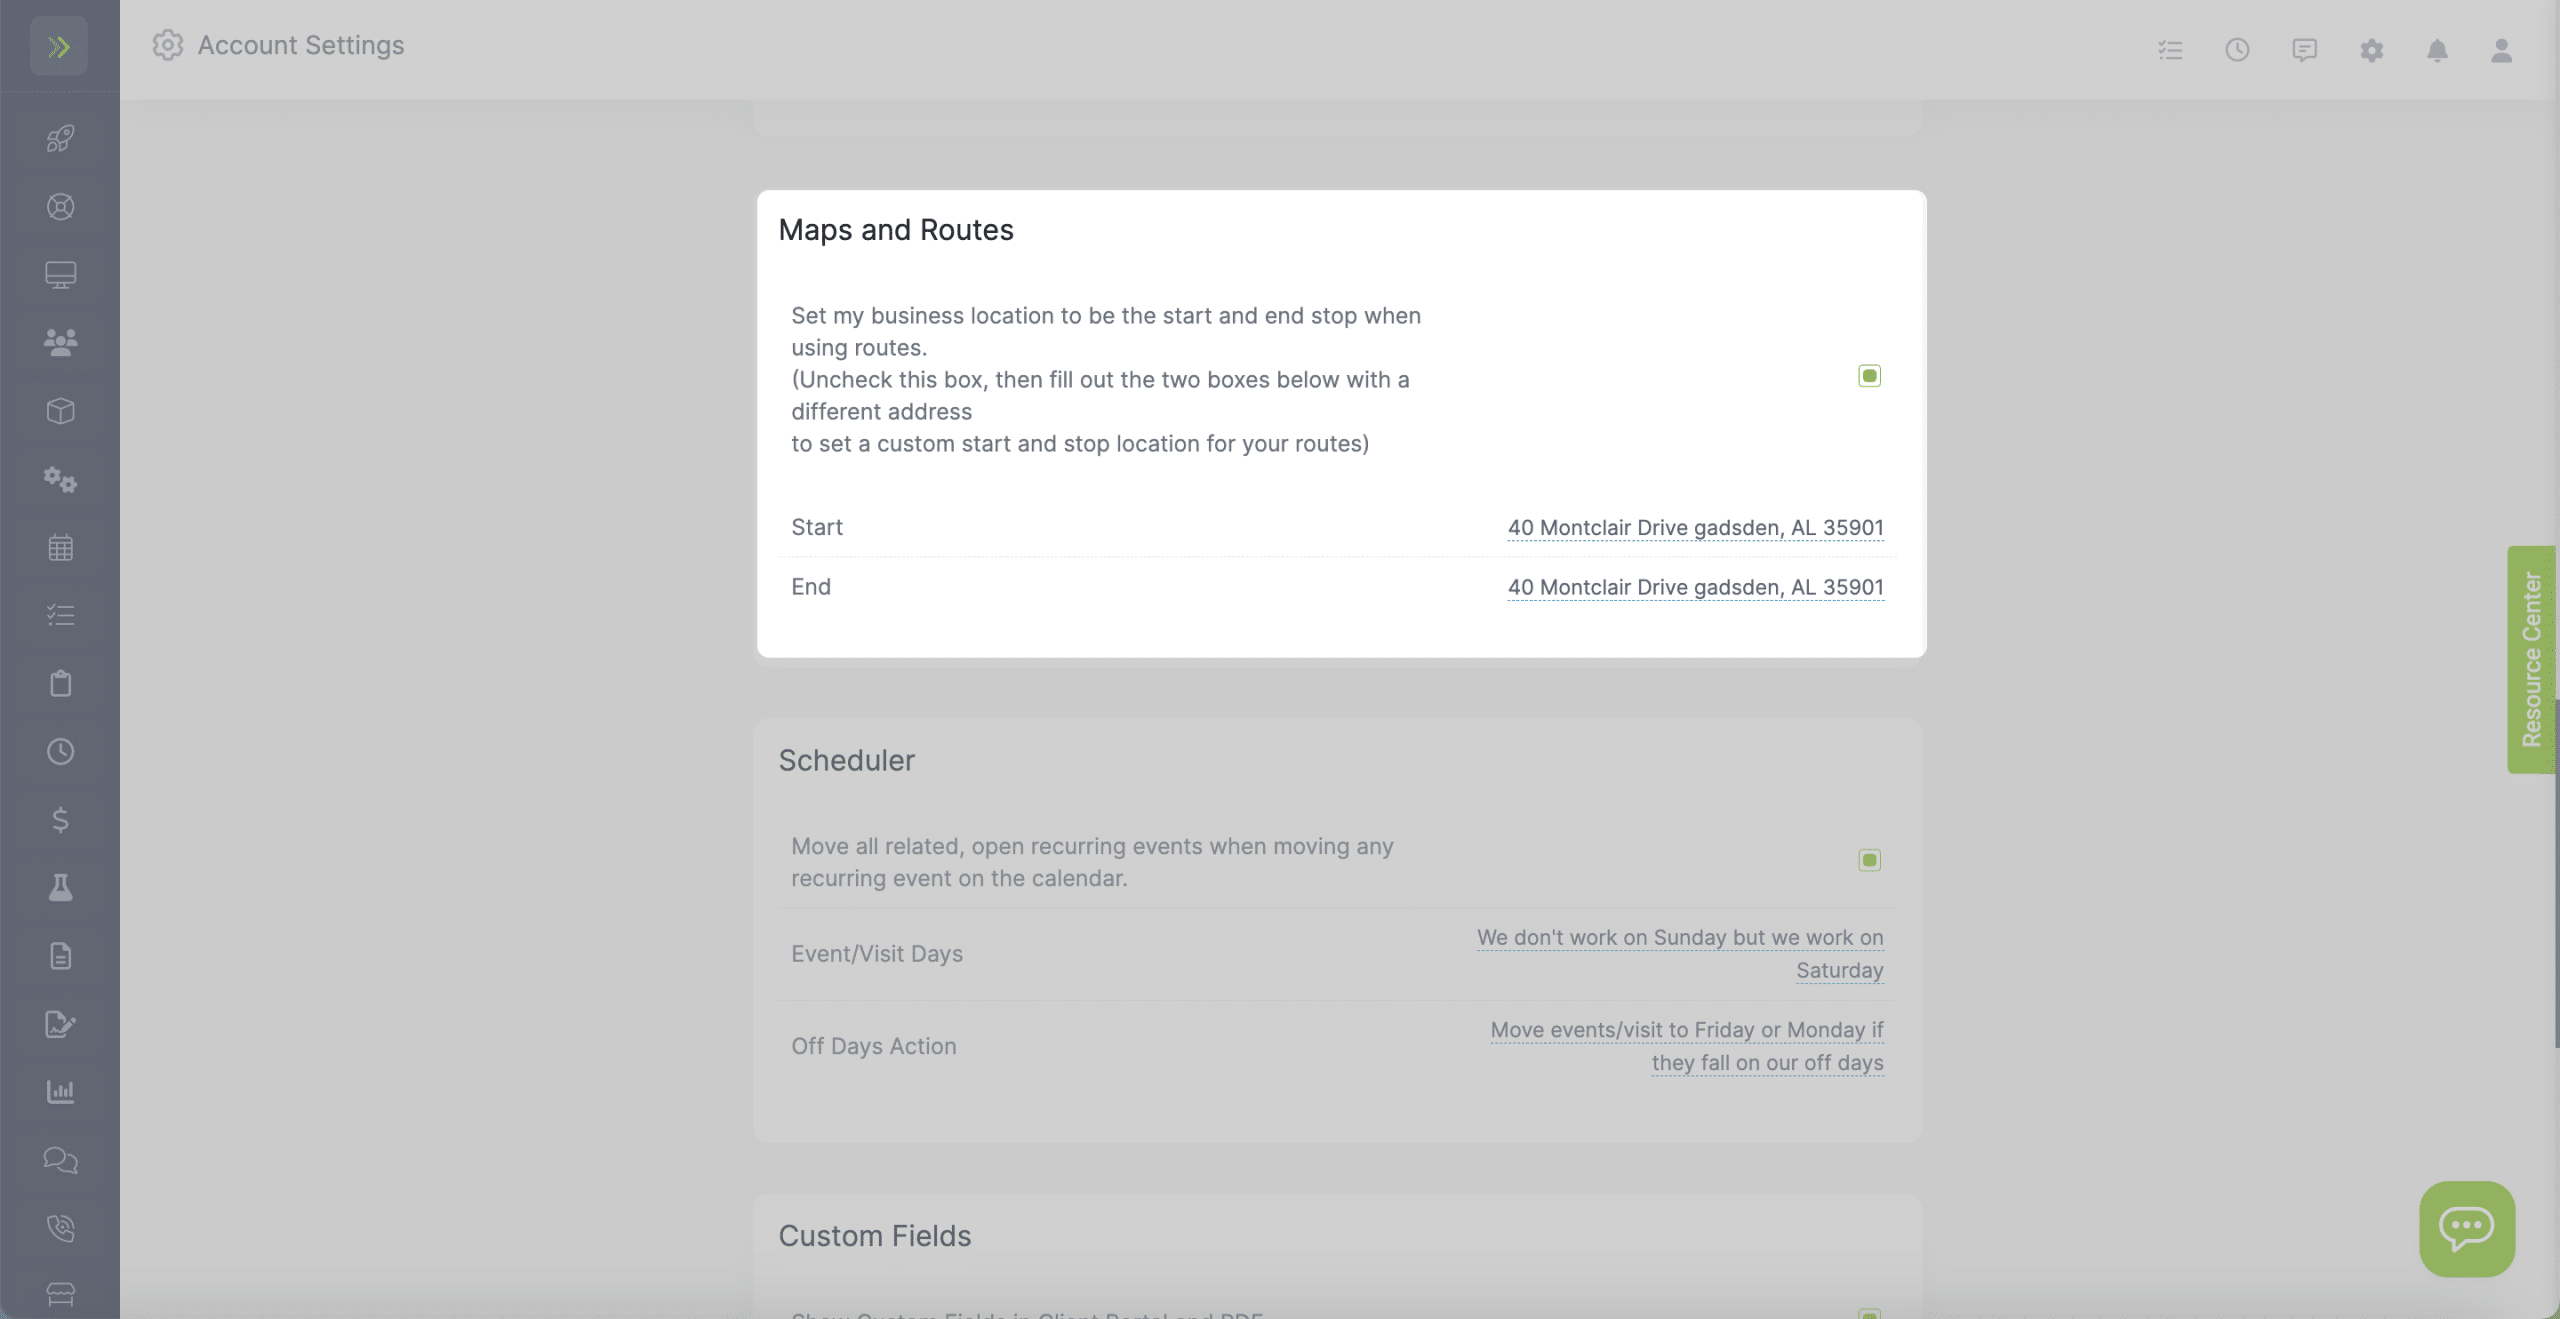
Here you can check the checkbox to set your business location to be the start and ending location of the routes.
You can leave this unchecked and set your own start and end locations.
Scheduler
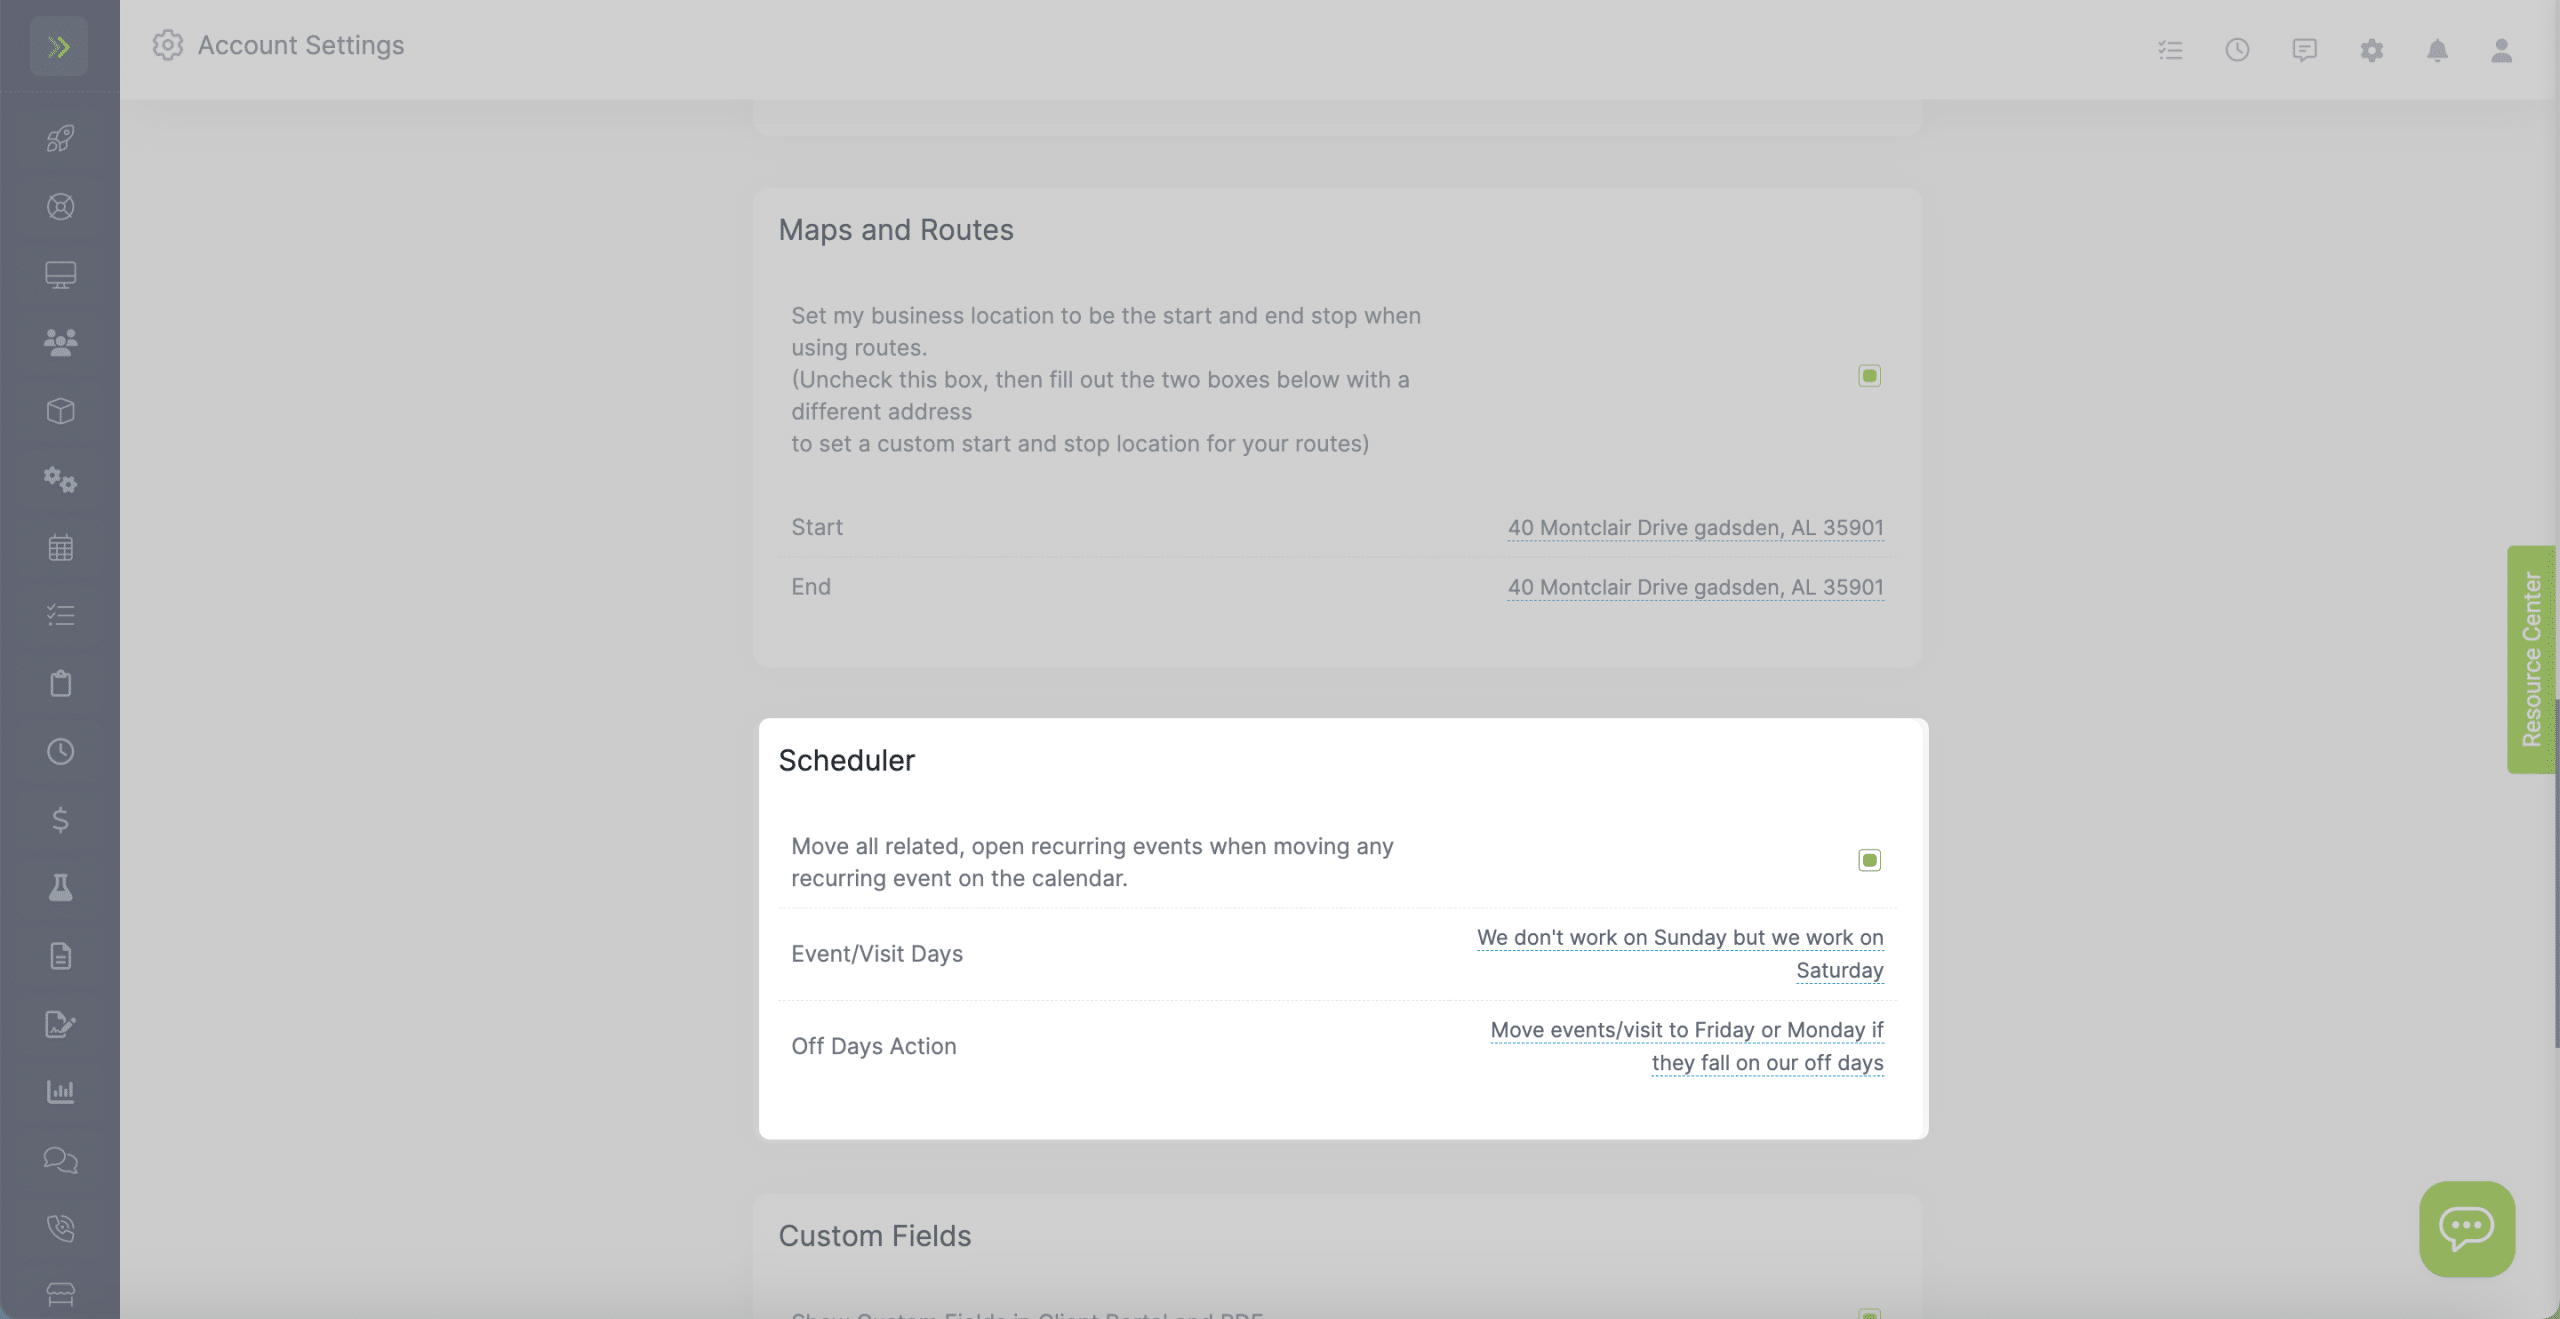
You can check the first box to move all related, open recurring events when you move a single recurring event.
There is also a setting to which days the scheduler is allowed to put your visits on.
You can choose to allow it to schedule every day of the week, every day but Saturdays, everyday but Sundays, or everyday but Saturday and Sunday.
You can also tell it what to do on your off days.
Custom Fields
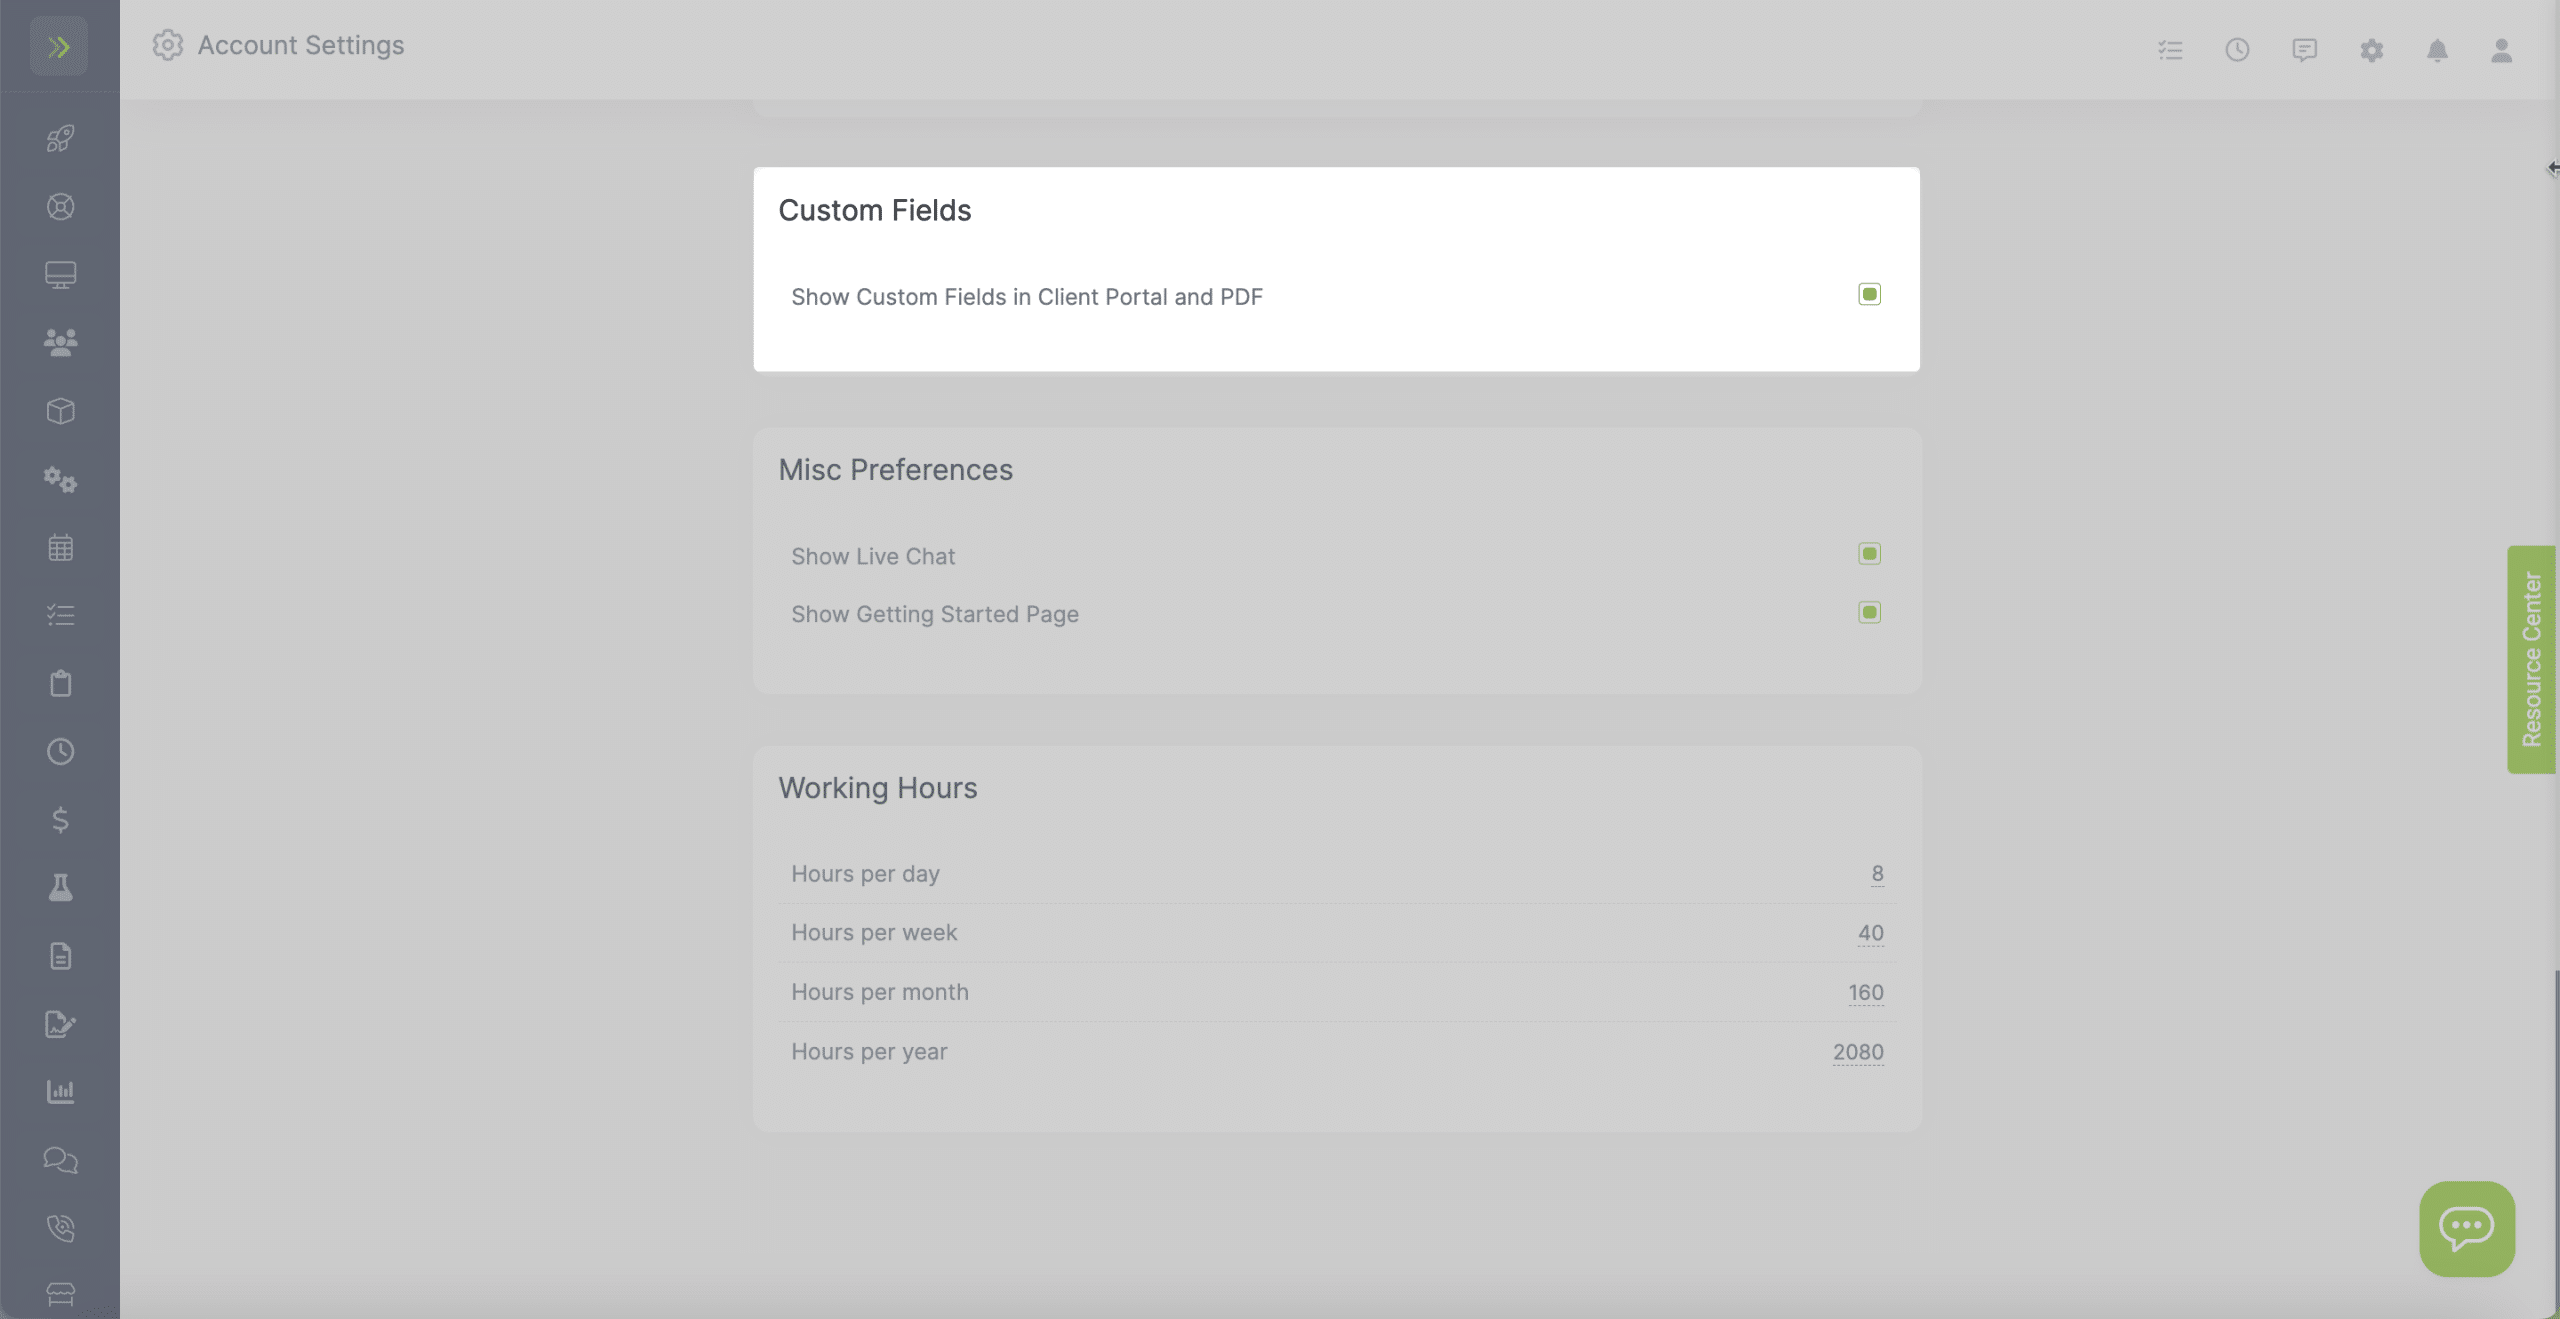
Select whether you want your custom fields to show in your client portals and on pdfs.
Misc Preferences
You can check these boxes to show or hide the live chat icon and getting started pages.
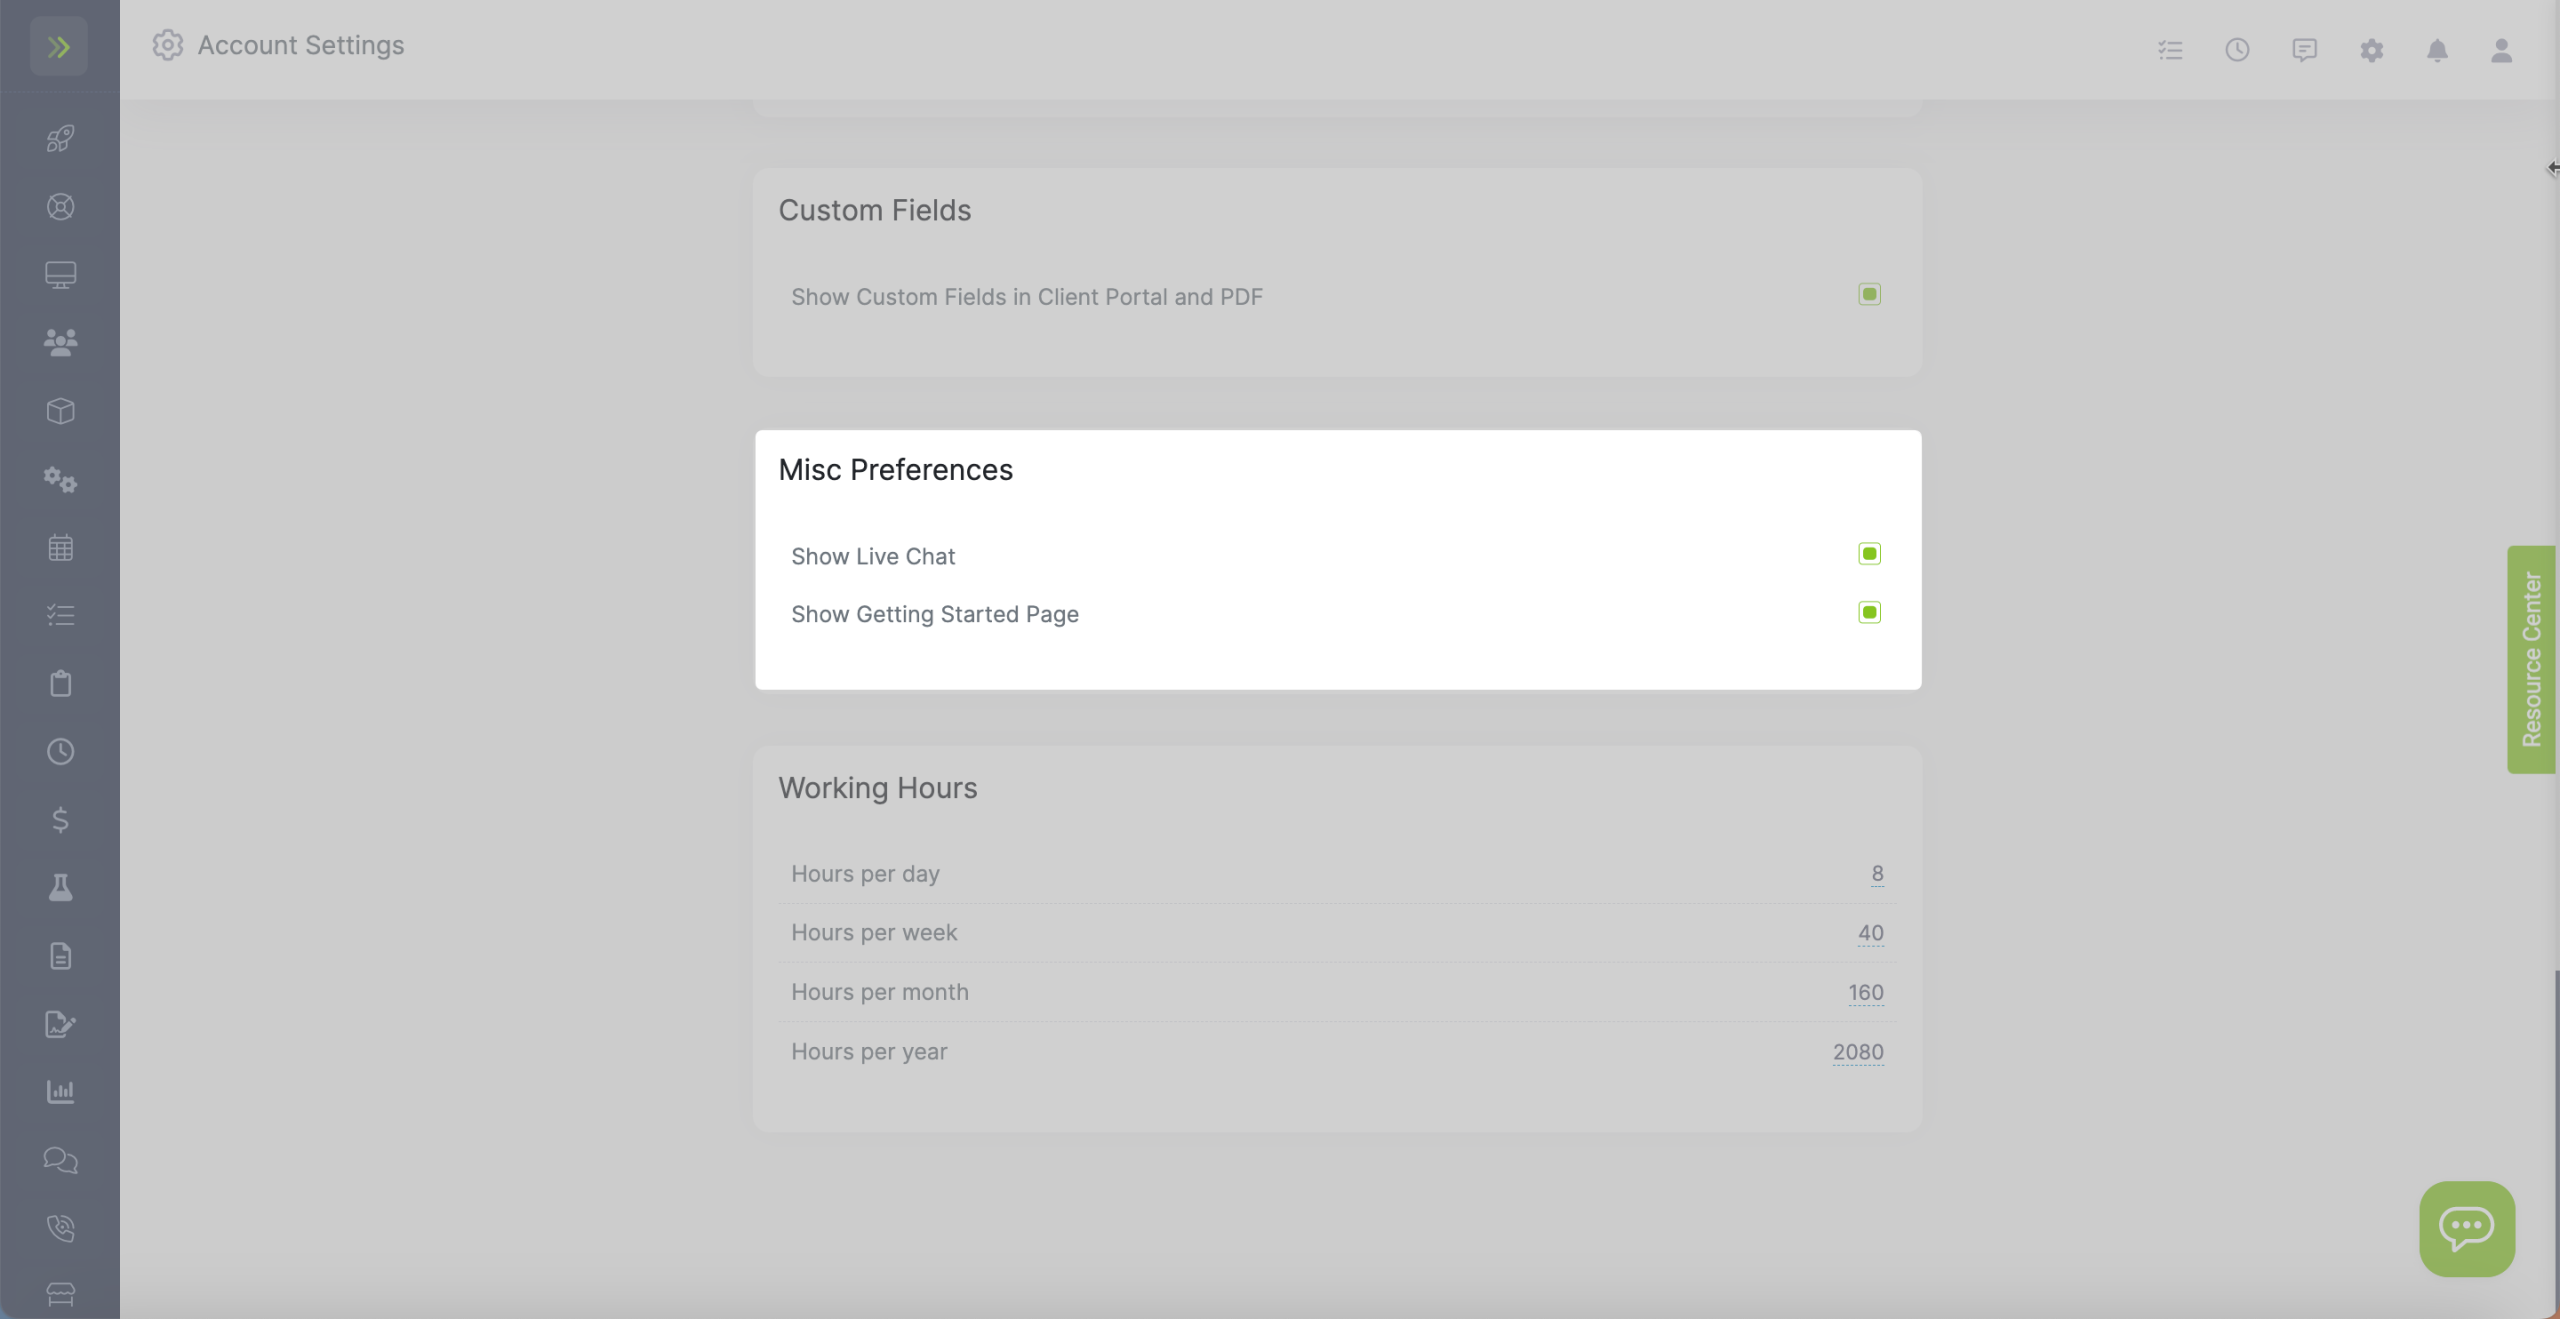
Working Hours-
Last, you can set your working hours.
