Your LawnPro account comes with several automations already set up, and you can add your own. An automation has three main parts: the Trigger Condition (what starts it), the Run Time (when it runs) and the Action (what it does).
Open a new automation
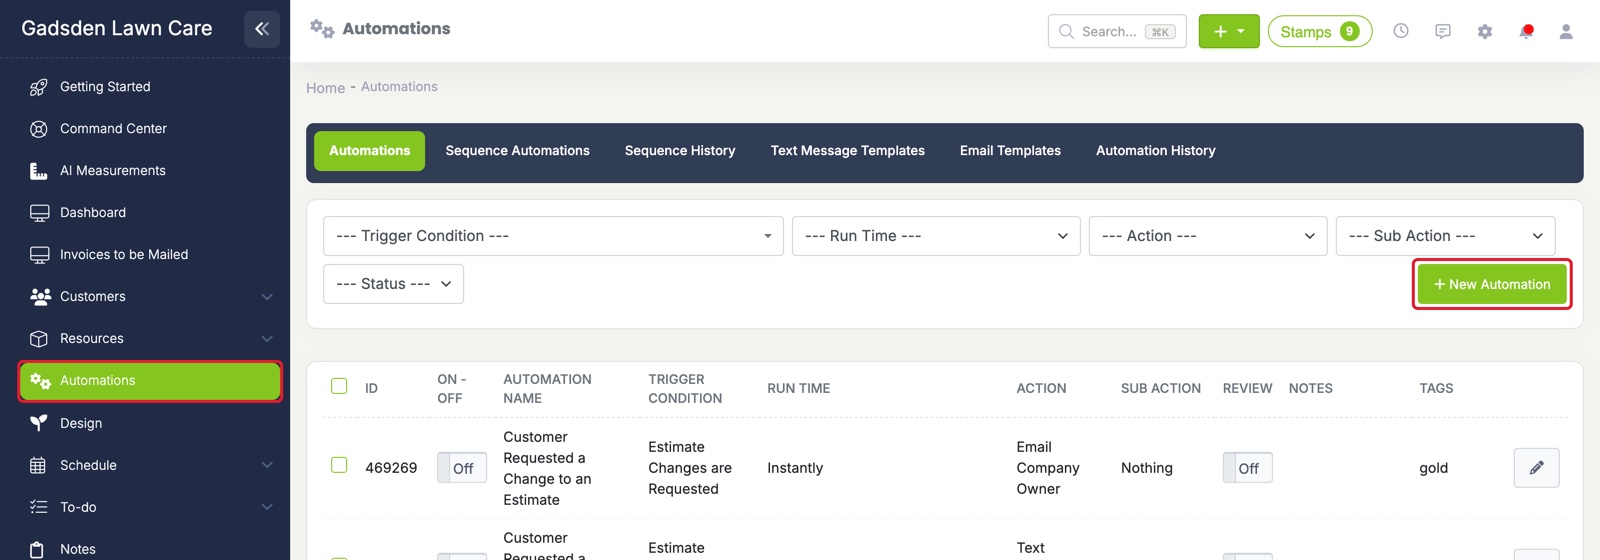
- Click Automations in the side menu.
- Click the green + New Automation button.
Name it and pick the trigger
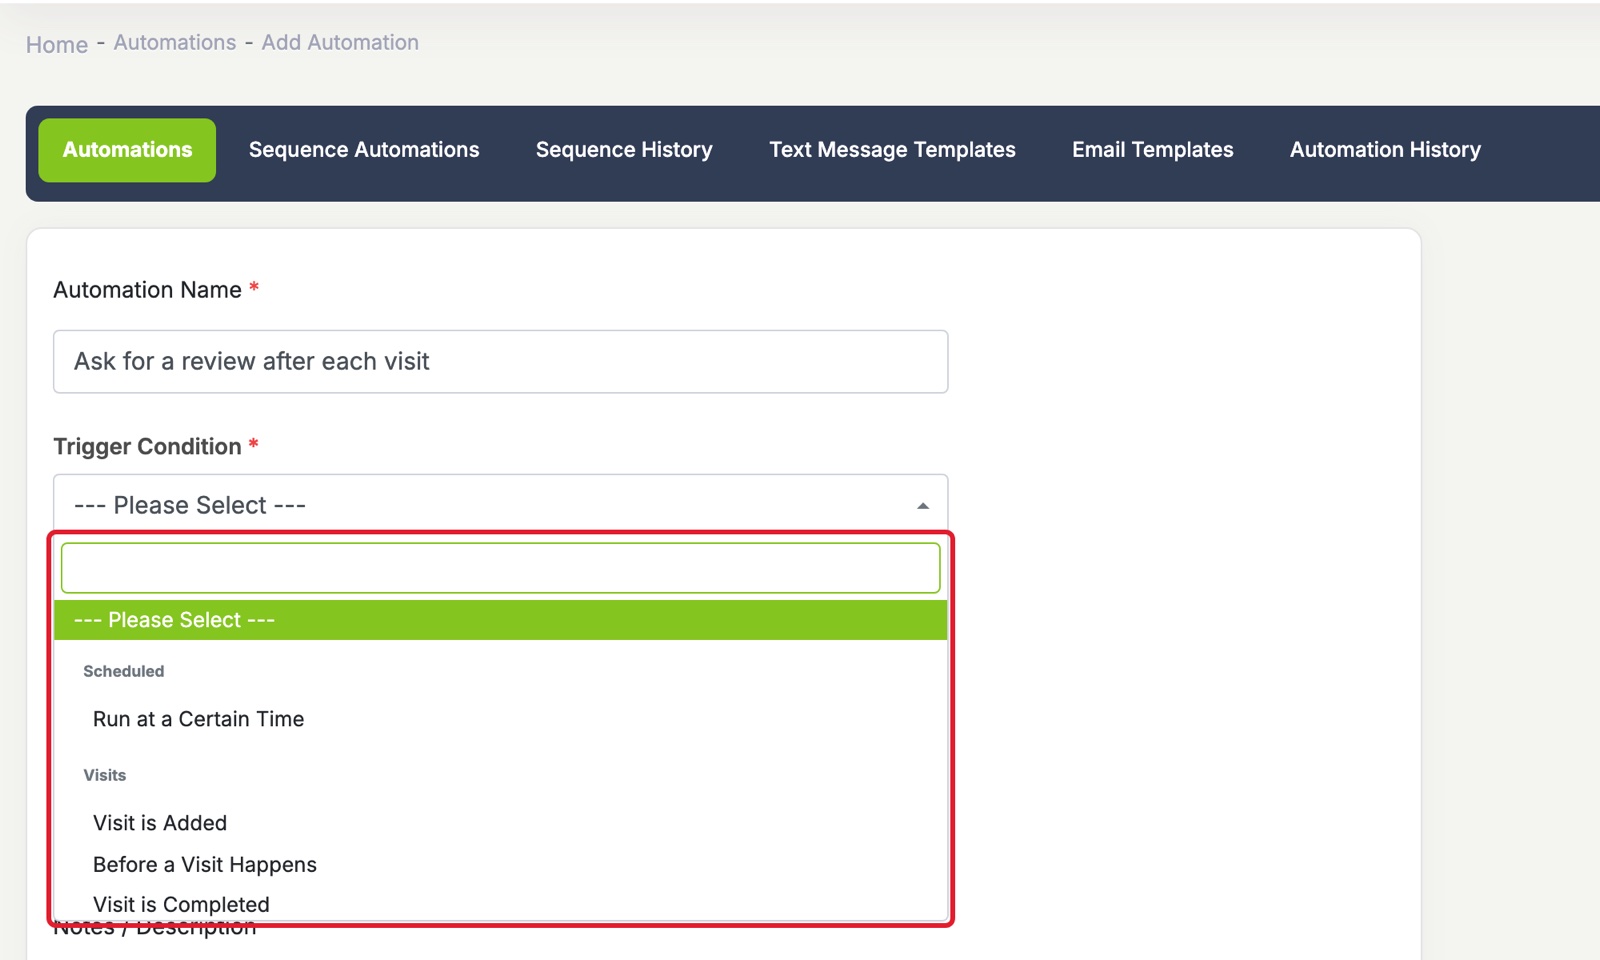
Type an Automation Name. Only your team sees it.
Then click the Trigger Condition box and pick what starts the automation, for example Visit is Completed. The triggers are grouped (Visits, Estimates, Invoices, Payments and more). Type in the search box to find one quickly. Learn more about Trigger Conditions.
Pick the Run Time, Action and template
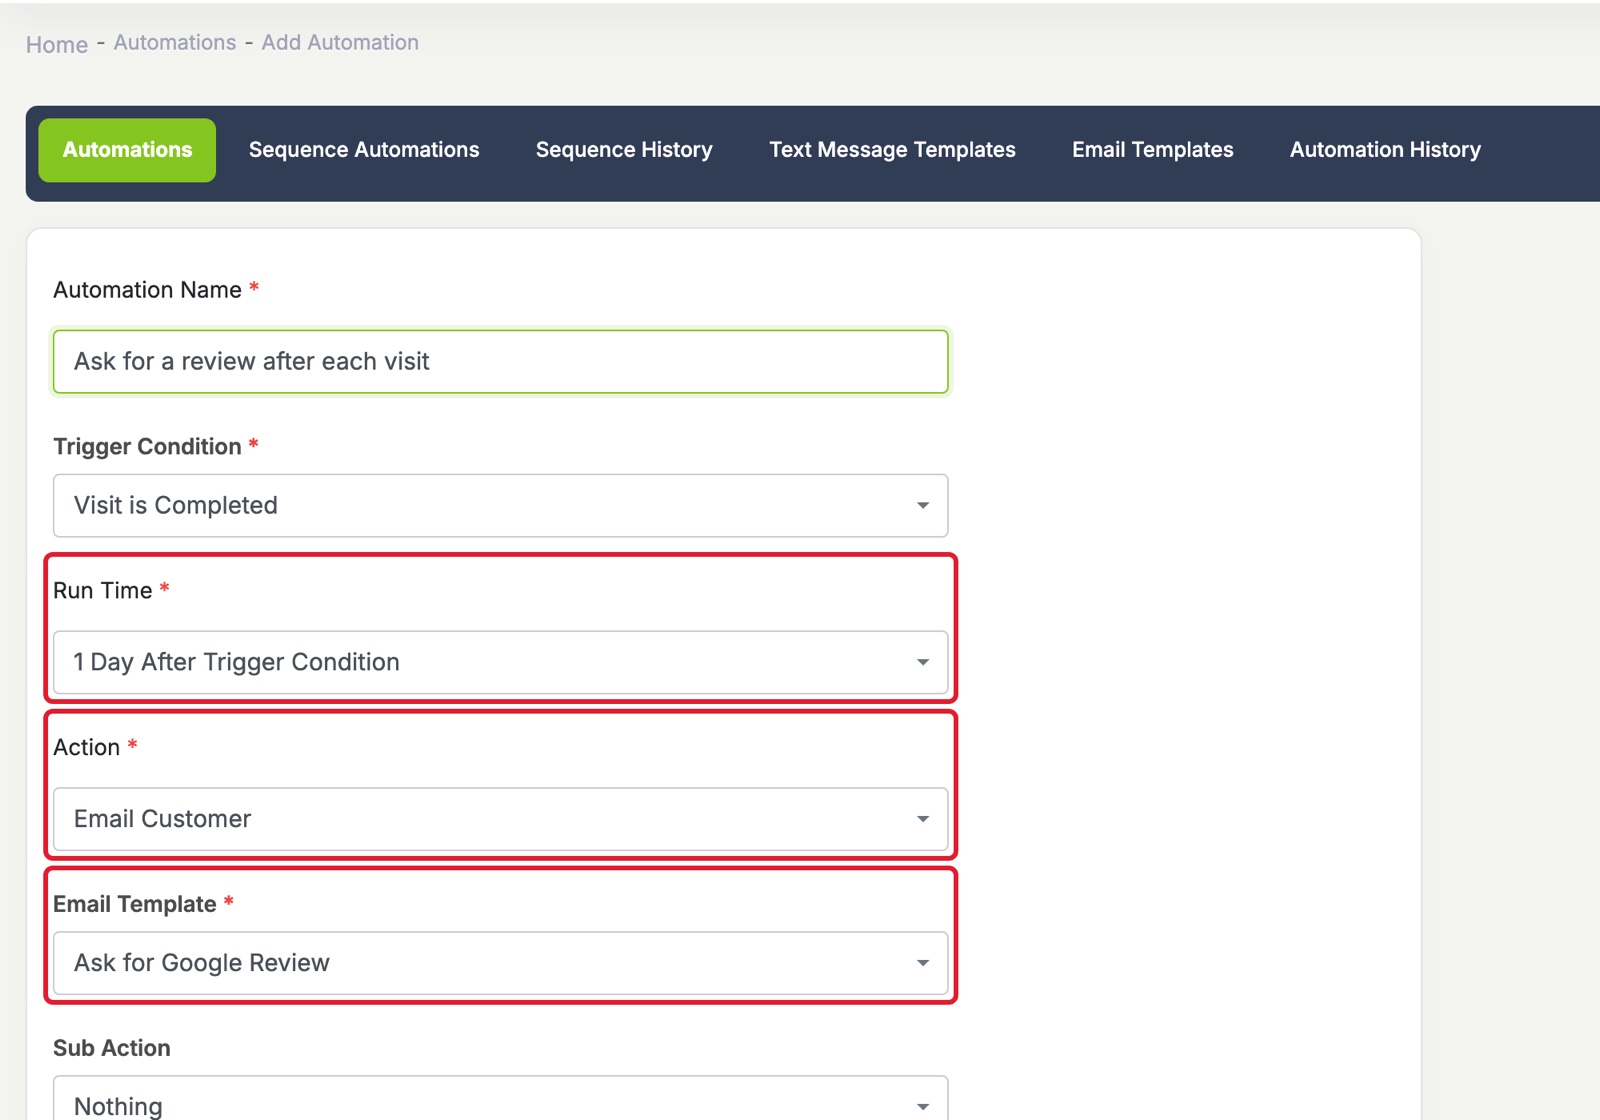
- Run Time: when it runs. Most triggers run Instantly, or from 2 minutes to 30 days after the trigger. “Before” triggers (like Before a Visit Happens) run 1, 2 or 3 days before.
- Action: what happens. Text or email the company owner, the customer or an employee, send a push notification reminder, or add or remove a tag.
- Email Template or Text Template: when the action sends an email or a text, this box appears. Pick the message that goes out. You can change the messages on the Email Templates and Text Message Templates tabs.
Sub Action, review and notes
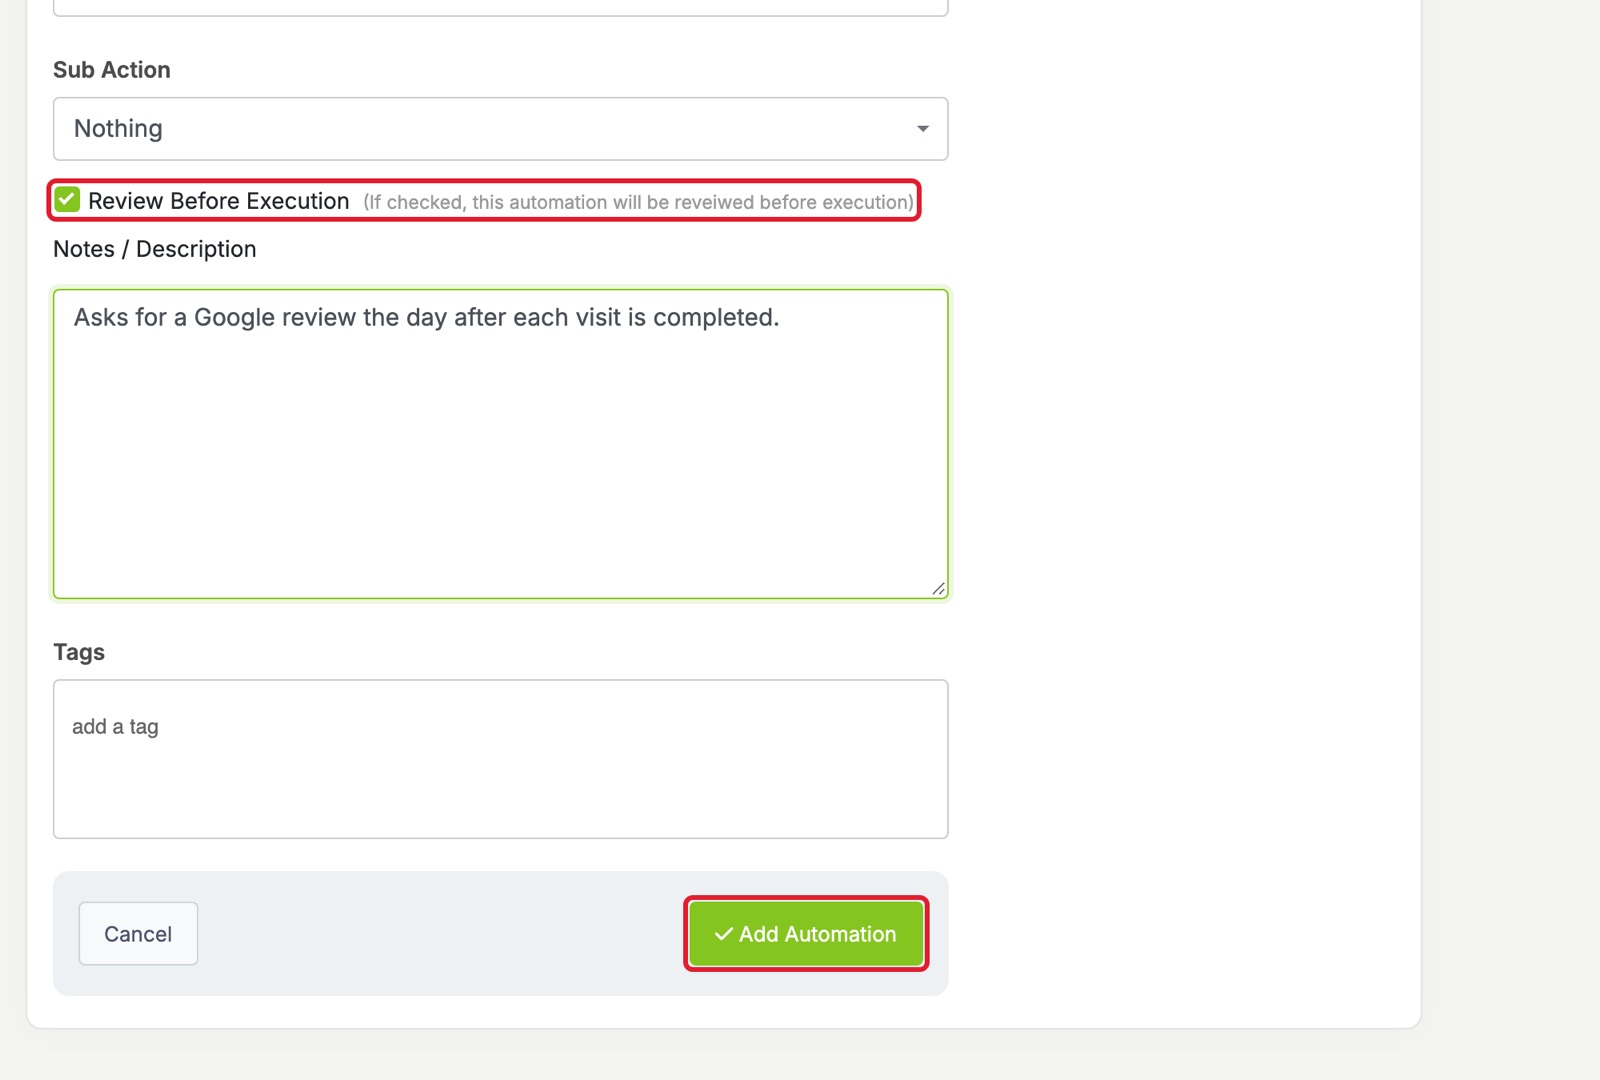
- Sub Action (optional): leave it on Nothing, or pick Run Another Automation or Stop Automation.
- Review Before Execution: tick this to approve or reject each run before it goes out. Runs waiting for you show on your Dashboard under Automations to Review, and they won’t go out until you approve them.
- Notes / Description and Tags: for your team only. Customers never see them.

Save it
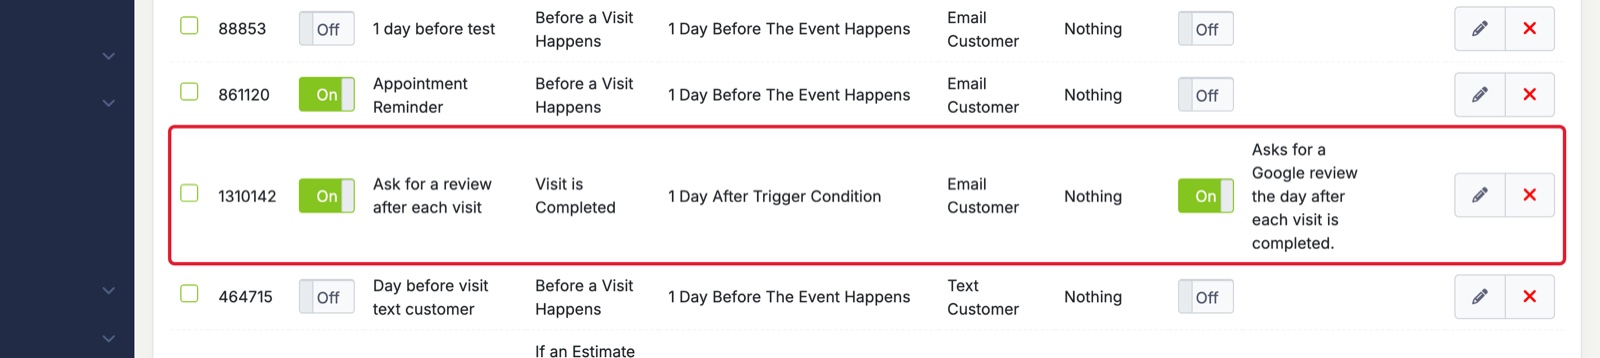
Click the green Add Automation button. Your new automation is added to the list and is already turned On. Use its ON – OFF switch to turn it off at any time, or the pencil to edit it.
You can also turn an automation off for one customer. See Customer Specific Automations.