Table of Contents
Overview
LawnPro makes it easy to create routes for your team.
To create your routes, go to your Schedule Tab> Routes.
This will bring you to the Routing feature.
Stop List and Map
On the left side of your screen, you should see your “Daily Stop List“
These are the visits you have scheduled for the day.
You can select all the boxes to have all visits included in your route or you can select only the ones you want included.
On the right side, you will see the map.
You will see the locations of your scheduled visits marked with a blue circle. 
Map Condition Layers
On the map, you are able to turn on several conditions.
The first condition is Traffic.
This will show green if traffic is moving normally. 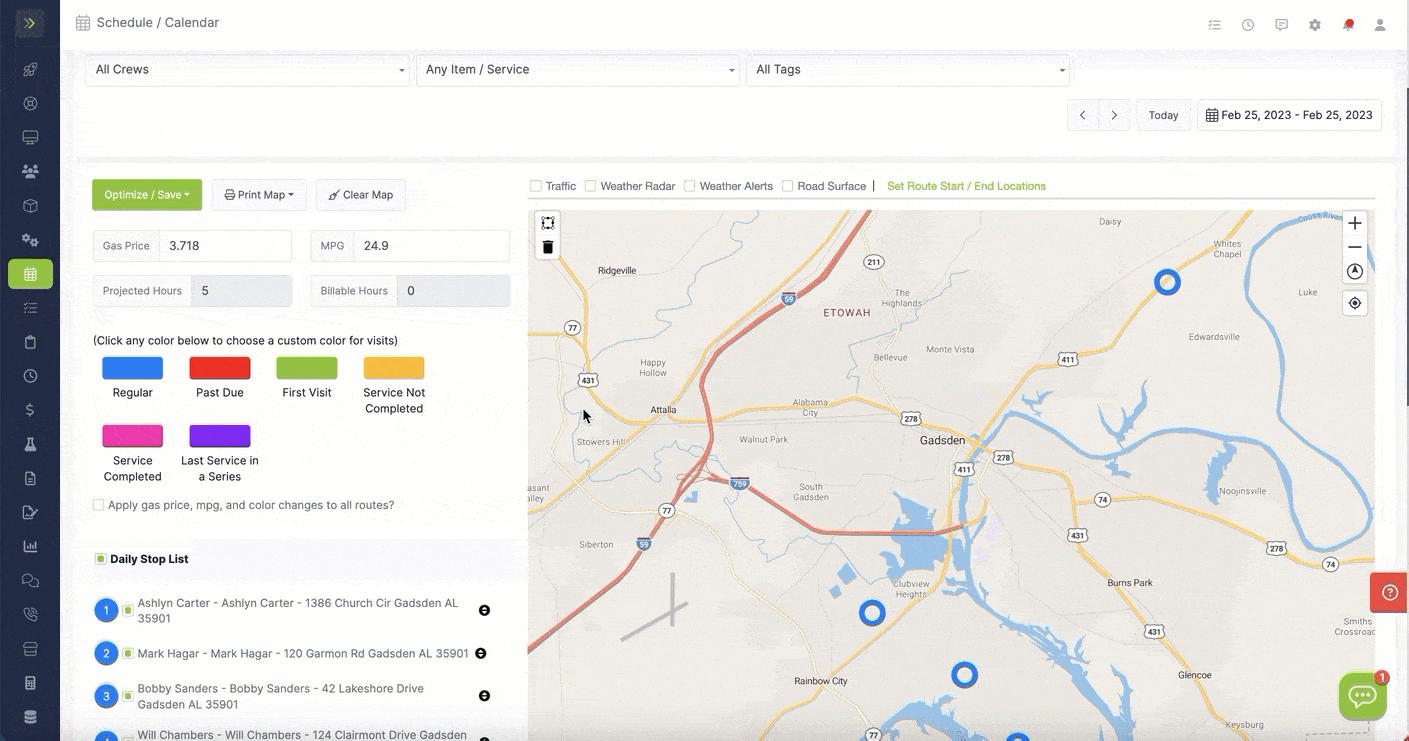
You can also turn on the Weather Radar to show any weather in your area.
You are able to turn on Weather Alerts to show any weather alerts in your area.
The area will be darker and you can click on the area to view the alert. 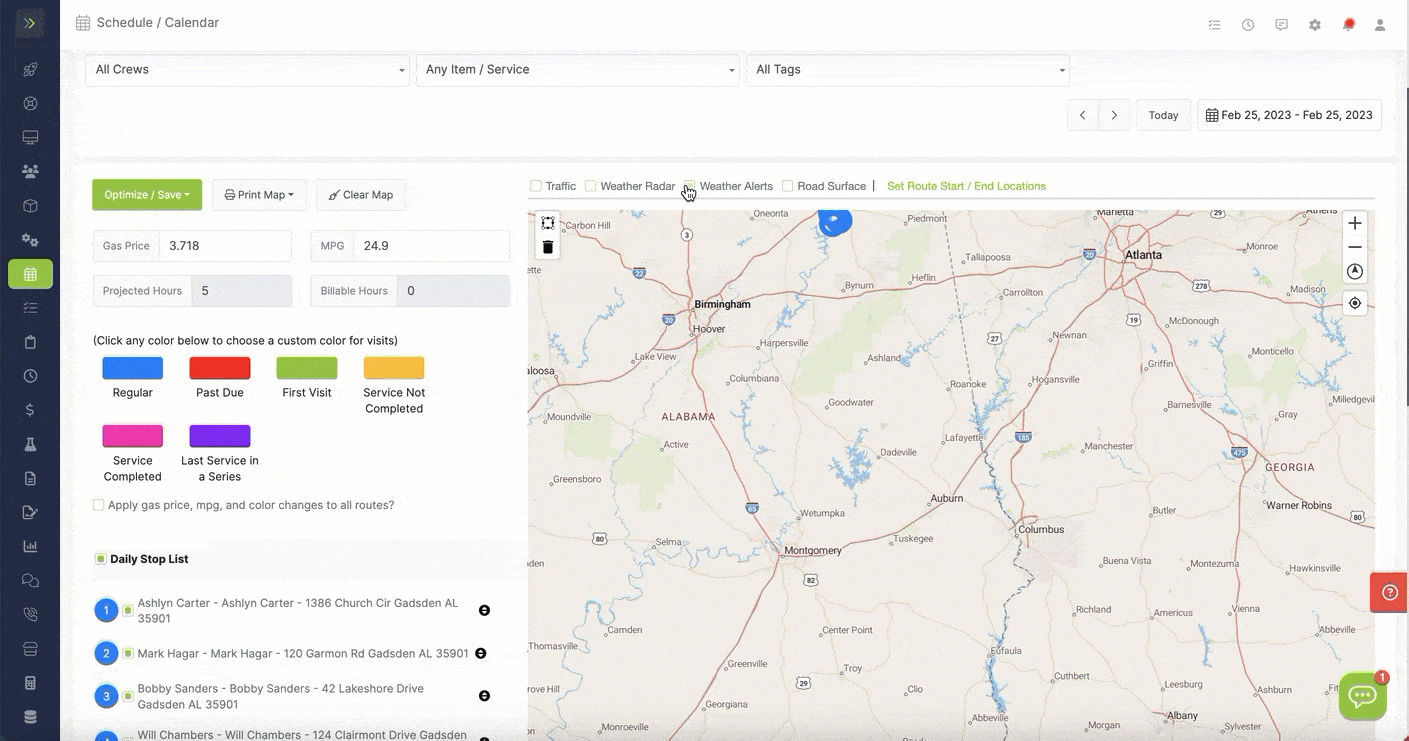
Note: All three of those things can be turned on before or after you create/optimize your route, but the last option- Road Surfaces- will be used after your route is showing on the map.
Optimizing Your Route
You have three different options when optimizing your route.
You can optimize by the shortest route distance wise, the fastest route time-wise, or you can create a custom route. 
You are able to create one route or you can create a route for each crew.
To learn more about optimizing your your route, click here.