Table of Contents
- Overview
- Create a Visit Form
- Add Visit Forms to Specific Visits
- Filling Out a Visit Form
- Viewing a Completed Visit Form
- Visit Form Examples
OVERVIEW
In LawnPro, you have the ability to create custom forms and checklists that your team can use to deliver consistent service.
Visit forms are checklists and forms that can be customized and attached to jobs so your employees can fill them out while on their visits. A visit form is a good way to collect information while on a visit and standardize the way information is collected when different employees are filling out the forms. The forms can be set up with checkboxes, and drop-downs, as well as short and long answer fields to customize to fit your company’s needs.
Create a Visit Form
While visit forms can be filled out in both the LawnPro App and LawnPro desktop, the forms must be built in LawnPro desktop.
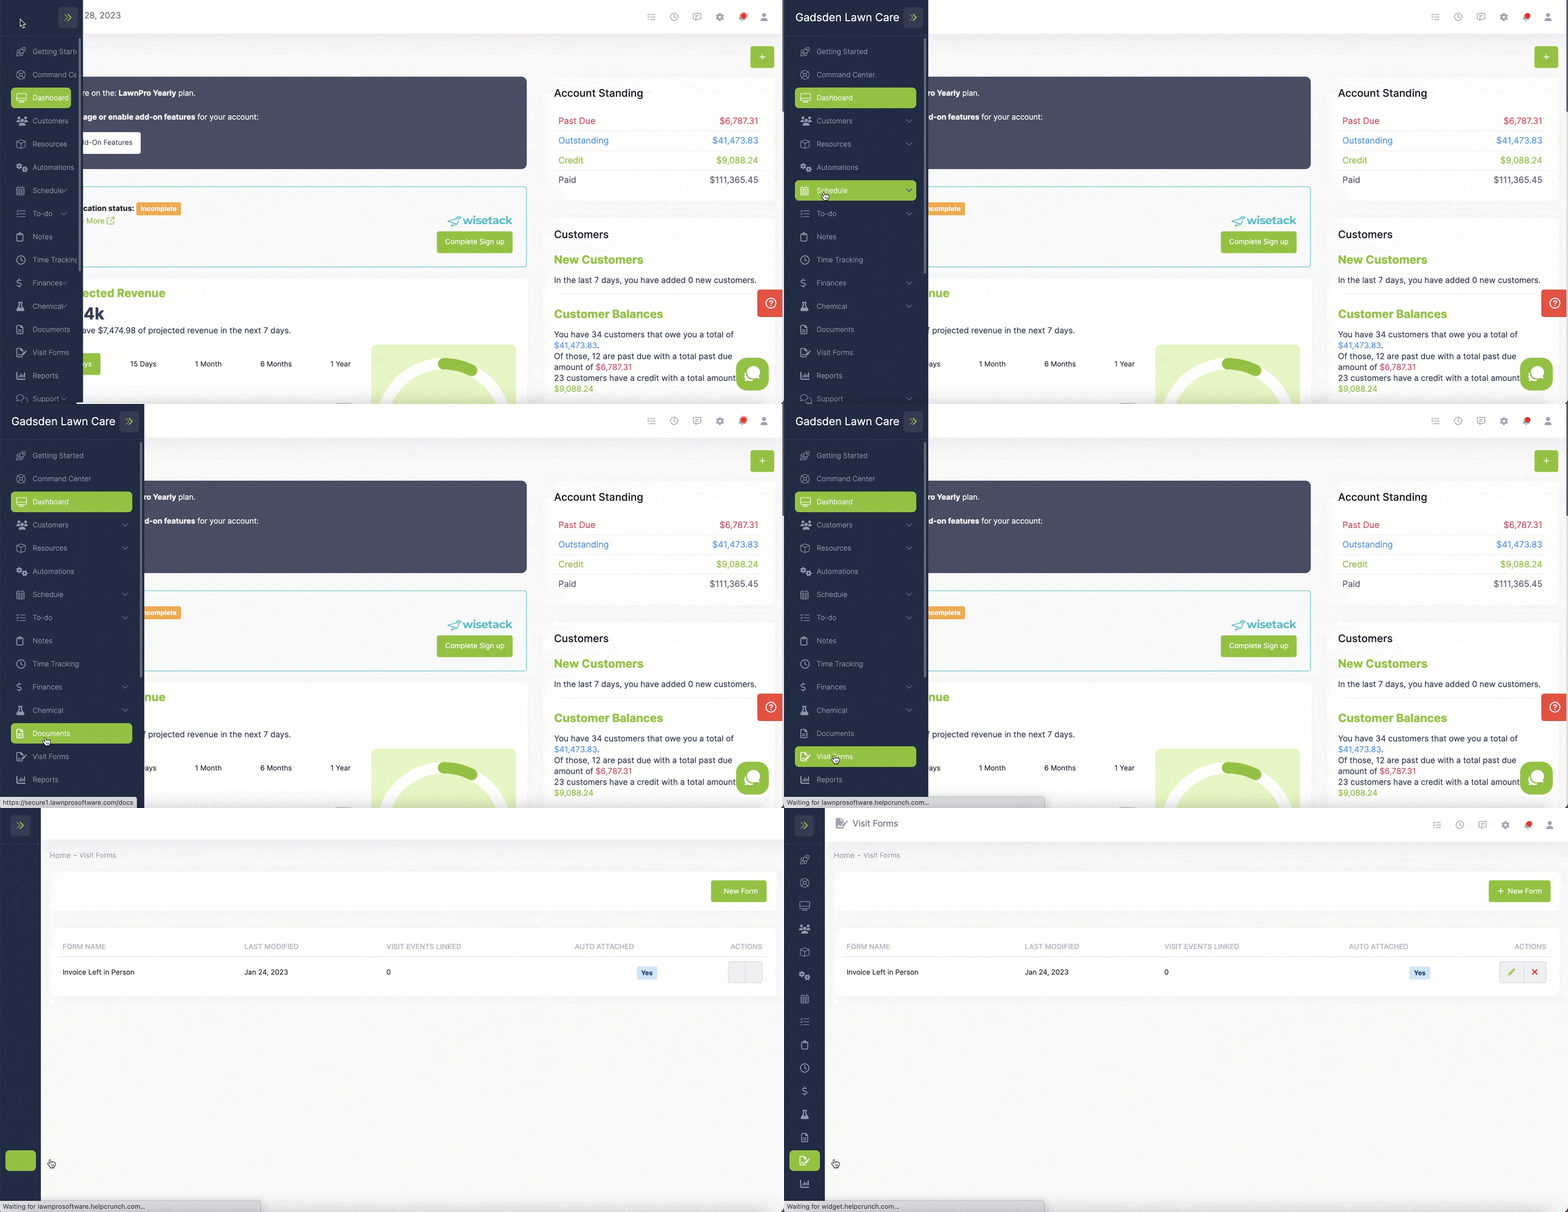
To create a new visit form you first go to the “Visit Form” tab on the left side menu.
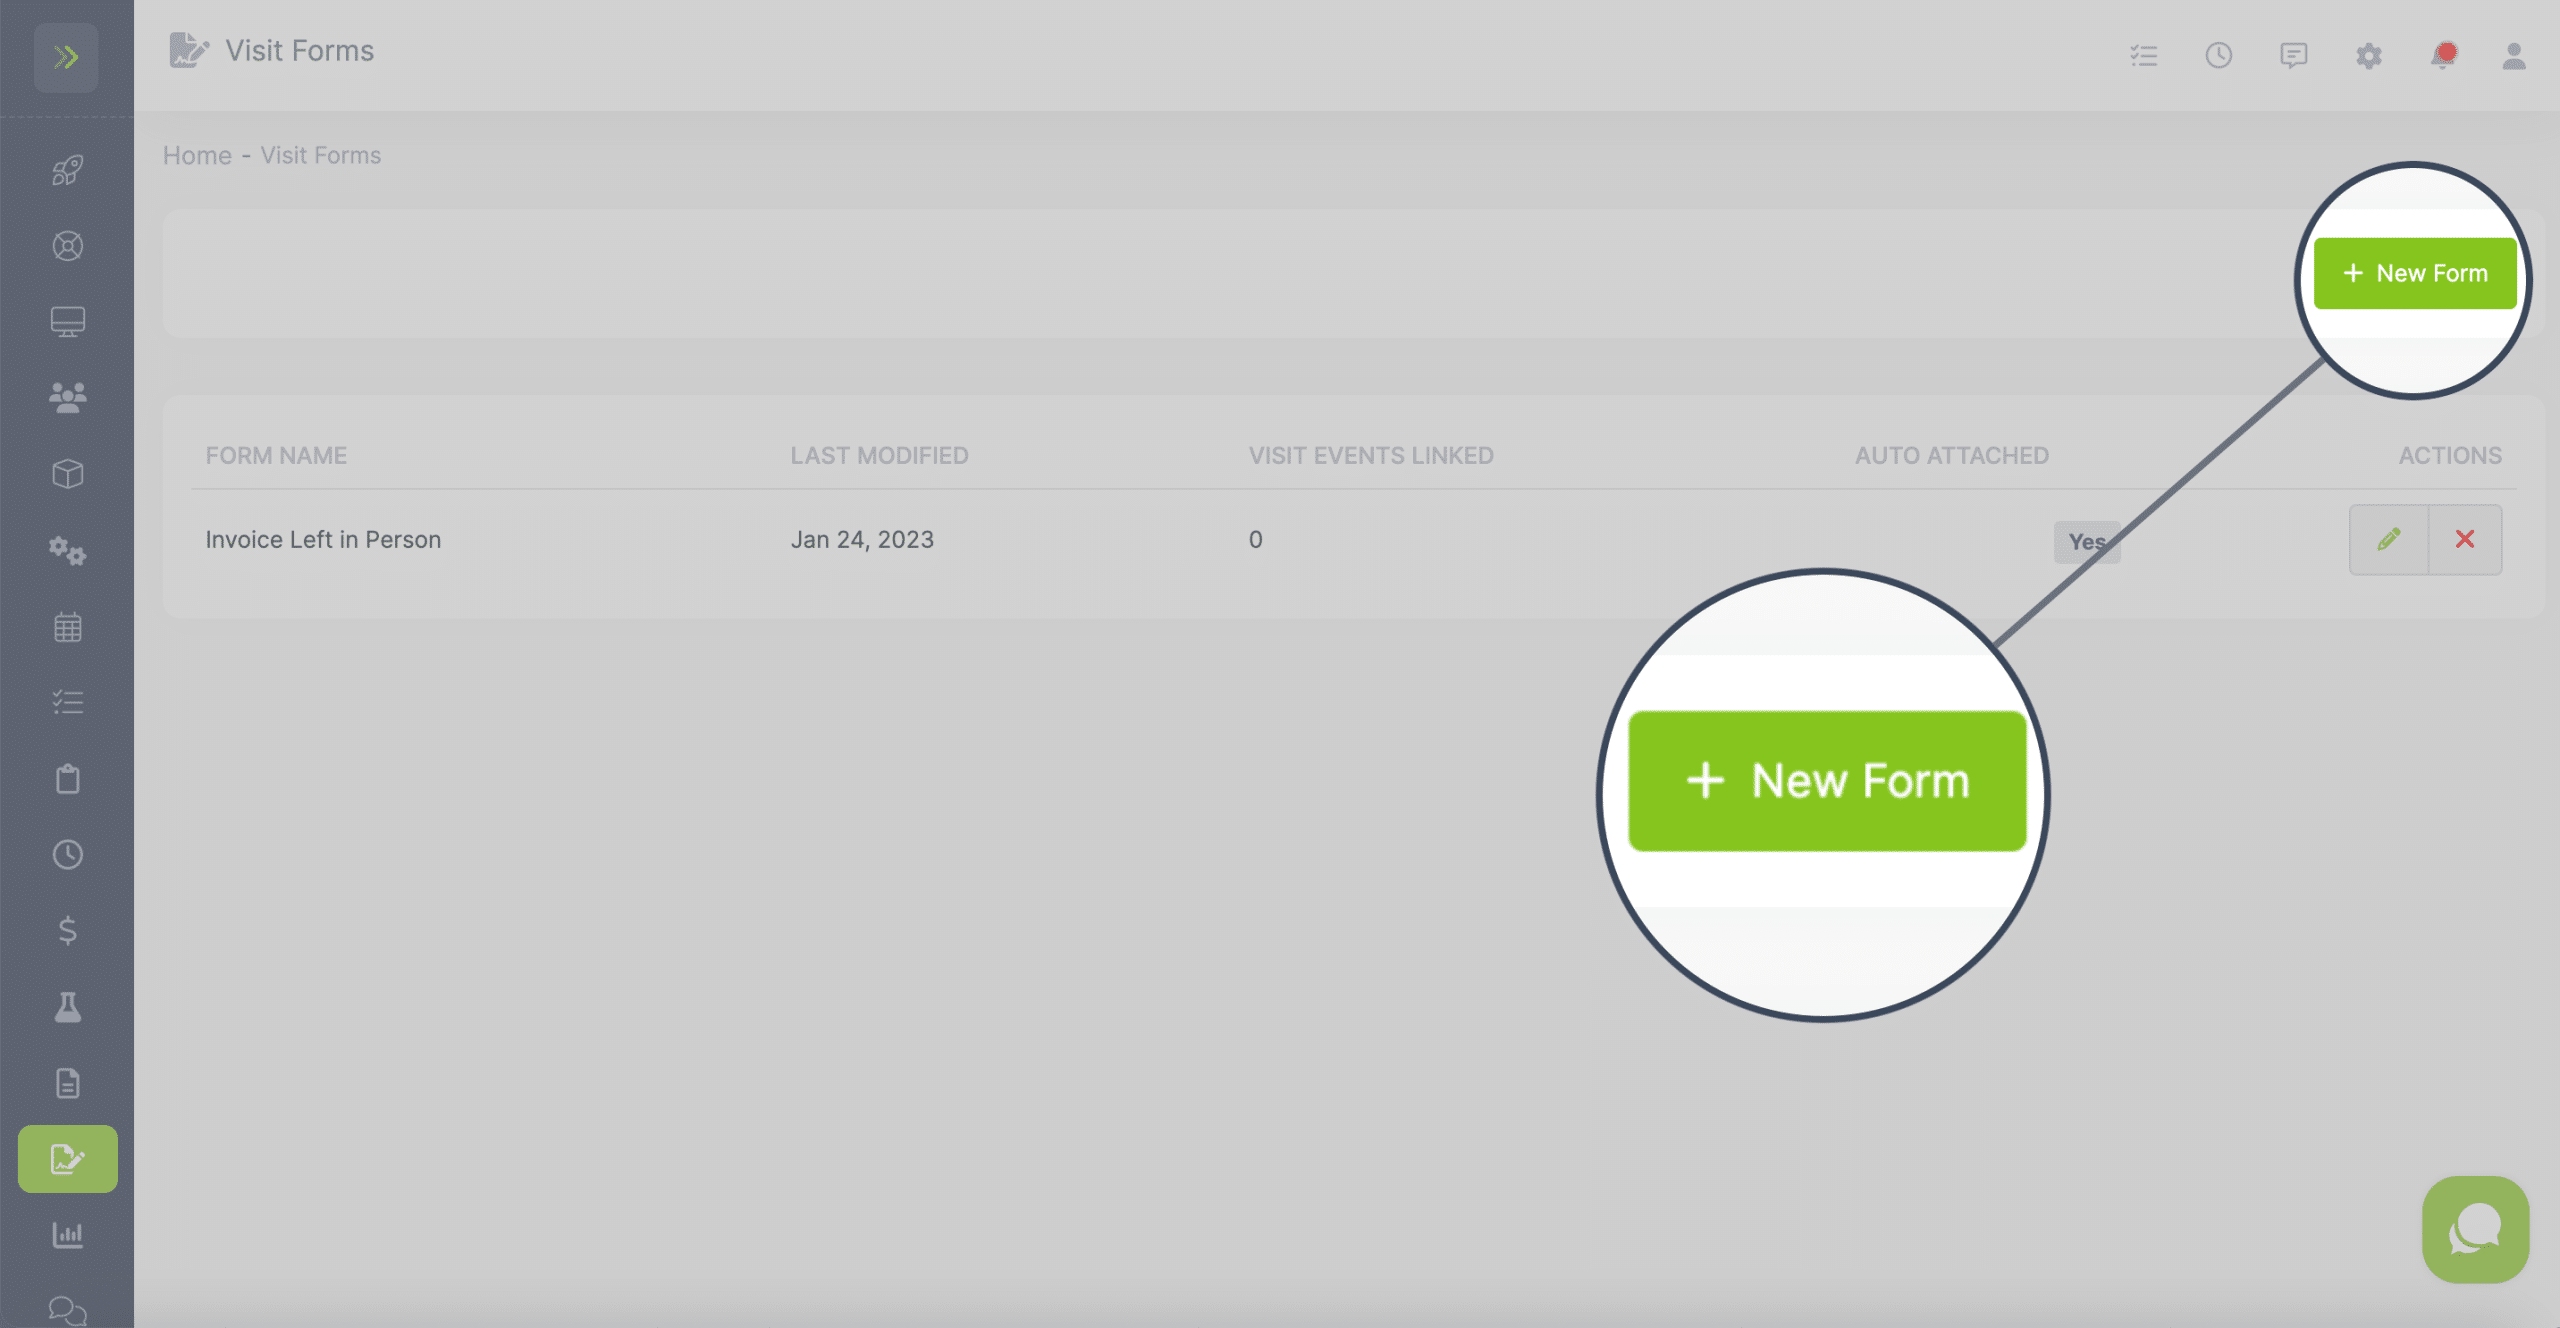
Next you will click the green “+ New Form” button.
To start creating your new Visit form, enter the Visit form name into the first text field
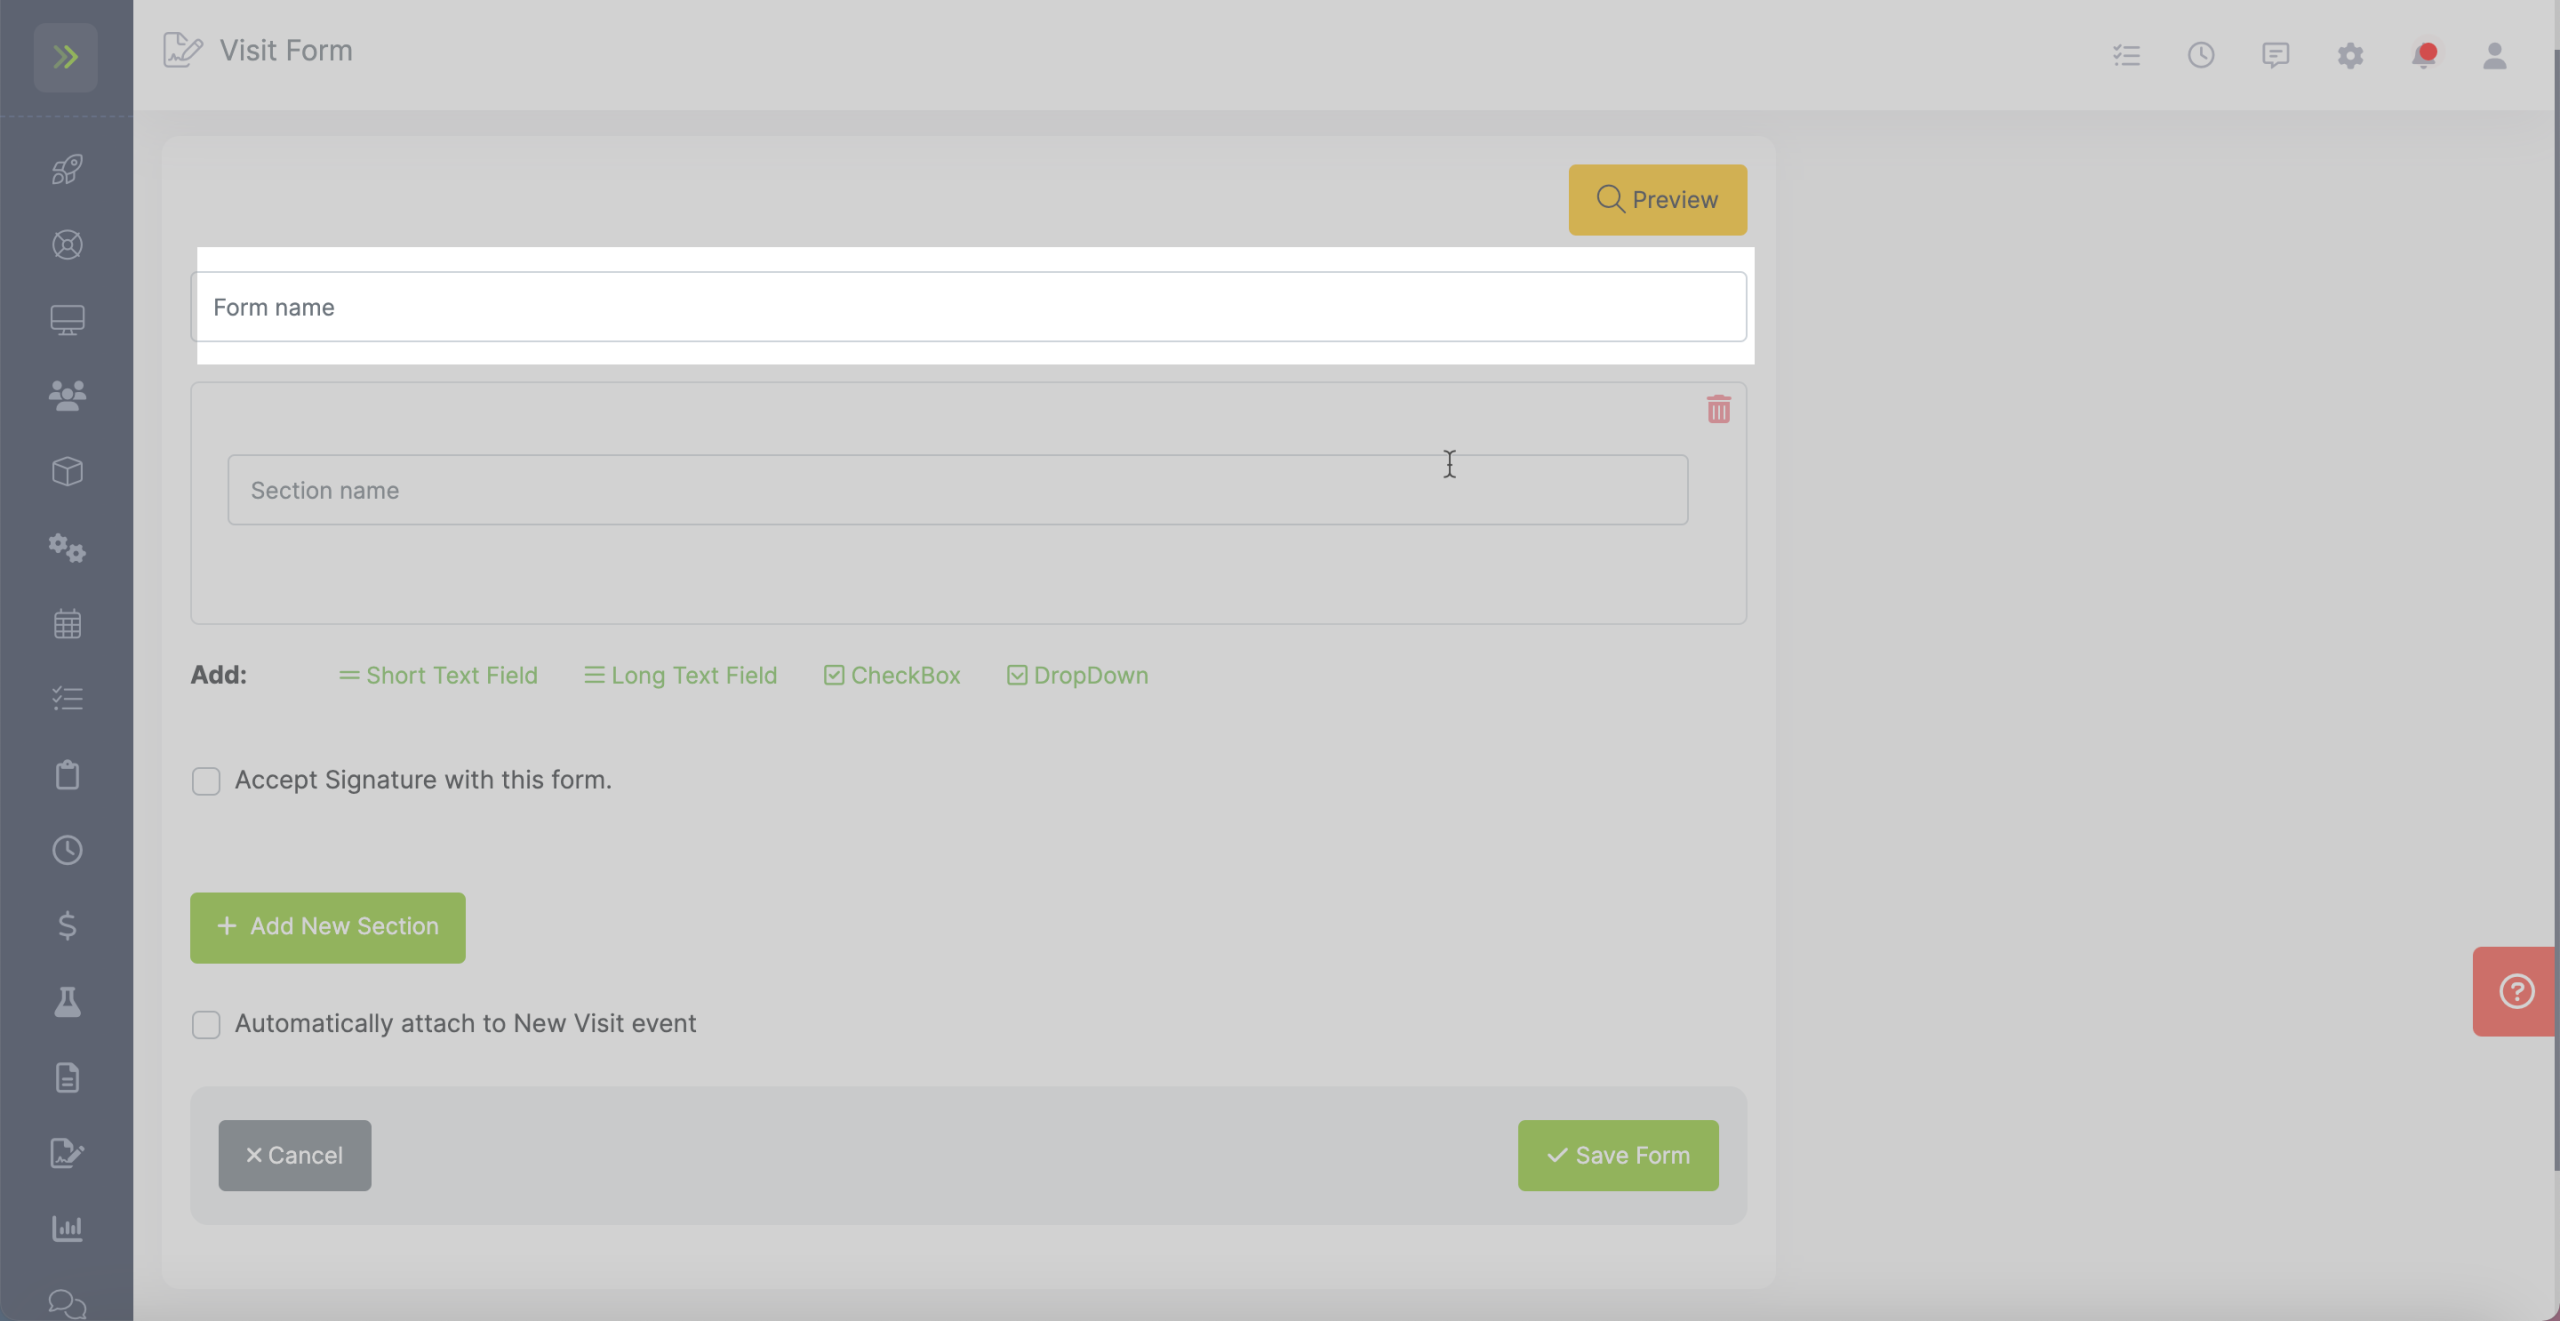
The first section is already added and ready for you to customize.
For each section you will add a section name (this will show on the form), then you can choose how you want your employees to fill out these sections.
There are four types of fields you can add:
Short text field
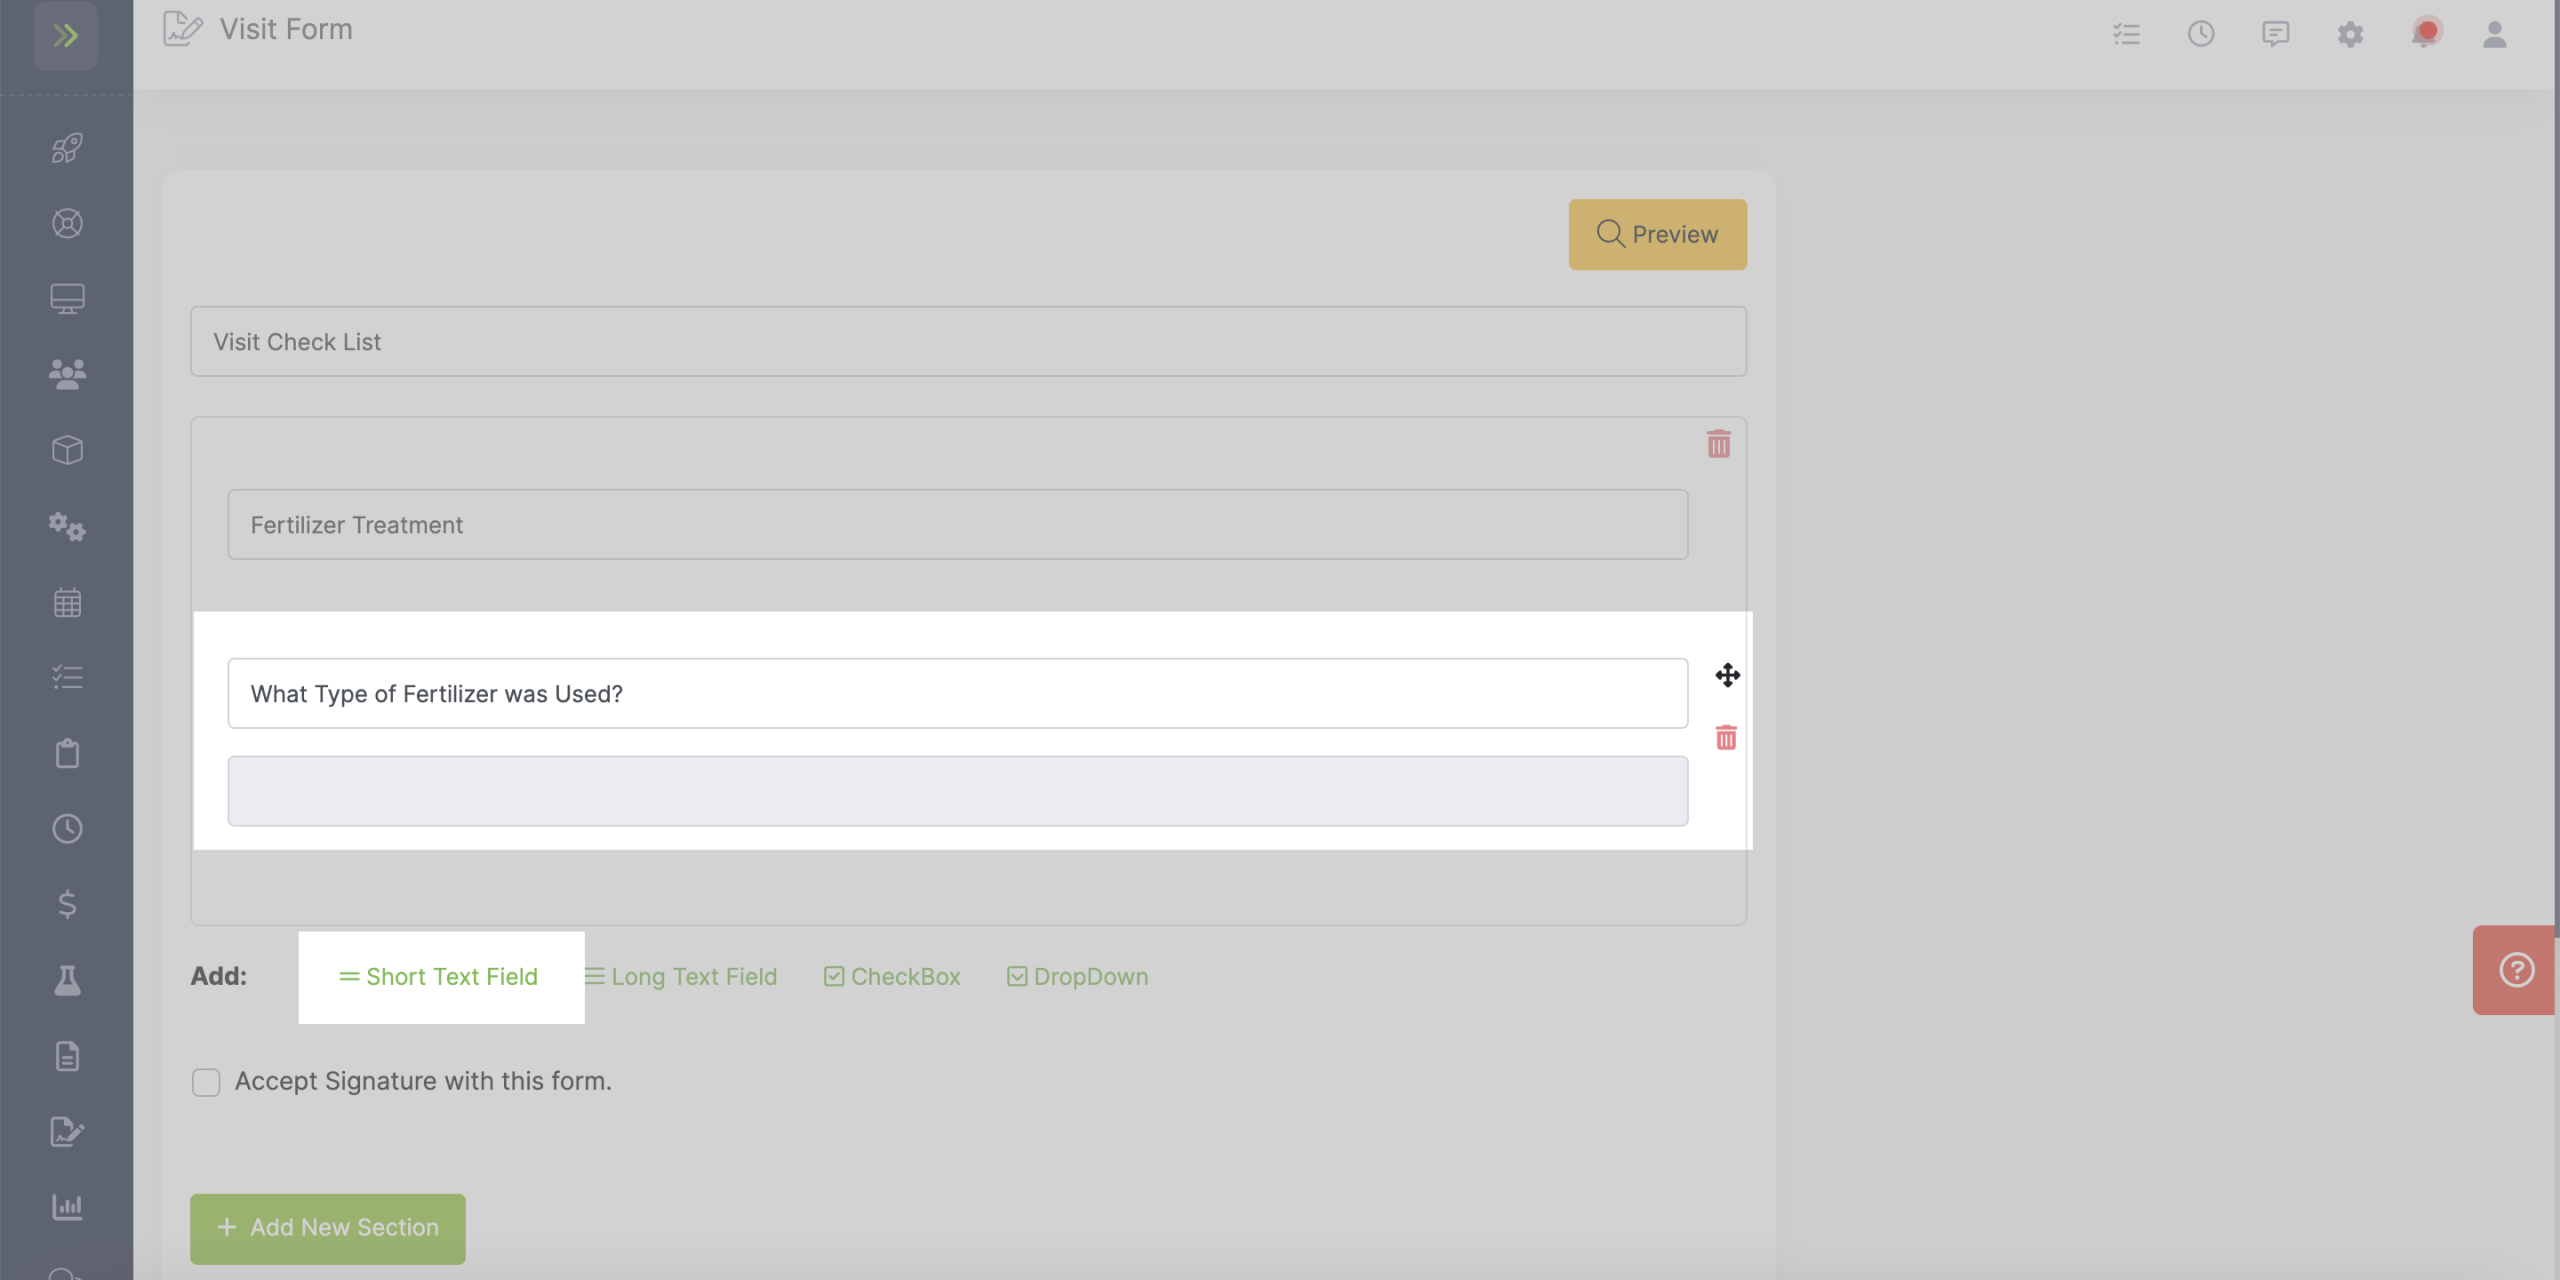
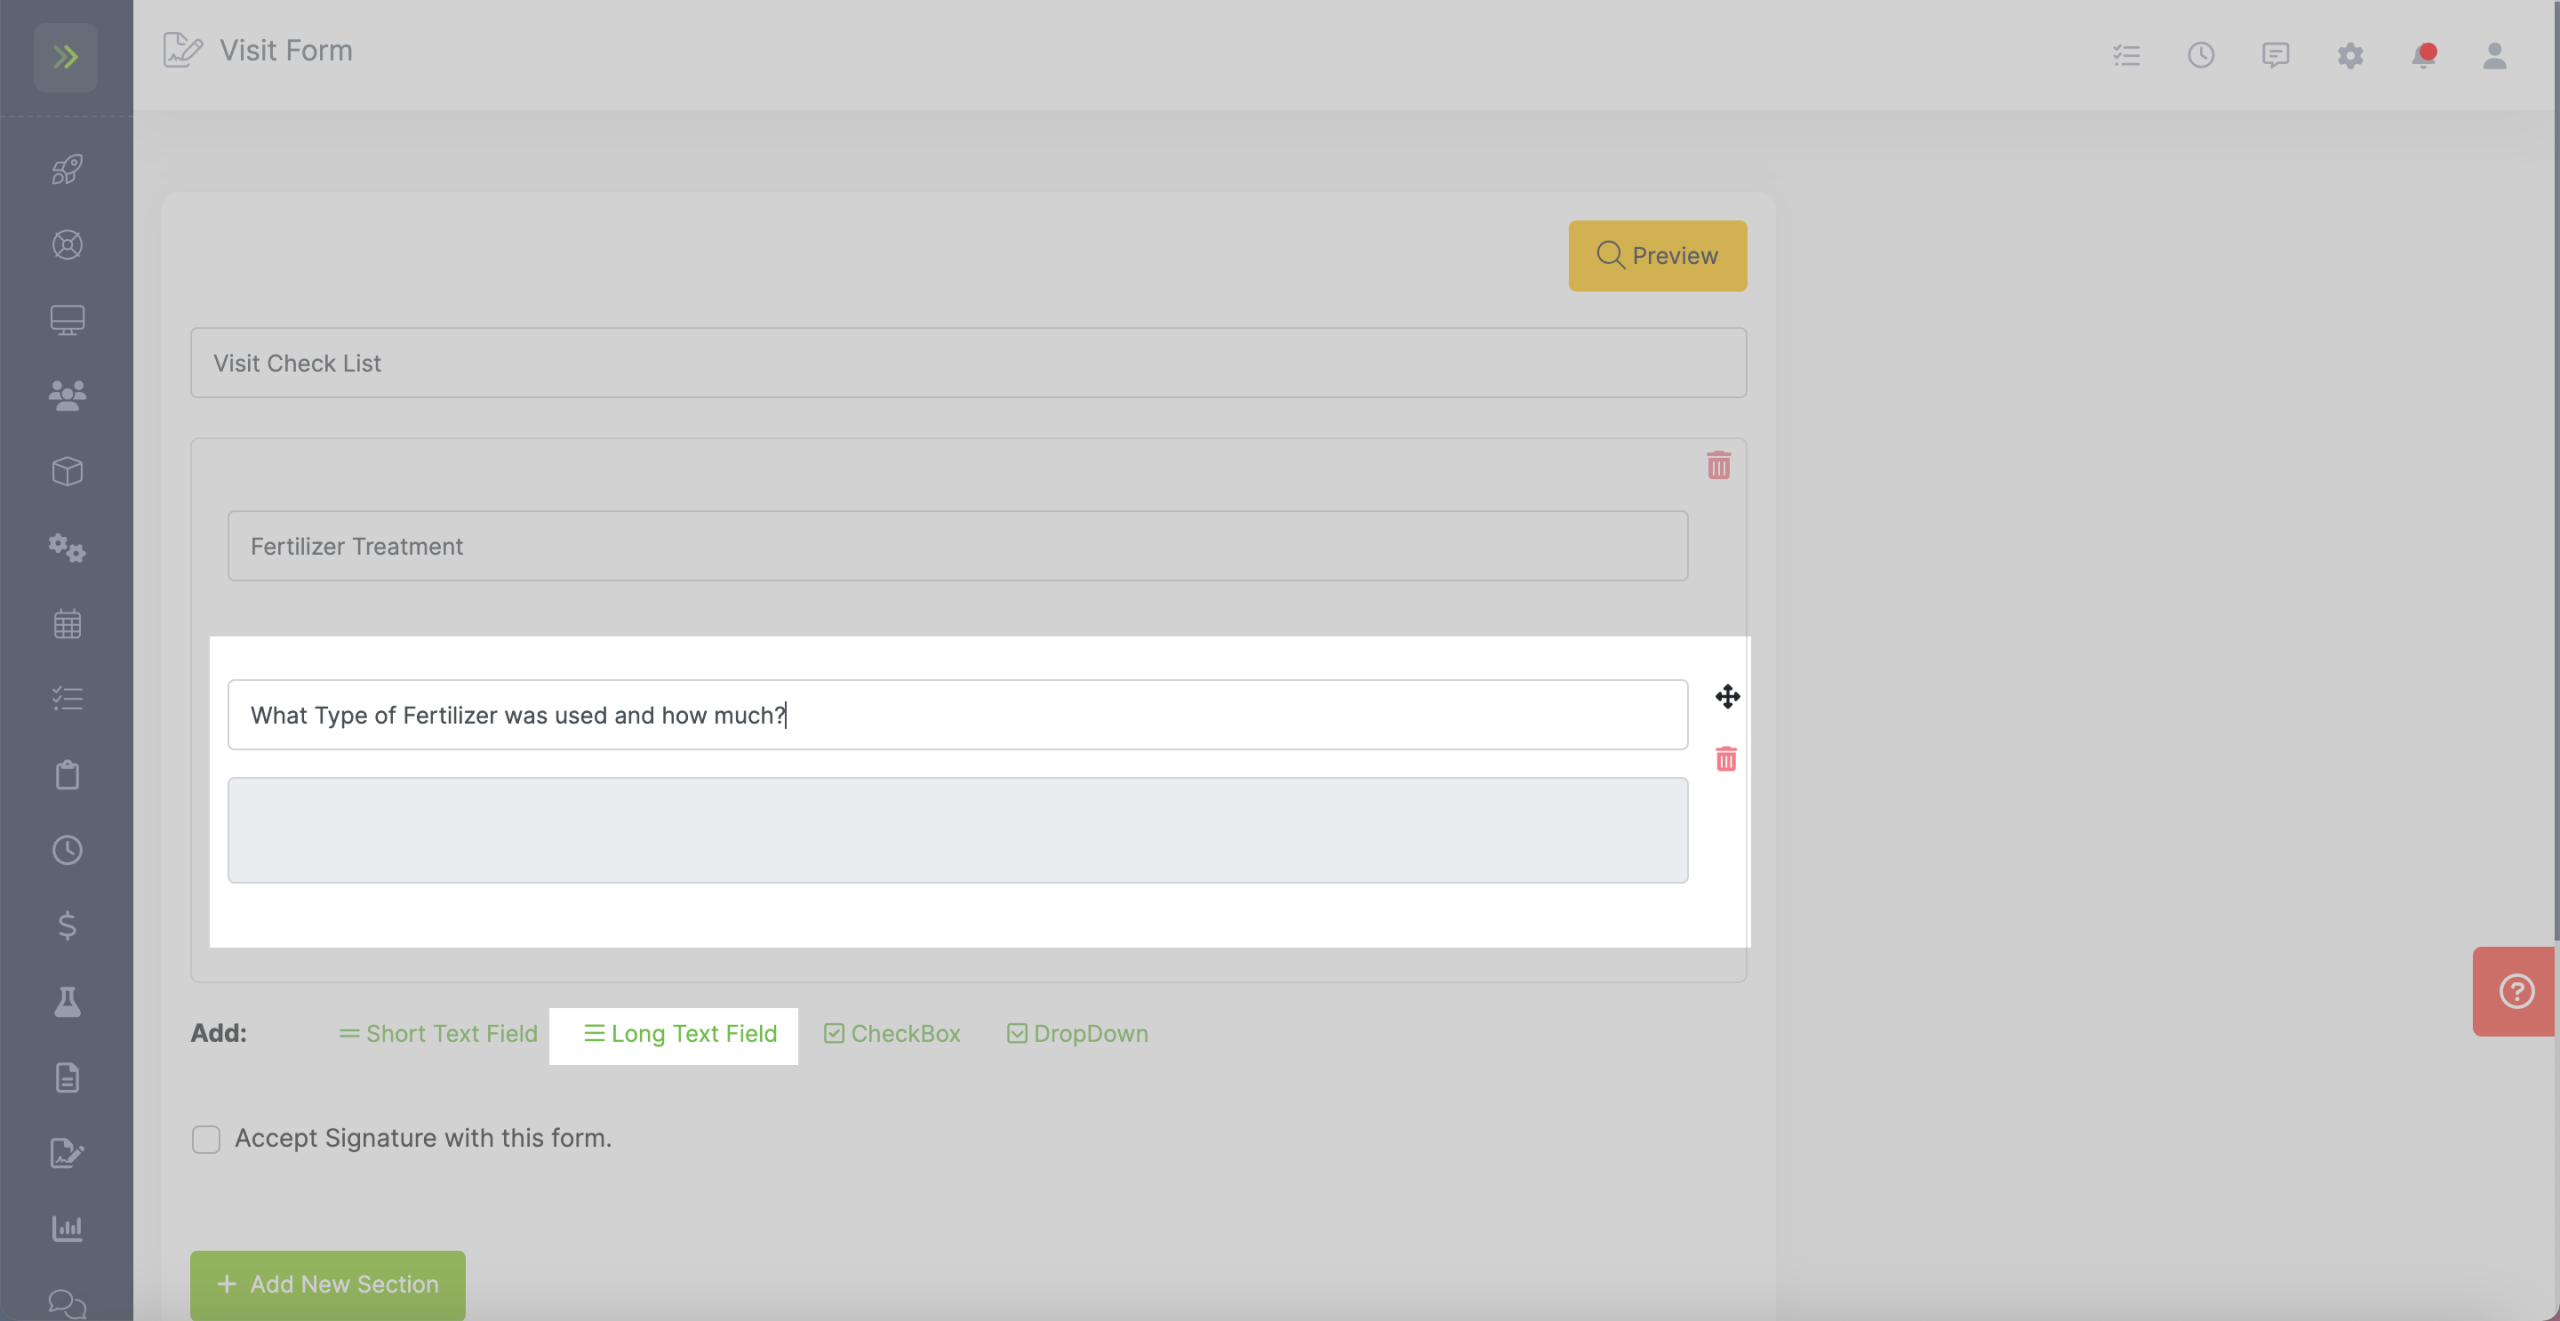
Long text field
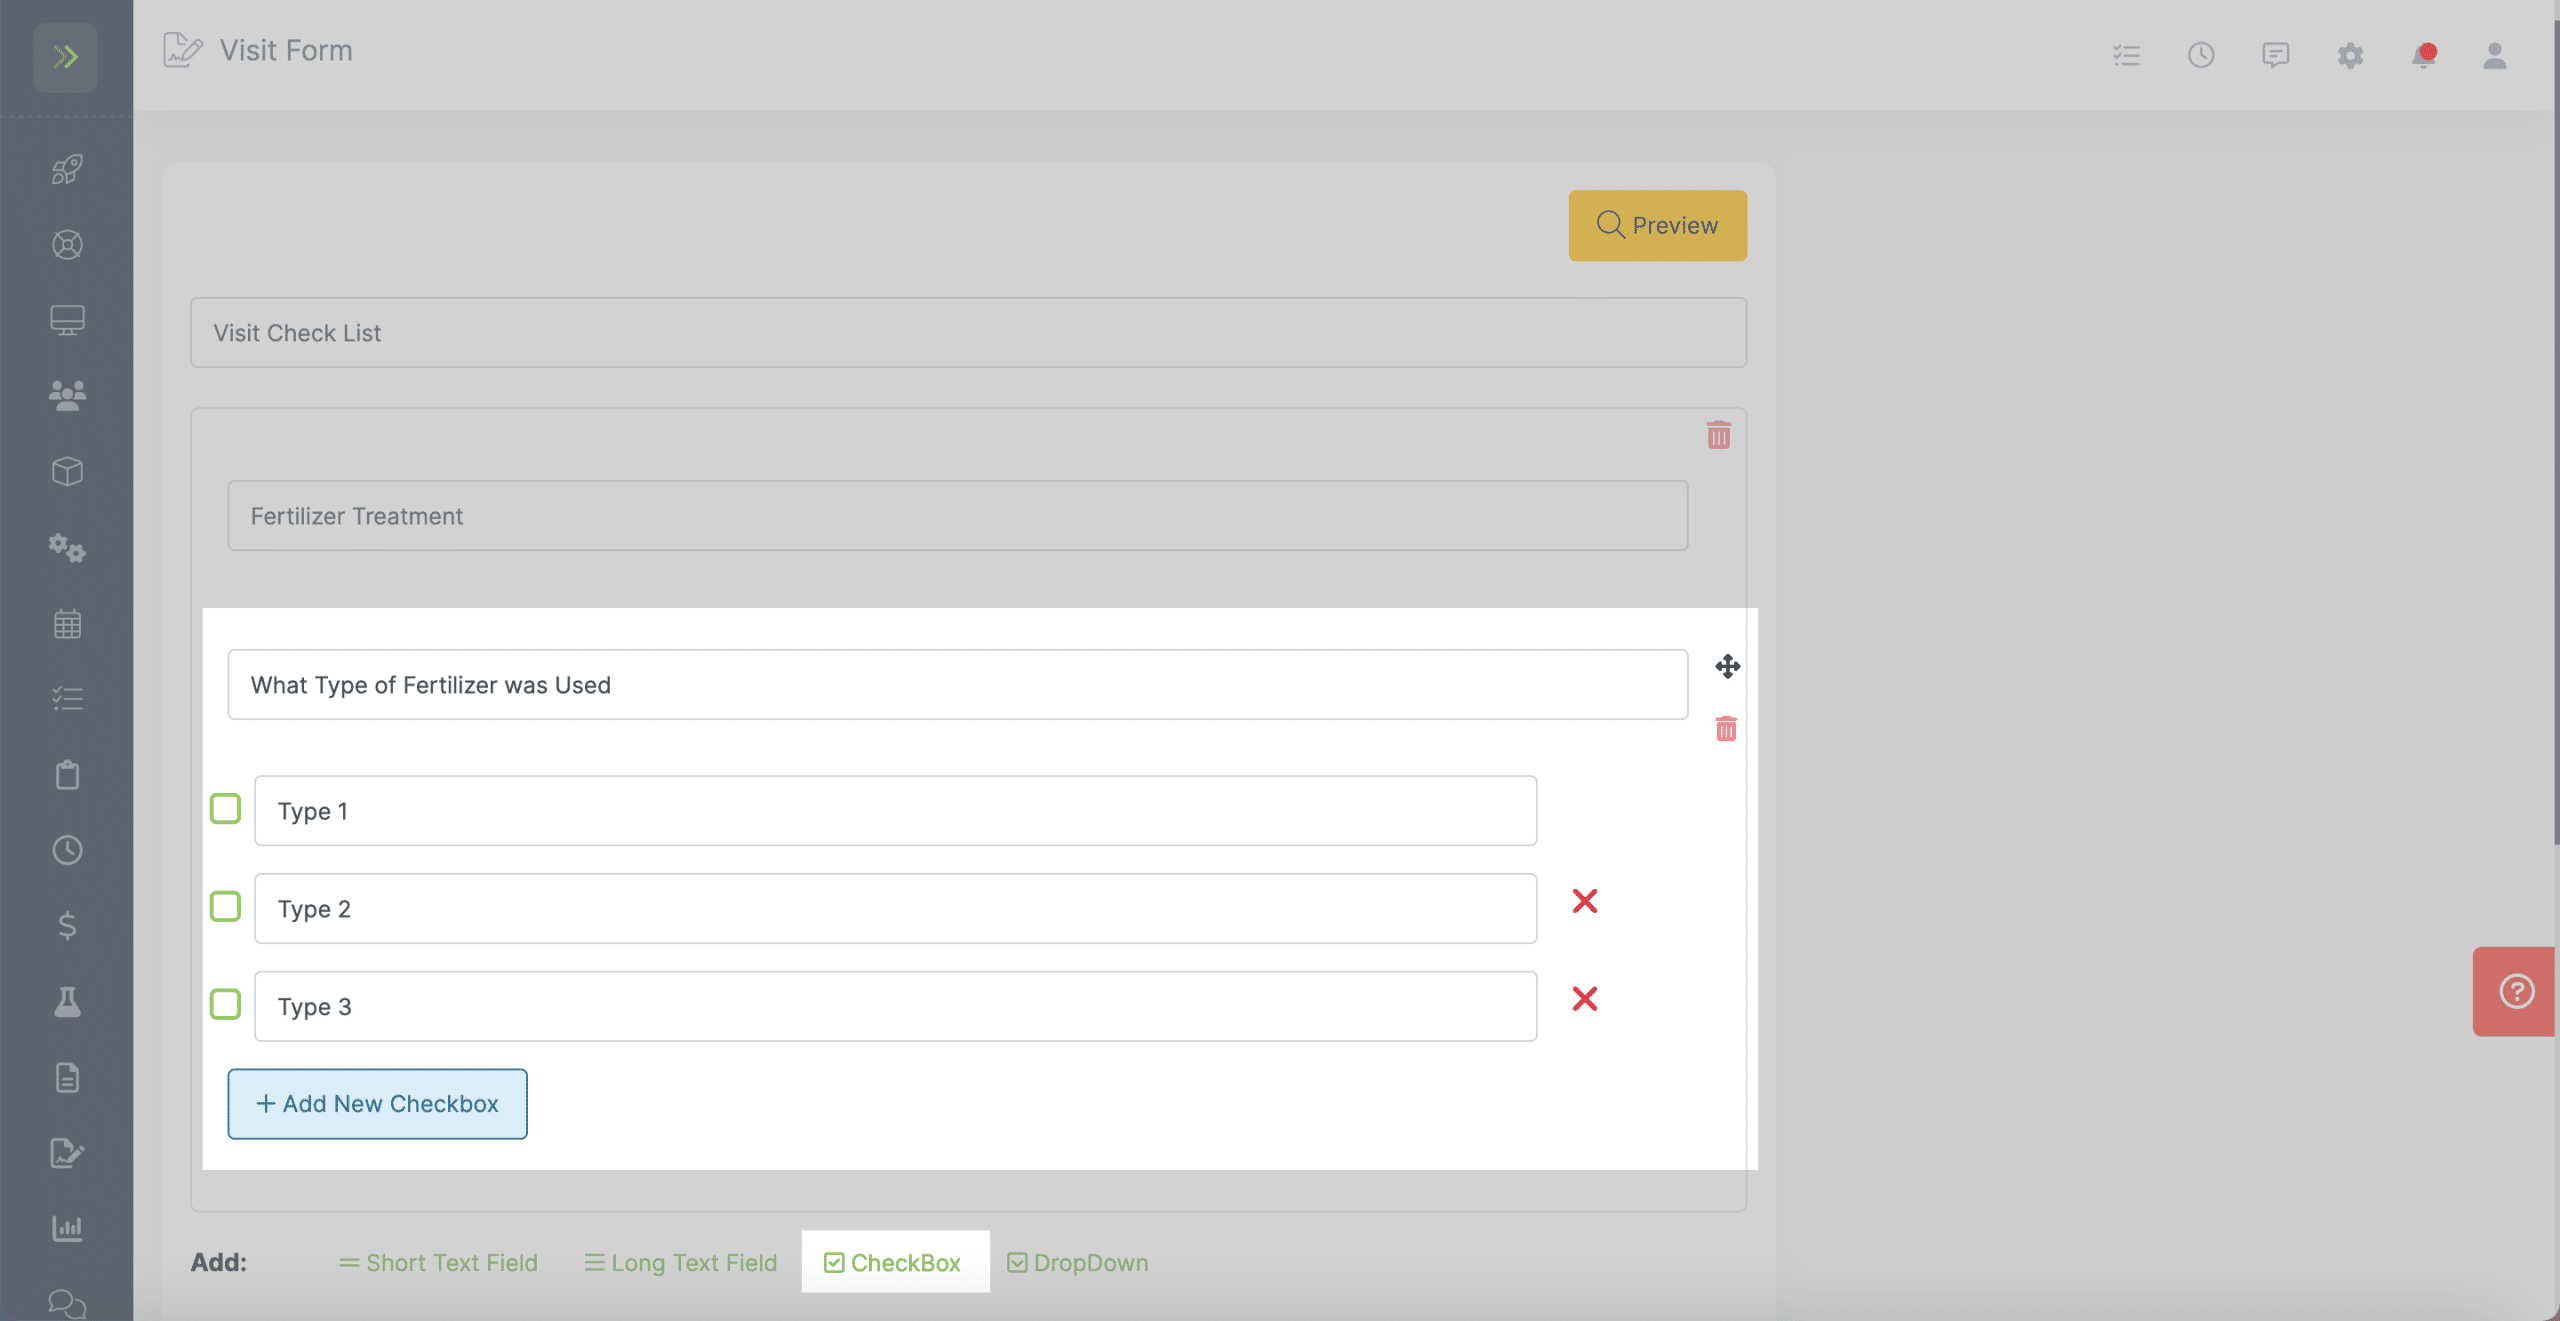
Checkboxes
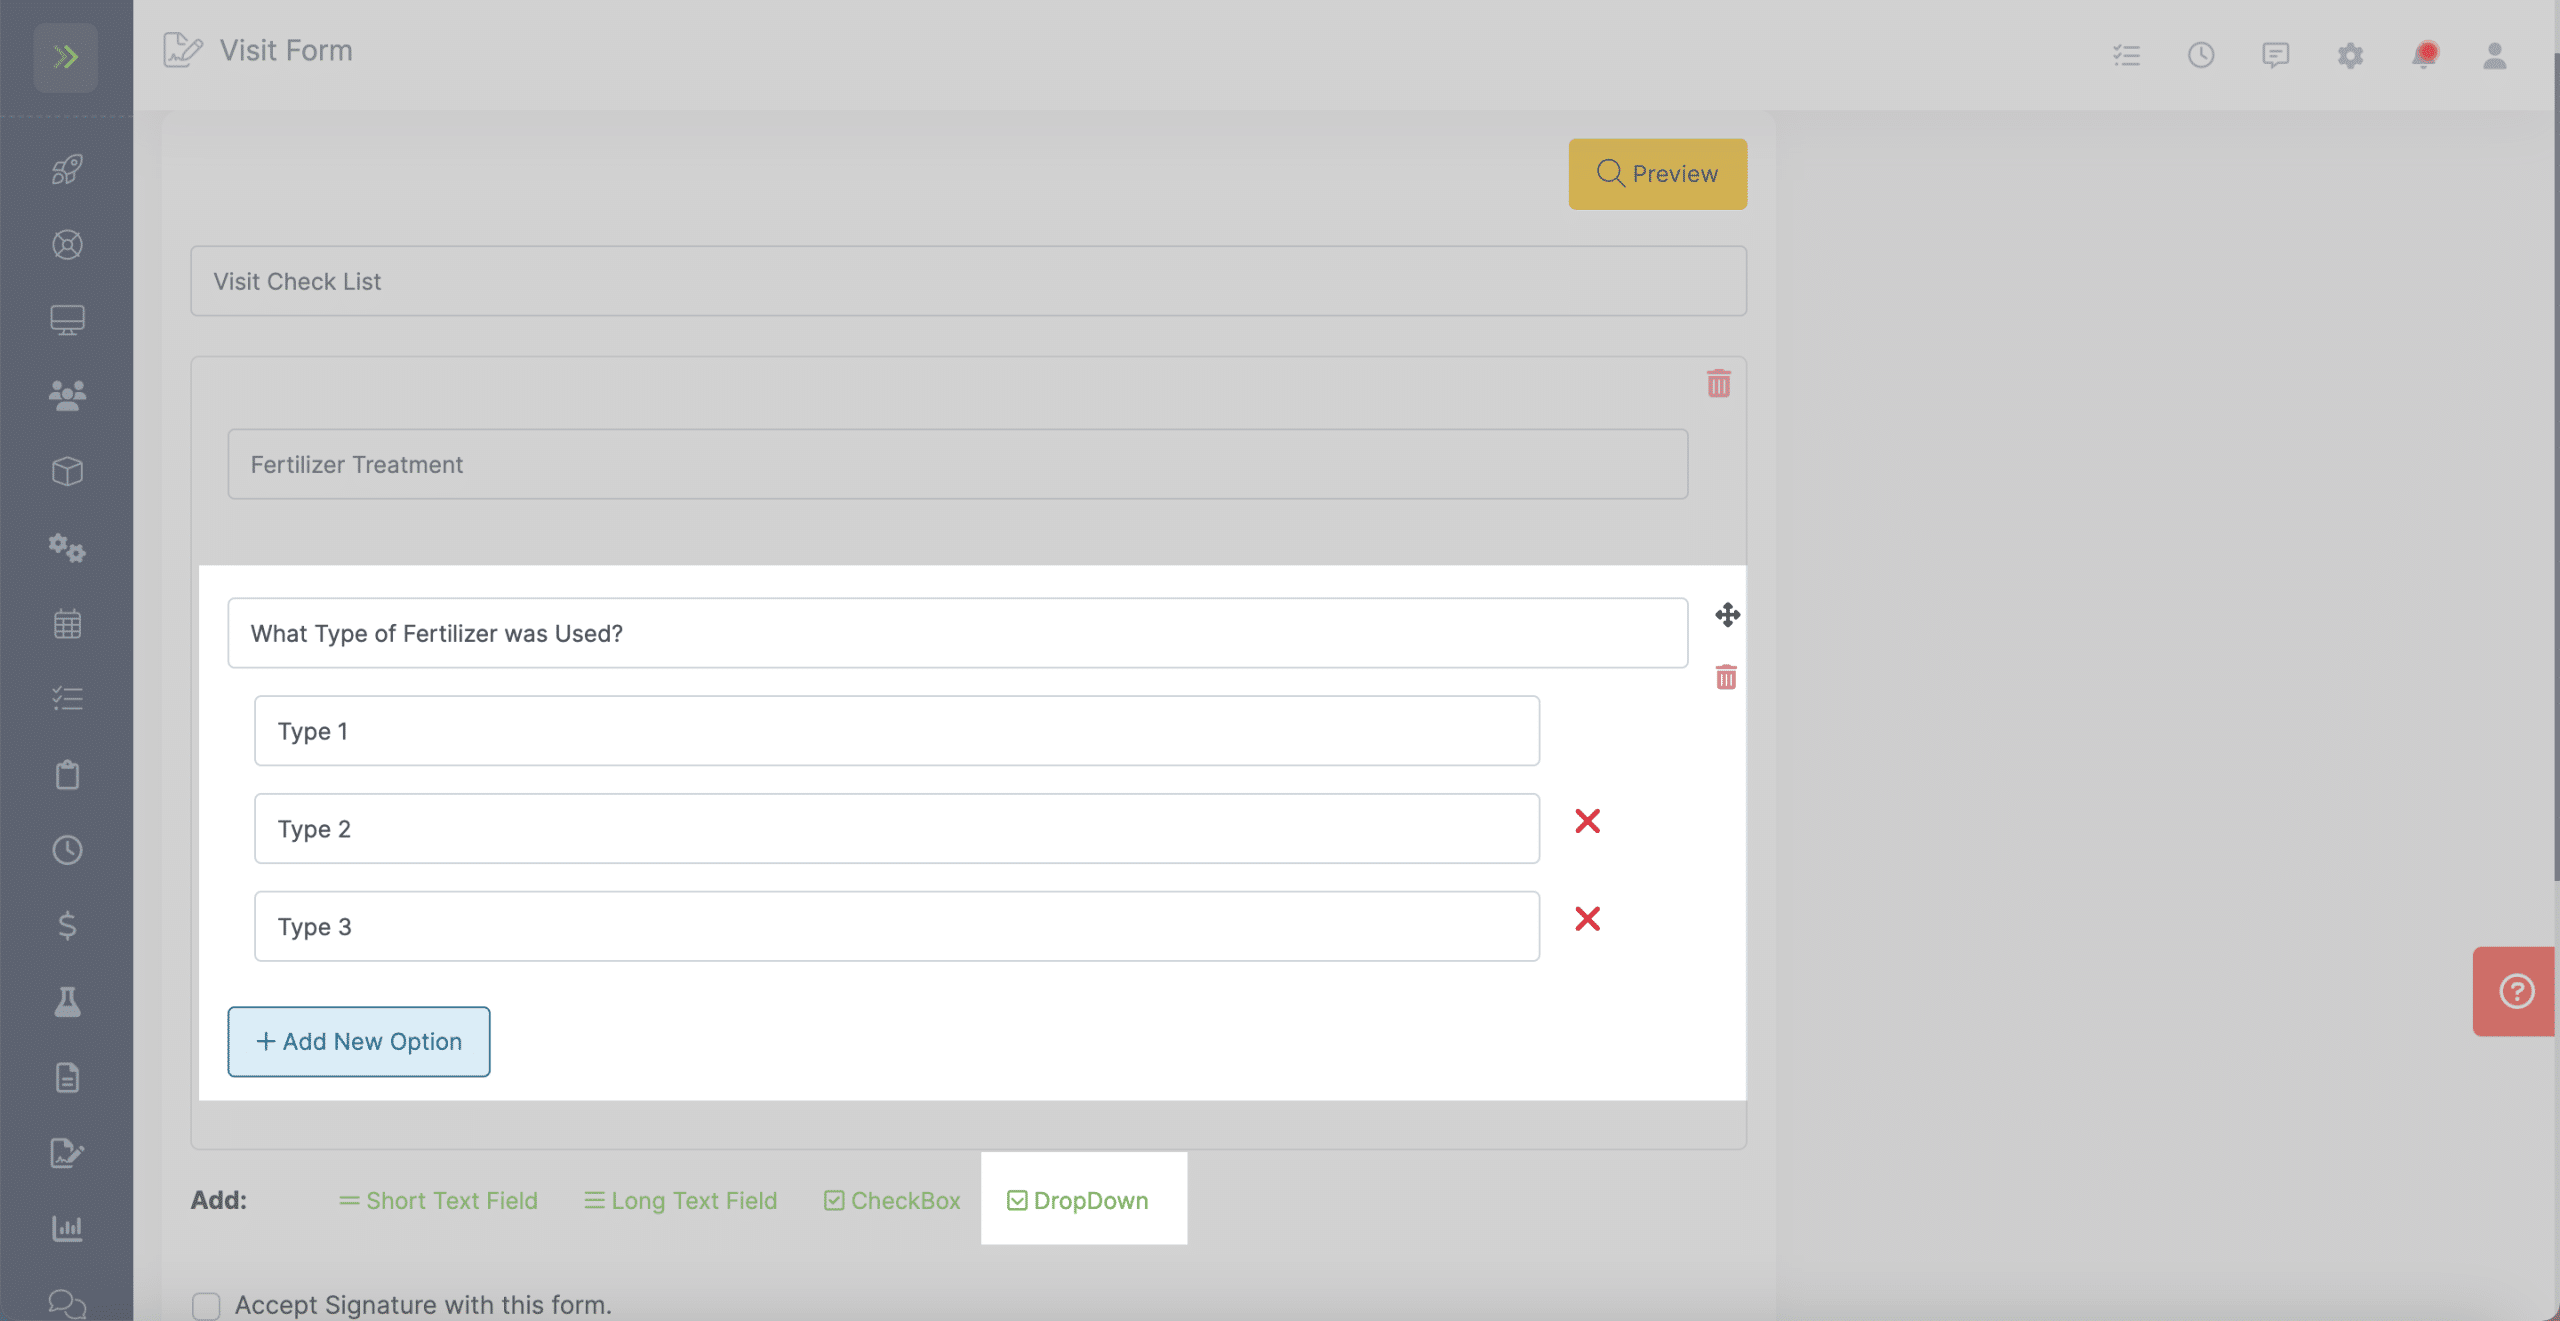
Dropdown
To add additional sections click the “+ Add New Section”
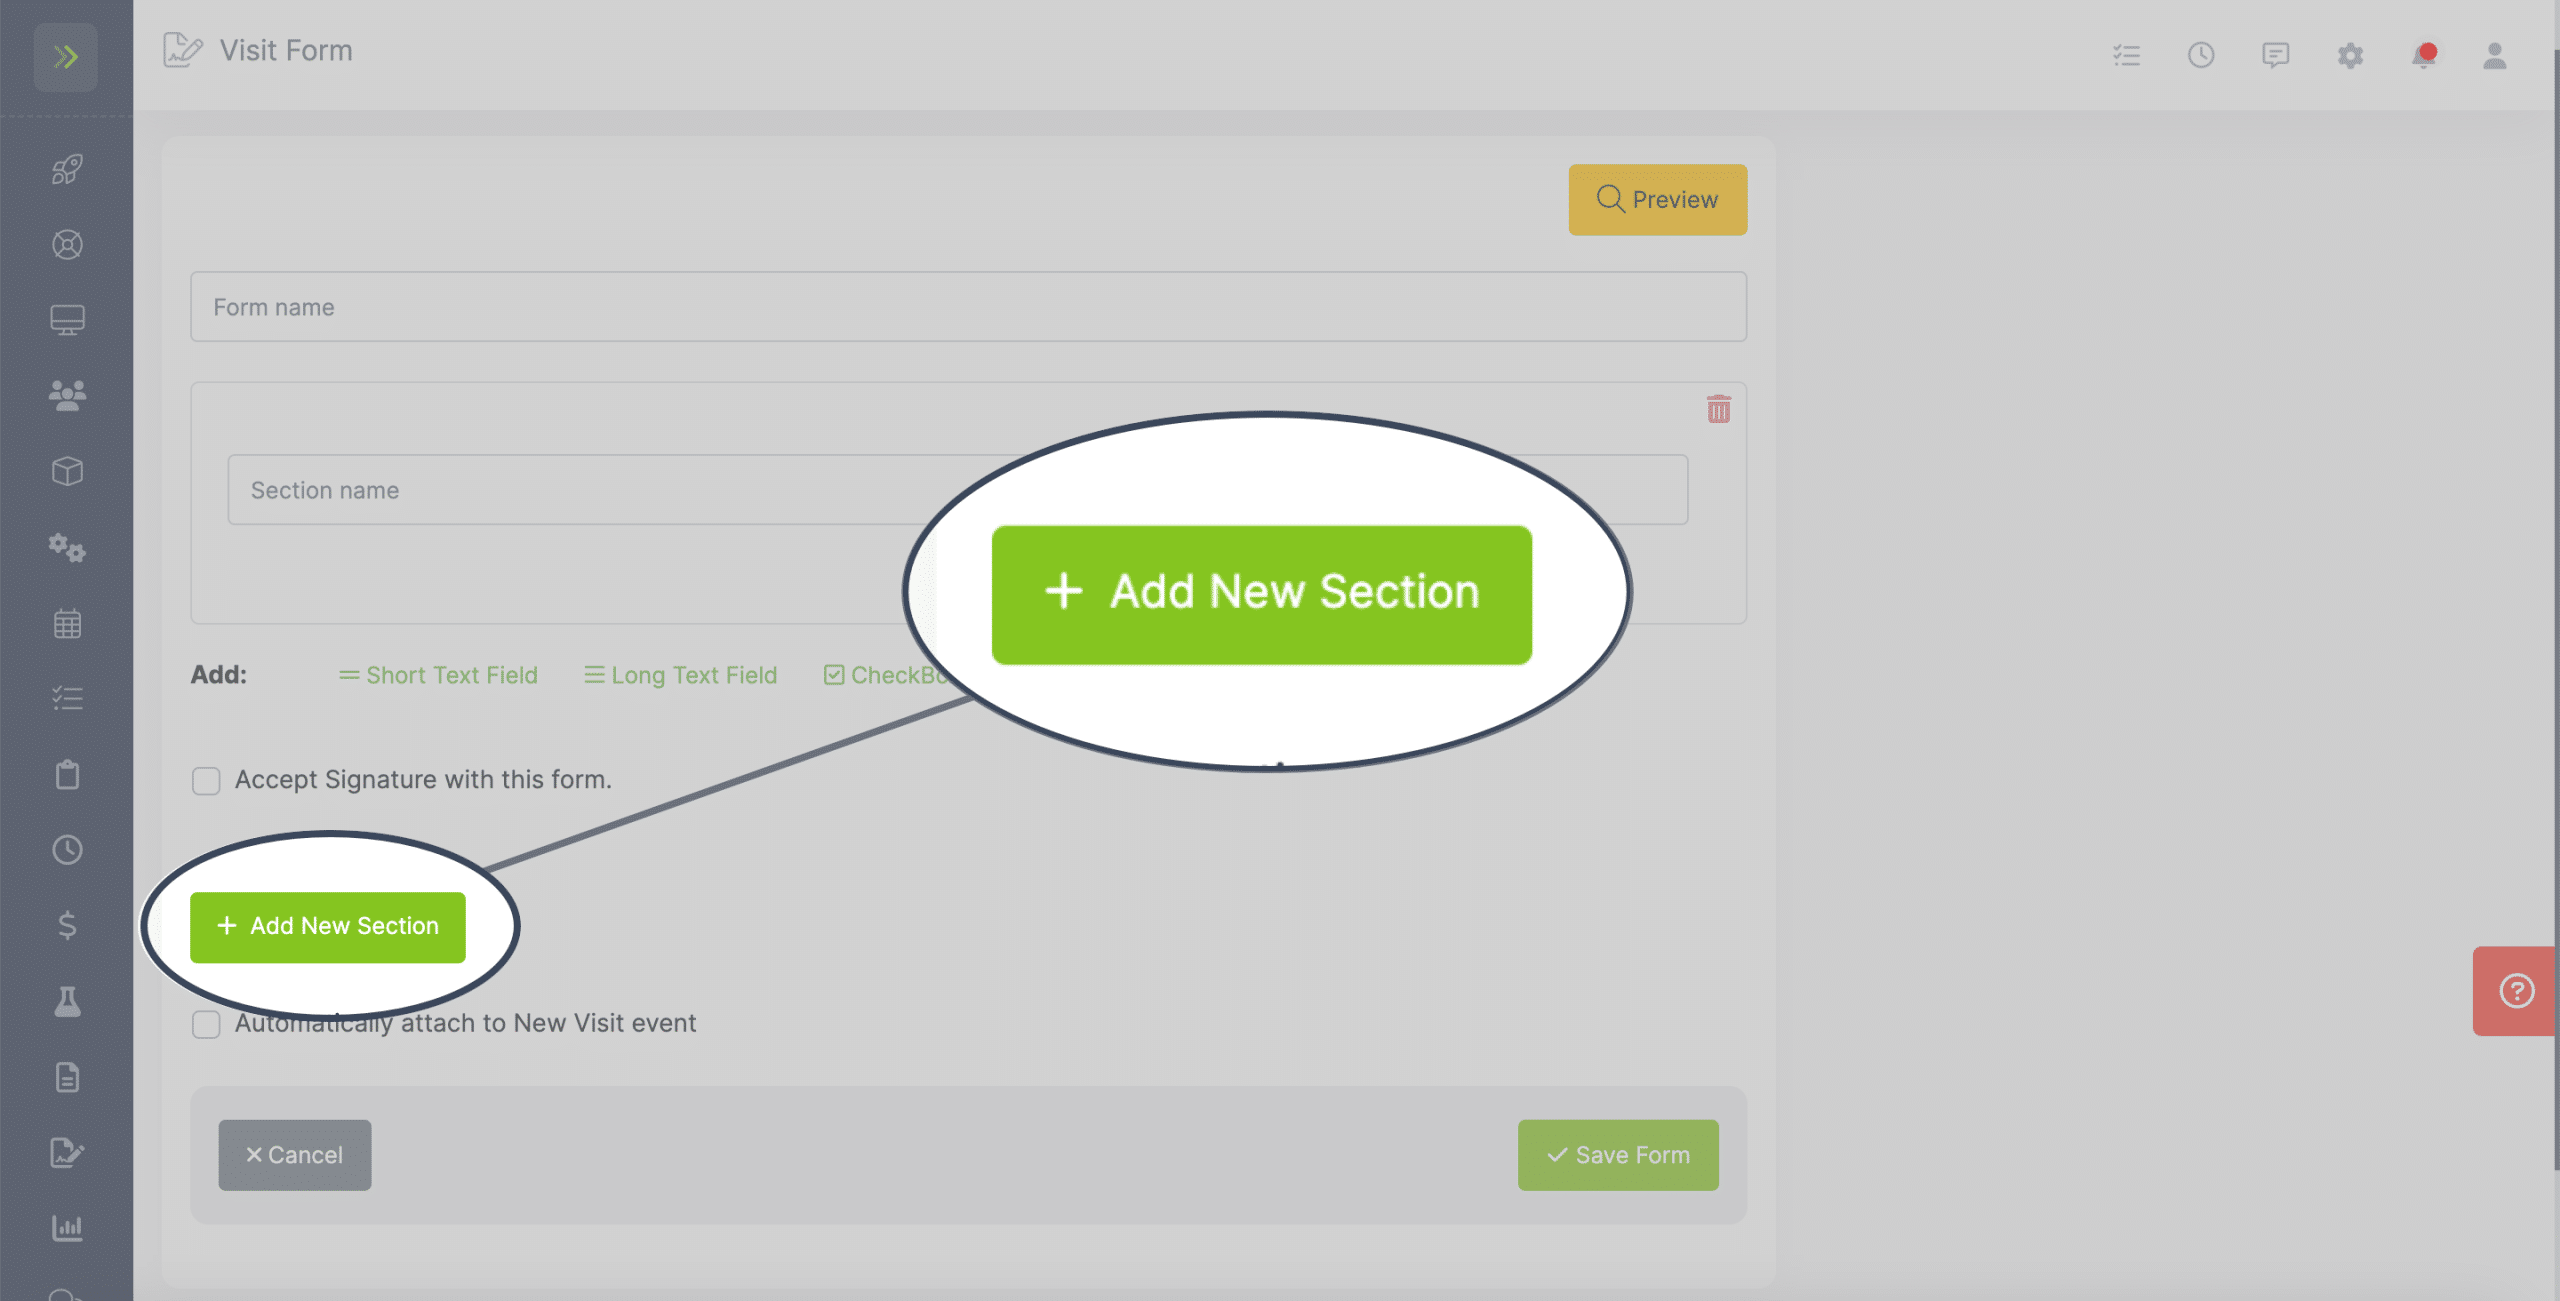
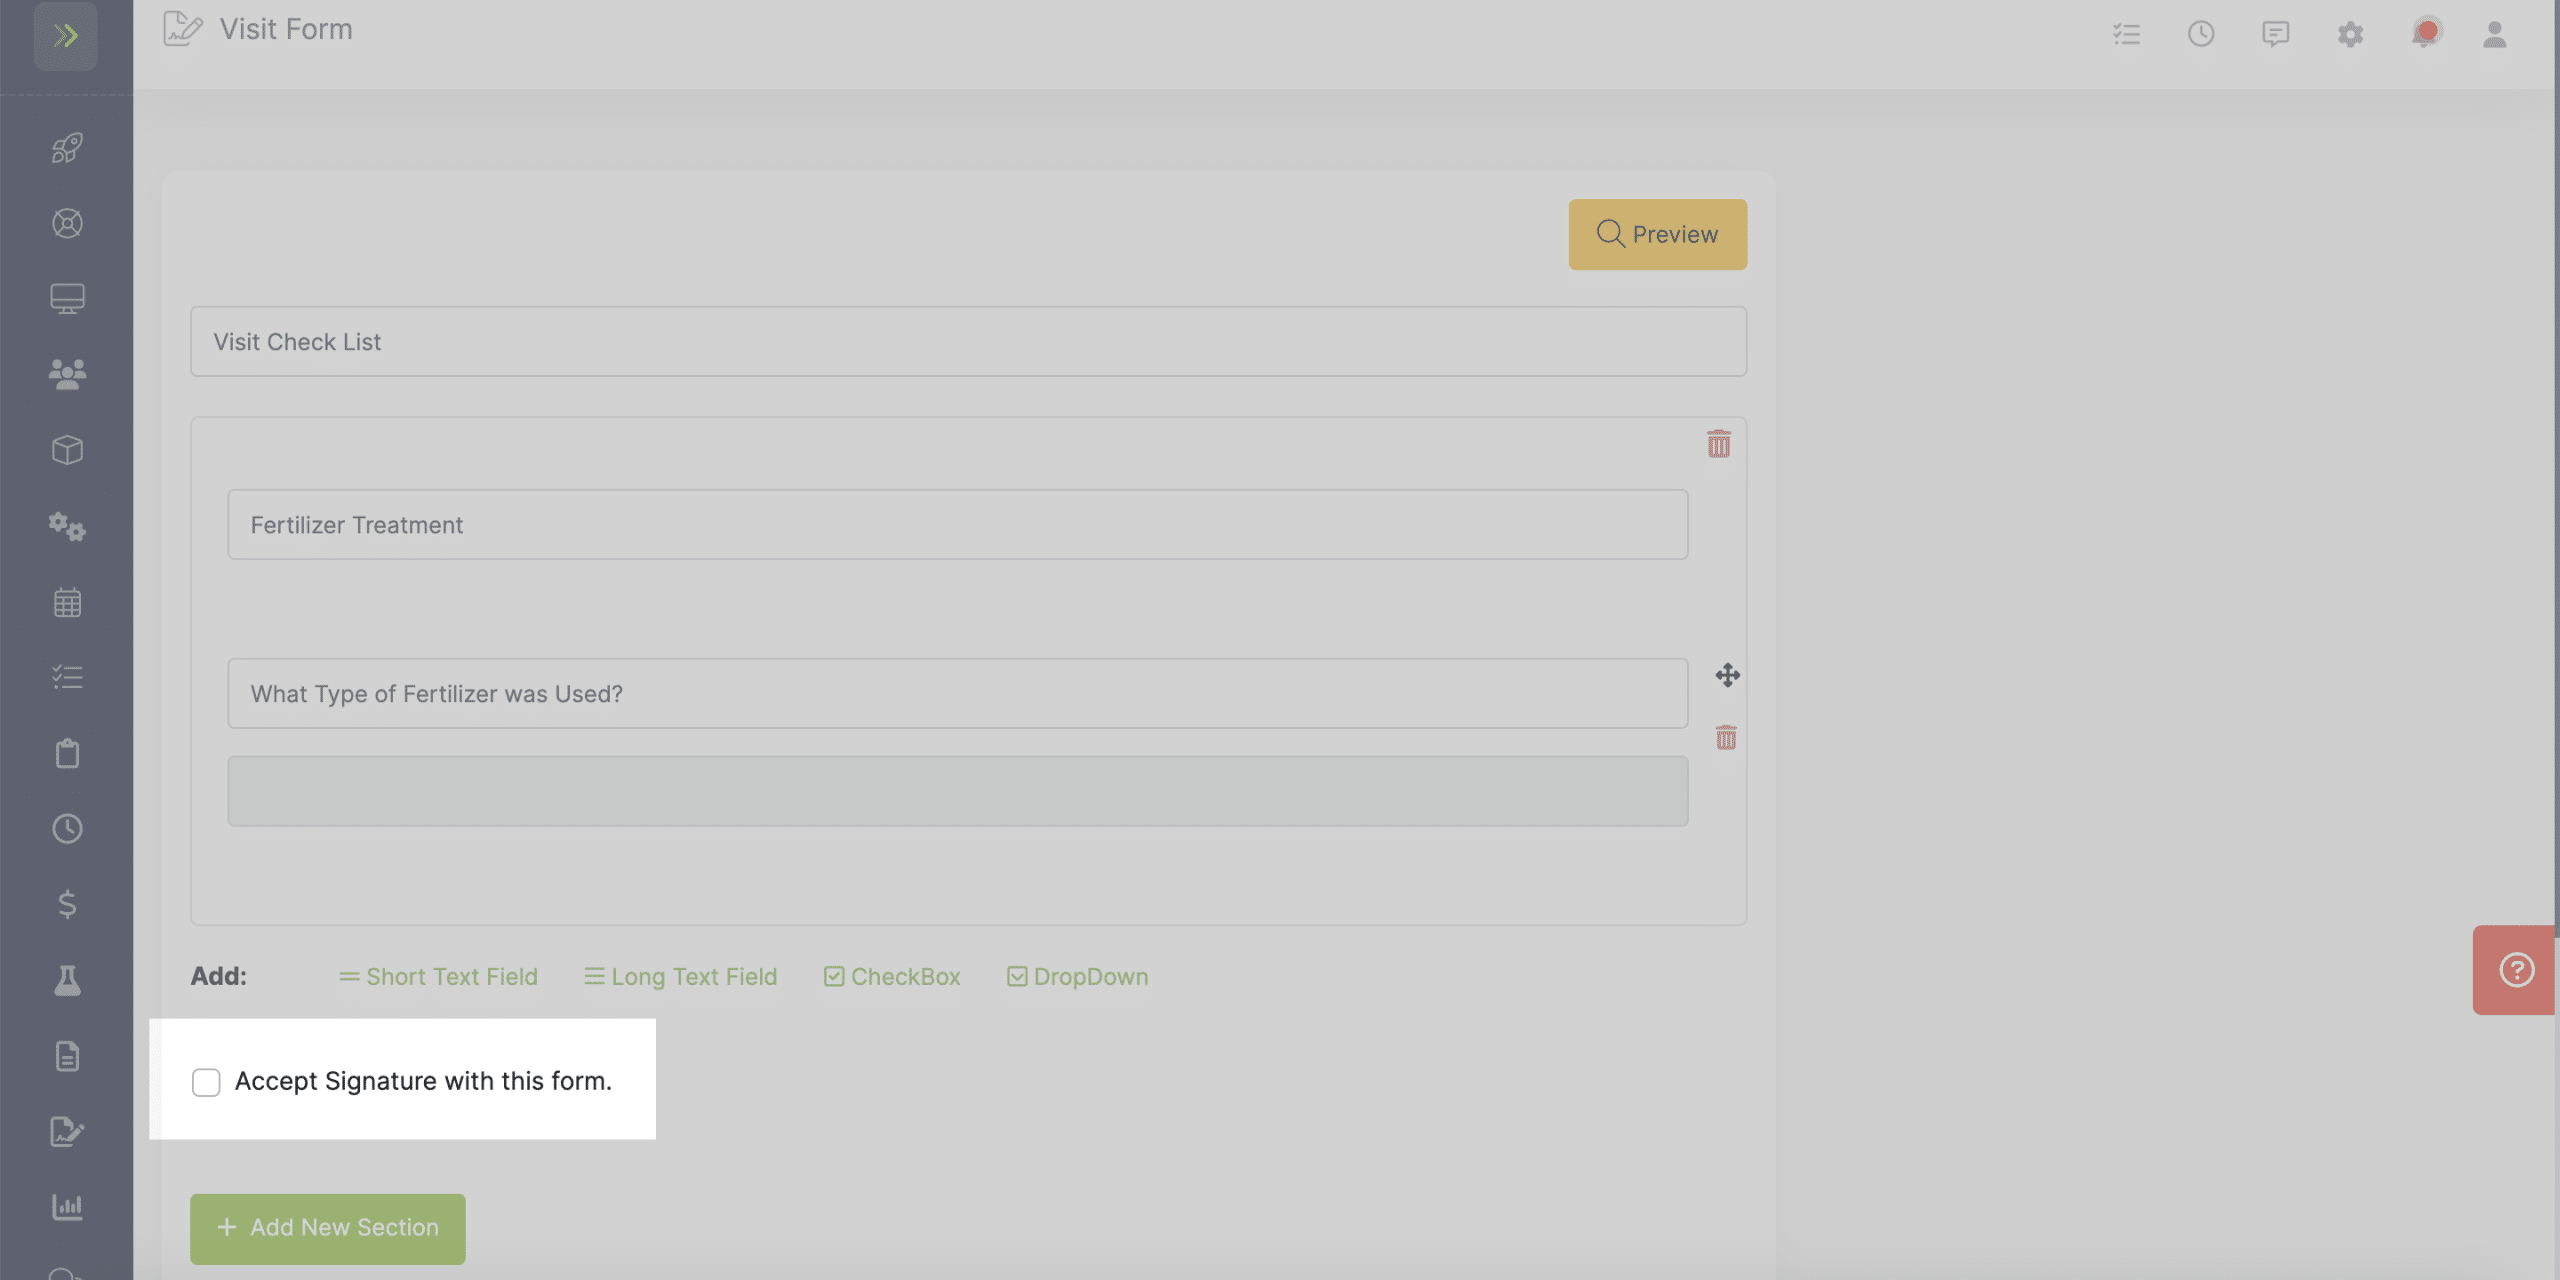
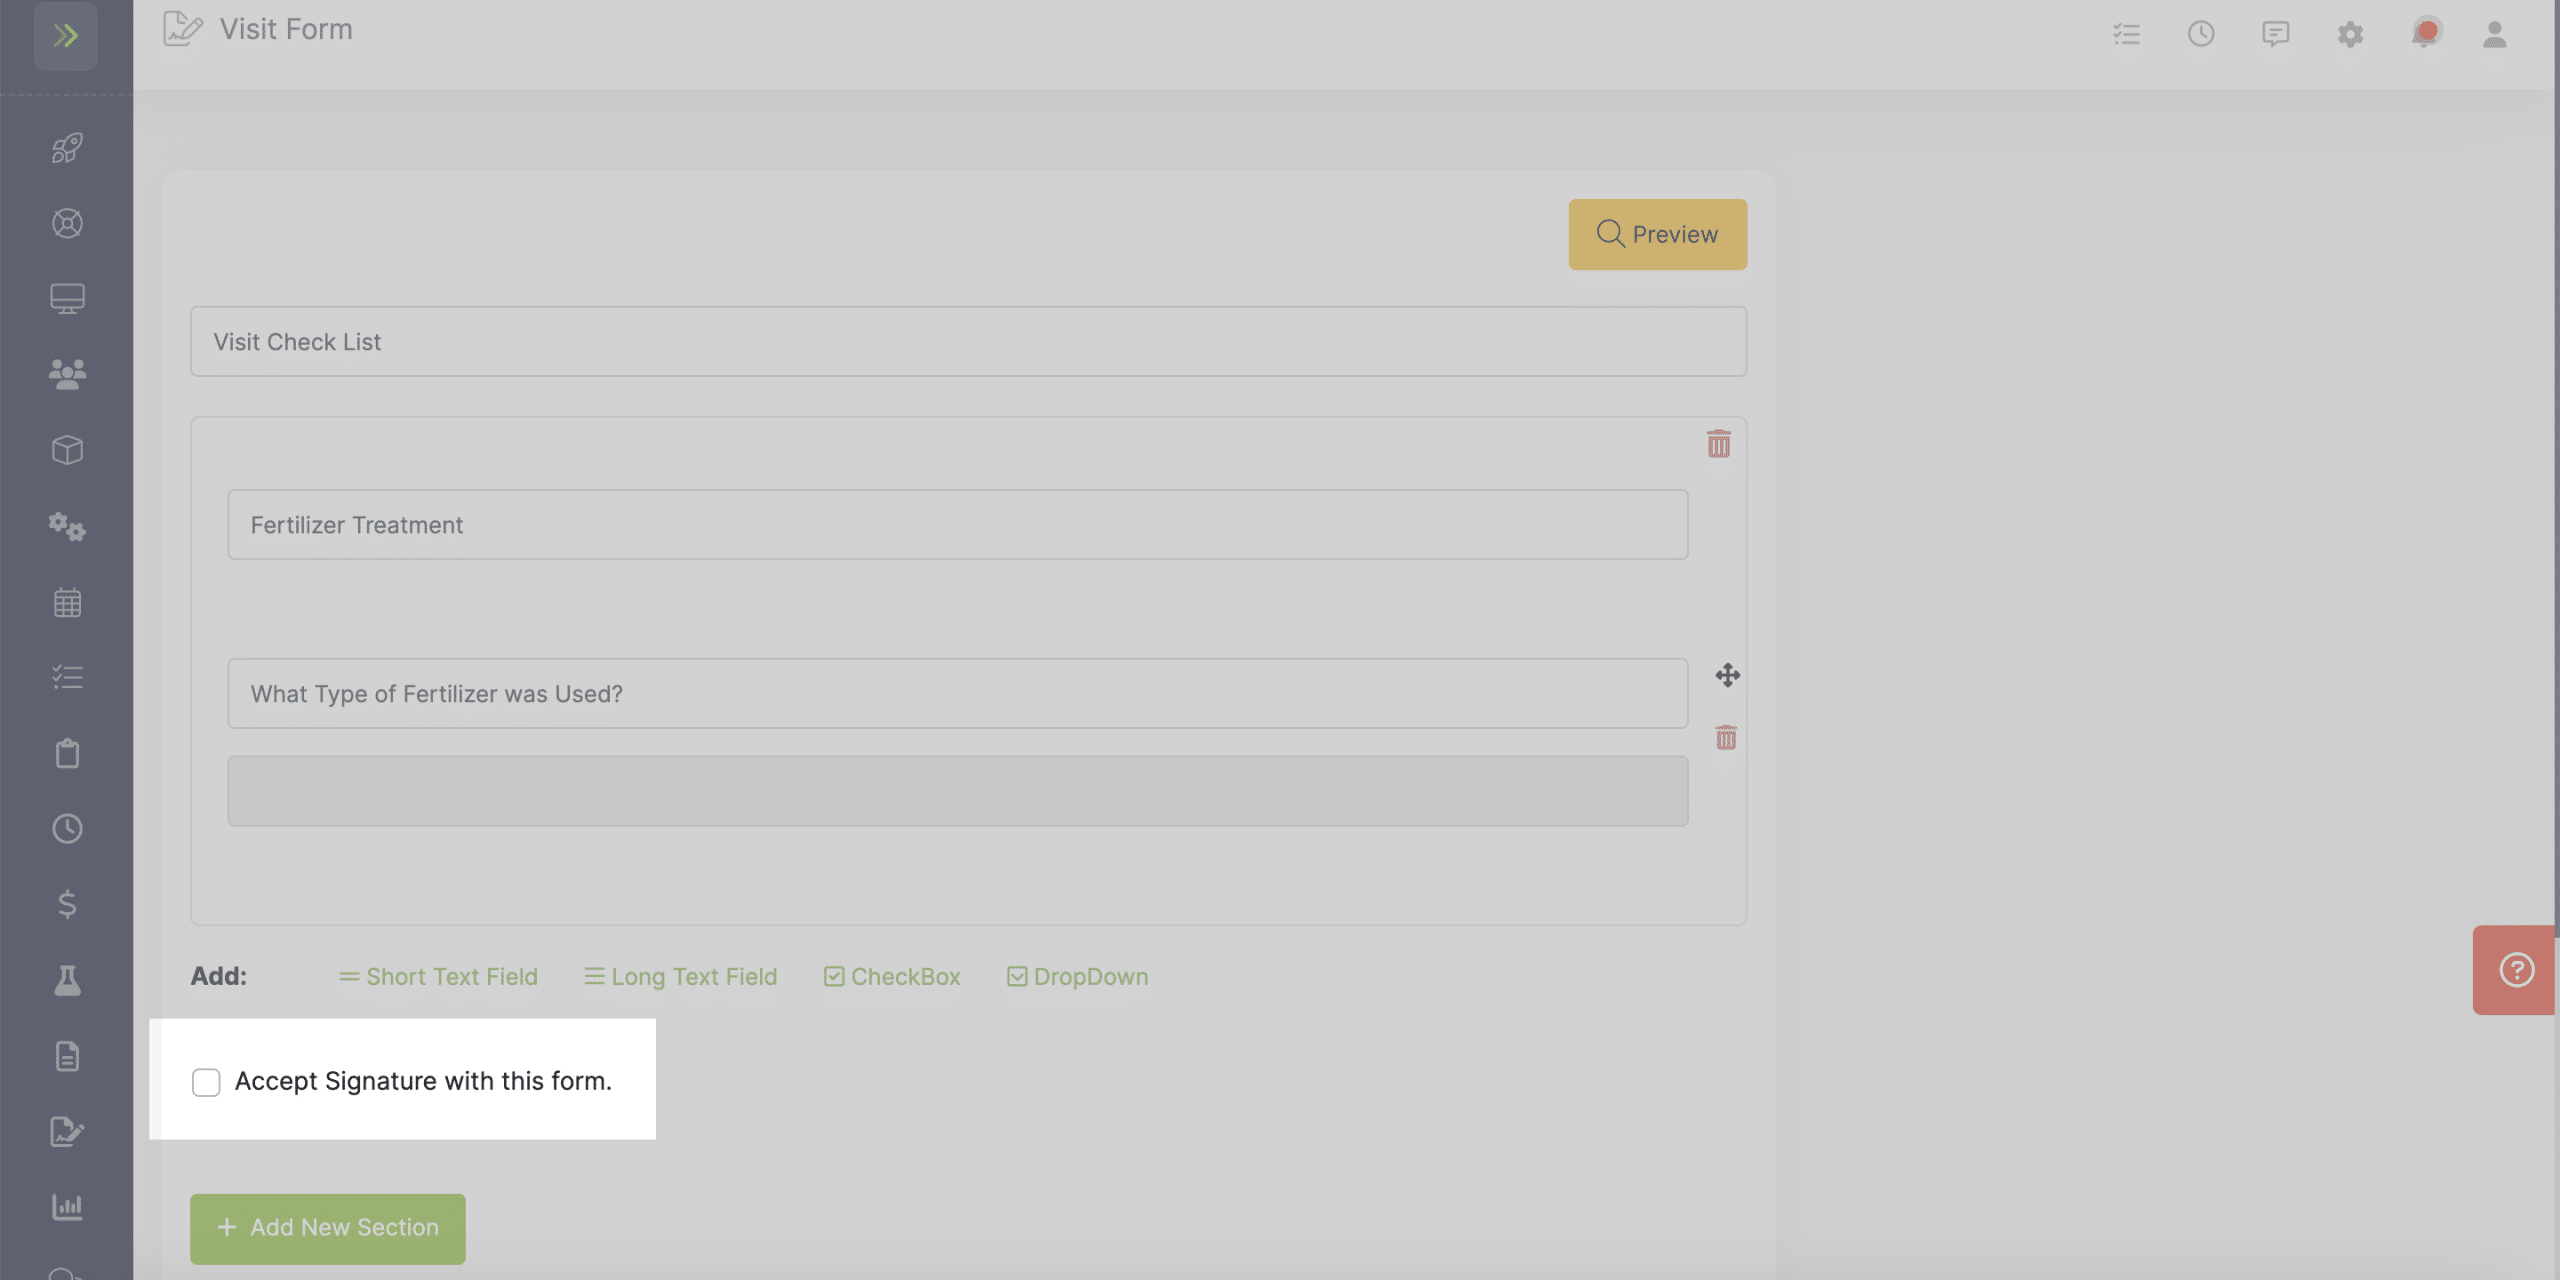
If would like to add a signature field on this form, select the box beside “Accept Signature with this form.”
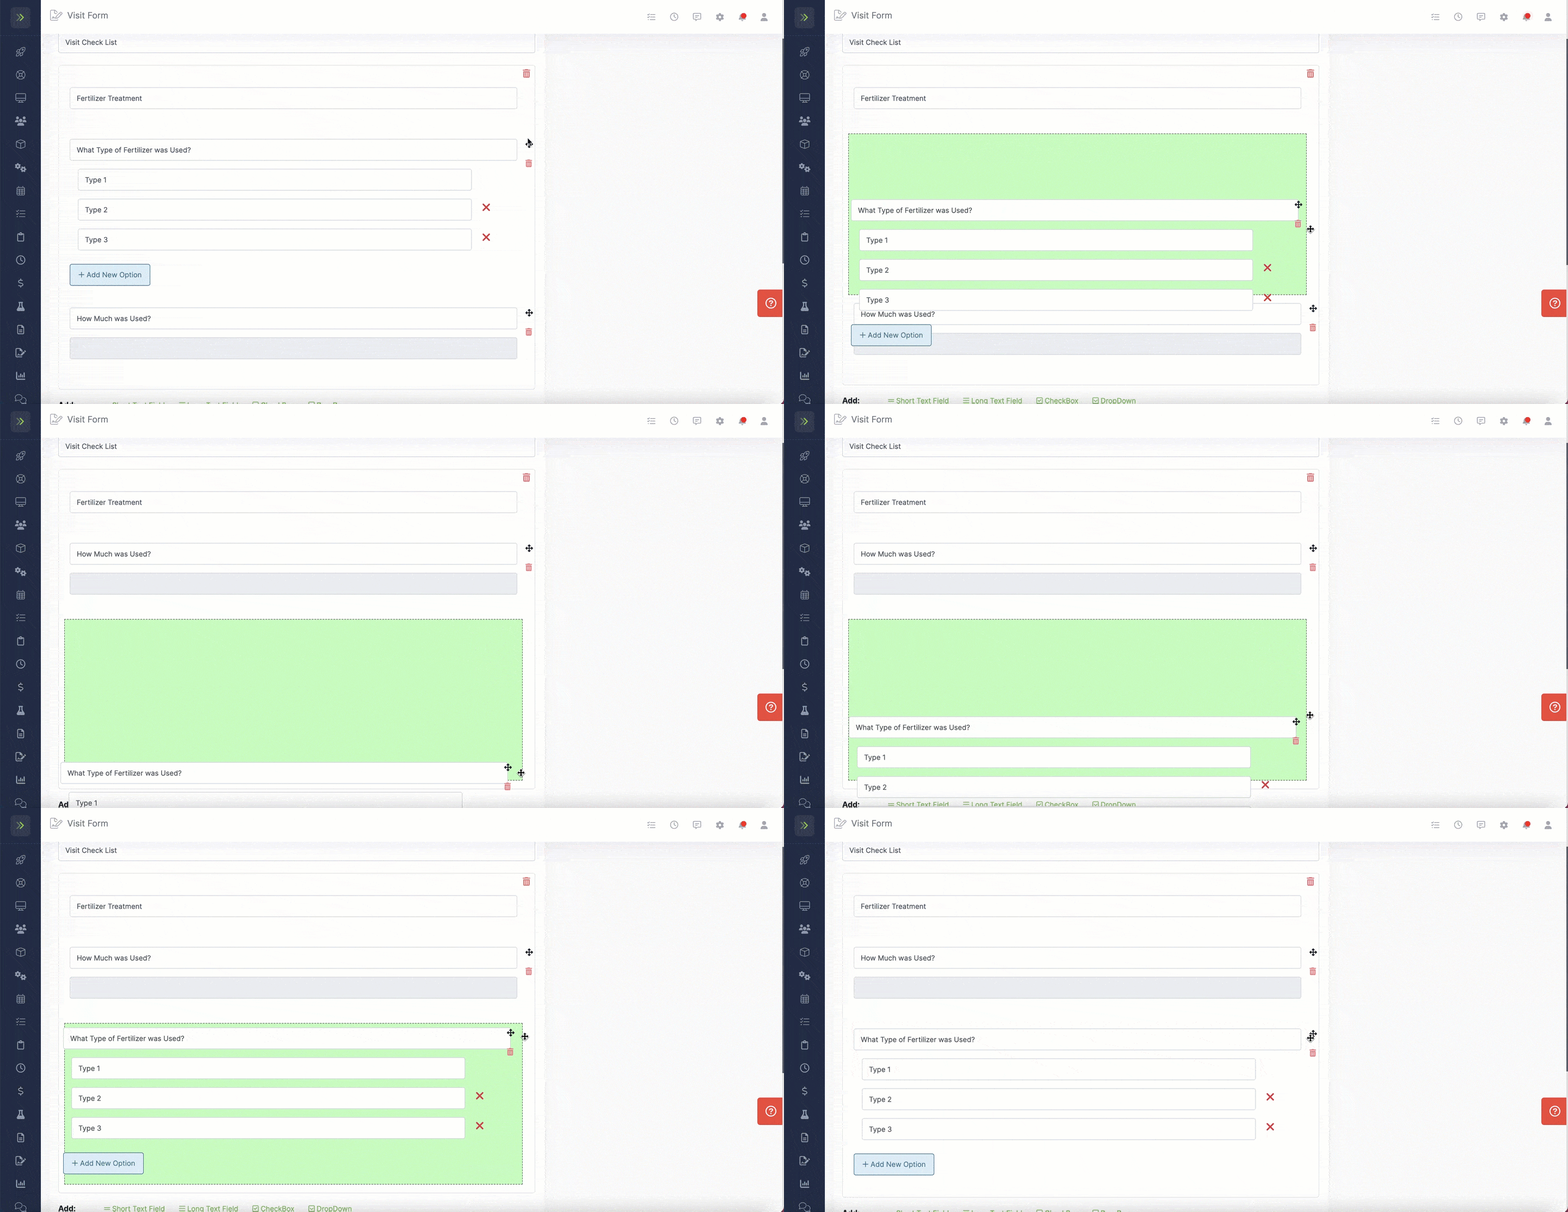
Once built, the fields can be rearranged if needed by clicking the field you’d like to move and then dragging and dropping it using the drag and drop icon to the right (above the trash bin).
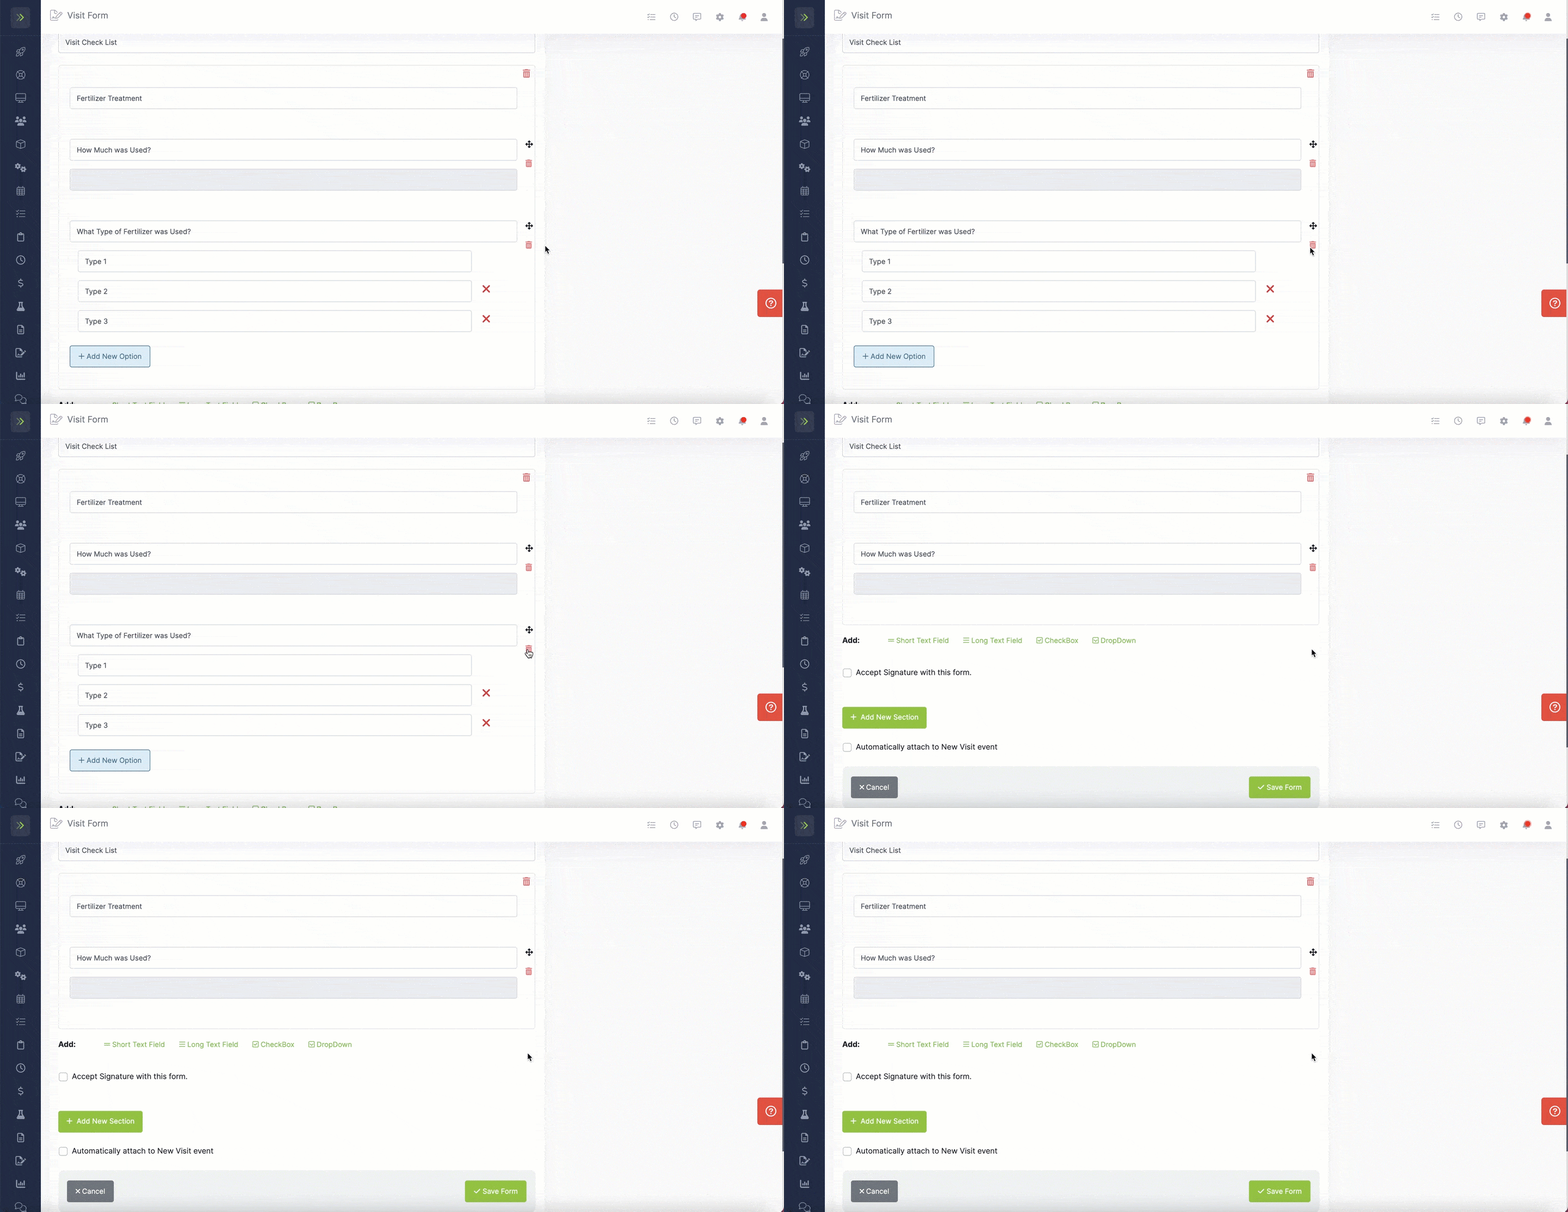
To delete an option, click the trashcan button.
To add this form to your future jobs automatically, check the box beside “Automatically attach to new visits.”
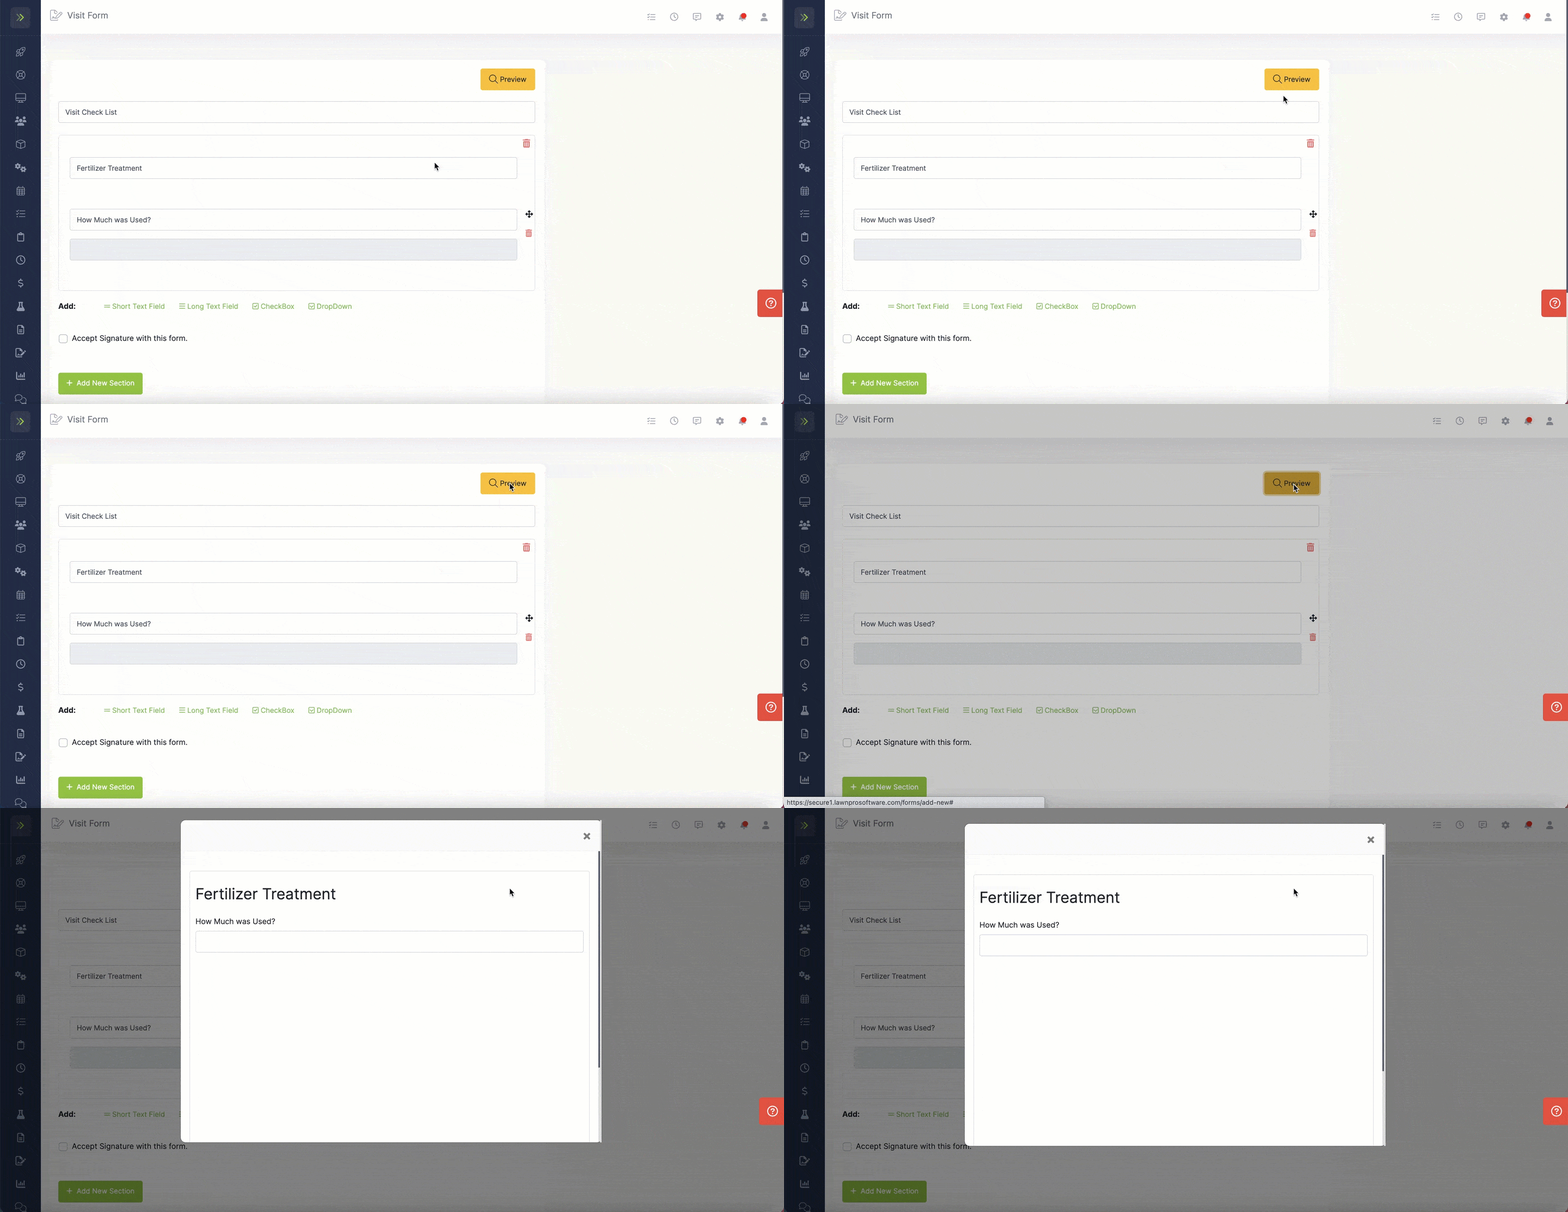
When you are finished creating your new visit form, you can click the yellow “Preview” button to see what it will look like.
The preview will appear as a pop-up so you can review the form. To exit the preview and continue building the form, click the X in the top right.
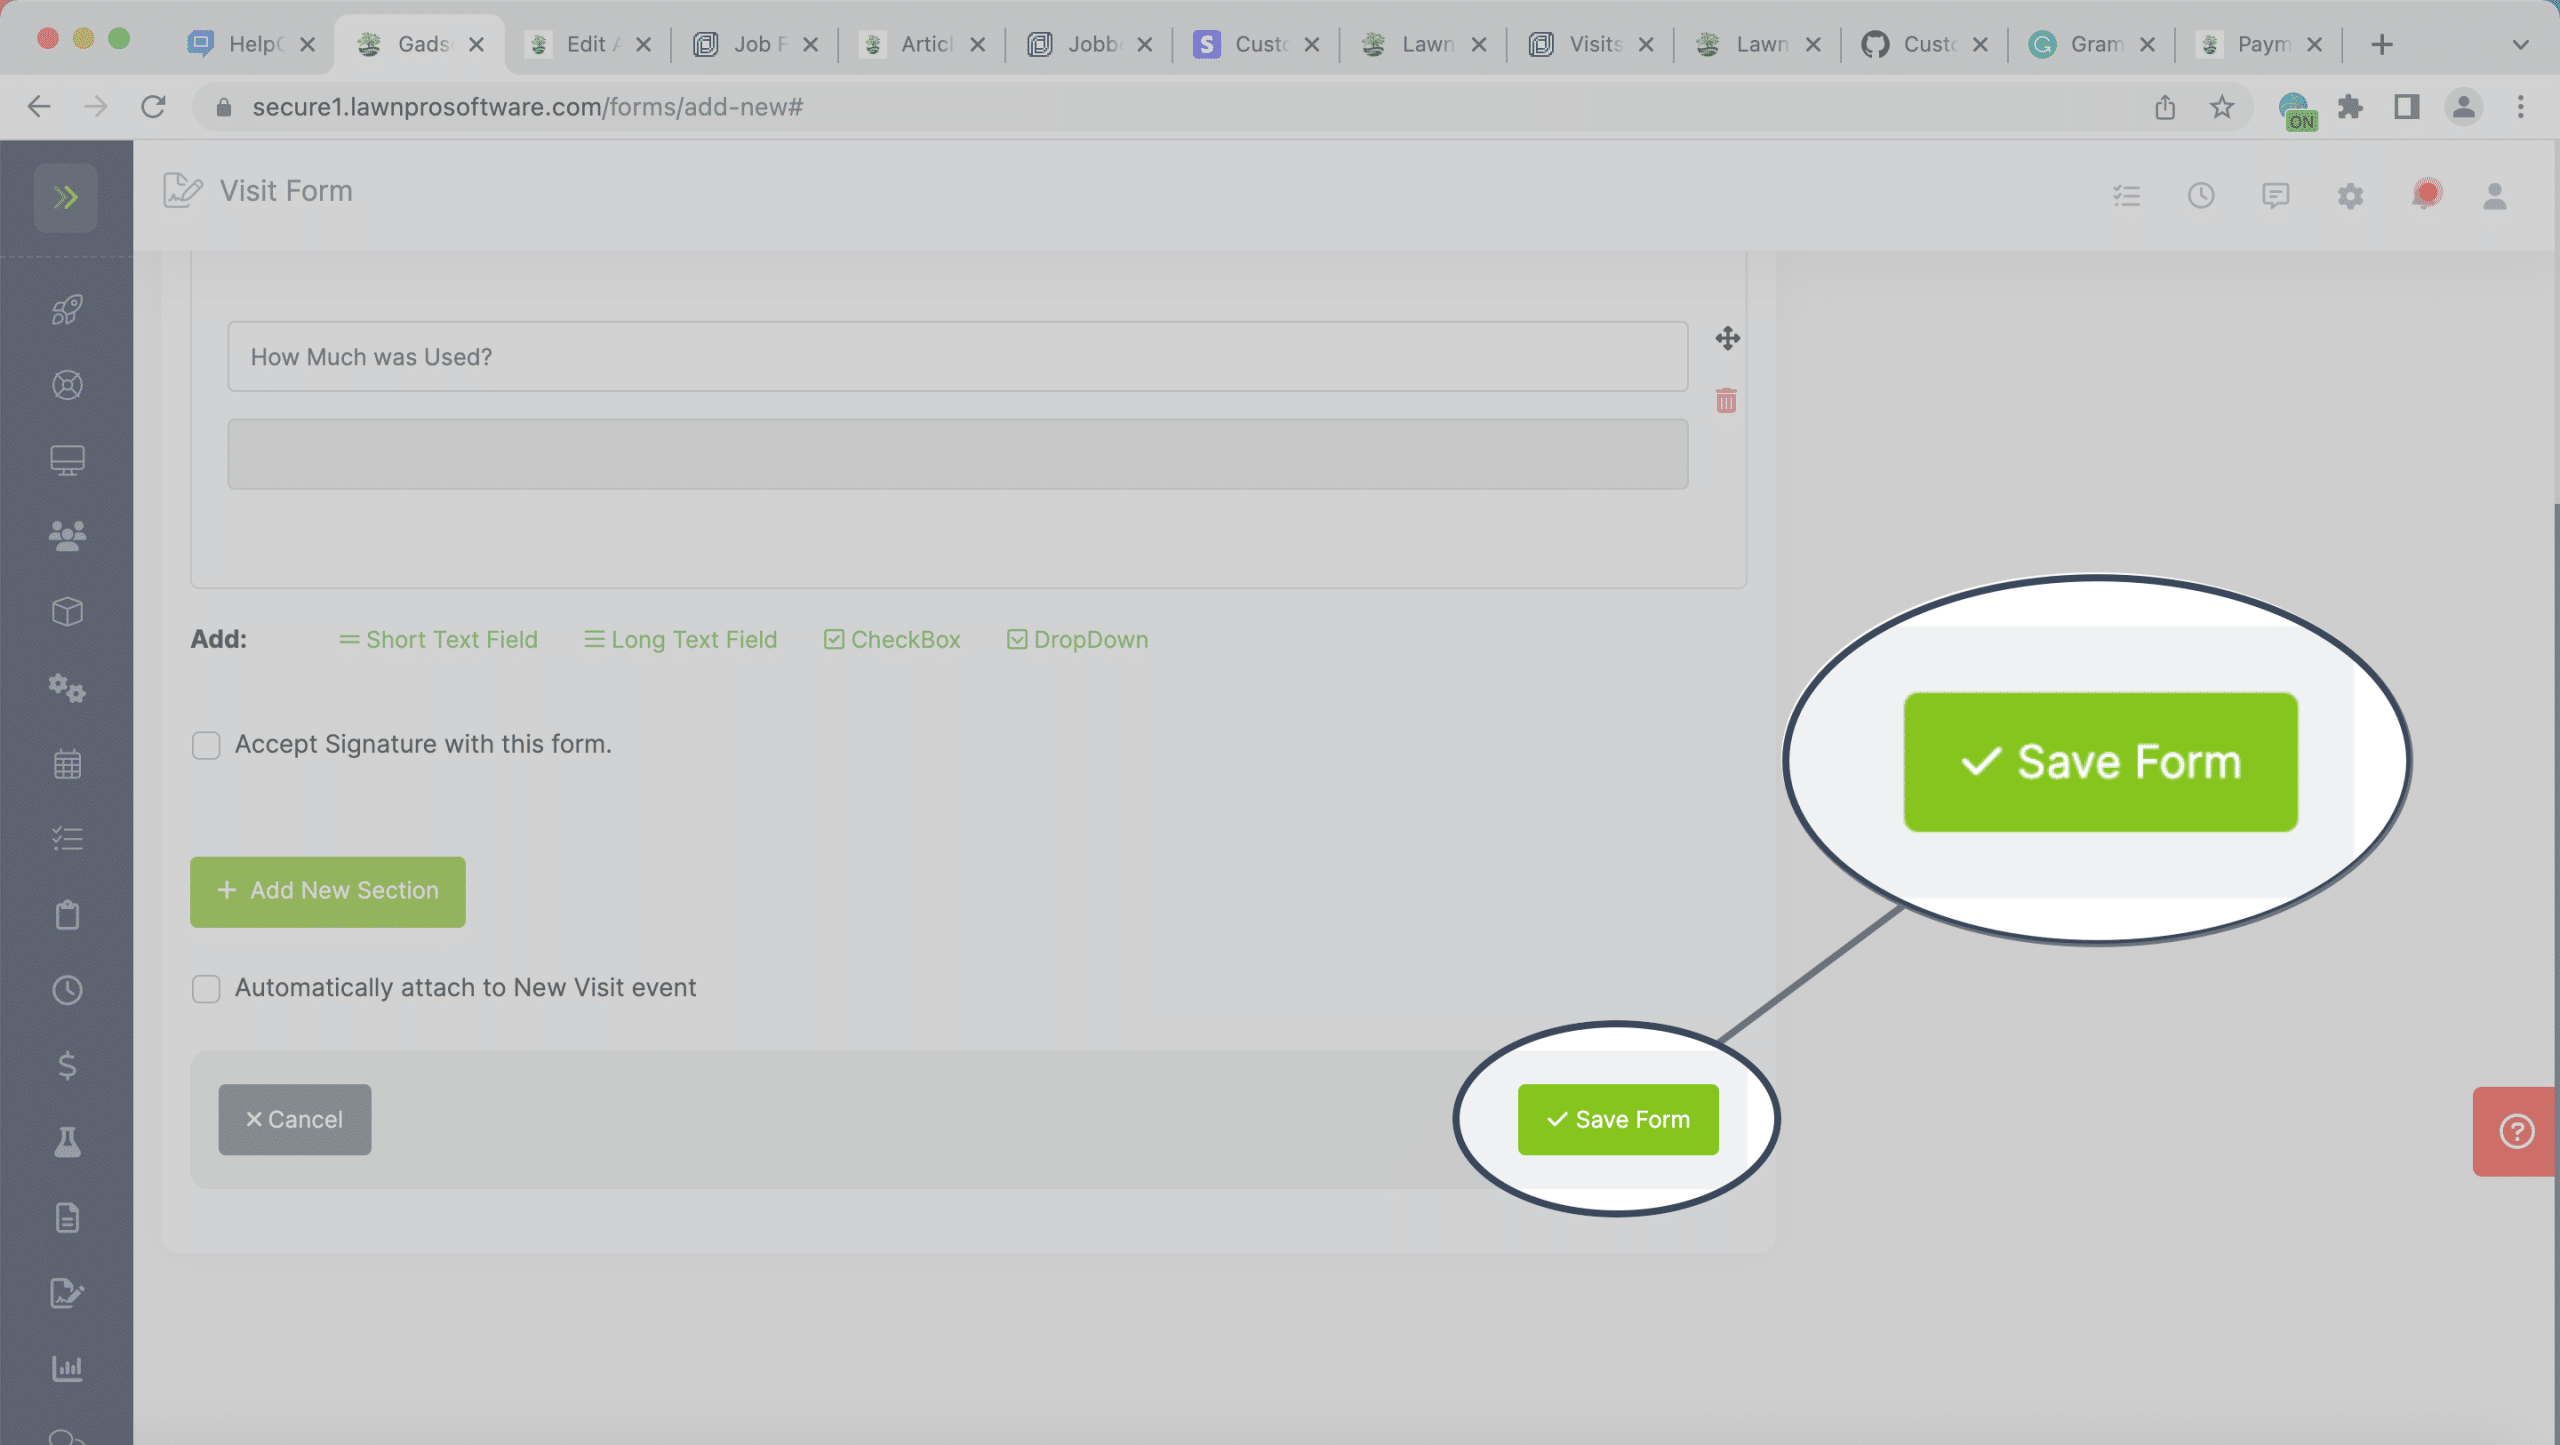
When you are satisfied with your new visit form, click the green “Save Form” button.
Add Visit Forms to Specific Visits
If you want the visit forms to only show on some of the jobs you create, you will have the option to add them when you create a new job, or edit an existing job. If you edit a job and remove a form, your old filled-out forms will still be visible on the completed visits.
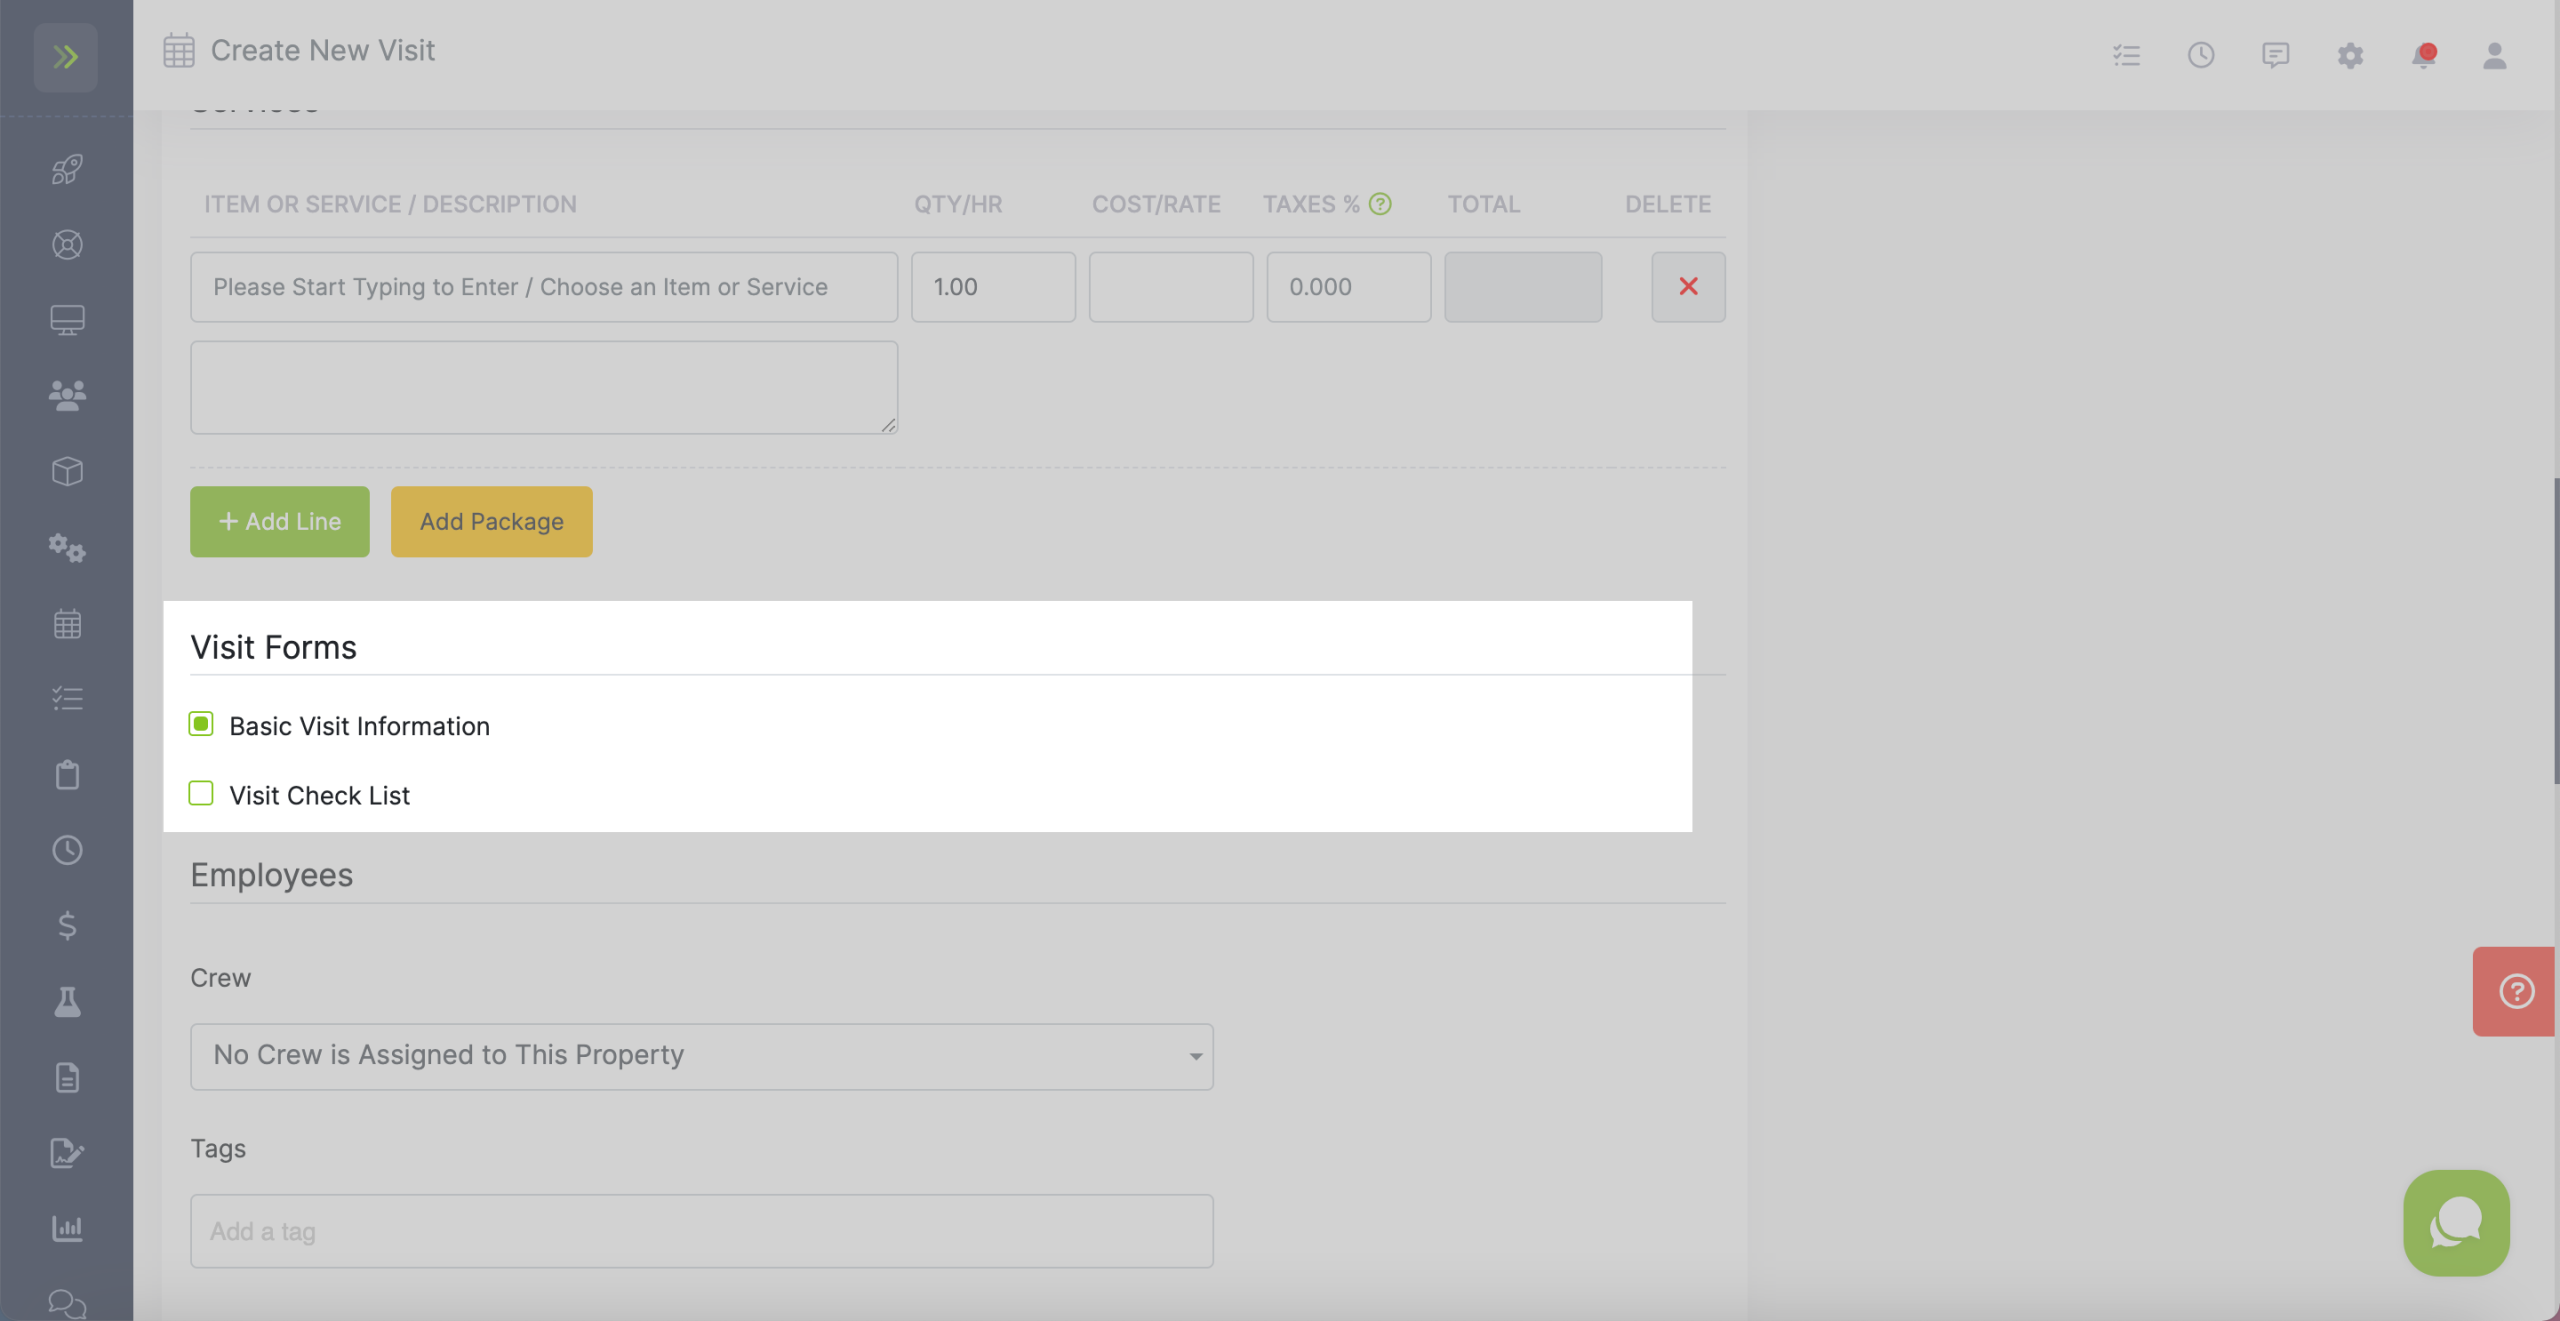
While creating a new job you will see the option to add a visit form. If you had selected for a form to automatically apply to new visits then you will see it already marked.
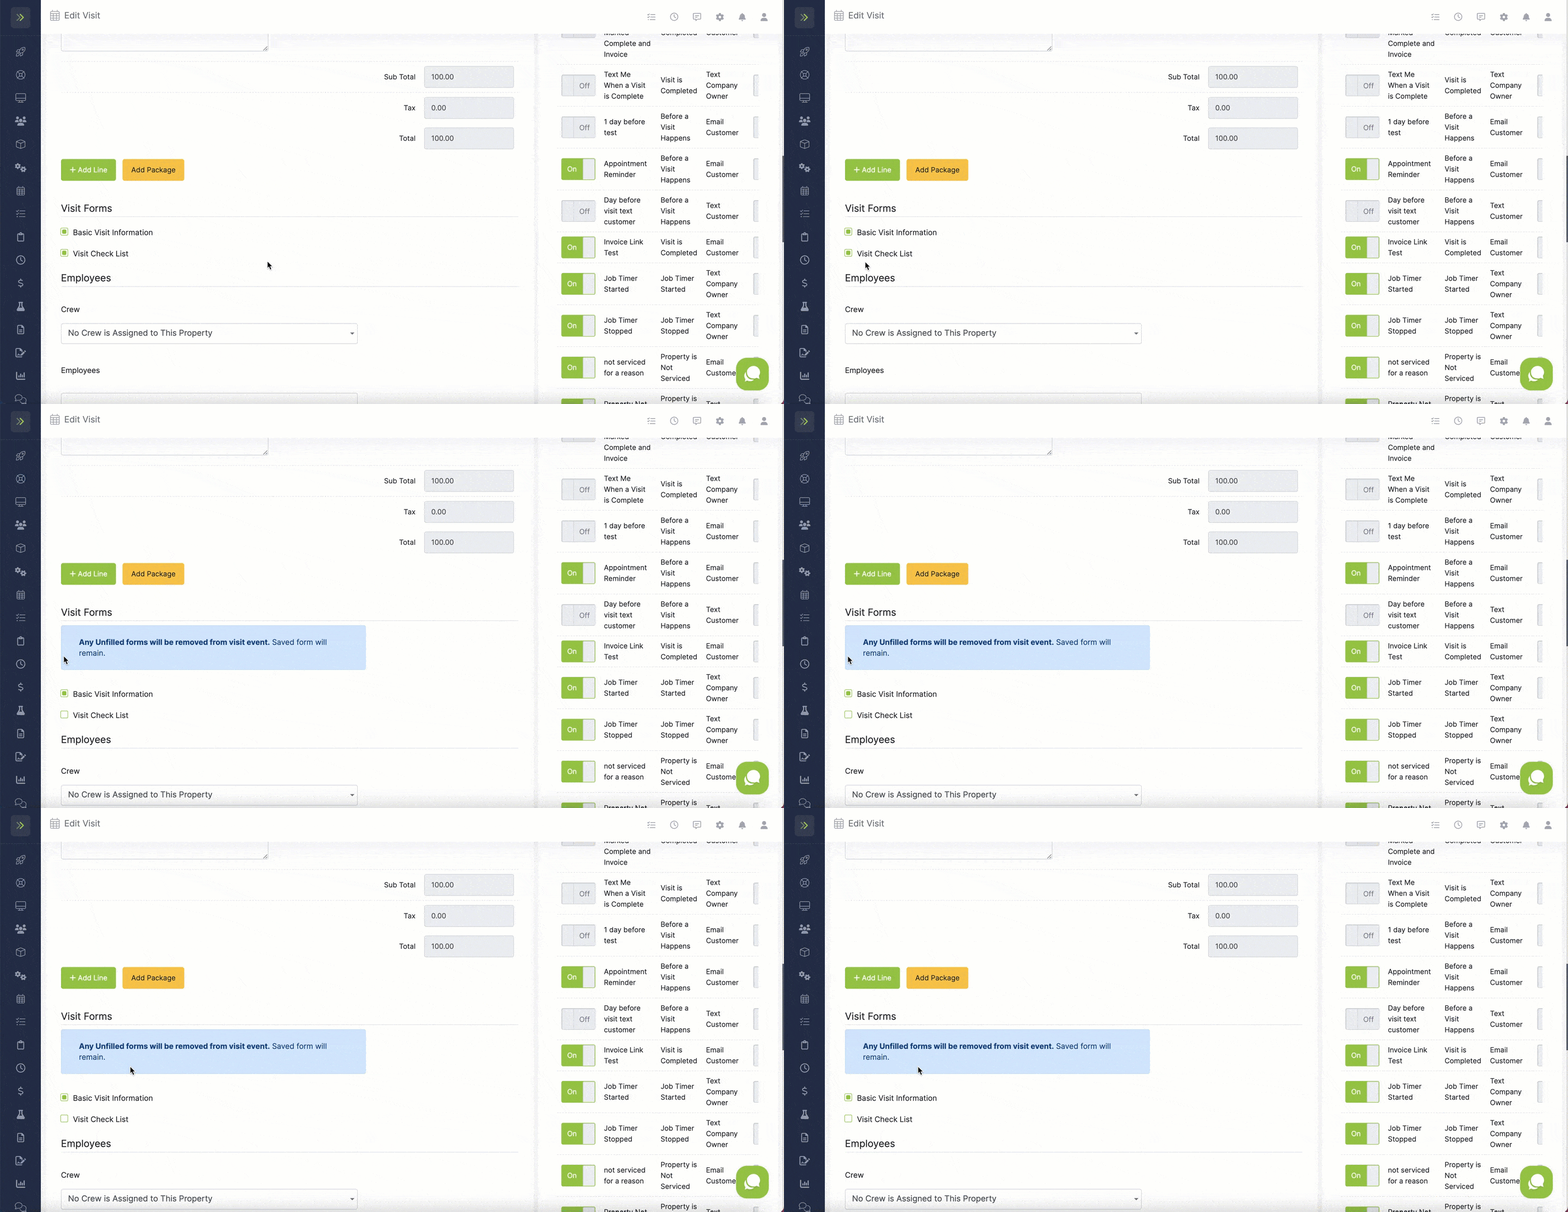
When editing a visit to remove a visit form any unfilled forms will be removed from visit event. Saved forms will remain.
Filling Out a Visit Form
To fill out the visit form, you will go the to schedule tab to see your calendar.
Once you are on your calendar, you will click on the visit and then you will see the “Visit Form” tab.
Once the form has been filled out click the green “Save” button.
Viewing a Completed Visit Form
To view a completed visit form, you will go back to the visit on your calendar and click on the visit.
You will click the “Visit Forms” tab and will see the completed forms.
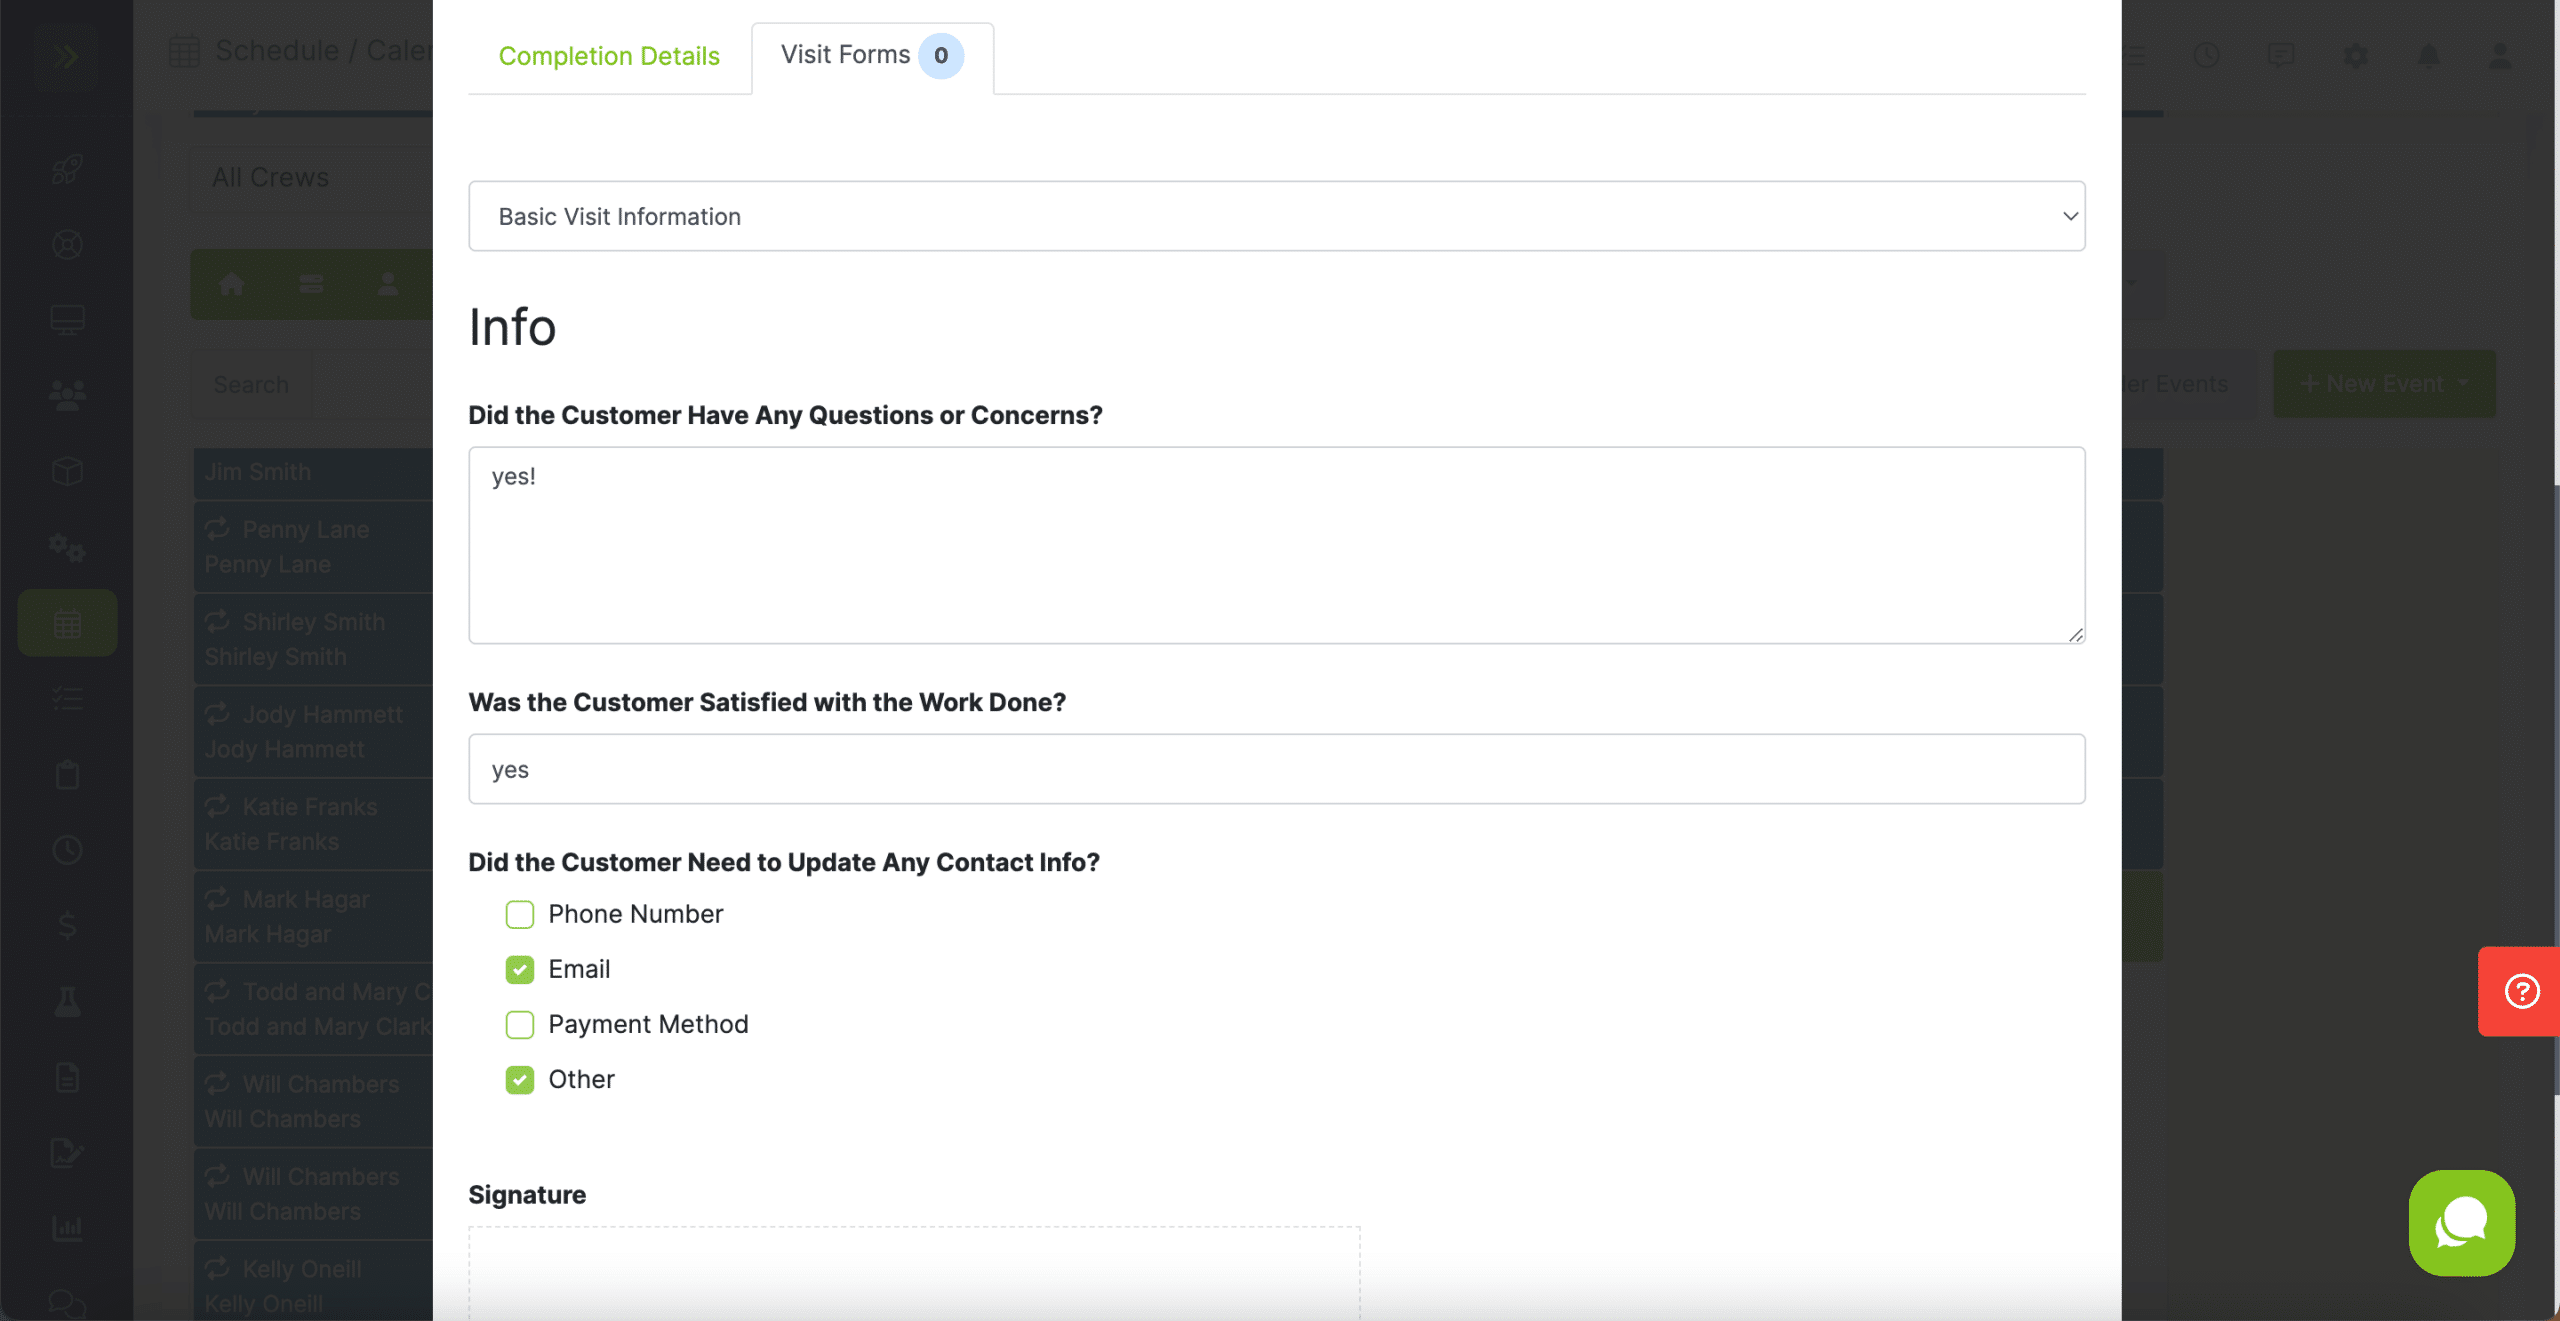
Visit Forms Examples
There are no limits for what you can create visit forms for and they can certainly be customized based on your team’s needs, but here are some examples of visit forms to give you some ideas:
- Service Authorization Forms: If you want your customer to authorize your work, a service authorization form can be created. You can set up fields for details like the customer name (short answer field), employee (short answer or dropdown field), date (short answer field), details (long answer field), and customer approval where a client’s name can be entered or signed to indicate their approval (short answer field or signature field.)
- Safety Checklists: Make sure your team has everything they need to stay safe on the job. A checklist off PPE (personal protection equipment) is a great way to accomplish this. Making sure hazards are cleared out of the way and other safety measures would also be a good idea to include on this time of visit form.
- Inspection Forms: If your business requires your team to perform an inspection while on a job, the inspection form can be created in your LawnPro account using a visit form to make sure all the correct things are looked at and inspections are done the same way by all employees. A checklist along with short and long answer fields would be great for this type of form, so inspected items can be checked off and specific details can be noted.
- Equipment Checklists: Create a checklist to ensure all the correct equipment for the is being taken for the job. Also include checkboxes of everything your team needs to have with them.
- Chemicals: Use a drop down with short answer fields to track the chemicals being applied during a visit directly to the visit form and easily create lists of each chemical applied as well as the quantity.
- Start or End of Day Checklists: Make sure nothing gets missed at the beginning or end off a work day. Set up a checklist with a visit form with checkboxes that need to be completed and a long field at the end of the form to record any notes about the day.