Table of Contents
Work Request Settings
To get to your work request settings you will click your settings (the gear icon at the top right of your dashboard.)
On the Work Request settings page you can do several things:
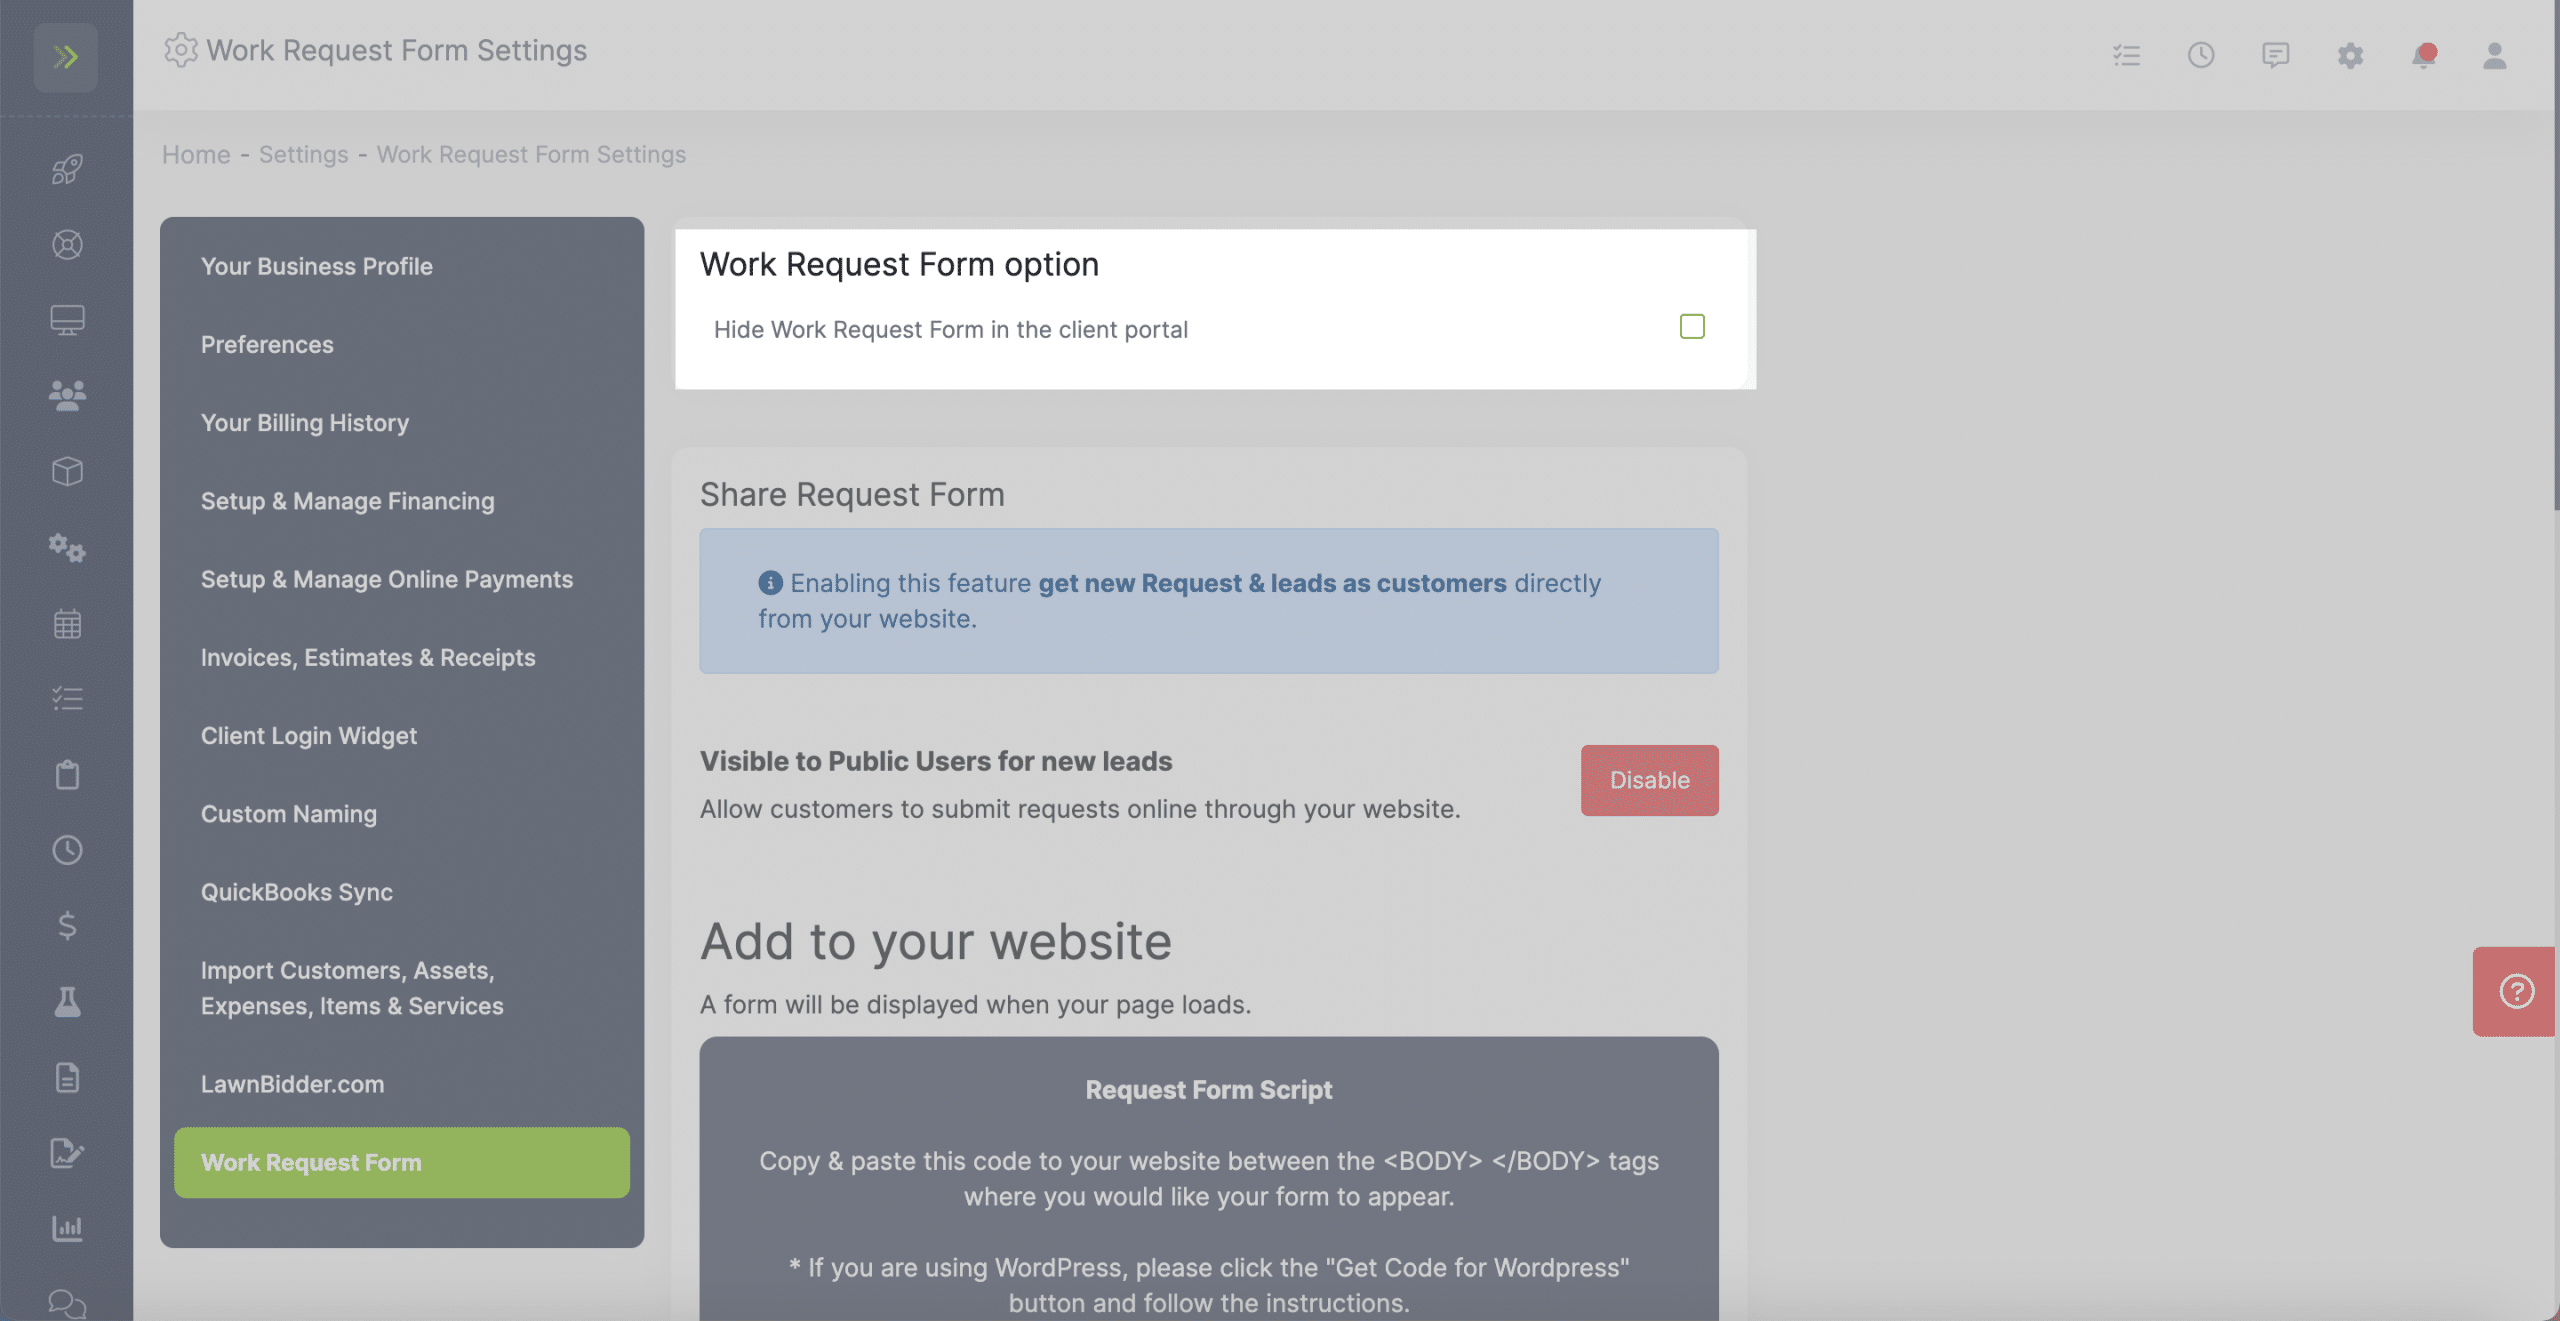
First, you can select this box next to “Hide Work Request Form in the Client Portal” if you don’t want your clients to be able to submit work request from their client portal.
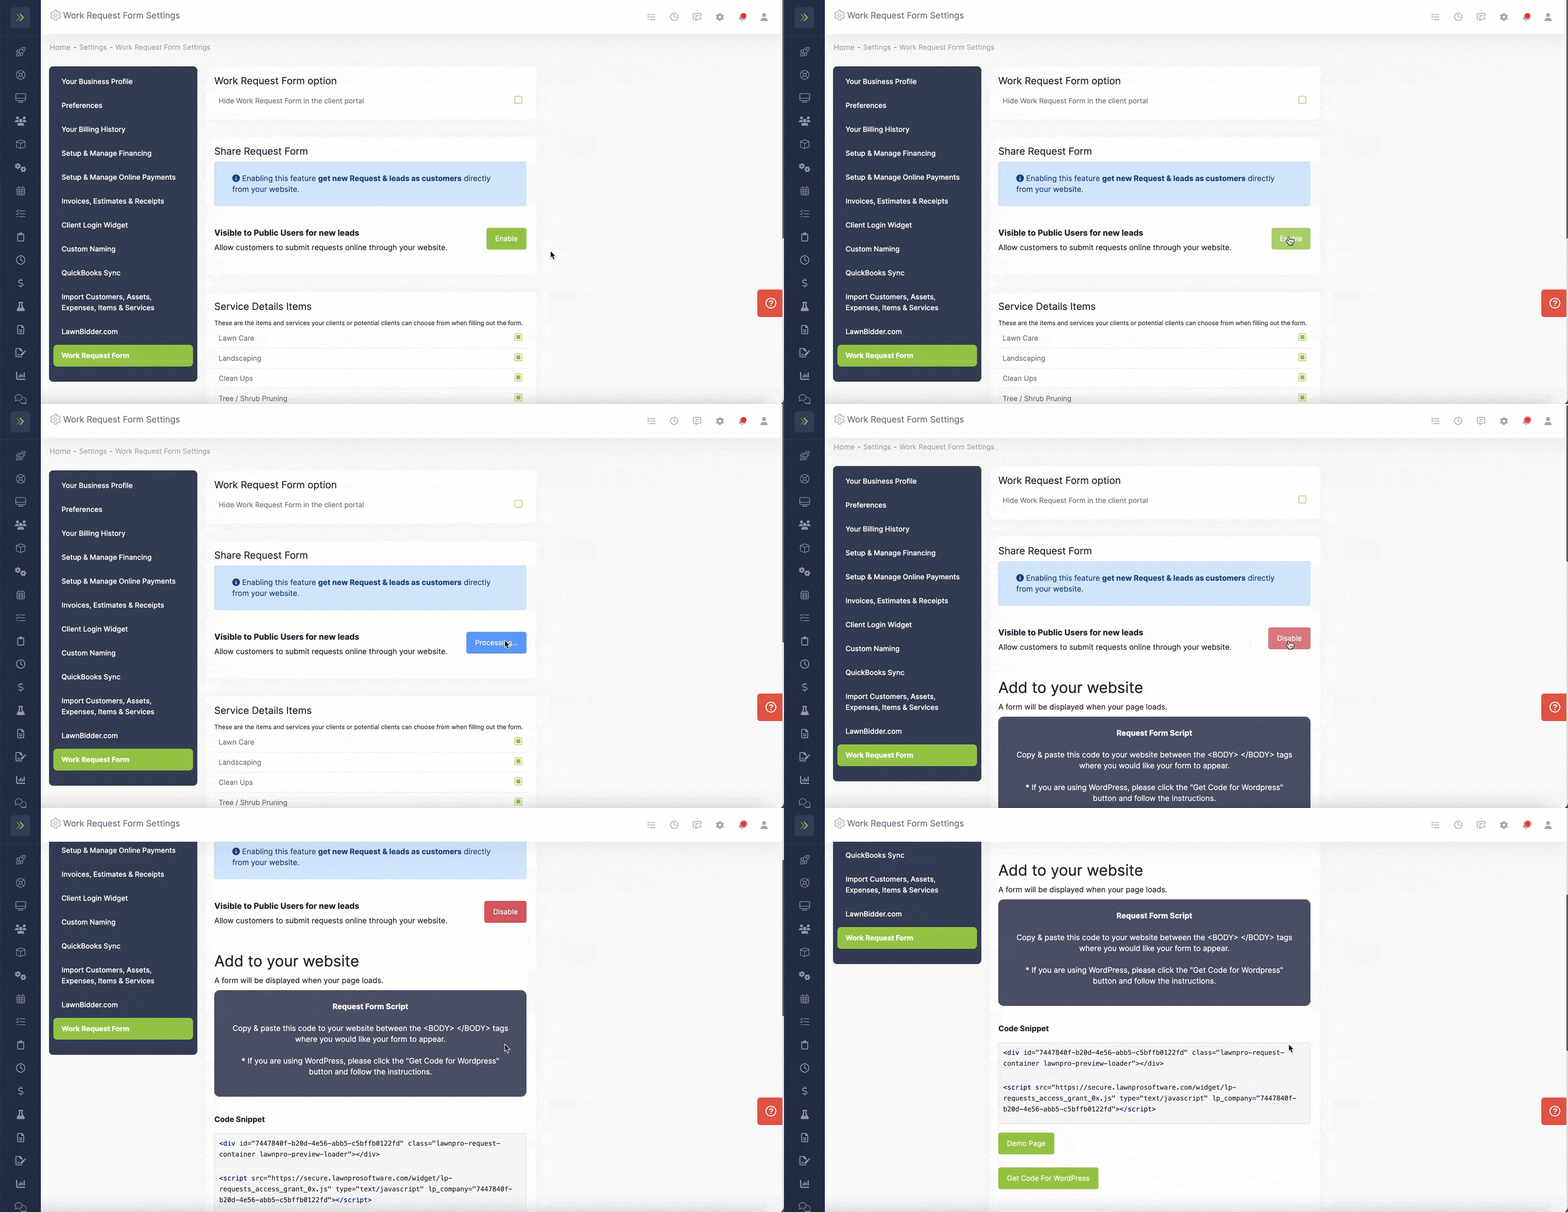
You can also add the Work Request Form to your website by clicking the green “Enable” button.
Work Request Form for Your Website
To add the Work Request Form to your website make sure that you have enabled it, but clicking the green “Enable” button.
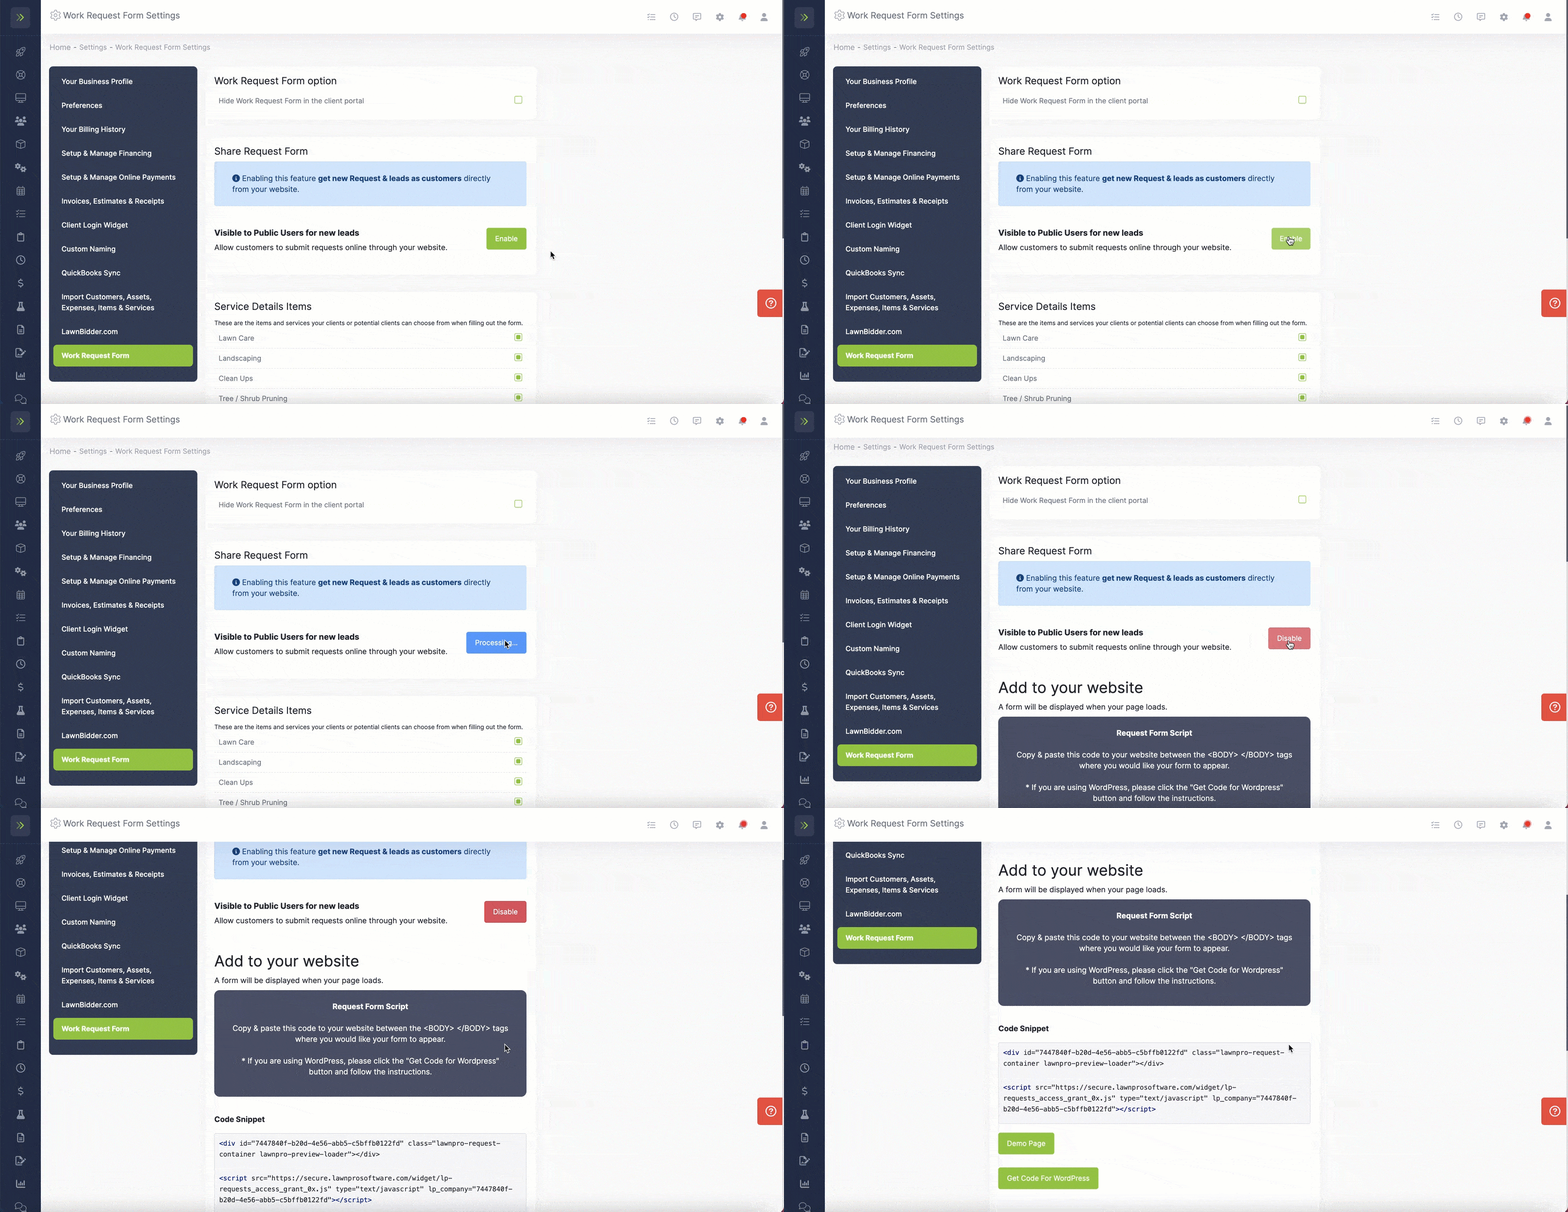
This will give you the code you need to add the form to your website.
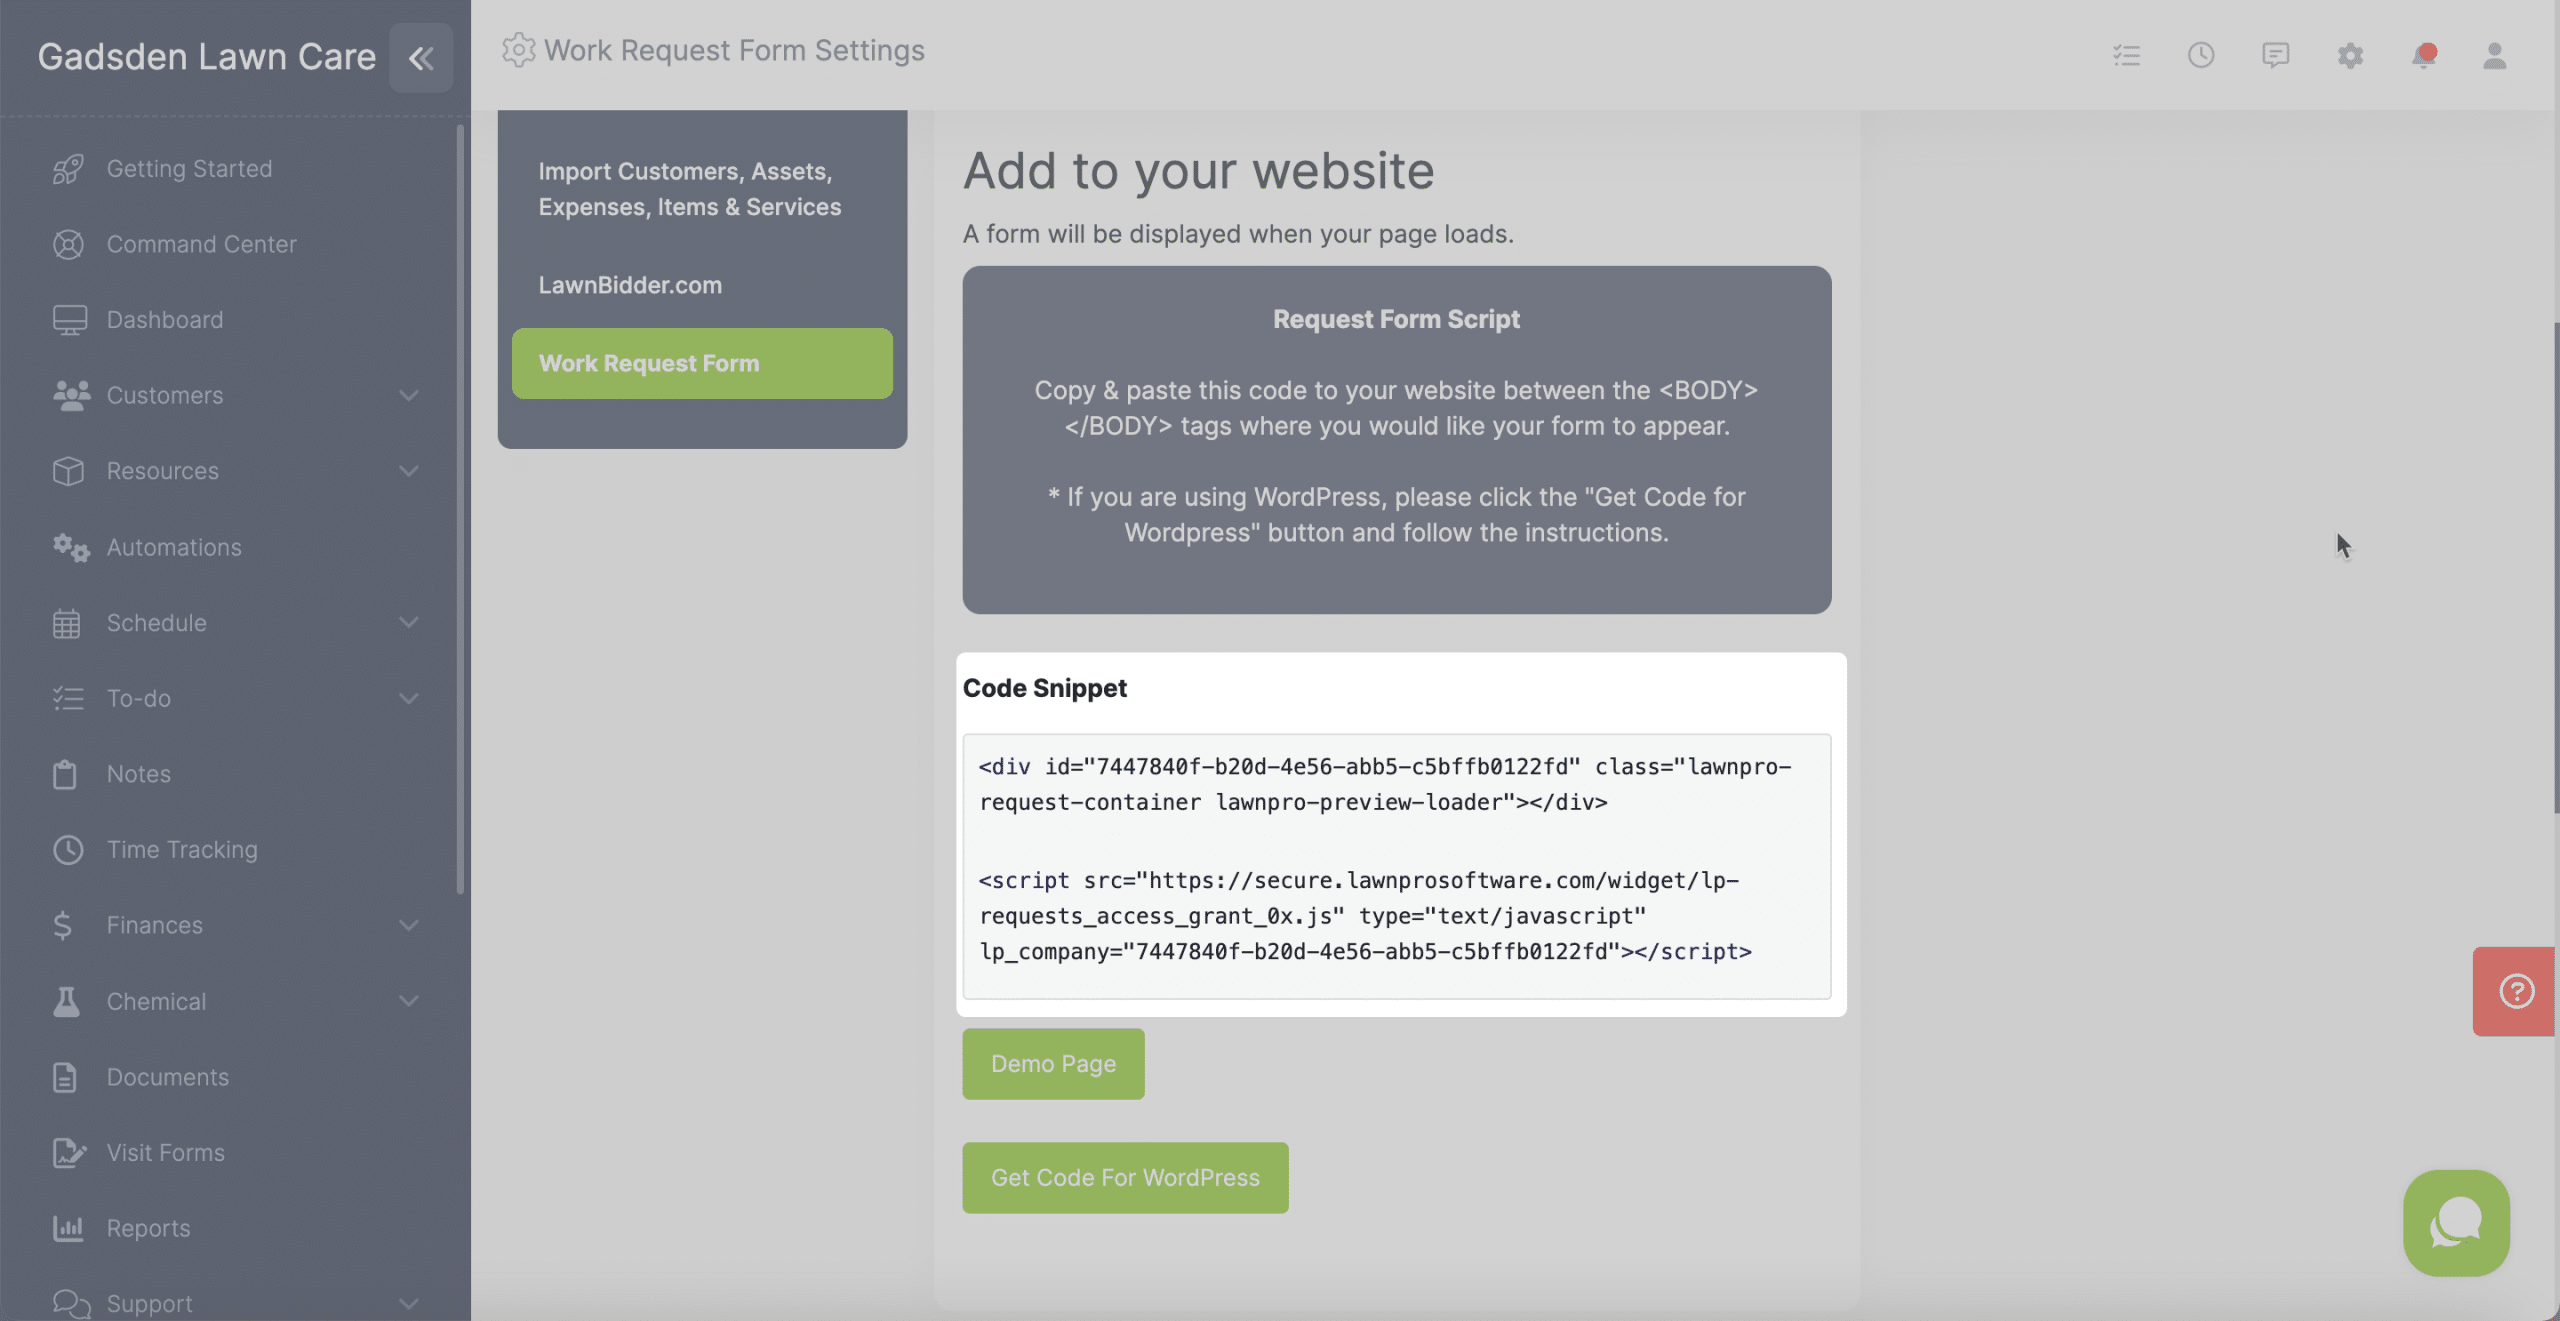
You will copy & paste this code to your website between the <BODY> </BODY> tags where you would like your form to appear.
Note: If you are using WordPress, please click the “Get Code for WordPress” button and follow the instructions.
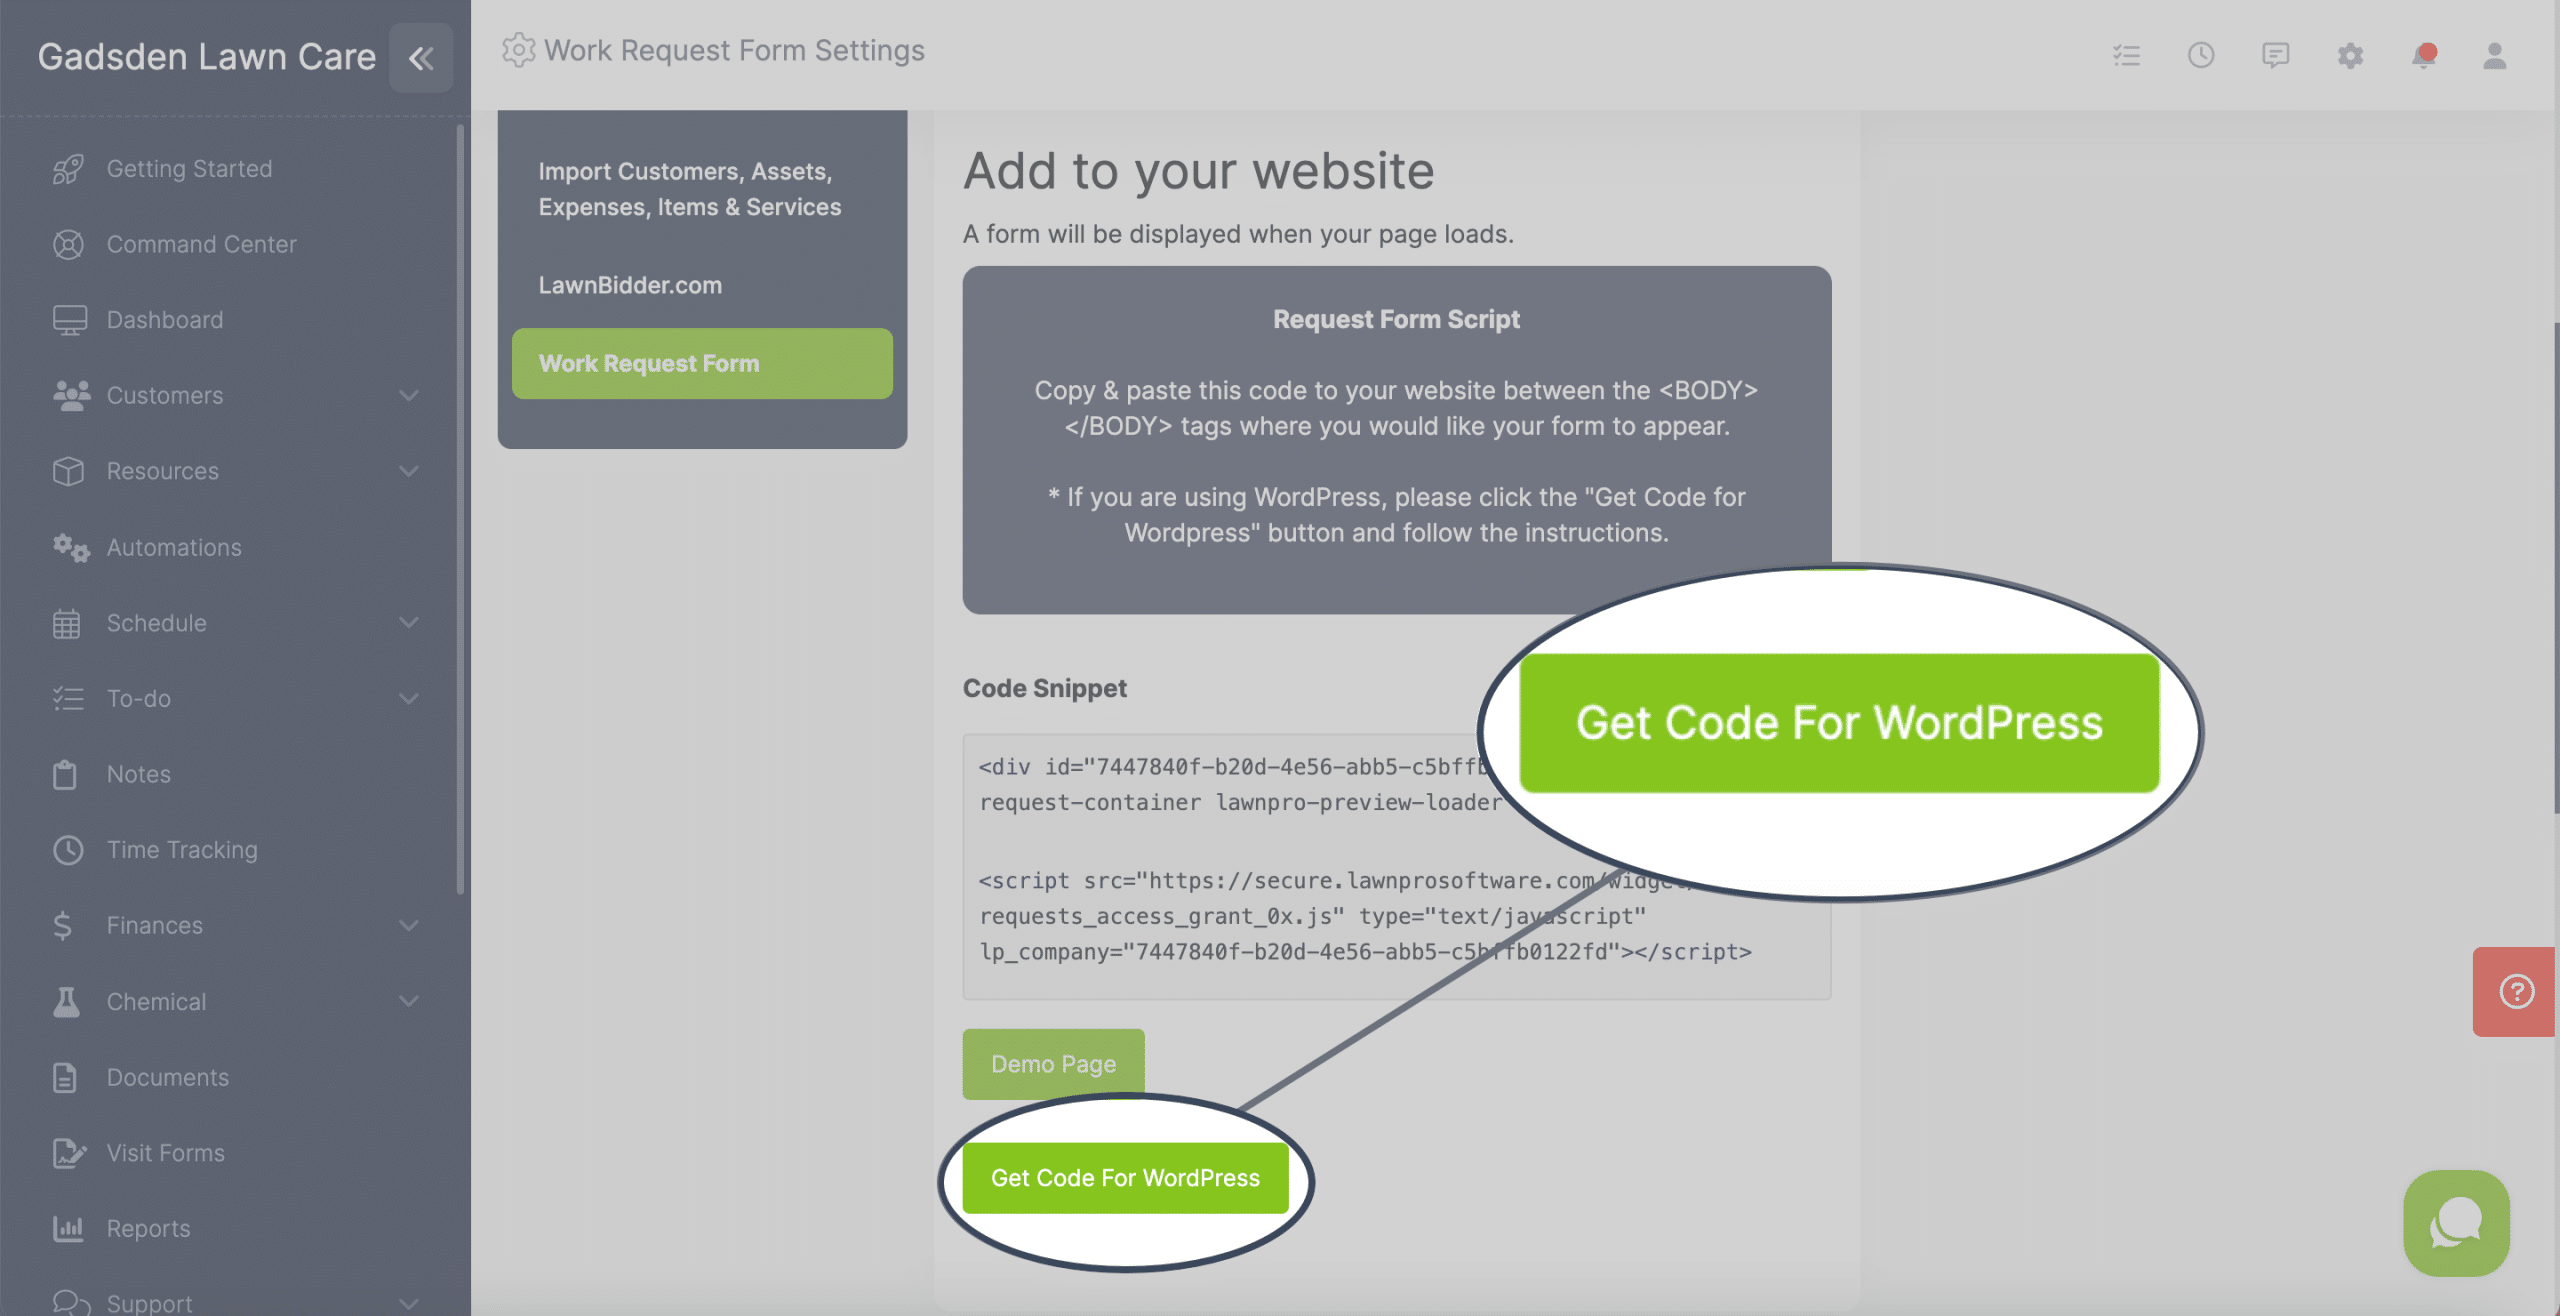
Below the code, you can customize which items/services customers can select on the request form.
You can add new Items/Services to the list by clicking the green “+Add Item” button
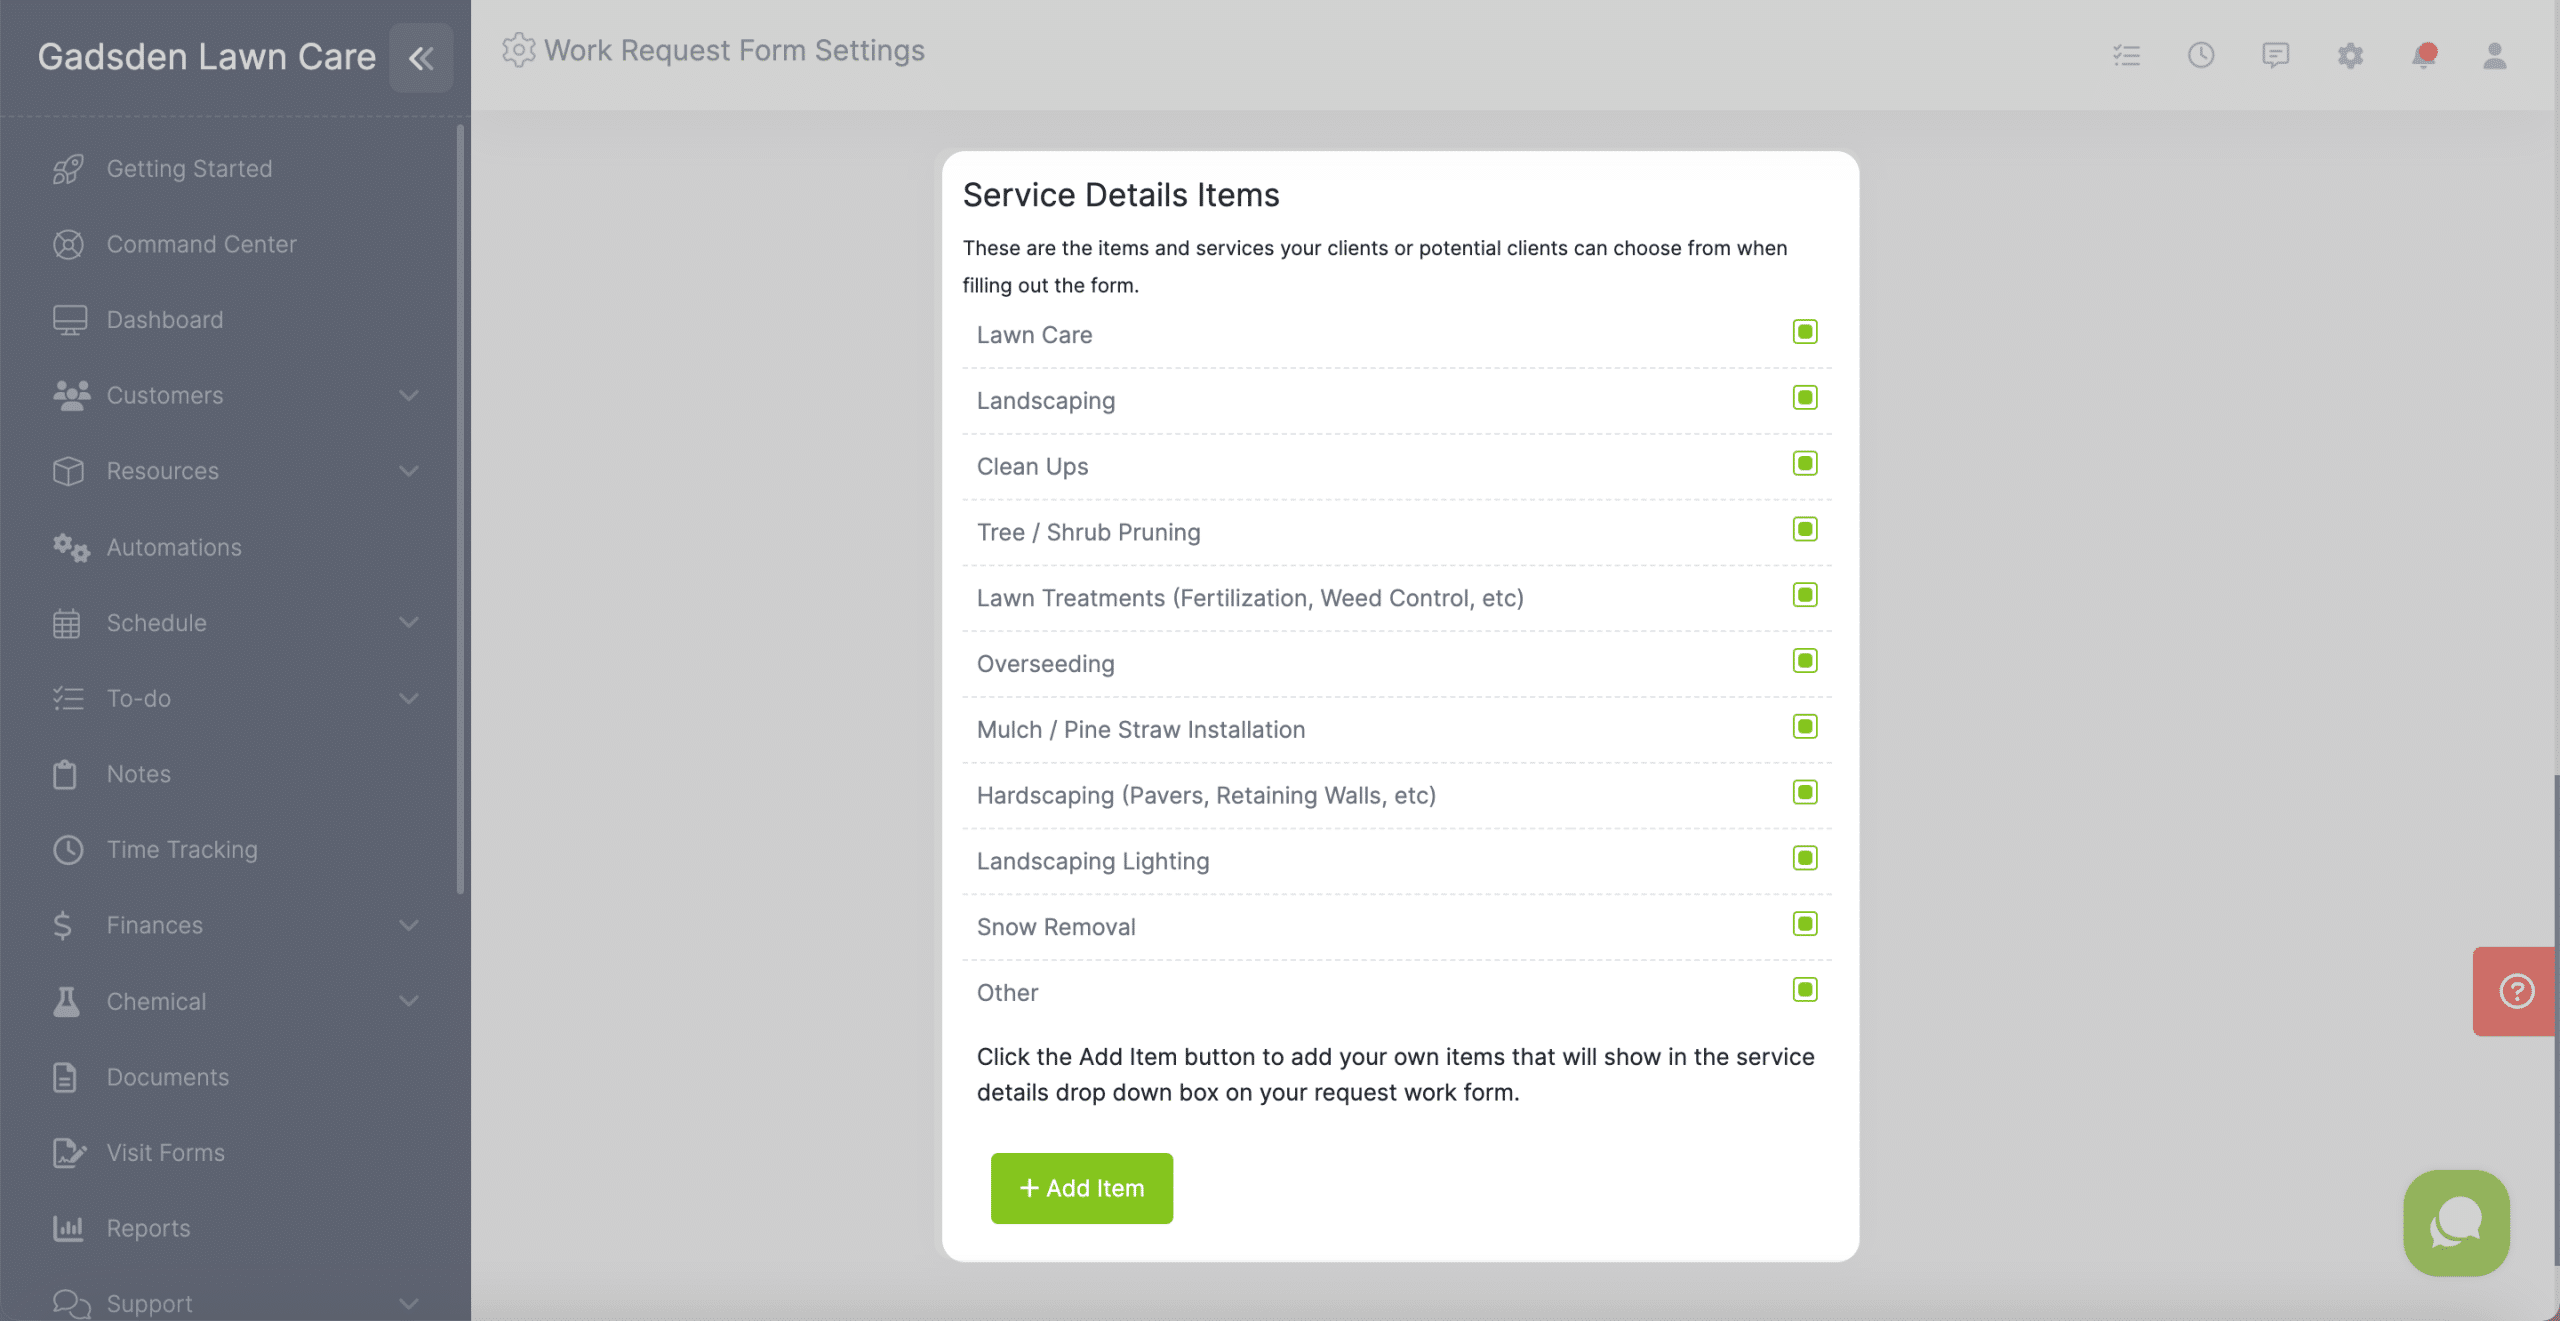
Once you have selected the items you would like to appear on the Work Request Form, you can click the “Demo Page” button and see a preview of what your Form will look like.
Work Request Form in Client Portal
You are able to have customers put in work requests via their customer portal.
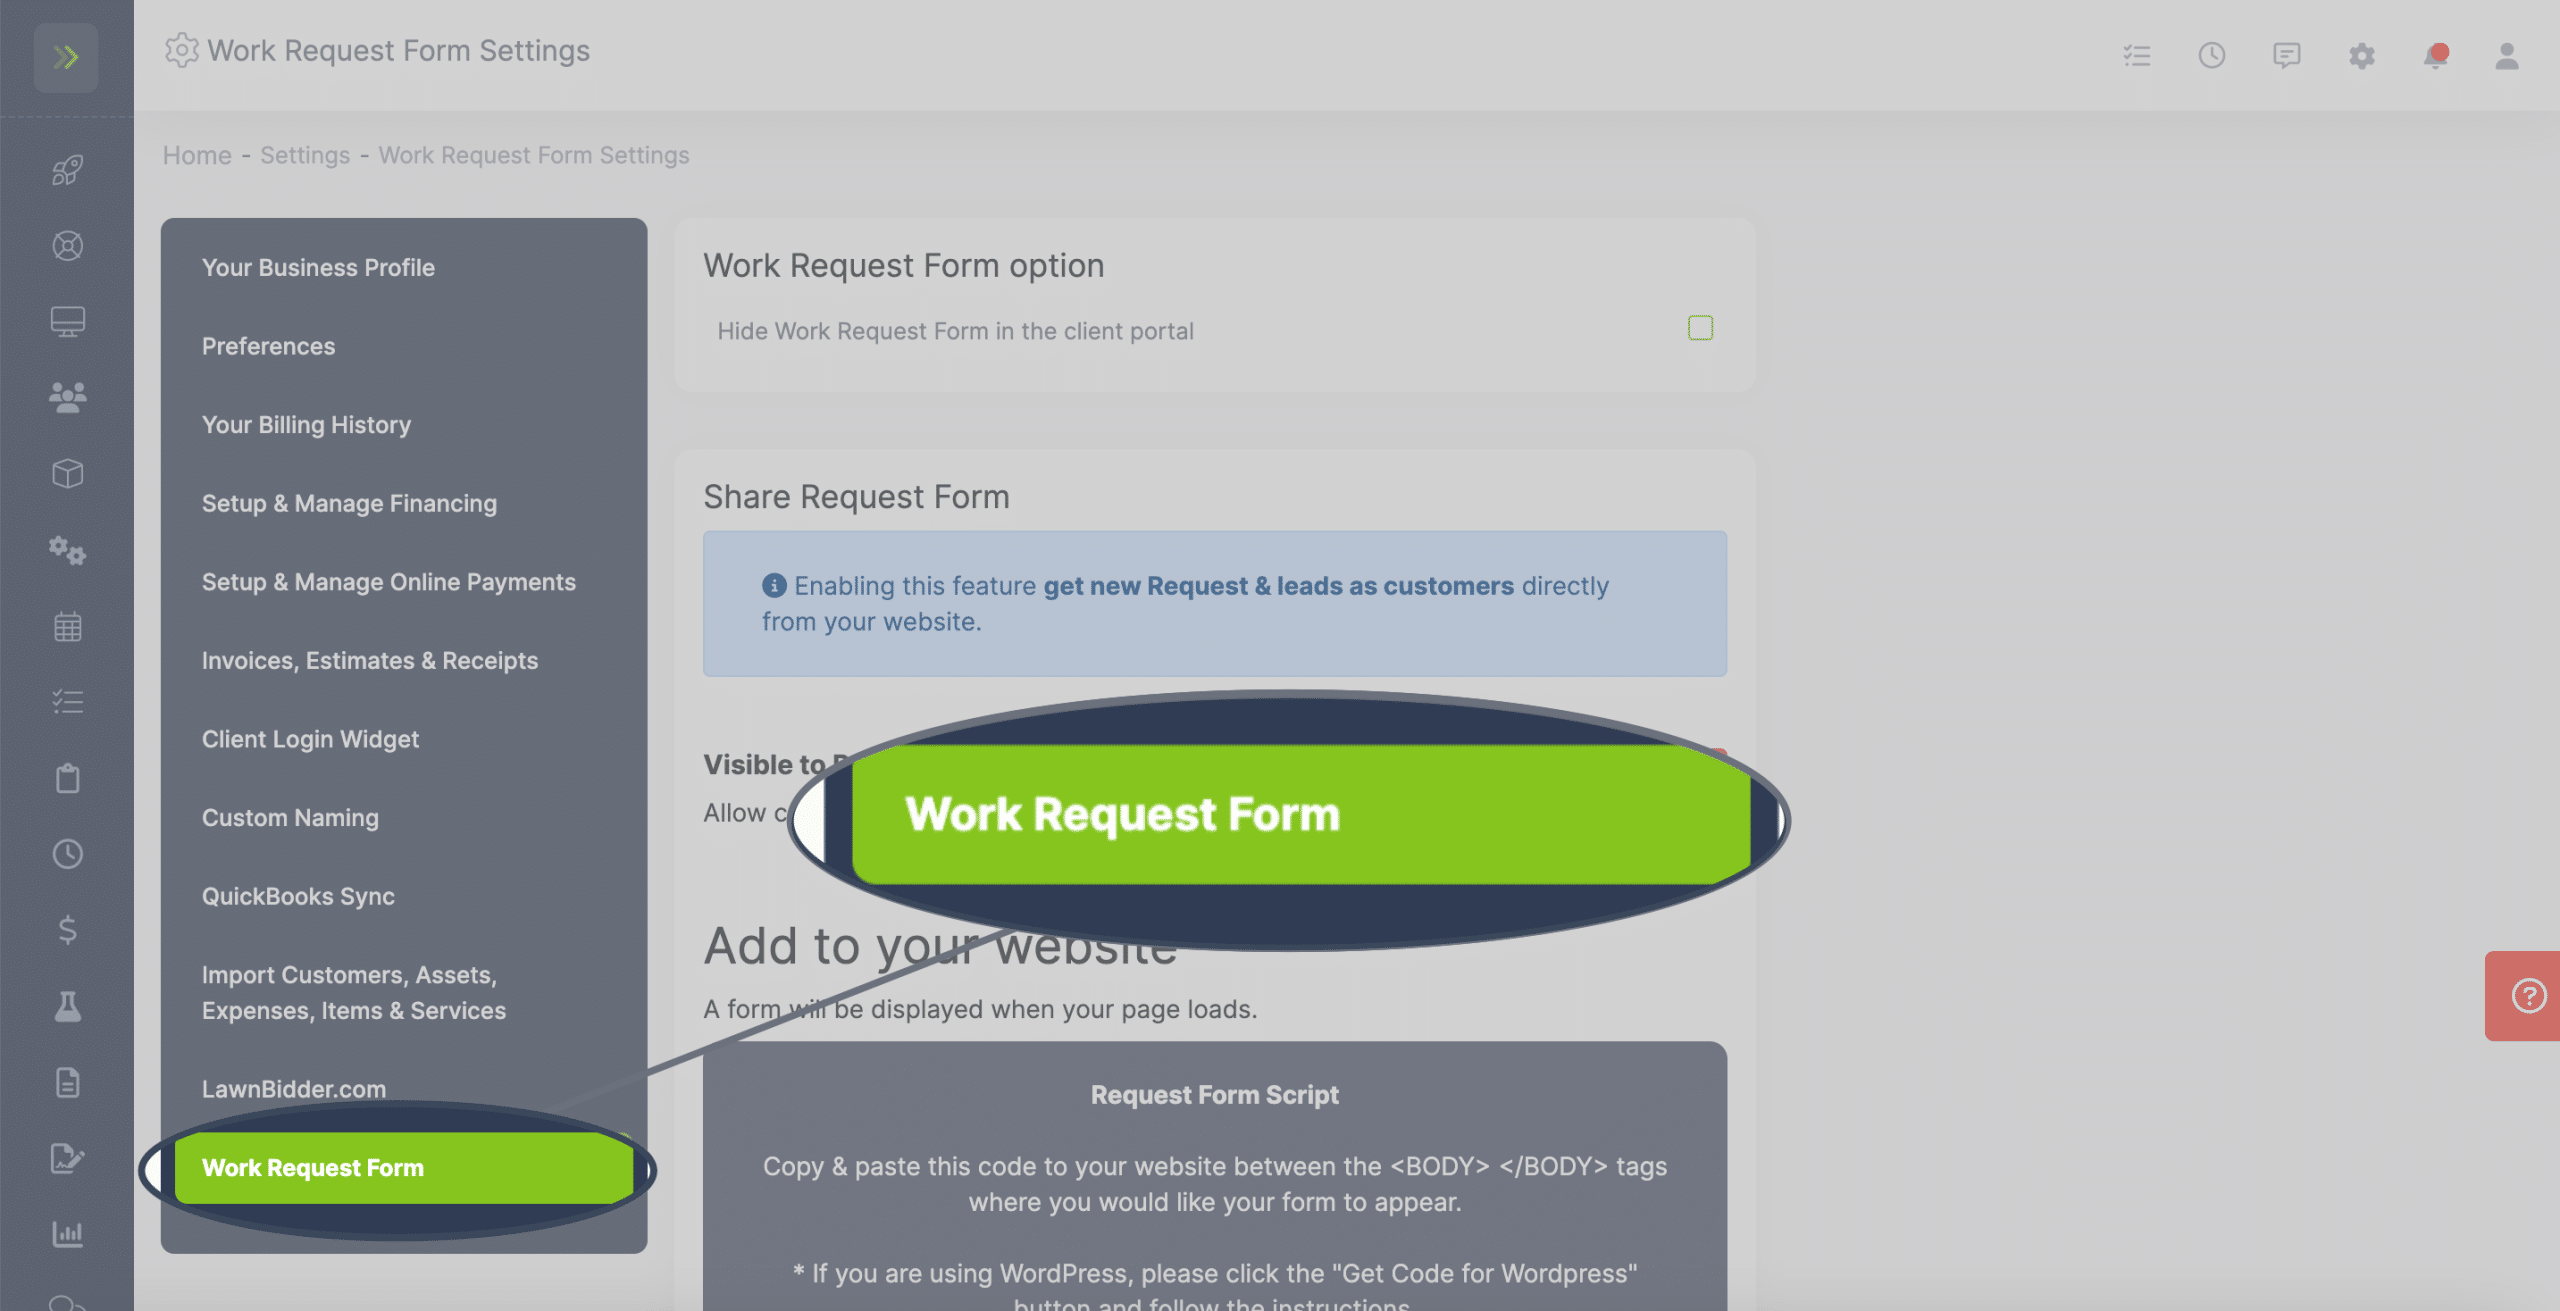
To customize what items/services your clients can request, go to the settings gear icon on the top right on your dashboard then click “Work Request Form”
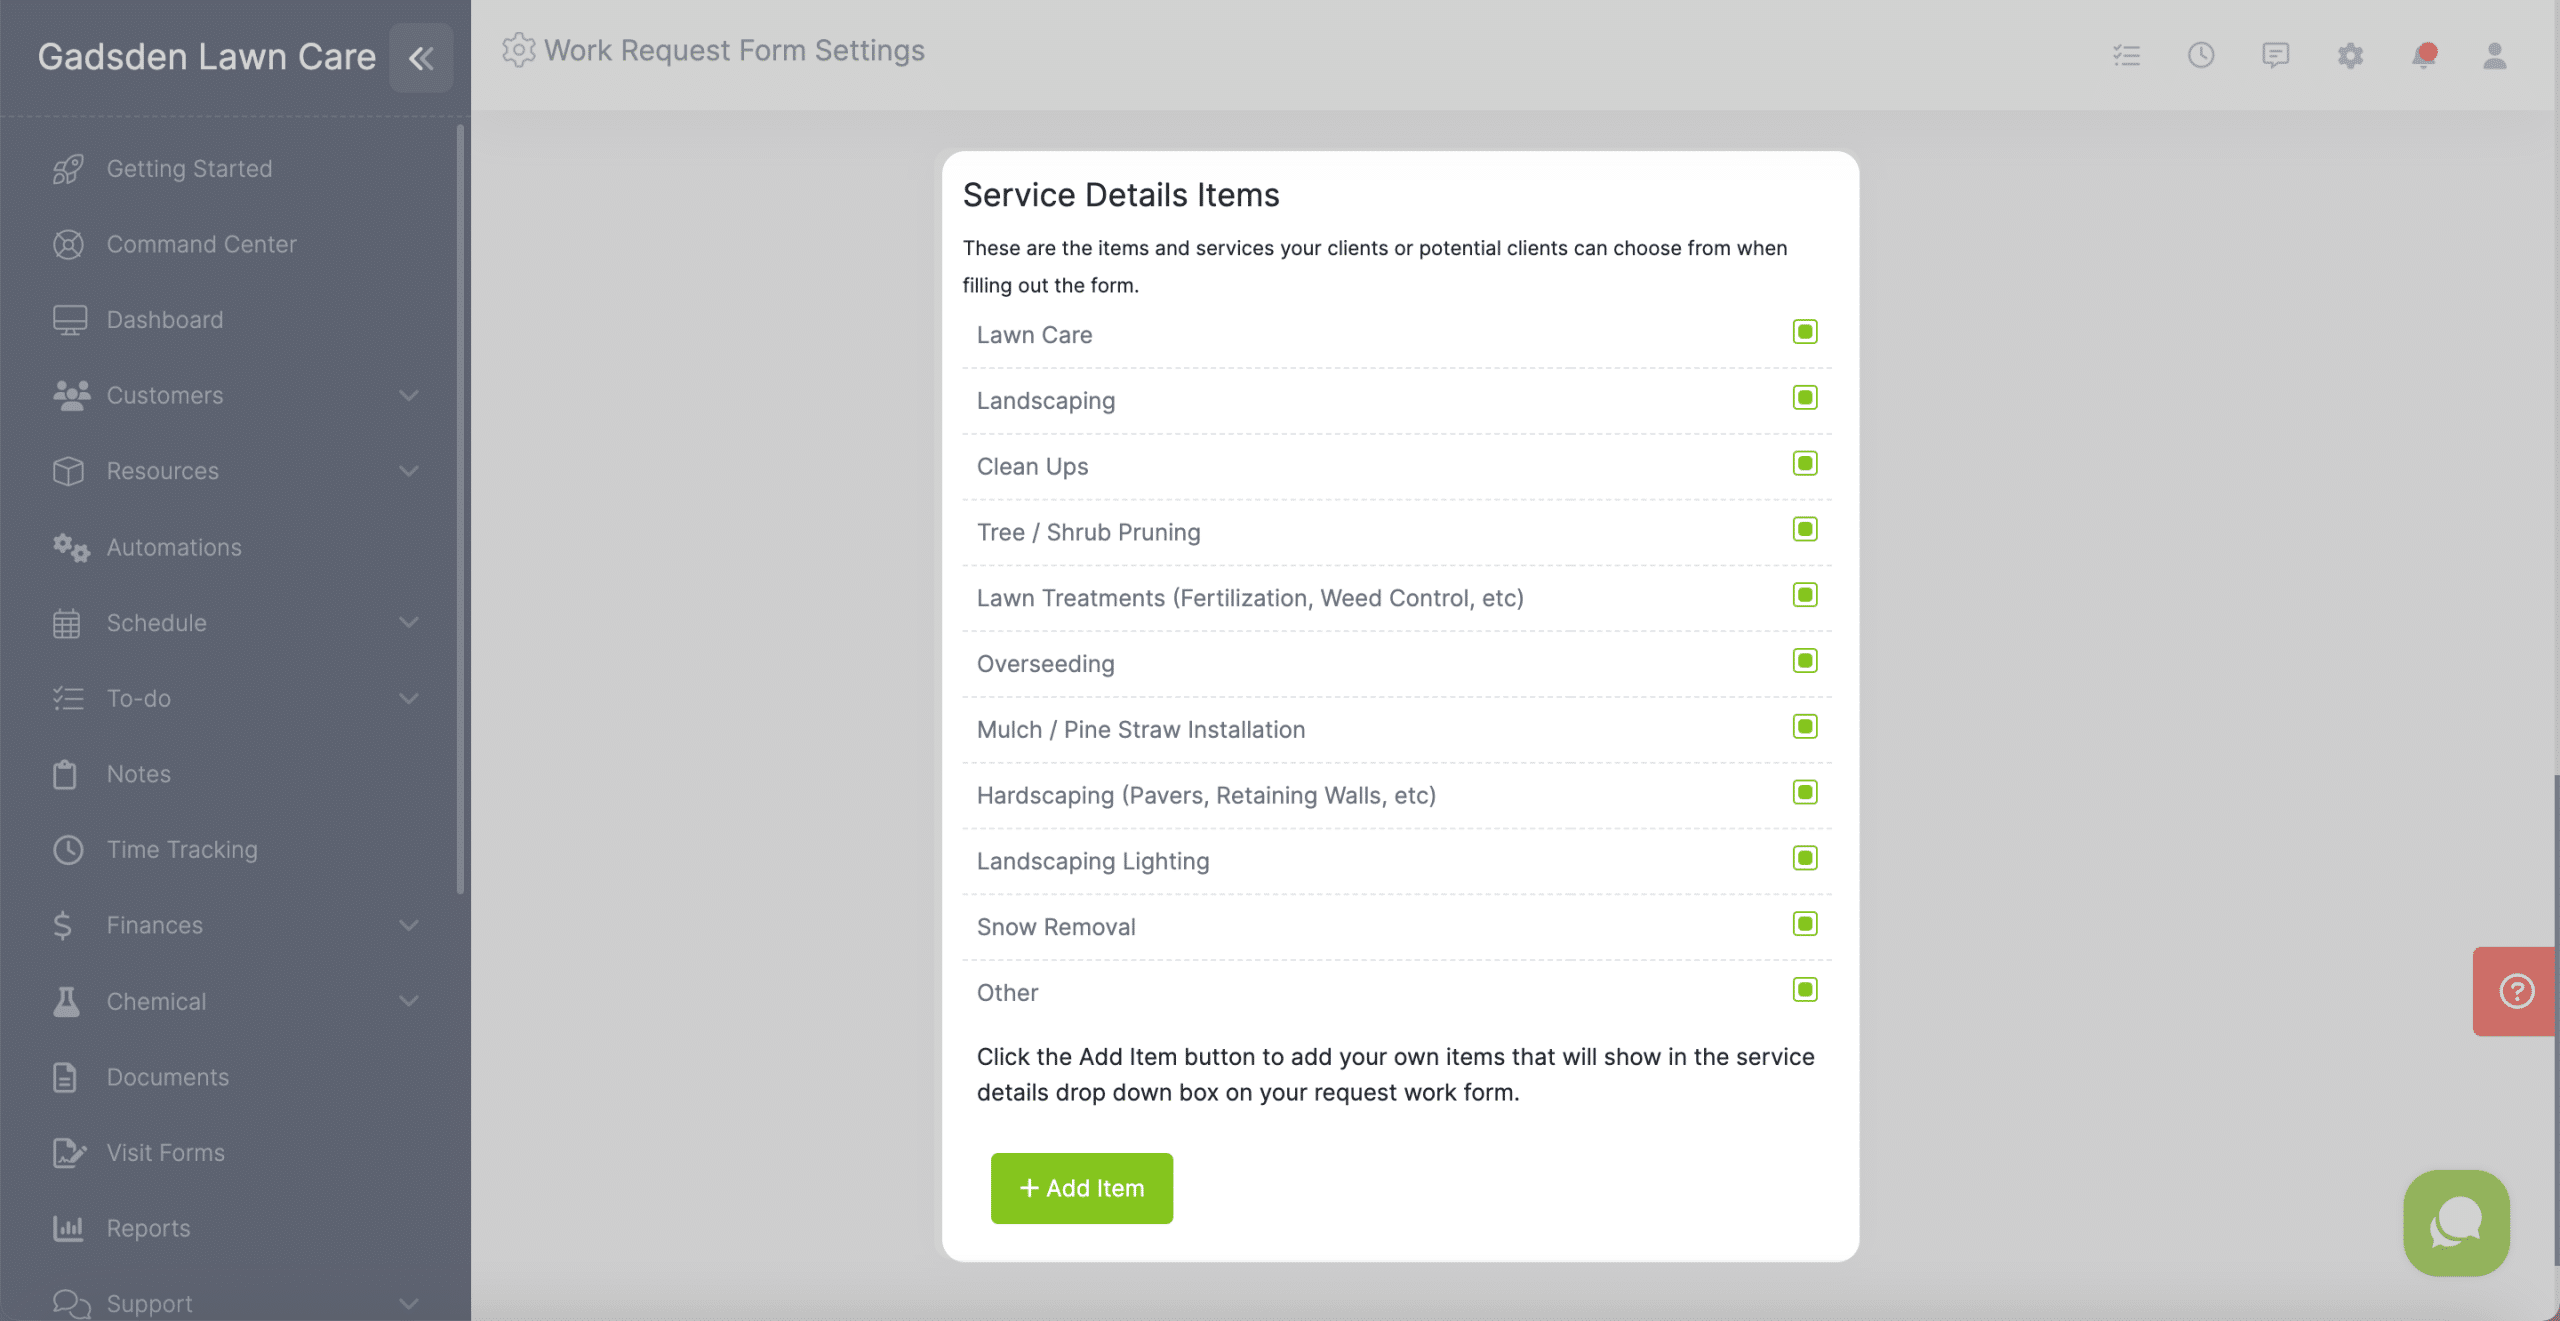
You can customize which items/services customers can select on the request form.
You can add new Items/Services to the list by clicking the green “+Add Item” button
Client View of Request Form in Their Portal
When a customer is in their Client Portal, they simply click the “Work Requests” tab.
On this page they can see any work request they have submitted and can also submit a new one but clicking the green “+ New Request” button.